A flattened, pinched, or “sucked-in” upper radiator hose is never normal. It signals that a vacuum has formed inside your cooling system, overpowering the hose walls and restricting coolant flow. Left unchecked, this condition can lead to rapid engine overheating and costly damage. The hose itself is rarely the true culprit. Instead, the collapse points to deeper issues like a faulty radiator cap, clogged overflow vent, or internal flow blockage. In this guide, you’ll learn how to pinpoint the exact cause, apply the right fix, and stop the problem from coming back.
Decode Collapse Timing
Collapse After Engine Shutdown
When the upper radiator hose collapses only while the engine is off and cold, the issue lies in vacuum equalization during cooldown. As coolant contracts, the system must draw fluid or air back in to balance pressure. If it cannot, a vacuum forms and crushes the hose walls. This pattern strongly suggests a failure in pressure regulation or venting, not a worn hose.
Collapse During Operation
When the hose flattens while driving or revving, the cause is active suction from a flow restriction. The water pump is working hard but cannot move coolant through a blockage, creating intense low pressure at the upper hose. This type of collapse demands immediate attention, as it often points to a stuck thermostat, clogged radiator, or failing water pump.
Test the Radiator Cap
Check Vacuum Valve Function
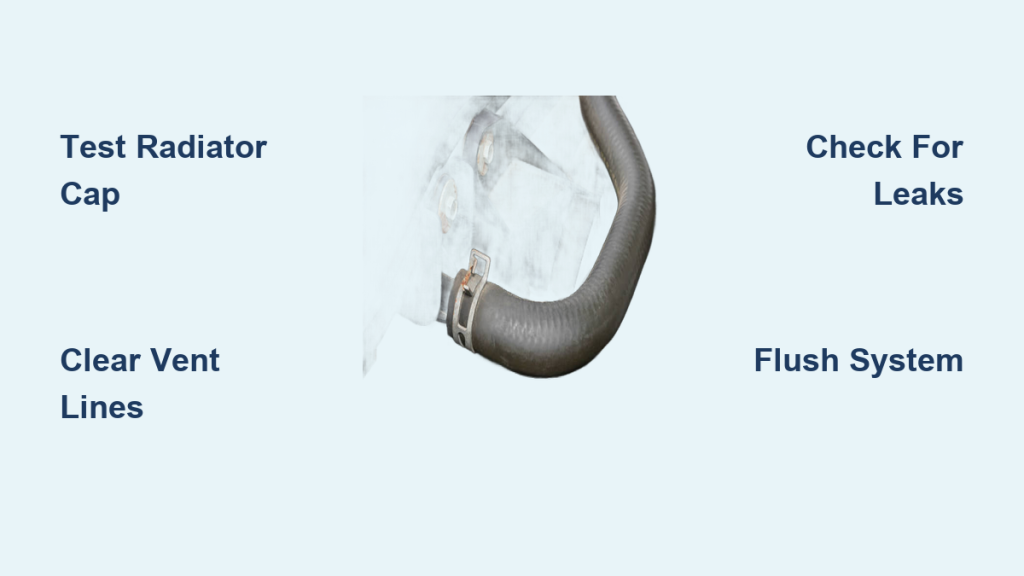
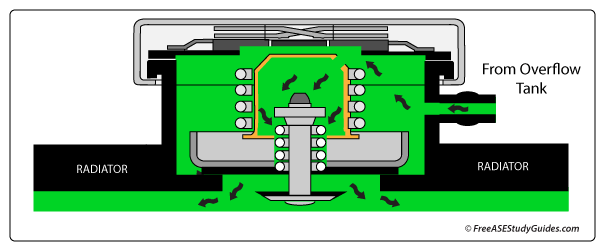
The radiator cap contains a dual-valve system designed to regulate pressure. The pressure valve releases excess heat-driven pressure, while the vacuum valve opens during cooldown to let coolant return from the overflow tank. If the vacuum valve sticks shut, the system cannot equalize, and the upper hose collapses. A simple test: with the engine cold and the hose collapsed, remove the radiator cap. If the hose instantly reinflates, the cap’s vacuum valve is faulty.
Replace With Correct PSI Rating
Always replace the cap with one matching OEM specifications, typically 16 PSI for most vehicles. Using a lower-rated cap risks early boiling, while a higher-rated one stresses aging hoses. Opt for a high-quality cap with a safety latch design. This affordable part is the most common fix for post-shutdown collapse and should be replaced proactively every one to two years.
Inspect the Overflow System

Clear Clogged Vent Lines
Many modern vehicles rely on an overflow or expansion tank to manage coolant volume changes. If the vent hose or tank cap is clogged, coolant cannot return to the radiator during cooldown, trapping a vacuum. To test, leave the engine cold with the hose collapsed and remove the overflow tank cap. If the hose expands, the vent path is blocked. Clean or replace the breather hose and ensure the tank cap vents properly.
Restore Factory Overflow Setup
Some systems have a sealed port below the radiator cap originally meant to connect to an overflow reservoir. If this port is crimped or plugged, the system cannot breathe. In such cases, install a factory-style overflow tank and hose to restore proper expansion and contraction. This is a known issue on certain models like the Ram Hemi 5.7L, where clogged vents lead to repeated collapses.
Detect Coolant Leaks
Find Hidden Air Intrusion Points
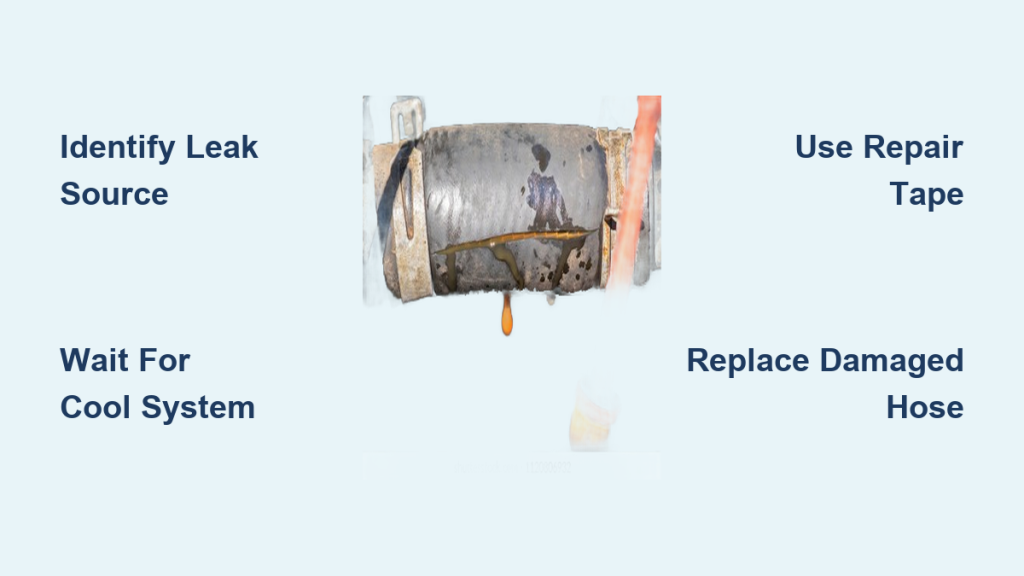
Even small leaks allow air into the system, disrupting hydraulic balance. As coolant leaks out, air enters. During cooldown, fluid contracts but the air gap prevents proper vacuum relief, intensifying suction on the upper hose. Common leak sources include:
- Cracked or swollen hoses
- Leaking water pump seals
- Loose or corroded hose clamps
- Pinhole leaks in the radiator or heater core
- Cracked expansion or overflow tank
Pressure Test the System
Use a cooling system pressure tester to check for external leaks. Pressurize the cold system to its rated PSI, usually 16 to 18, and monitor for drops. Bubbles in the coolant while running may also indicate air entry, possibly from a failing head gasket if no external leak is found.
Diagnose Flow Restrictions
Test for Clogged Radiator or Thermostat
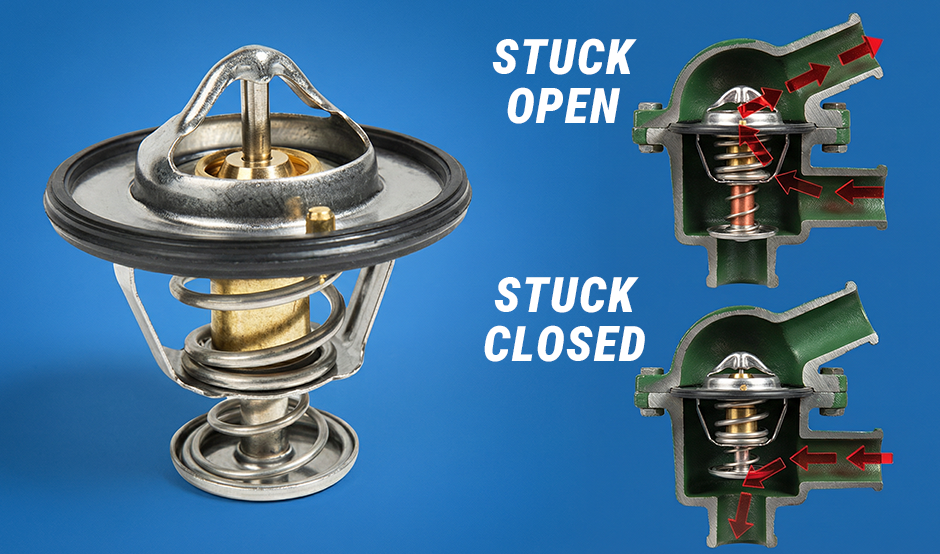
A collapsed hose during operation often means restricted flow. The water pump creates strong suction upstream at the upper hose when it cannot push coolant through a blockage. Key culprits include:
- Clogged radiator: Corrosion, debris, or gelled coolant in tubes or fins.
- Thermostat stuck closed: Prevents flow even when the engine is hot.
- Faulty water pump: Impeller damage or cavitation.
Use an infrared thermometer to check for temperature differences. If the radiator inlet is hot but the outlet is cool, flow is blocked. If the engine overheats quickly and the upper hose feels soft or collapsed, suspect a stuck thermostat.
Flush the System Thoroughly
Disconnect the thermostat housing and flush the radiator and engine block with a garden hose. Look for debris, sludge, or rust particles. A proper flush removes buildup that restricts flow and contributes to suction collapse. Always replace the thermostat after a flush if there is any doubt about its function.
Replace Faulty Hoses

Choose the Right Upper Hose
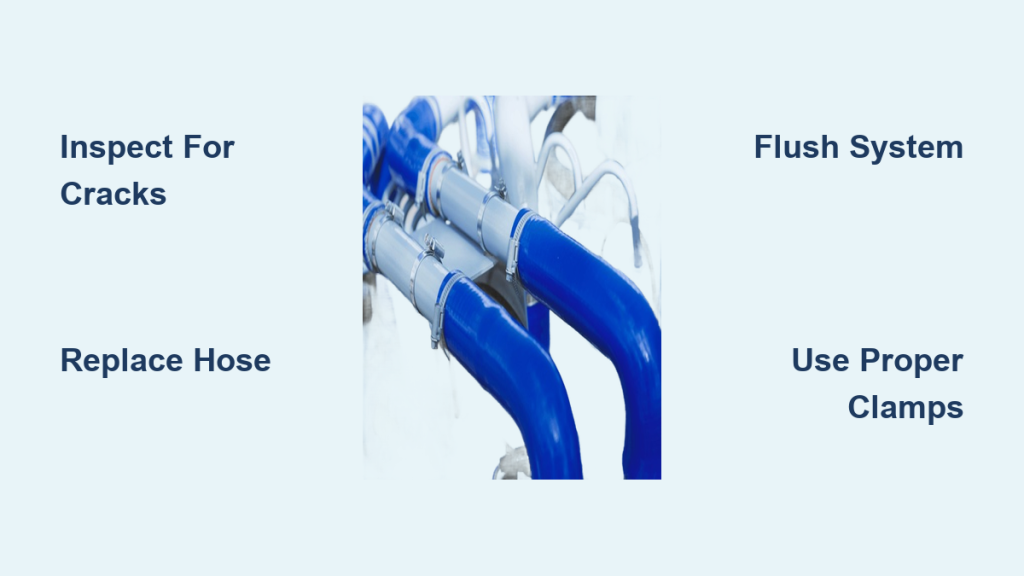
Never reinstall a collapsed hose. Replace it with a high-quality unit designed for your vehicle’s pressure and temperature demands. Ensure it seats properly on the radiator and engine necks, with no kinks or twists. Use new clamps to guarantee a tight seal.
Install a Spring in the Lower Hose
While the upper hose collapses due to vacuum, the lower hose is prone to pump-induced suction. It must have an internal spring to prevent collapse. If a replacement lower hose lacks one, fabricate a coil from a wire hanger and insert it before installation. Skipping this risks recurring flow issues and overheating.
Upgrade to Hard Piping (Optional)
In heavy-duty or fleet applications with frequent thermal cycling, consider replacing straight hose sections with aluminum or plastic hard piping. Use rubber hoses only for bends and connections. This reduces collapse risk and improves system durability.
Fix Loose Clamps
Tighten or Replace Worn Clamps
Loose, corroded, or misaligned clamps allow micro-leaks that let air into the system. This disrupts pressure balance and promotes vacuum formation. Inspect all clamps, especially those on the upper and lower radiator hoses, heater core, and overflow tank. Replace with new, corrosion-resistant clamps and torque them properly.
Prevent Air Entry at Connections
A visible gap between the hose bead and fitting, or a hose that wobbles, means the clamp is not sealing. This lets coolant seep out and air creep in. Even a tiny leak can cause repeated collapse after replacing the hose. Always use the correct clamp type (worm gear, spring, or constant-tension) for the application.
Prevent Recurrence
Follow a Maintenance Schedule
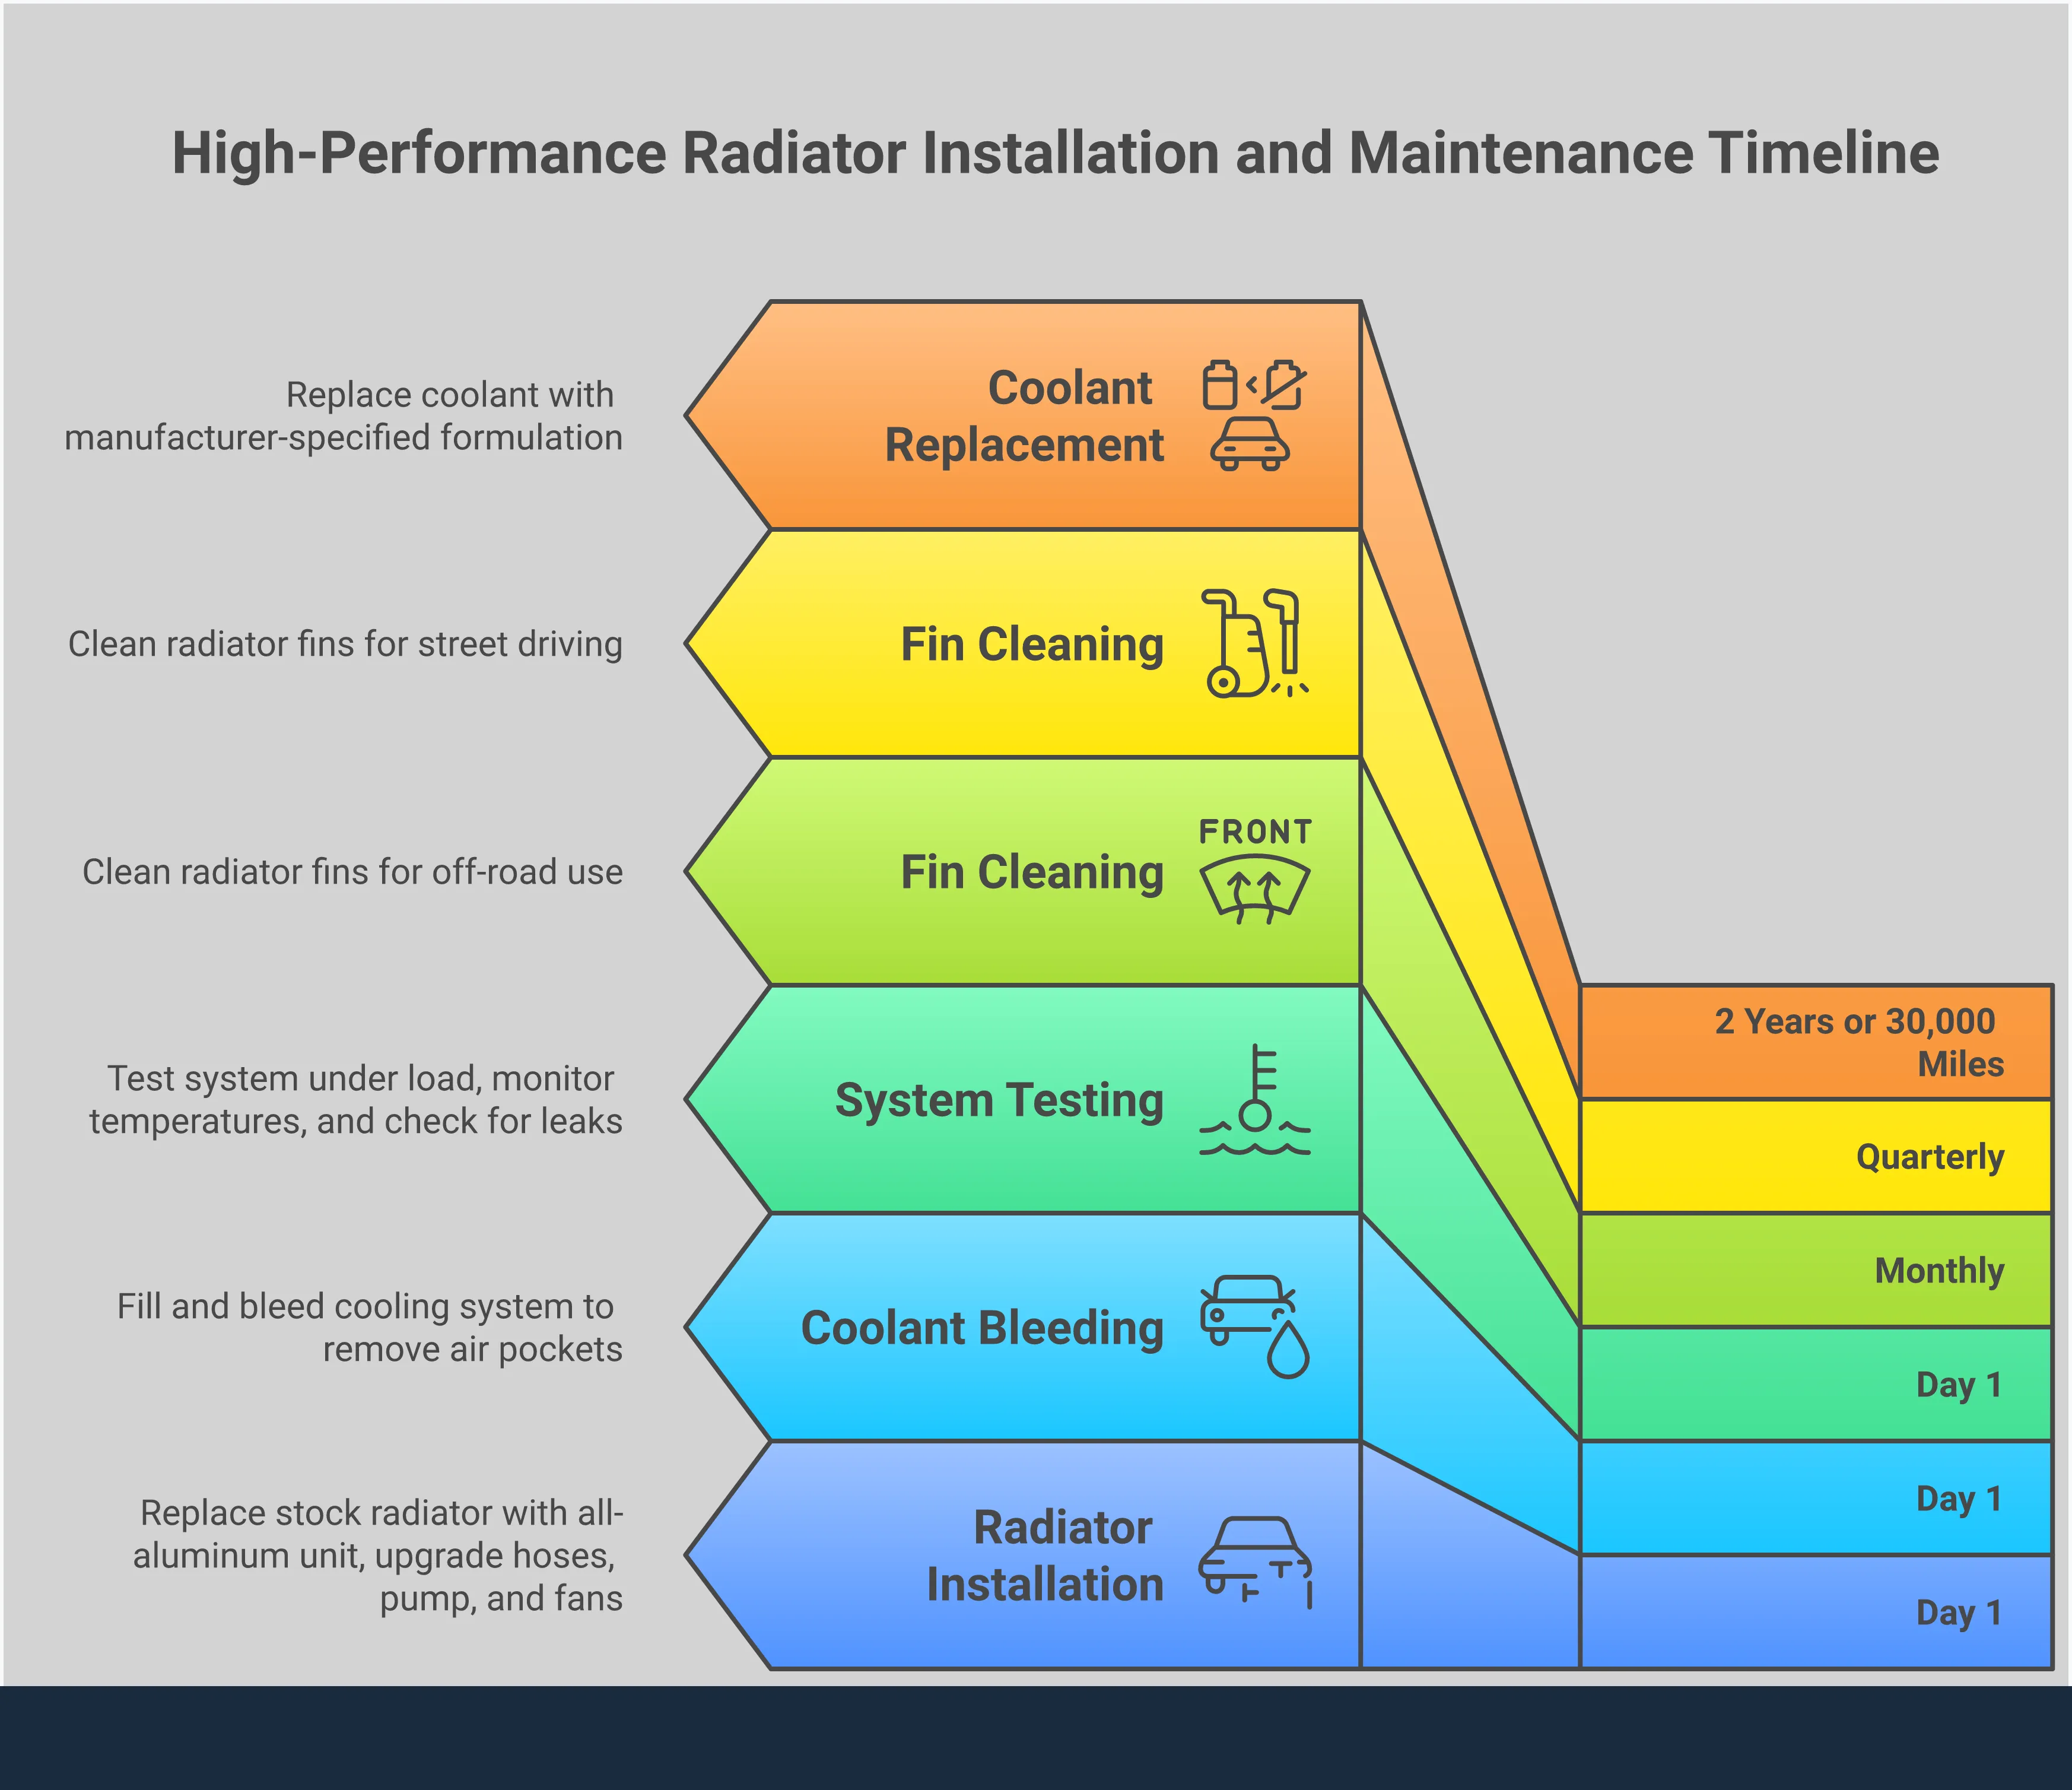
Prevent collapse before it happens with routine checks:
- Every oil change: Inspect hoses for cracks, bulges, softness, or stiffness.
- Annually or per service: Test or replace the radiator cap.
- Every 30,000 to 60,000 miles: Flush coolant to prevent corrosion and gelling.
- Every 4 to 5 years: Replace hoses regardless of appearance, since internal rubber degrades over time.
Use the Correct Coolant Mix
Always refill with a 50/50 mix of antifreeze and distilled water. Tap water introduces minerals that promote scaling and corrosion. Use the coolant type specified by the manufacturer (such as OAT or HOAT) to ensure compatibility and protection.
Bleed Air From the System
Air pockets prevent proper pressure equalization and can mimic or worsen collapse. After repairs, follow these steps:
- Park the vehicle with the front end slightly elevated.
- Fill the radiator and set the heater to maximum heat.
- Run the engine with the cap off (or use a spill-free funnel) until the thermostat opens and air bubbles stop.
- Top off the coolant and install the cap.
Address Special Cases
Handle GSE and Fleet Vehicles
Ground support equipment and fleet vehicles suffer extreme thermal cycling due to frequent starts, extended idling, and short-duty operation. This accelerates hose fatigue and vacuum issues. Use GSE-rated hoses built for high-cycle duty and implement maintenance based on operating hours, not mileage. Monitor for recurring collapses across units, which may signal a batch defect or design flaw.
Repair Ram Hemi and Similar Models
Vehicles like the Ram Hemi 5.7L are prone to clogged overflow tank breather lines. If the tank cannot vent, vacuum builds and collapses the upper hose. Clean the vent hose regularly and ensure the tank cap allows airflow. Some owners retrofit a secondary vent line to prevent recurrence.
Consult a Cooling Specialist
Seek expert help if:
- The collapse returns after replacing the hose, cap, and clearing vents.
- Multiple fleet units show the same issue.
- Air keeps entering the system with no visible leak (possible head gasket).
- Operating conditions are extreme, such as racing, towing, or desert climates.
Frequently Asked Questions About Upper Radiator Hose Collapse
What does it mean when the upper radiator hose collapses?
It means a vacuum has formed inside the cooling system, pulling the hose walls inward. This typically points to a faulty radiator cap, clogged overflow vent, or flow restriction rather than a bad hose.
Can I drive with a collapsed upper radiator hose?
No. A collapsed hose restricts or blocks coolant flow, leading to rapid overheating and potential engine damage. Treat it as an urgent issue and diagnose the cause immediately.
Why does my upper radiator hose only collapse when the engine is cold?
This pattern indicates a pressure regulation failure during cooldown. The system cannot draw coolant or air back in to balance the contracting fluid, so the vacuum crushes the hose. The most common culprits are a bad radiator cap vacuum valve or a clogged overflow vent.
How do I know if my radiator cap is bad?
With the engine cold and the hose collapsed, remove the radiator cap. If the hose instantly reinflates, the cap’s vacuum valve is faulty. You can also test the cap with a pressure tester to confirm it holds and releases pressure correctly.
Will replacing the hose fix the collapse permanently?
Not necessarily. If the root cause (bad cap, clogged vent, or flow restriction) is not fixed, the new hose will collapse too. Always diagnose the system before replacing parts.
How often should I replace my radiator hoses?
Plan to replace them every 4 to 5 years or 60,000 miles, even if they look fine externally. Internal rubber degrades over time due to heat cycling and chemical exposure.
Key Takeaways for Fixing Upper Radiator Hose Collapse
A collapsed upper radiator hose is a symptom, not the disease. The collapse itself signals a vacuum imbalance caused by pressure regulation failure, blocked venting, or flow restriction. The most common and affordable fix is replacing a faulty radiator cap, often resolving post-shutdown collapse in minutes. For collapses during operation, focus on diagnosing flow restrictions like a stuck thermostat or clogged radiator. Always replace worn hoses with quality parts, ensure the lower hose has an internal spring, and bleed air from the system after repairs. Your next step: inspect your radiator cap and overflow vent today, since both are the leading causes and easiest to fix.