Coolant tube repair is a critical skill for any vehicle owner. A leaking hose or damaged coolant line can lead to overheating, engine damage, and costly repairs. Whether you’re dealing with a dripping radiator hose, a pinhole in a bypass tube, or a soft, bulging heater line, knowing how to diagnose and fix the issue quickly can save your engine. This guide covers proven repair methods, from emergency patches to permanent replacements, using only the right tools and materials.
With coolant systems operating under pressure and high heat, even small cracks or loose clamps can escalate fast. Most failures happen at predictable points, especially where hoses connect to fittings, and many are DIY-fixable. We’ll walk through step-by-step solutions backed by real-world testing so you can act confidently whether you’re on the road or in your garage.
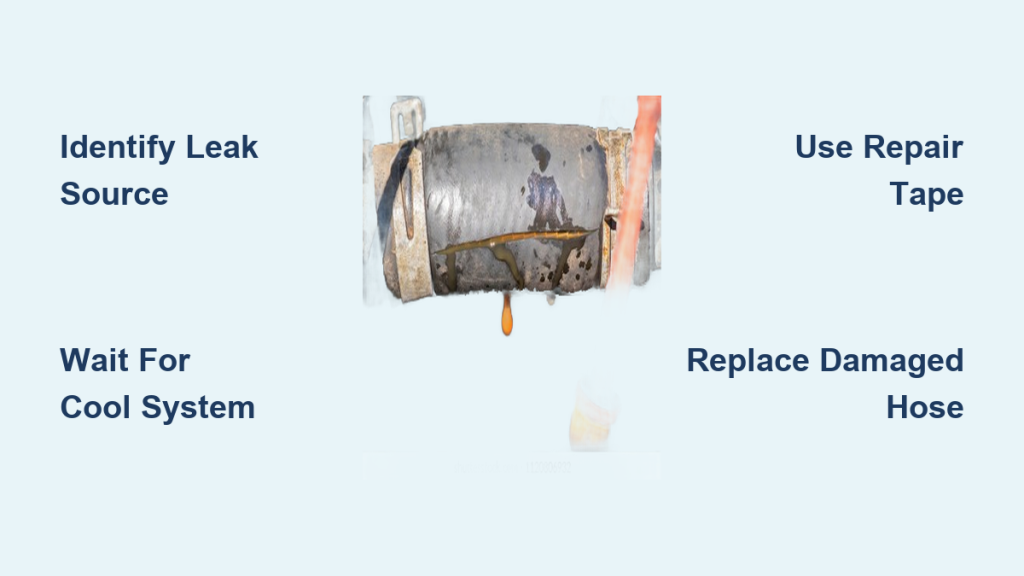
Identify the Leak Source First
Before any repair, pinpointing the exact location and type of leak is essential. Misdiagnosis leads to wasted effort and recurring issues.
Check Common Failure Points
Coolant leaks typically start at these locations. Hose ends at barbed fittings most commonly fail due to clamp failure or hose splitting. Bent or rubbing sections wear through rubber when chafing against brackets or engine components. Hard plastic or metal lines often crack near bends or mounting points. Heater hoses under the dash are less visible but prone to age-related cracking.
Look for These Signs
Watch for puddles of colored fluid under the vehicle. Green, orange, pink, or blue fluid indicates coolant. A sweet, syrup-like smell from the engine bay signals a leak. Steam rising after shutdown and a fluctuating temperature gauge are warning signs. The low coolant warning light activation also indicates a problem.
Pro Tip: Run the engine briefly with the radiator cap off only if cold, and watch for spray. A pressurized leak becomes obvious when active.
Use a flashlight and mirror to inspect tight spaces. If the leak isn’t visible, consider a cooling system pressure test, available as a rental tool at auto parts stores.
Never Work on a Hot Cooling System
Safety comes first. The cooling system can hold pressure up to 15 psi and temperatures over 220°F. Opening it hot risks severe burns from scalding coolant and steam.
Essential Safety Steps
Wait at least 2-3 hours after shutdown for full cooldown. Never remove the radiator cap while the engine is warm. Wear gloves and safety glasses when disconnecting hoses. Place a rag over connections before loosening because residual pressure may release coolant suddenly. Catch old coolant in a sealed container since ethylene glycol is toxic to pets.
Warning: Even if the engine feels cool, trapped heat in the block can re-pressurize the system. When in doubt, wait longer.
Tools You Need for Coolant Tube Repair
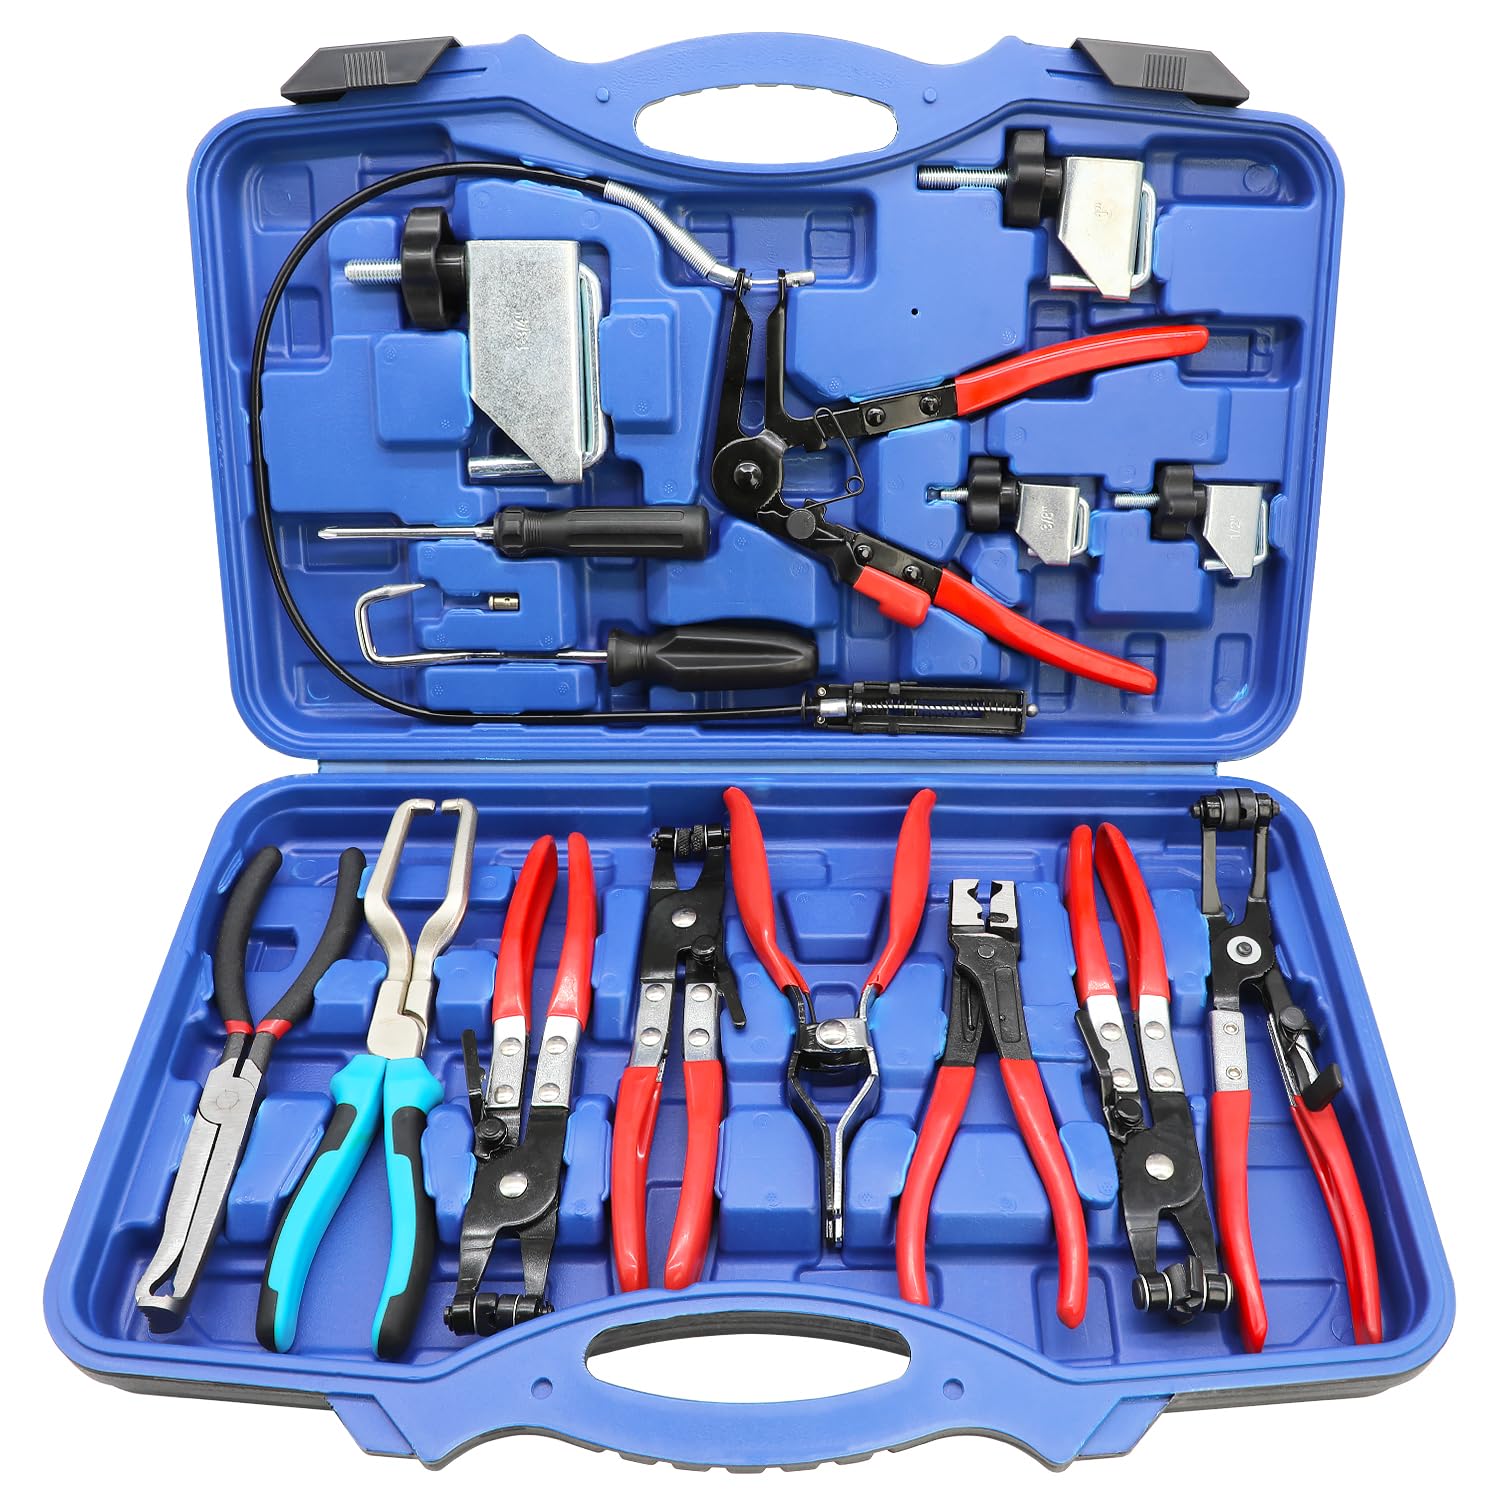
Having the right tools makes the job faster, safer, and more reliable.
Basic Toolkit
A sharp utility knife or hose cutter provides clean cuts without crushing hose. An adjustable wrench or pliers loosens hose clamps. A hose clamp removal tool works faster than standard pliers. A funnel with spout prevents spills when refilling. A coolant catch pan allows reuse or proper disposal.
Replacement Supplies
Stock coolant-rated rubber hose, not fuel or vacuum line. Keep stainless steel worm-drive or constant-tension clamps on hand. Have pre-formed OEM-style hoses for complex bends. Grab FiberFix or similar water-activated tape for emergency use.
Avoid: Reusing old clamps leads to lost tension and corrosion. Always replace them.
Fix End-of-Hose Leaks in Minutes
When the leak is at the very end of a hose, you can often extend its life with a quick re-cut.
Hose End Re-Cutting Procedure
Cool the engine completely first. Slide the clamp back from the fitting. Pull the hose off and expect minor coolant loss. Cut 1-2 inches off the damaged end with a sharp knife. Reattach the hose, pushing it past the barb’s widest point. Slide the clamp over the barb and tighten securely. Refill coolant and check for leaks.
When This Works Best
This approach works for split or cracked hose ends. The hose body must be intact with no soft spots or bulges. Enough hose length must remain to make the connection.
Field Test: Successfully stopped a spray leak on an 180,000-mile vehicle. Held for weeks, but replaced permanently soon after.
Limitations to Know
This method reduces hose length, and repeat cuts may make reconnection impossible. It’s not effective for mid-hose damage. It’s a temporary fix only, and material fatigue remains.
Stop a Pinhole Leak with Repair Tape
For emergency roadside repairs, fiber-reinforced tape offers a fast, strong patch.
How to Use FiberFix-Style Tape
Drain the system slightly to dry the leak area. Clean and dry the surface around the hole. Soak the tape in water for 30 seconds. Wrap tightly over the leak, overlapping 1 inch on each side. Seal with the included plastic sleeve to accelerate curing. Wait 10-15 minutes before refilling and restarting.
Why It Works
Activated fibers form a rigid, heat-resistant shell. The tape bonds to wet or greasy surfaces in real-world conditions. It withstands operating pressure over 15 psi and temperatures above 200°F.
Test Result: Completely sealed a pinhole in a curved radiator hose. The vehicle drove 45 miles to a repair shop with no leakage.
Important Warnings
This is temporary only, so replace within 1-2 days. Avoid on constantly flexing hoses. It’s not a substitute for proper hose replacement.
Replace Damaged Sections Permanently
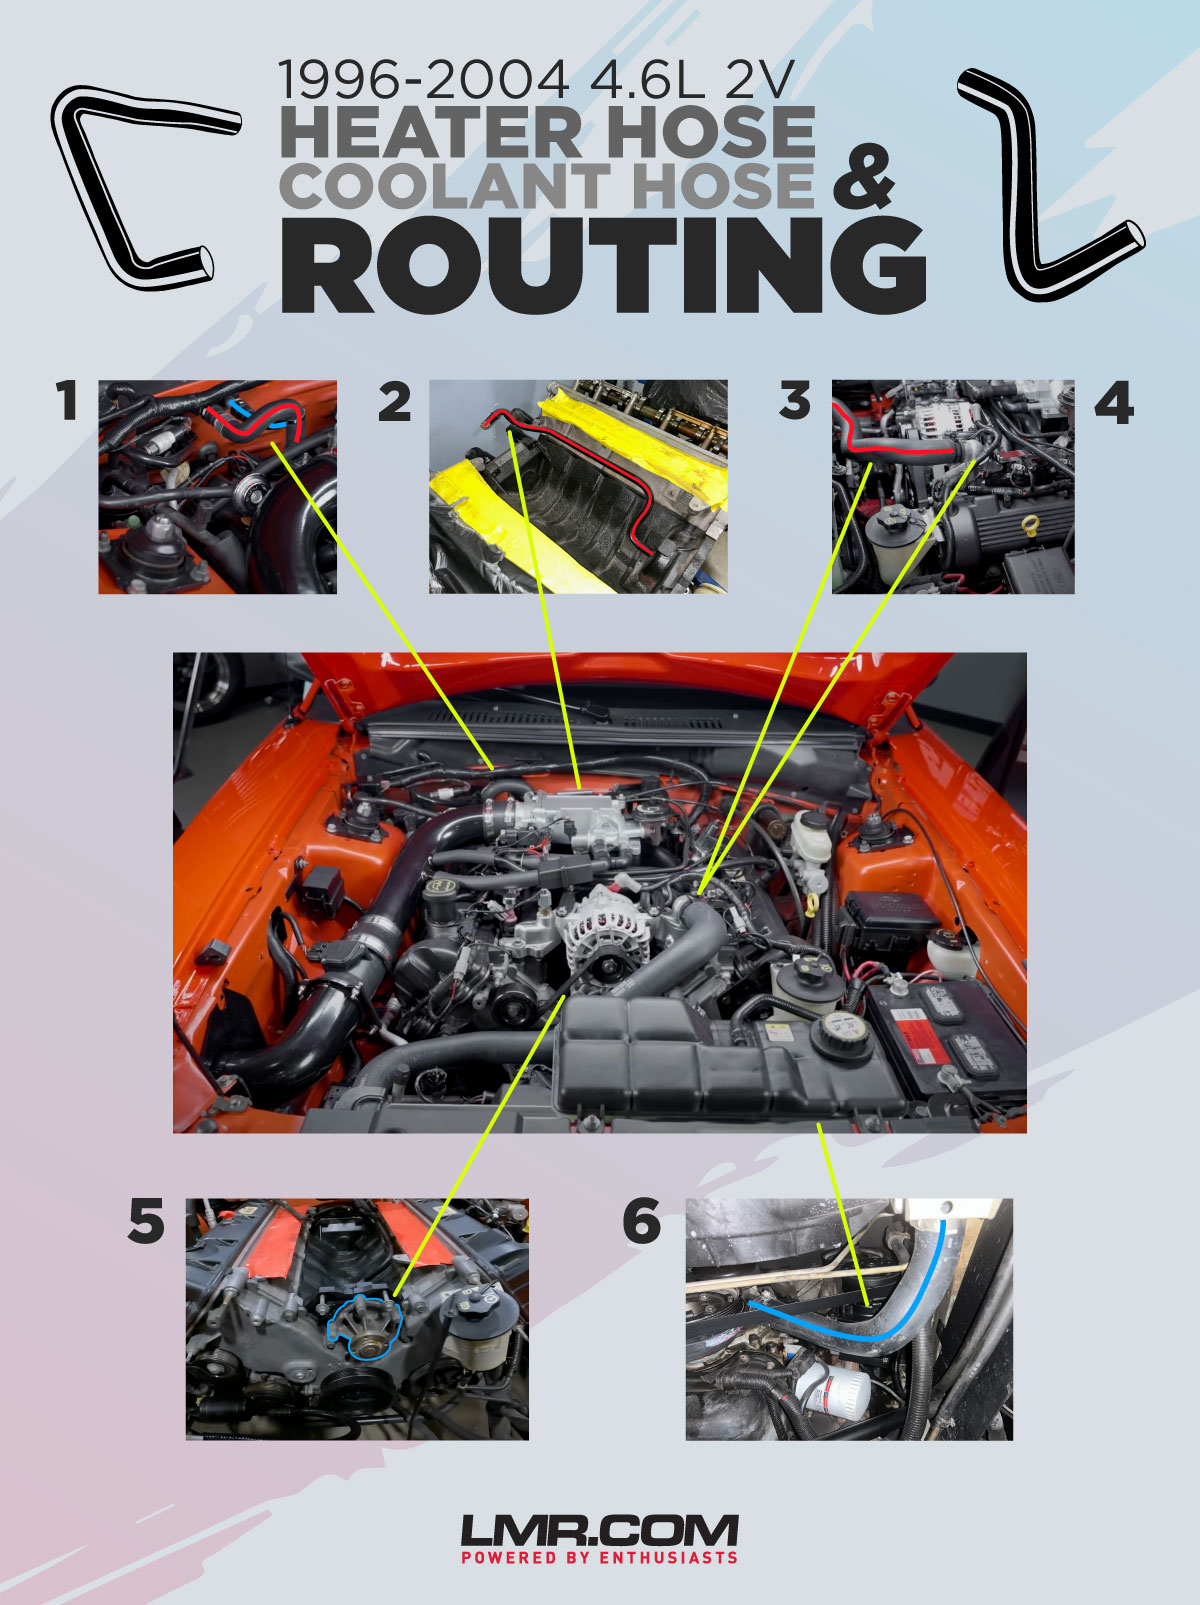
For holes or cracks in the middle of a hose, section replacement is the only lasting fix.
Choose the Right Replacement Hose
The replacement must be rated for engine coolant. The inner lining should resist ethylene glycol and thermal degradation. Match the inner diameter exactly, using a sizing tool if unsure. For tight bends, buy pre-curved OEM-style hose or use a spring insert to prevent kinking.
Never use: Fuel line, vacuum hose, or garden tubing. These fail within days.
Step-by-Step Replacement
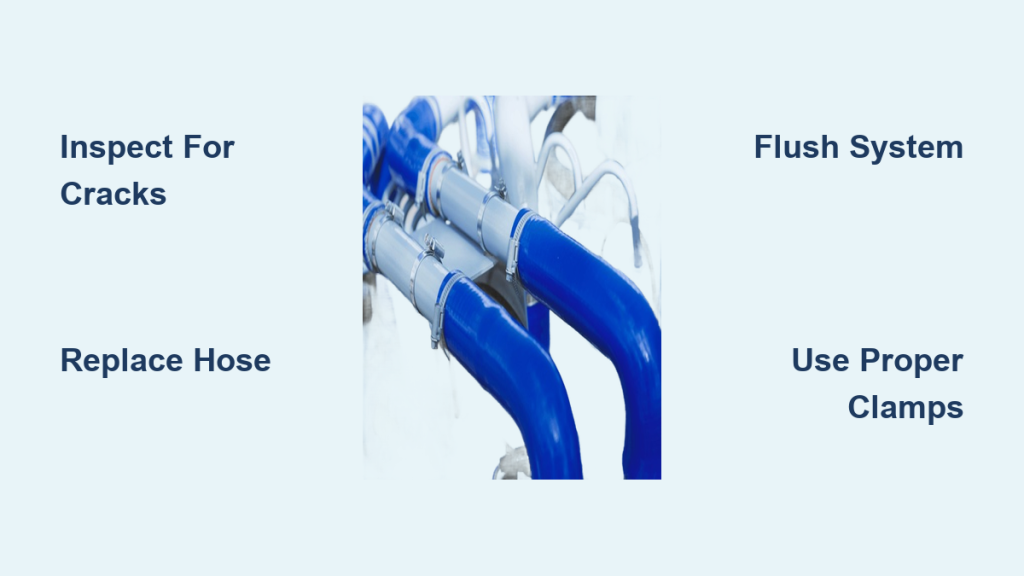
Drain coolant via the radiator plug or disconnected hose. Remove clamps and extract the damaged hose. Cut out the bad section if splicing, which is common with hard lines and rubber ends. Slide new hose on and ensure full seating over barbs. Install two clamps per end, one just past the barb lip and one half inch behind for backup. Reconnect brackets to prevent vibration stress. Flush the system before refilling. Refill with correct coolant type. Bleed air if the vehicle has a bleed screw. Run engine to operating temperature and inspect.
Success Case: After replacing a lower coolant hose with dual clamps and proper-rated material, the system remained leak-free for over 18 months.
Flush the System Before Refilling
Replacing a hose is the perfect time to flush out old debris.
Why Flushing Matters
Old coolant carries rust, scale, and rubber particles. Clogged passages reduce cooling efficiency. Contaminants accelerate wear on the water pump and thermostat.
How to Flush Properly
Drain old coolant completely. Reconnect the drain plug. Fill with radiator flush solution. Run engine for 10-15 minutes without overheating. Shut off and drain. Rinse with distilled water until outflow runs clear. Refill with fresh coolant.
Pro Tip: Use distilled water for mixing. Tap water minerals promote scaling.
Use the Correct Coolant Type
Mixing the wrong coolant can cause gelling, corrosion, or seal damage.
Know Your Coolant Chemistry
IAT coolant suits pre-1996 vehicles, is green in color, and lasts 2-3 years. OAT suits GM, VW, and some Asian vehicles, is orange or red, and lasts 5 years. HOAT suits Ford, Chrysler, and European vehicles, is yellow or gold, and lasts 5 years. Si-OAT suits Asian models like Honda and Toyota, is pink or blue, and lasts 5-10 years.
Rule: Always check your owner’s manual. When in doubt, use OEM-specified coolant.
Mixing and Testing
Use pre-mixed 50/50 coolant for convenience. If mixing concentrate, use 50% distilled water. Test freeze point with a refractometer to ensure protection to at least -34°F in most climates.
Inspect All Hoses During Repair
While fixing one leak, check the rest of the system.
Quick Inspection Checklist
Squeeze hoses to ensure they feel firm, not soft or spongy. Look for cracks, especially at bends and clamped ends. Check for bulges indicating internal delamination. Verify clamp condition and replace if rusty. Secure mounting brackets to prevent chafing and stress.
Expert Note: Mechanics often replace all radiator hoses during water pump jobs, even if they look okay. Preventive replacement saves future breakdowns.
When to Call a Professional
Some coolant issues go beyond DIY.
Seek Expert Help If
The leak is in a hard plastic or metal line requiring special tools. Multiple hoses show advanced aging. The leak persists after repair, which could indicate a water pump seal, thermostat housing, or head gasket. The engine has overheated recently, risking warped heads or internal damage. Coolant mixes with oil or white smoke comes from the exhaust.
Professionals use dye leak detection and pressure testing to find hidden issues fast.
Prevent Future Failures
The best repair is one you never need.
Long-Term Prevention Tips
Replace hoses every 5-7 years, even if they look fine. Use stainless steel clamps that last longer and hold better. Avoid cheap, off-brand coolant because formulation matters. Keep a coolant repair kit in the trunk including tape, clamps, gloves, and spare coolant. Monitor coolant level monthly and top off only when cold.
Fact: Most hoses fail between 60,000 and 100,000 miles. Condition matters more than age.
Compare Repair Methods at a Glance
Re-cutting a hose end suits split at the end, lasts days to months, and requires knife and pliers with low risk if hose is sound. FiberFix tape suits pinhole leaks as an emergency, lasts 1-2 days, and requires tape and water with medium risk. Section replacement suits mid-hose damage, lasts years, and requires new hose and clamps with low risk using correct parts. Full hose swap suits aging or cracked hose, lasts 5+ years, and requires full toolkit with no risk being the ideal fix.
Final Steps After Any Repair
Refill coolant slowly to minimize air pockets. Bleed the system if the vehicle has a bleed valve. Run engine to operating temperature and watch for leaks. Recheck coolant level after cooling down. Dispose of old coolant properly by recycling at an auto parts store.
Critical: Never drive with low coolant. Even short runs can warp heads in modern aluminum engines.
Final Thoughts on Coolant Tube Repair
Coolant tube repair isn’t just about stopping a drip. It’s about protecting your engine. Whether you’re sealing a leak with tape or installing a new hose, doing it right the first time prevents expensive damage. Prioritize permanent fixes, use correct materials, and inspect regularly. A few minutes of maintenance now can save thousands in engine repairs later.
Frequently Asked Questions About Coolant Tube Repair
How long can I drive with a coolant leak?
Minor leaks might last hours to days, but major leaks can cause overheating within minutes. Drive only if absolutely necessary and monitor temperature closely.
Can I use duct tape for a coolant hose repair?
No. Duct tape fails quickly under heat and pressure. Use fiber-reinforced repair tape for emergencies, but replace properly within 1-2 days.
What happens if I ignore a small coolant leak?
Small leaks become big problems fast. Low coolant causes hot spots that warp cylinder heads, crack blocks, and blow head gaskets. Repairs can exceed vehicle value.
How often should I replace coolant hoses?
Most hoses last 5-10 years or 60,000-100,000 miles. Replace preventively during major service intervals, especially radiator and heater hoses.
Can I replace just one hose or should I do them all?
If one hose fails, others are likely aging. Consider replacing all radiator hoses together since they’re similarly aged and the labor overlaps.
Is it worth flushing the cooling system when replacing a hose?
Yes. Flushing removes rust, scale, and rubber debris that clog passages and damage the water pump and thermostat. It extends the life of new components.