Your engine runs hot, really hot. Even though combustion chambers reach 15,000°F to 40,000°F, the cooling system keeps everything in check. At the heart of that system are coolant lines. These hoses move coolant from the radiator to the engine, heater core, and reservoir to prevent overheating. When a coolant line fails, even slightly, you’re one step closer to warped heads, cracked blocks, or a dead engine.
A small drip today can mean a blown head gasket tomorrow. Whether you’re facing a pinhole leak, a cracked bend, or a hose split by belt friction, coolant line repair is urgent. The good news: most repairs are DIY-friendly with basic tools. But choosing the right fix, permanent or temporary, makes all the difference.
This guide covers how to spot damage, when to replace versus patch, step-by-step repair methods, and expert-backed best practices. You’ll learn how to fix it right the first time or at least get home safely.
Spot Coolant Line Damage Early
Check for Cracks and Swelling
Inspect all coolant hoses at least every 6 months. Look for cracks, especially at bends or near clamps. These signal aging and embrittlement. Bulging or soft spots mean internal breakdown. A hose that feels spongy when squeezed has likely delaminated and needs replacement.
Find Hidden Leaks with Steam Clues
Leaks aren’t always visible when cold. As the engine heats up, pressure builds to 15-18 psi, and weak spots open. If you see steam rising from the engine bay while driving, it’s likely a pressurized leak. Check for wetness or crusty deposits around hose connections after shutdown.
Test for Abrasion and Misrouting
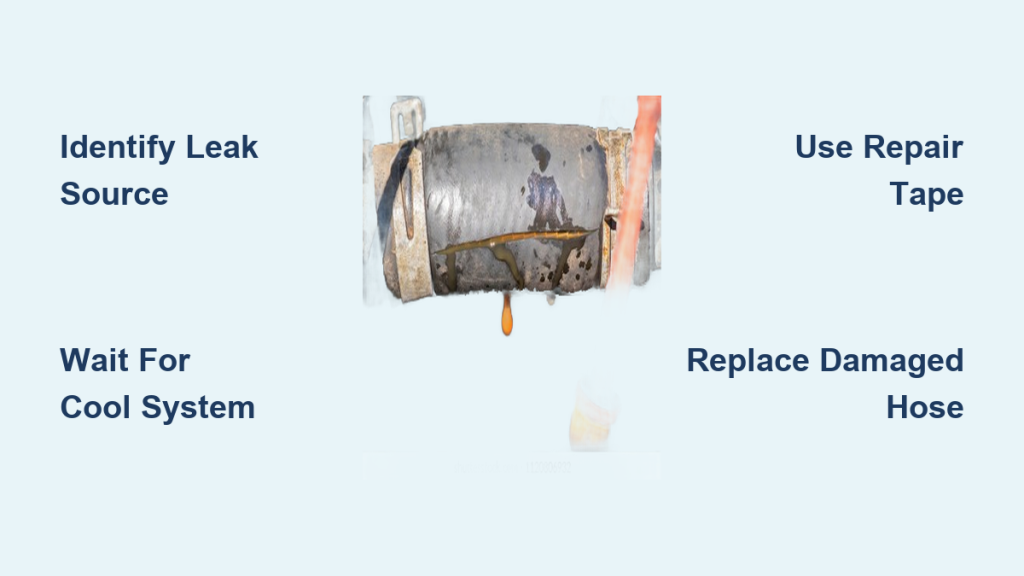
Hoses rubbing against belts, brackets, or sharp edges wear thin over time. One documented case showed a 1 cm by 1 cm hole chewed through by the serpentine belt. Ensure all hoses are securely clamped and routed away from moving parts. Replace any hose showing surface rub-through.
Know Why Hoses Fail
Heat and Pressure Wear Down Rubber
Coolant lines endure constant thermal cycling. They expand when hot and contract when cold. This weakens the rubber over time. Combined with internal pressure spikes, it leads to fatigue, especially in high-mileage vehicles over 180,000 miles.
Chemical and Environmental Damage
Coolant additives break down hose linings if the wrong type is used. Exposure to ozone, oil, and road chemicals accelerates aging. Hoses near the exhaust or firewall degrade faster due to radiant heat.
Clamp Corrosion Causes End-Splitting
Rusted or loose clamps allow micro-movement, leading to cracks at hose ends. Always replace clamps during repair, even if they look okay. Stainless steel clamps resist corrosion and ensure a lasting seal.
Safety First: Cool Engine Only
Never Open a Hot System
Wait until the engine is completely cool before touching any coolant component. Opening the cap or disconnecting a hose under pressure can spray scalding coolant. Even if the block feels cool, internal passages may still be near boiling.
Use Protection and Proper Tools
Wear gloves and safety glasses. Park on level ground, engage the parking brake, and use a large catch basin when draining. Never use your hands to catch coolant. Antifreeze is toxic and environmentally hazardous. Even small spills can kill wildlife and pets.
Replace Damaged Hoses Permanently

Drain Coolant Safely
Locate the radiator drain plug, usually on the lower driver’s side, or disconnect the lower radiator hose to empty the system. Collect all fluid in a sealed container for proper disposal. Never pour coolant down storm drains or on the ground.
Cut and Remove the Bad Section
Use a sharp knife or cable cutter to remove the damaged hose. Cut slightly beyond visible damage to eliminate weakened material. Inspect metal fittings for corrosion and clean if needed.
Install a Coolant-Rated Replacement
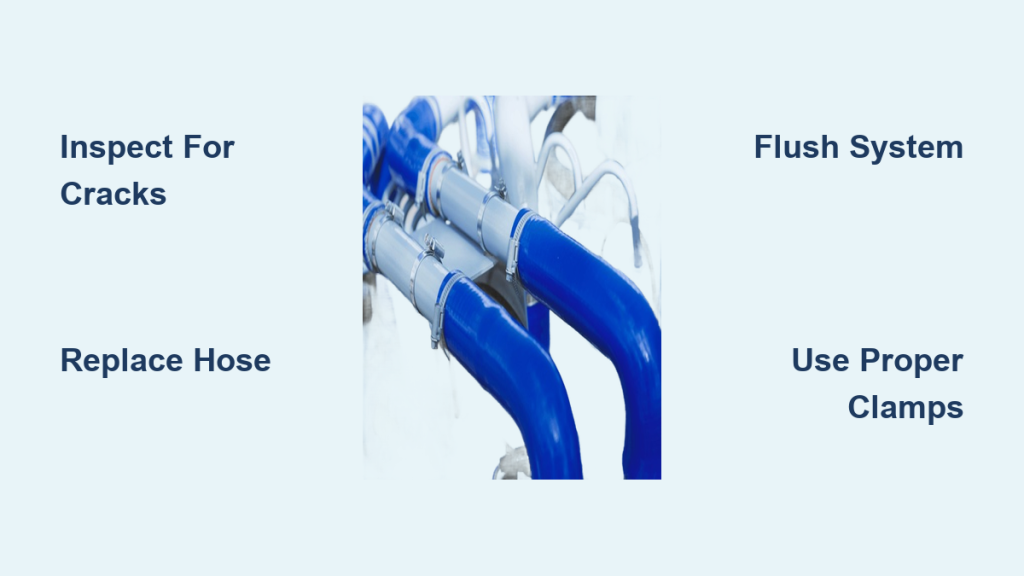
Use only internally coated, coolant-rated hose. Never use fuel hose or generic rubber hose. It must resist ethylene glycol and withstand 250°F or higher. Slide on two new stainless steel clamps. One goes at the base where the hose meets the metal line. The other goes immediately next to the barb or lip. Push the hose fully onto the fitting, then tighten clamps firmly but not so much that you crush the rubber.
Flush Before Refilling
Old systems often contain sludge, rust, or rubber debris from degraded hoses. Use BlueDevil Radiator Flush or a similar non-corrosive cleaner to dissolve buildup. Circulate for 10-15 minutes, then drain and rinse thoroughly.
Refill, Bleed, and Test
Mix 50% coolant and 50% deionized water unless your vehicle requires a different ratio. Pour slowly using a funnel. Start the engine with the radiator cap off to let air escape. Run until the thermostat opens and the heater blows hot. Top off as needed.
Check for leaks once hot. Use a cooling system pressure tester if available to confirm integrity.
Emergency Fixes That Work (Temporarily)
Re-seat Hose Ends Near Damage
This method only works if the crack or slit is within 1 inch of the end and you have extra length.
- Cool the engine and remove the clamp.
- Cut past the damaged section.
- Slide the hose back over the barb, ensuring full coverage.
- Reinstall the clamp just behind the barb.
- Tighten and test.
This is a short-term workaround. Replace the full hose as soon as possible.
Use Self-Fusing Silicone Tape
Best for wet or greasy surfaces. Brands like 3M ScotchCoat bond to themselves, not the hose. Stretch while wrapping for activation. Apply 2-3 overlapping layers over the leak. Wait 5 minutes before starting the engine. Holds moderate pressure and heat temporarily. Great for emergency kits.
Try FiberFix Epoxy Repair Tape
Proven in real-world use for roadside fixes.
- Drain coolant from the area.
- Wear gloves and soak the tape in water for 30 seconds.
- Wrap tightly around the damage with two full layers.
- Seal with the plastic sleeve if included.
- Wait 10-15 minutes to cure.
Forms a hard, pressure-resistant shell. Drivers report 50-100 miles of safe operation afterward. But it’s not permanent. Schedule full replacement immediately.
Duct Tape: Last Resort Only
Some users wrap entire rolls of duct tape around split hoses, especially in hot climates. Electrical tape sometimes sticks better on oily surfaces. Limitations include failing under prolonged heat, losing adhesion when wet, and not being safe for high-pressure zones. Only use to reach a repair shop within a few miles.
Tools and Materials You Need
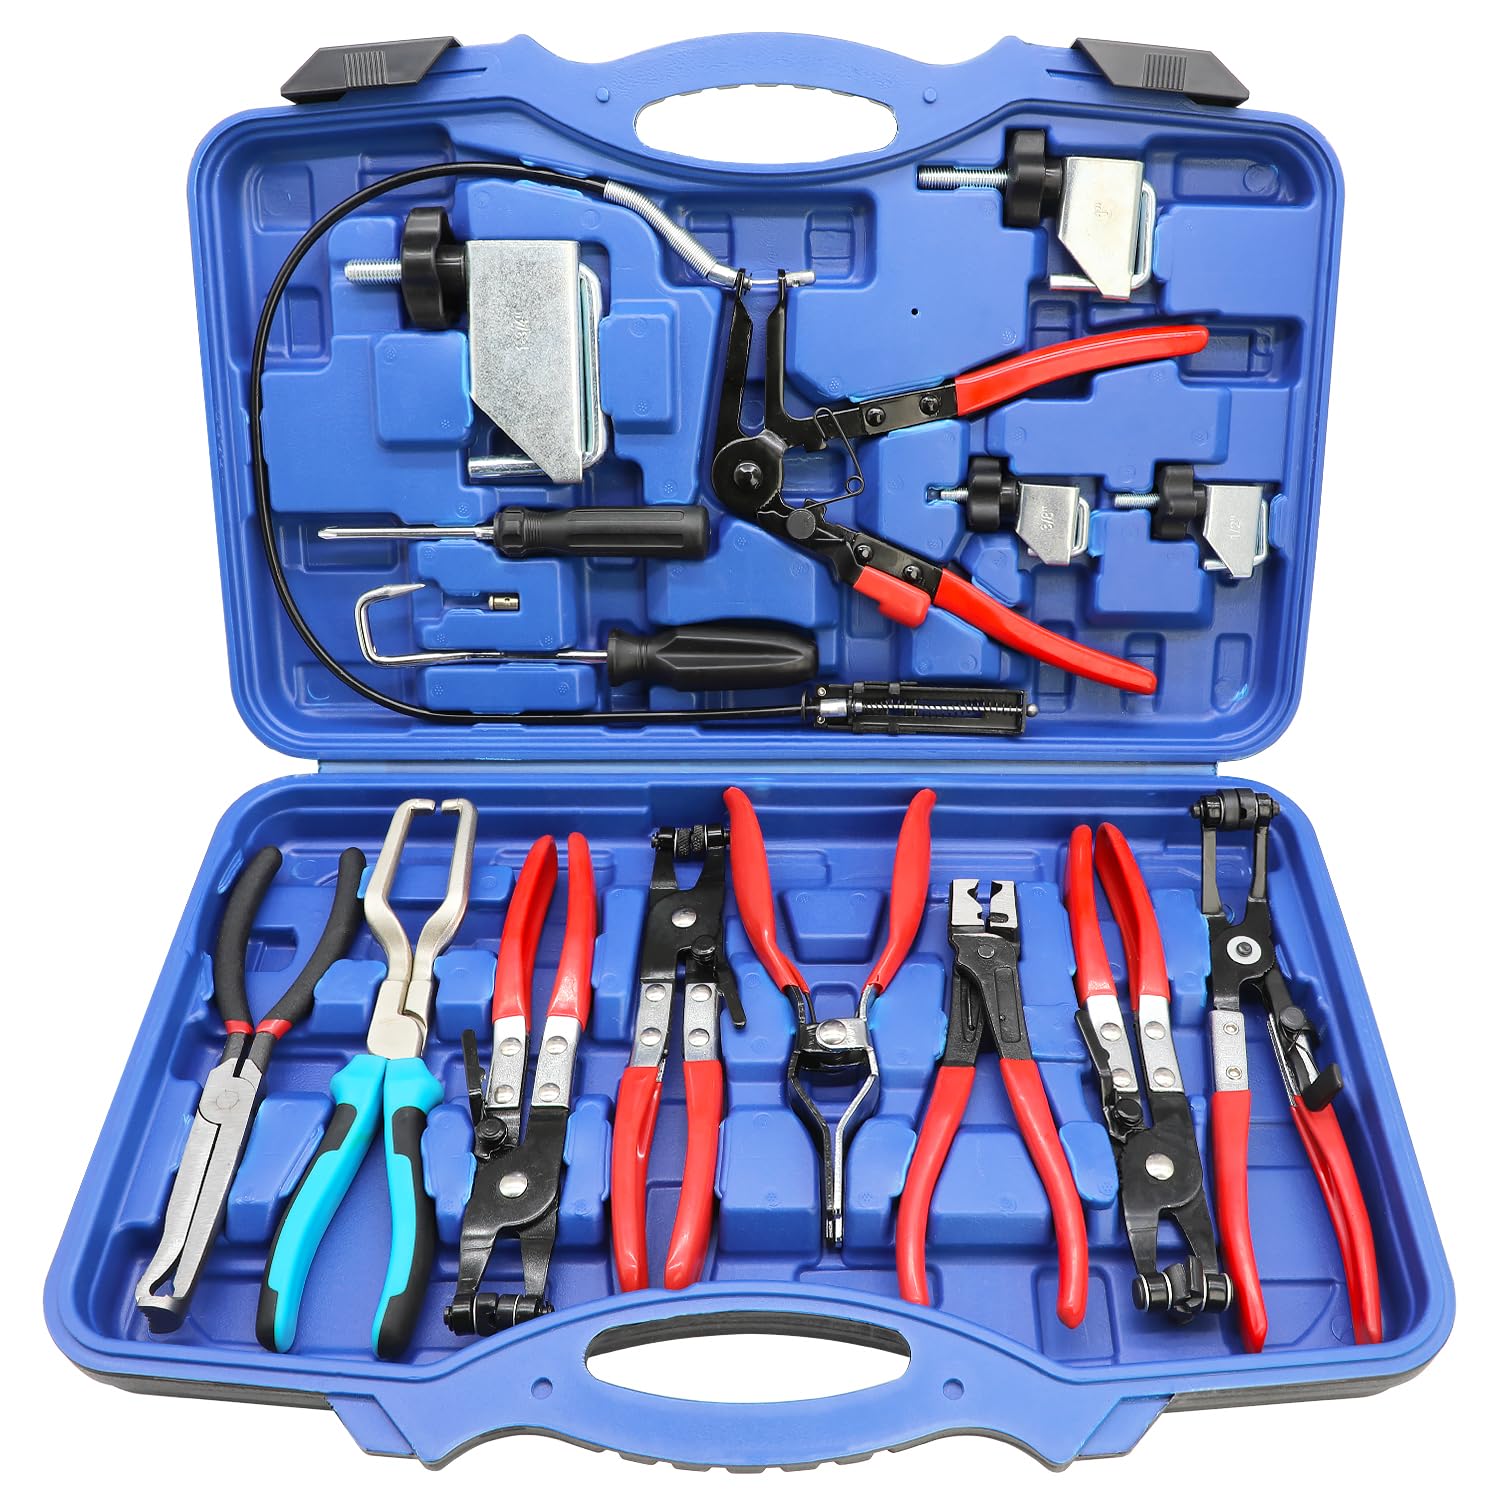
Must-Have Tools
- Utility knife or cable cutter for clean cuts
- Adjustable wrench or pliers for clamps
- Coolant tester to check freeze point
- Funnel for spill-free refill
- Catch basin with at least 2-gallon capacity
Recommended Supplies
- Coolant-rated replacement hose
- Stainless steel worm-drive clamps
- Emergency repair kit including self-fusing silicone tape, FiberFix tape, duct tape, electrical tape, alcohol wipes, spare clamps, and gloves
When Not to Patch: Expert Warnings
Don’t Patch. Replace It.
Mechanics and forum experts agree: patching is worthless for long-term reliability. One user said a patch will be worthless. High pressure and heat make adhesive solutions unreliable.
Avoid Silicone Sealants
They can’t handle 15-18 psi system pressure. Any sealant applied externally will blow out under operating conditions.
Don’t Reuse Old Clamps
Corroded or fatigued clamps won’t seal properly. Always install new stainless steel clamps to prevent future leaks.
When to Call a Pro

Complex Access or Multiple Failures
If hoses are buried behind other components or require belt, bracket, or AC line removal, professional help may be faster and safer. Shops have specialized tools like coolant exchange machines and vacuum fill systems for proper air bleeding.
Ancillary Damage Detected
Coolant leaks often damage nearby parts. Watch for serious belt corrosion from coolant exposure, failing water pumps, or stuck thermostats. Radiators can clog from debris. If you spot any of these, bundle repairs to save labor.
OEM Parts Required
Some modern vehicles use molded hoses or integrated assemblies only available from dealers. If urgent shipping is needed, a shop can source and install faster.
Prevent Future Failures
Replace Hoses Every 5-7 Years
Even if they look fine, rubber degrades internally over time. At 60,000-100,000 miles, preemptive replacement avoids breakdowns.
Flush Every 30,000-50,000 Miles
Removes sludge and restores cooling efficiency. Old coolant loses corrosion inhibitors, increasing rust risk.
Replace All Hoses on High-Mileage Cars
At 150,000 miles or more, if one hose fails, others are likely near end-of-life. Replacing all at once cuts future labor and roadside risk.
Coolant Best Practices
Use the Right Type
Check your owner’s manual. Common types include OAT (long-life, orange/red), HOAT (yellow/green, common in Fords and Chryslers), and IAT (green, older vehicles). Mixing types can cause gel formation and blockages.
Test Concentration After Refill
Use a coolant tester to verify 50/50 mix. Too much water lowers boiling point. Too much coolant reduces heat transfer.
Emergency Kit Essentials
Keep these in your glove box or trunk:
- FiberFix or self-fusing tape
- Spare hose clamps
- Utility knife
- Pre-mixed 50/50 coolant
- Funnel and gloves
- Coolant tester
Being prepared can turn a breakdown into a 30-minute fix.
Final Tips for Reliable Repairs
- Always use coolant-rated hose. Never substitute.
- Install two clamps per connection, one at the base and one at the barb.
- Flush the system after old hose replacement. Debris kills performance.
- Bleed air thoroughly. Trapped air causes hot spots.
- Test hot and under load. Idle isn’t enough.
Temporary fixes only get you home. Permanent repair is the only real solution.
Frequently Asked Questions About Coolant Line Repair
How do I know if my coolant line is damaged?
Look for cracks at bends or near clamps, bulging or soft spots, visible leaks, steam from the engine bay, or crusty deposits around connections. A spongy feel when squeezing indicates internal delamination.
Can I use duct tape to fix a coolant leak?
Duct tape works as a last resort for very short distances to a repair shop. It fails under prolonged heat and pressure. Self-fusing silicone tape or FiberFix are better temporary options, but neither replaces proper repair.
How long does a coolant line repair take?
A DIY hose replacement takes 1-3 hours depending on access. Professional shops typically complete the job in 2-4 hours including diagnosis.
Should I replace all hoses at once?
On vehicles over 150,000 miles, replacing all hoses simultaneously is smart. If one fails, others are likely near end-of-life. This prevents repeat repairs and roadside breakdowns.
What’s the difference between temporary and permanent coolant repair?
Temporary repairs like tape or epoxy get you to a shop. Permanent repair involves cutting out the damaged section and installing coolant-rated hose with new clamps. Only permanent repair ensures long-term reliability.
How often should I inspect my coolant lines?
Inspect coolant hoses every 6 months during routine maintenance. Check more frequently if your vehicle has over 100,000 miles or shows any signs of aging.
Key Takeaways for Coolant Line Repair
Coolant line repair isn’t optional. It’s engine survival. Your cooling system keeps combustion heat in check, and any leak compromises that protection. Small drips become big problems fast, leading to warped cylinder heads, cracked blocks, or complete engine failure.
Permanent repair using coolant-rated hose and stainless steel clamps is the only reliable solution. Temporary fixes like FiberFix or self-fusing silicone tape buy you time to reach a shop, but they’re never a long-term answer. Always replace clamps during repair, flush the system after replacing old hoses, and bleed air thoroughly before driving.
Whether you tackle it yourself or hire a pro, act fast when you spot damage. Inspect hoses every 6 months, replace preventively every 5-7 years, and keep emergency repair supplies in your vehicle. Your engine’s lifespan depends on a properly functioning cooling system.