A cracked plastic coolant reservoir can leave you stranded with an overheating engine. Many drivers assume replacement is the only option, but plastic coolant reservoir repair is often a reliable, cost-effective solution, especially for rare or vintage vehicles where OEM parts are unavailable. With the right techniques, you can restore structural integrity and pressure resistance that lasts years.
This guide walks you through proven repair methods, from epoxy patches to fusion welding, helping you determine whether to repair or replace your specific tank.
Identify Your Plastic Type First
Before attempting any repair, you must determine what material your tank is made from. Most coolant reservoirs use HDPE, polypropylene, or nylon, each requiring different bonding approaches.
How to Identify the Plastic
- Check for recycling codes: Look for “2” (HDPE), “5” (PP), or “Nylon/PA6” near the base or seams
- Float test: Cut a small piece and drop it in water. HDPE and PP float. Nylon and ABS sink
- Flex test: HDPE feels waxy and bends easily. Nylon is stiff but tough
- Burn test (outdoors only): HDPE melts like candle wax. Nylon self-extinguishes with a celery-like odor
Pro Tip: Flame-treating HDPE with a quick propane torch pass increases surface energy and improves epoxy adhesion.
HDPE and PP are notoriously difficult to bond due to their low surface energy. Skipping this identification step almost guarantees repair failure.
Diagnose the Damage Type
Not all cracks are equal. The location, pattern, and overall condition of your tank determine whether repair is viable.
Common Failure Types
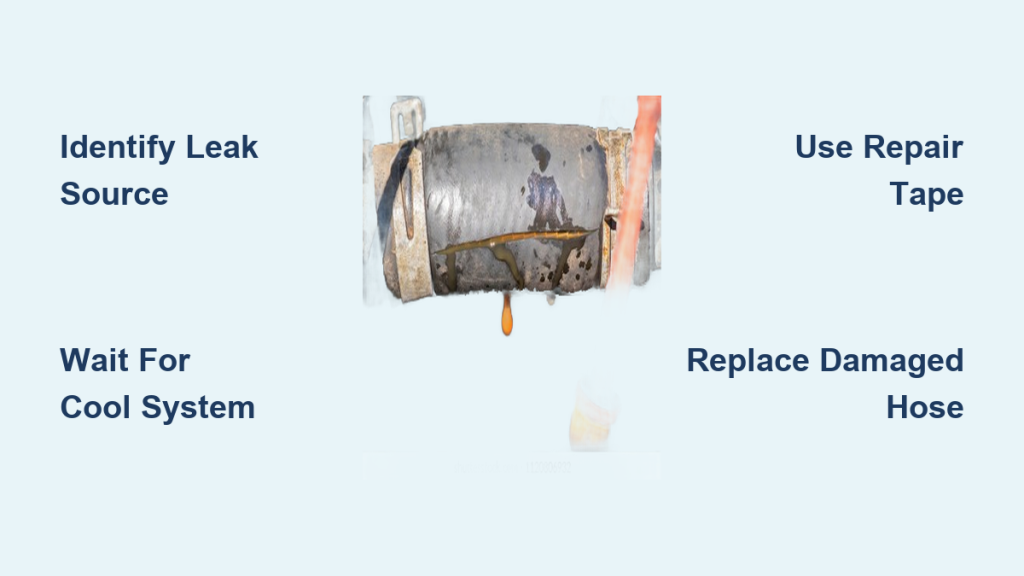
- Stress cracks at corners: Caused by repeated thermal cycling; often wider on the outside
- Brittle, discolored plastic: Indicates aging; poor candidate for lasting repair
- Pinhole leaks: Localized damage ideal for patching
- Sensor housing cracks: High-stress zones prone to recurrence
When Repair Makes Sense
Repair if:
– Single, clean crack in otherwise sound plastic
– Tank is HDPE or nylon
– You can fully access the damaged area
Replace if:
– Widespread crazing or cloudiness throughout the tank
– Multiple cracks or embrittled walls
– OEM part is affordable and readily available
Expert Note: Repairing one crack in an embrittled tank often leads to failure elsewhere. Inspect the entire tank before committing to repair.
Surface Prep: The Secret to Success
Even the best adhesive fails without proper surface preparation. This step is non-negotiable.
Step-by-Step Preparation
- Drain and remove the tank completely
- Flush with water, then clean with isopropyl alcohol
- Dry thoroughly moisture compromises all repairs
- Sand the area with 80 to 120 grit paper to create mechanical bond
- Wire brush tight corners and use Q-tips for sensor ports
- Wipe again with alcohol to remove all dust and residue
Pro Tip: For HDPE, a quick pass with a propane torch (flame treatment) raises surface energy and dramatically improves adhesion.
Plastic Welding: The Only Permanent Fix
For pressurized systems or hot-bottle designs, plastic welding is the only repair method that matches OEM durability.
Why Welding Works
- Creates a true molecular bond, not just a surface seal
- Withstands 7 to 18 psi and temperatures exceeding 90°C
- Outlasts the original tank when done correctly
Recommended Equipment
The Radiator Tank Plastic Welder (SKU: 5212) offers professional results at home:
- 200W airless conduction heater
- Includes Bigfoot tip, 30 nylon rods, and stainless mesh
- $78.95 with free shipping
- Works on HDPE and nylon
How to Weld Your Reservoir
- Preheat the area with a heat gun to prevent thermal shock
- Melt the base plastic using the Bigfoot tip until it appears glossy
- Apply filler rod in overlapping passes
- Embed stainless steel mesh for large cracks to stop propagation
- Cool slowly never quench with water
- Inspect for porosity or weak spots
Filler Material Substitutions
- HDPE milk bottles: Cut into strips; chemically identical to many tanks
- Nylon cable ties: Melt into rod form for emergency use
- Scrap plastic from the same vehicle: Ensures perfect compatibility
Epoxy Repairs: Fast but Temporary
Two-part epoxies offer quick fixes but cannot match welding for long-term durability.
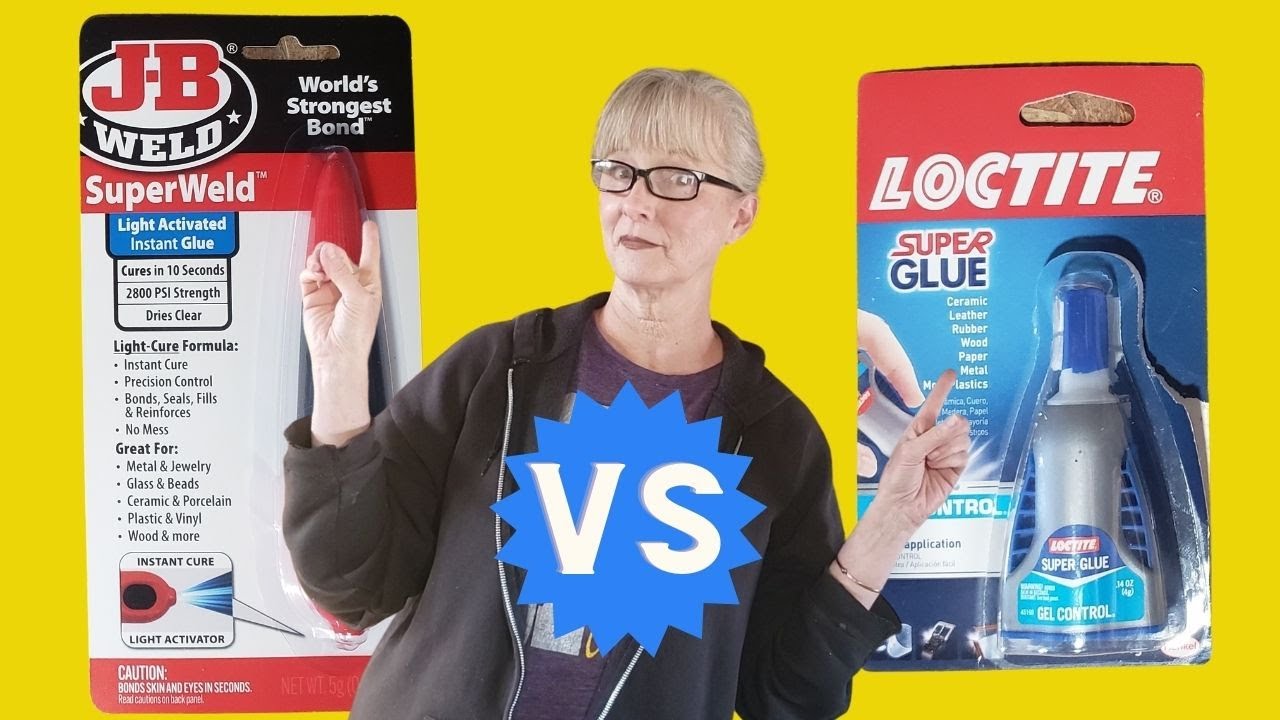
Top Epoxy Products Compared
| Product | Max Temp | Pressure | Best For |
|---|---|---|---|
| JB Plastic Weld | 135°C | Under 10 psi | Small cracks |
| JB WaterWeld | 135°C | Under 10 psi | Submersion repairs |
| Loctite E20HP | 135°C | Moderate | Professional bond |
| Permatex Plastic Repair Kit | 135°C | Low | Fiberglass reinforcement |
How to Apply Epoxy Correctly
- Mix resin and hardener thoroughly until no streaks remain
- Apply over crack with 1 to 2 cm overlap on each side
- For strength: lay fiberglass mat, then saturate with epoxy
- Allow full cure up to 24 hours
- Test with water before reinstallation
One user reported over three years of service from JB WaterWeld on a 1988 Dodge Aries. Still, epoxies lack flexibility and will fail under repeated thermal cycling.
Avoid RTV Silicone for Structural Cracks
RTV sealants like Permatex Ultra Black are flexible and chemically resistant but not suitable for structural repairs.
Why RTV Fails on Cracks
- Extrudes under pressure, causing oozing
- Cannot resist internal pressure above 5 psi
- Poor adhesion to HDPE and PP
- Not a patch material
“RTV gasket sealer is not a good choice for anything with pressure in it.” — Automotive Technician
Acceptable RTV Uses
- Sealing gaskets
- Coating threaded fittings
- Temporary seam sealing
Never rely on RTV alone for a cracked reservoir.
Mechanical Patching for Large Holes

When a crack is too extensive for welding or epoxy alone, mechanical reinforcement provides additional strength.
How to Install a Screw-Secured Patch
- Cut out the damaged section to solid plastic
- Cut an HDPE or nylon patch slightly larger than the hole
- Place the patch inside the tank as a backing
- Drill pilot holes and secure with stainless screws and washers
- Seal edges with epoxy or weld over the screws
Risk Warning: New stress points around screw holes can create failure points. Always combine mechanical patching with epoxy or welding for a complete seal.
Emergency Field Repairs That Work
When stranded, a temporary reservoir keeps you moving until you reach a garage.
DIY Overflow Tank Options
- Gatorade bottle: Drill the cap for hose attachment, zip-tie to fender
- Water bottle: Bungee-cord mounted, clamp hose to neck
- Whiskey bottle: Rigid plastic or glass, verify coolant compatibility
Installation Tips
- Use undersized hose for snug fit on bottle necks
- Secure with hose clamps or zip-ties
- Position below radiator cap to allow gravity flow
- Monitor frequently these are short-term fixes only
Test Every Repair Before Driving
Never reinstall without verifying the repair holds.
Leak Test Protocol
- Dry test: Fill with water, shake and tilt to simulate motion
- Visual check: Look for seepage, especially at edges
- Pressurize: Use compressed air up to 15 psi with soapy water to find bubbles
- Heat cycle: Warm with hair dryer, then cool, inspect for new cracks
Always bleed the cooling system after refill to prevent vapor lock.
Upgrade Options When Repair Is Not Enough
If the tank is too far gone, consider these alternatives.
Aftermarket Universal Reservoirs
- Brands like Dorman or Standard Motor Products
- Cost: $30 to $80
- May require custom brackets or hose rerouting
Salvage Yard Replacement
- Stoystown Auto Wrecking ships nationwide
- Cost: $30 to $80
- Risk: Same age-related degradation as original
Custom Fabrication
- Stainless steel or aluminum
- High cost, long lead time
- Ideal for show cars or race vehicles
Real-World Repair Longevity
User experiences confirm proper repairs can last years.
| Method | Reported Lifespan | Vehicle |
|---|---|---|
| JB WaterWeld | 3+ years | 1988 Dodge Aries |
| Plastic welding | Ongoing | Generic PE tanks |
| Fiberglass + epoxy | Worked great | Radiator tanks |
The key is correct material matching, thorough prep, and patience with cure times.
Key Takeaways for Plastic Coolant Reservoir Repair
- Plastic welding is the only permanent fix for pressurized or high-heat systems
- Surface prep is non-negotiable clean, dry, and roughen all areas
- HDPE and PP resist adhesion use welding or specialized methods
- Reinforcement with mesh or fiberglass drastically improves durability
- Respect 24-hour cure times for sealants and epoxies
- Replace when plastic is embrittled or cracked in multiple locations
- DIY bottle tanks work in emergencies but are not long-term solutions
- User feedback confirms multi-year success with proper technique
With a $78.95 welder and scrap milk bottle plastic, you can create a repair stronger than the original. This skill is especially valuable for vintage or hard-to-find vehicles where replacement parts are expensive or unavailable.
Frequently Asked Questions About Plastic Coolant Reservoir Repair
Can I use regular epoxy to fix a cracked coolant reservoir?
Regular epoxy works temporarily but fails quickly on HDPE and PP plastics due to low surface energy. Use JB Plastic Weld or JB WaterWeld for better adhesion, or prefer plastic welding for permanent results.
How long does a plastic weld repair last?
When properly done with material-matched filler and stainless mesh reinforcement, plastic weld repairs can outlast the original tank. User reports confirm multiple years of reliable service.
What is the best way to identify my reservoir plastic type?
Check for recycling codes near the base or seams. Look for “2” (HDPE), “5” (PP), or “Nylon/PA6.” The float test and flex test also help differentiate materials.
Can I drive with a temporarily repaired coolant reservoir?
Only if the repair is tested and holding. Perform a leak test with pressurized air and soapy water before driving. Monitor coolant levels closely during the first few drives.
When should I just replace the reservoir instead of repairing it?
Replace if the tank shows widespread crazing, cloudiness, or embrittlement. Also replace if OEM parts are affordable and available, as repair on degraded plastic often leads to another failure point.