
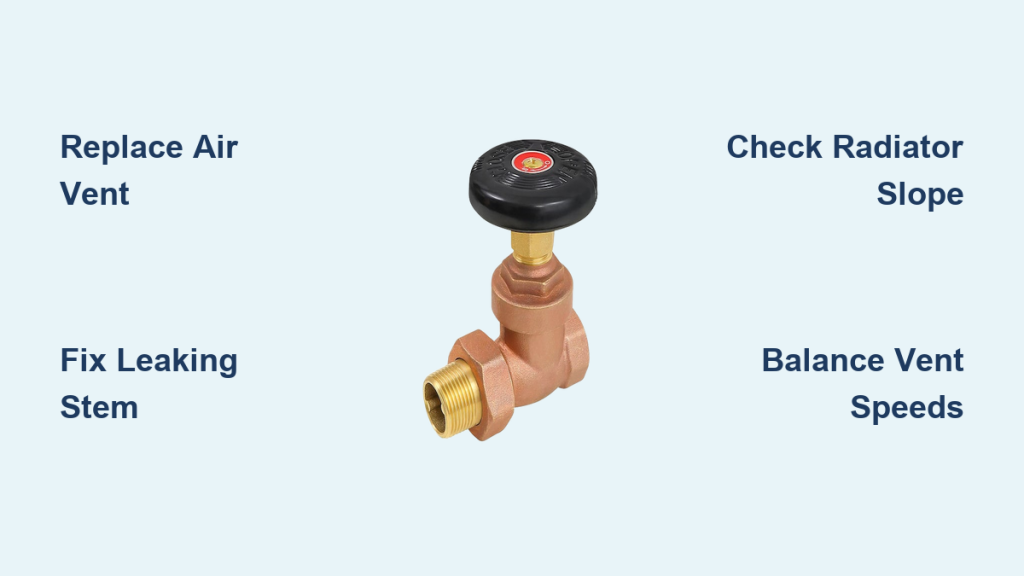
Steam radiators keep older homes warm for decades, but a single faulty valve can throw the whole system off. Hissing sounds, dripping water, and rooms that stay cold all trace back to valve problems you can often fix yourself. This guide to steam radiator valve repair walks you through every step, from identifying your system type to replacing air vents and repacking leaky stems.
You will learn how to diagnose common symptoms, choose the right replacement parts, and tune your system for quiet, even heat. Most repairs take under an hour per radiator and require only basic tools. With the right approach, you can save hundreds of dollars and restore reliable warmth to every room.
Identify Your Steam System Type
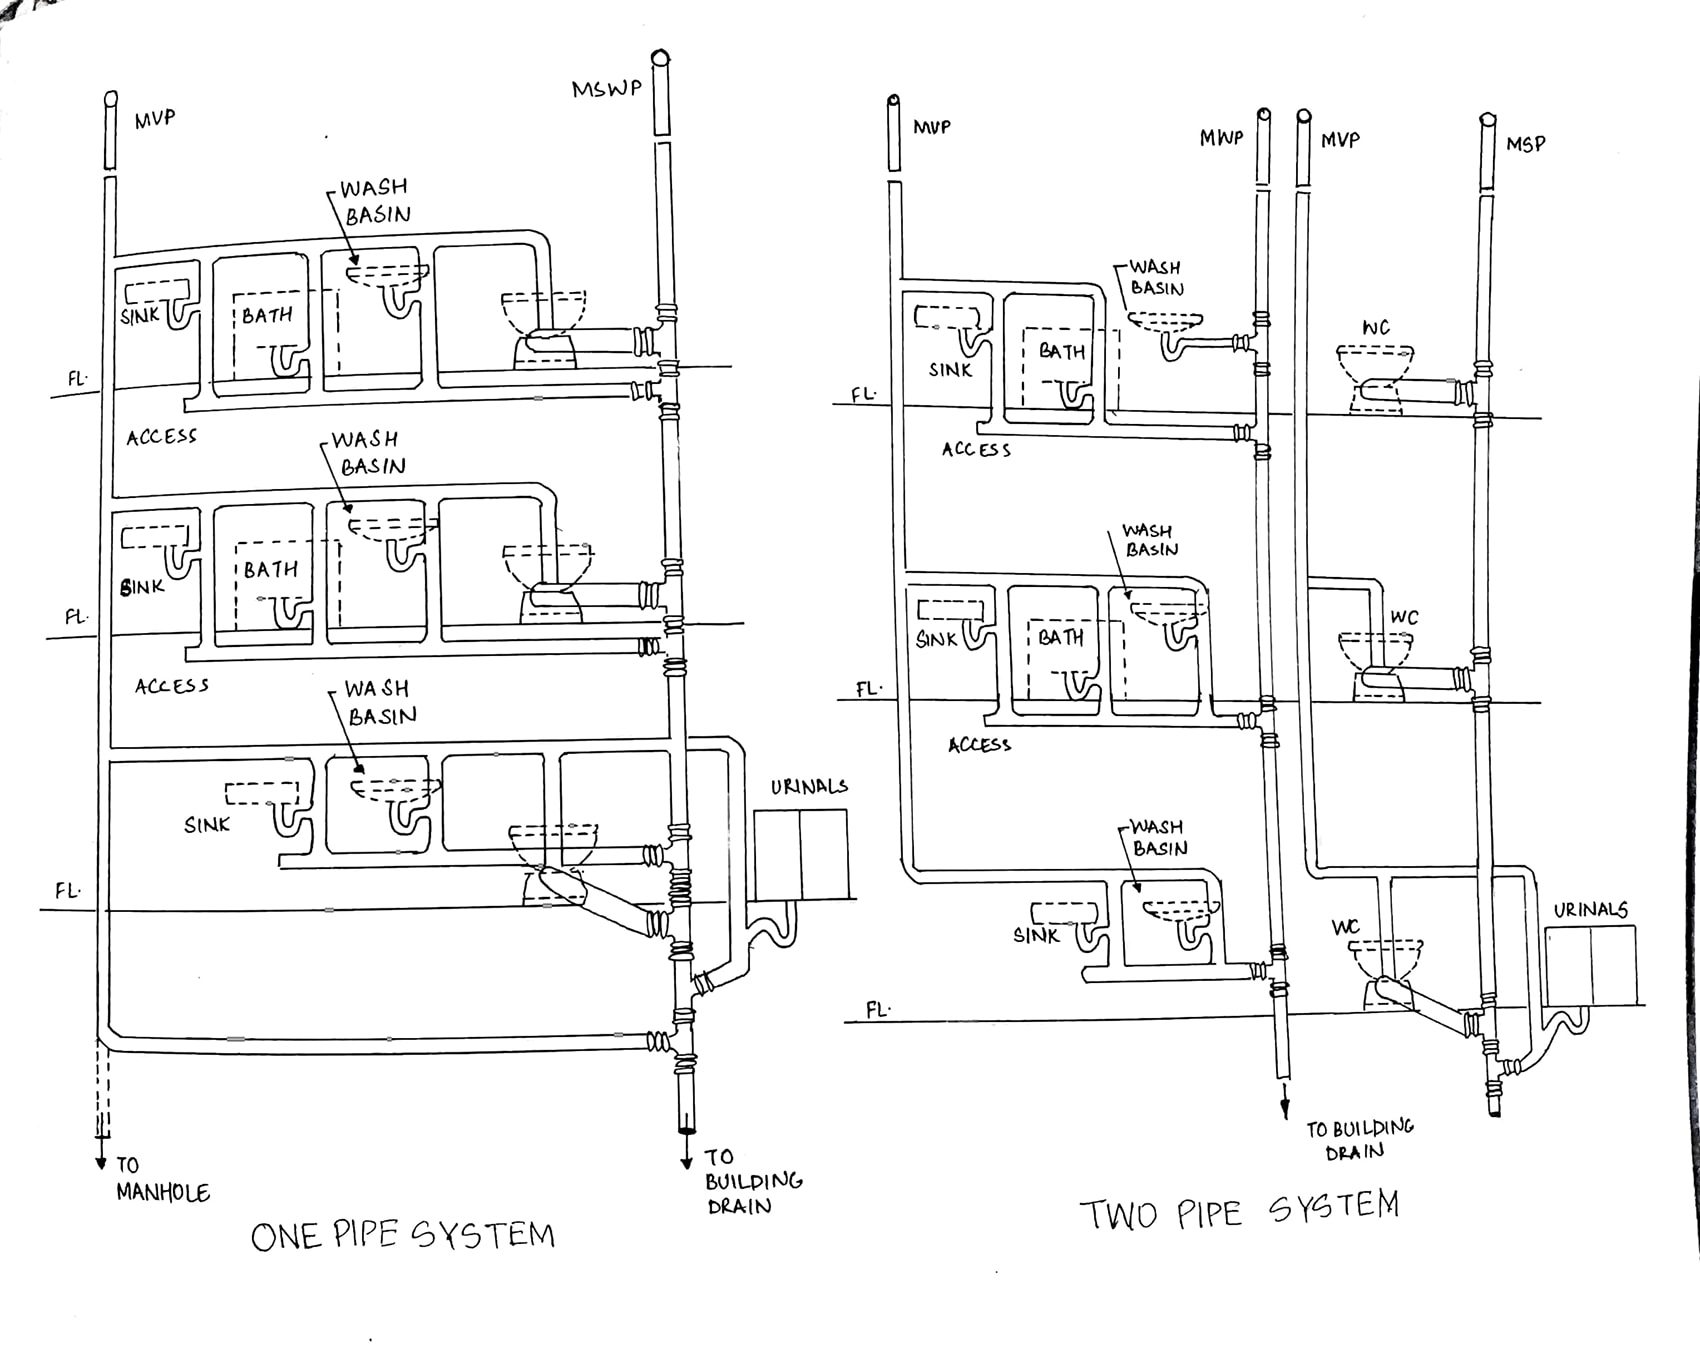
Before touching any valve, confirm you actually have a steam system. Mistaking steam for hot water leads to wrong repairs and safety hazards.
One-Pipe vs Two-Pipe Systems
One-pipe steam systems use a single pipe to deliver steam and carry condensate back to the boiler. The opposite end of the radiator has an air vent instead of a second pipe connection. You will find these systems in many older buildings.
Two-pipe systems use one pipe for steam supply and a separate return pipe for condensate. These radiators have two connections and usually no side-mounted air vent.
Key Visual Clues
Look for these signs to confirm your system type:
- No pump or expansion tank means likely steam
- One pipe plus a side vent confirms one-pipe steam
- Hissing at startup is normal as air escapes
- Hissing stops once the radiator gets hot
Misidentifying your system leads to incorrect repairs. Always verify before proceeding with any work.
Diagnose Common Valve Problems
Most steam radiator issues come down to faulty valves. Recognizing each symptom saves time and prevents unnecessary part replacements.
Hissing That Never Stops
A failed or clogged air vent causes constant hissing. Steam hits the internal bellows, which should trigger the valve to close. When gunked up with mineral deposits, the vent stays open and keeps hissing.
Try tapping the vent gently with a screwdriver handle. If the hissing stops briefly, the vent needs replacement soon. Ignoring this wastes energy and shortens valve life.
Gurgling or Knocking Noises
Trapped condensate causes gurgling sounds. Steam cannot fully enter when water pools inside the radiator.
Check three things:
- Is the radiator sloped correctly toward the supply valve?
- Is the air vent vertical and unobstructed?
- Is the supply valve fully open?
Fix the pitch or replace the vent before trapped water damages your pipes.
Radiator Stays Cold
Several culprits can leave a radiator cold:
- Air vent stuck shut, trapping air inside
- Supply valve closed, broken, or clogged
- Radiator not sloped toward the valve
Run this quick test:
- Confirm the thermostat is calling for heat
- Open the supply valve fully by turning counter-clockwise
- Feel the pipe near the valve
If the pipe is hot but the radiator stays cold, the air vent is likely blocked.
Leaking from Valve Stem or Air Vent
Stem leaks with a wiggly handle point to worn graphite packing. Air vent leaks that drip or spit suggest a failed seal or mineral clogs.
Both issues cause water damage, inefficient heating, and higher fuel bills. Replace the vent or repack the stem. Both repairs are beginner-friendly.
Replace a Faulty Air Vent

A failing air vent is the most common cause of steam radiator problems. Replacement is simple, affordable, and effective.
Choose the Right Vent Size
Not all vents work the same way. Pick the correct speed based on radiator location:
| Vent Size | Speed | Best For |
|---|---|---|
| #4 | Slow | Radiators near the boiler |
| #6 | Medium | Most radiators (safe default) |
| C | Fast | Farthest radiators on the line |
Adjustable vents like the Hoffman 1A work well for fine-tuning, but fixed #6 vents suit most beginners.
Avoid cheap hardware store vents that often fail within months. Trusted brands include Hoffman, Gorton, and Heat-Timer.
Tools and Prep
Gather these supplies before starting:
- Adjustable wrench
- Cloth for grip and heat protection
- Teflon tape (plumber’s tape)
- New brass air vent
- Screwdriver for removing the old vent
Turn off the boiler and wait at least one hour for the system to cool. Working on a hot system risks severe burns.
Step-by-Step Replacement
Remove Old Vent
- Locate the air vent on the side of the radiator, opposite the supply valve
- Wrap a cloth around the vent body
- Grip with a wrench and turn counter-clockwise
- If stuck, tap gently with a hammer or apply penetrating oil
- Use a pipe wrench with a cloth protector as a last resort
Old brass threads are fragile. Forcing a stuck vent can snap the nipple and require professional repair.
Install New Vent
- Wrap 3 to 4 layers of Teflon tape clockwise around the new vent’s threads
- Hand-thread first to avoid cross-threading
- Tighten with a wrench, only one-quarter turn past hand-tight
- Keep the vent vertical for proper bellows function
An angled or upside-down vent will leak and fail to operate correctly.
Test the Repair
- Turn the boiler back on
- Open the supply valve fully
- Listen for a steady hiss as air escapes
- After 2 to 5 minutes, the radiator heats up and the hiss stops completely
If hissing continues, the vent is the wrong size, installed incorrectly, or defective.
Fix a Leaking Valve Stem

Steam or water dripping from the valve stem means the packing is worn. This repair takes just a few minutes.
Shut Down Safely
The valve stem can stay hot even with the thermostat off. Turn off the heat and wait 30 to 60 minutes for the radiator to cool. Test by touch. If still warm, wait longer.
Replace the Packing
- Remove the handle by unscrewing the Phillips screw and lifting off the knob
- Loosen the packing nut with an adjustable wrench, turning counter-clockwise
- Lift out the old packing, which may be crumbly or water-soaked
- Insert new graphite packing wrapped around the stem
- Reinstall the packing nut and tighten until snug
- Reattach the handle
Use steam-rated graphite packing, not regular string or rubber. Standard materials fail quickly under steam heat.
Test for Leaks
Turn the valve on and off slowly. No steam should escape around the stem. If leaks persist, the stem may be pitted or the seat damaged. Consider full valve replacement at that point.
Repair or Replace the Shut-Off Valve

When the supply valve will not shut off steam and the radiator stays hot, internal parts have worn out.
Internal Washer Failure
Decades of use wear down the hard washer or disc inside the valve. Steam slips past even when the handle is closed.
Standard rubber washers cannot survive steam heat. You need steam-grade hard washers from specialty plumbing suppliers.
Step-by-Step Washer Replacement
- Shut off the main supply to the radiator. If no individual shutoff exists, the entire building system must be off. Only attempt this if you have experience.
- Remove the handle and packing nut
- Lift out the stem to expose the washer at the bottom
- Remove the old washer, using vise grips if rusted
- Install a new steam-grade washer with a new screw if corroded
- Reassemble and test
This repair can be fiddly. Many professionals skip the repair and replace the entire valve instead.
Upgrade to Thermostatic Valve
For better control and energy savings, replace the manual valve with a thermostatic radiator valve (TRV).
These valves adjust steam flow based on room temperature using settings 1 through 9. They can reduce heating costs by 10 to 30 percent and cost between $50 and $100 per valve. Installation follows the same process as standard valve replacement.
TRVs work best in rooms that overheat or where you want zone control.
Optimize System Performance
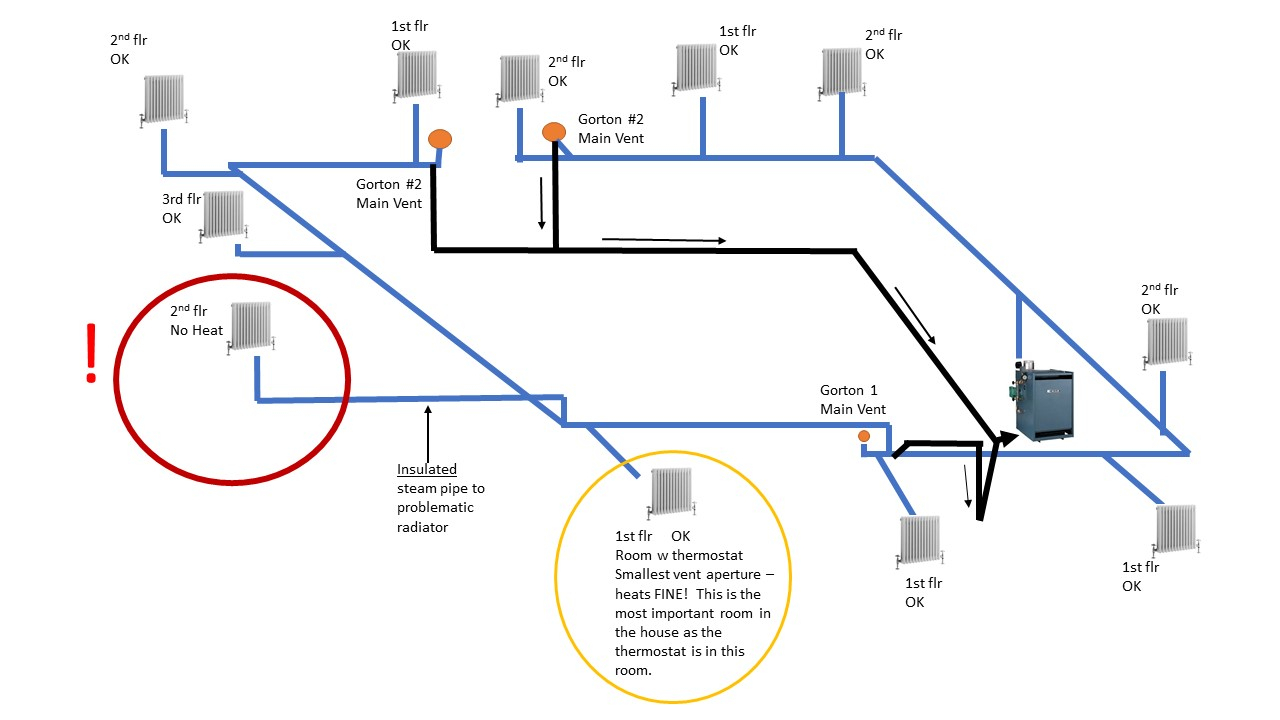
Fixing valves is only half the battle. Tune your system for even, quiet, efficient heat throughout your home.
Correct Radiator Slope
One-pipe systems must slope toward the supply valve so condensate drains back to the boiler. Use a pitch of 1 inch of drop per 10 feet of length. Place wood shims under the feet on the non-valve end to adjust.
Two-pipe systems should slope toward the return pipe, not the supply.
Wrong slope causes water traps, gurgling, and slow heating.
Balance Air Vents for Even Heat
Prevent near radiators from stealing steam by matching vent speeds to location:
- Near the boiler: use #4 slow vents
- Middle of the line: use #6 medium vents
- Farthest rooms: use C fast vents
This setup ensures all radiators heat at roughly the same time.
Monitor System Pressure
High pressure kills air vents and causes leaks throughout the system. Keep pressure below 2 PSI for safe operation.
Install a 0 to 3 PSI gauge on the boiler to monitor levels. If pressure creeps above 2 PSI, call a professional. Something is wrong with the pressuretrol or boiler controls.
Prevent Future Valve Issues
A little annual maintenance prevents big problems down the road.
Annual Air Vent Cleaning
Every fall, before heating season starts:
- Remove all air vents from the radiators
- Soak them in white vinegar for 20 minutes
- Rinse and blow through the vent hole
- Replace any vent where air will not pass through
This dissolves mineral deposits that clog the bellows and extend valve life.
Avoid These Common Mistakes
Steer clear of these frequent errors:
- Overtightening snaps brass fittings. Snug is enough.
- Wrong vent orientation causes leaks. Always keep vents upright.
- Rubber washers melt in steam. Use hard or graphite only.
- Painting over vents blocks airflow. Never paint them.
- Ignoring main basement vents leaves systemic issues unresolved.
When to Call a Professional
DIY works well for air vents and stem packing. Call a professional if:
- The radiator stays cold after vent and valve checks
- Leaks continue after replacement
- Multiple radiators fail, suggesting a boiler or main vent issue
- You snapped a valve or stripped threads
- No shutoff valve exists, requiring system-wide shutdown
Professional service runs $150 to $300 per radiator. Replacing 8 vents yourself costs around $90 in parts, saving over $1,000 in labor.
Frequently Asked Questions About Steam Radiator Valve Repair
Why does my steam radiator hiss constantly?
A constant hiss means the air vent is not closing properly. Mineral deposits or wear prevent the internal bellows from sealing. The vent needs cleaning or replacement to stop wasting steam and energy.
Can I replace a steam radiator valve without turning off the boiler?
No. You must turn off the boiler and wait at least one hour for the system to cool. Working on a hot steam system risks severe burns from escaping steam or scalding water.
What is the difference between #4, #6, and C air vents?
These numbers indicate venting speed. #4 vents release air slowly and work best near the boiler. #6 vents offer medium speed and suit most radiators. C vents release air fastest and help distant radiators fill with steam quickly.
How much does professional steam radiator valve repair cost?
Professionals typically charge $150 to $300 per radiator. DIY repairs using quality parts cost around $10 per air vent plus basic supplies. For an 8-radiator home, DIY saves $1,000 to $2,000 in labor costs.
Why is my radiator cold even when the pipe is hot?
A hot supply pipe with a cold radiator means steam cannot enter. The air vent is likely stuck shut, trapping cold air inside. Replace the vent and the radiator should heat normally within minutes.
How often should I replace steam radiator air vents?
Quality vents from brands like Hoffman or Gorton last several years. Cheap vents may fail within 6 months. Annual cleaning with white vinegar extends vent life. Replace any vent that will not pass air after cleaning.
Key Takeaways for Steam Radiator Valve Repair

Start with the air vent. It causes most steam radiator problems and costs just a few dollars to replace. A working vent hisses briefly at startup, then goes silent once the radiator heats up.
Match vent speed to radiator location. Use slow vents near the boiler and fast vents at the far end of the line. This simple balancing trick delivers even heat to every room without expensive modifications.
Maintain your system annually. Soak vents in vinegar each fall, check radiator slope, and monitor boiler pressure. These small tasks prevent costly repairs and keep your steam system running quietly for decades.



