
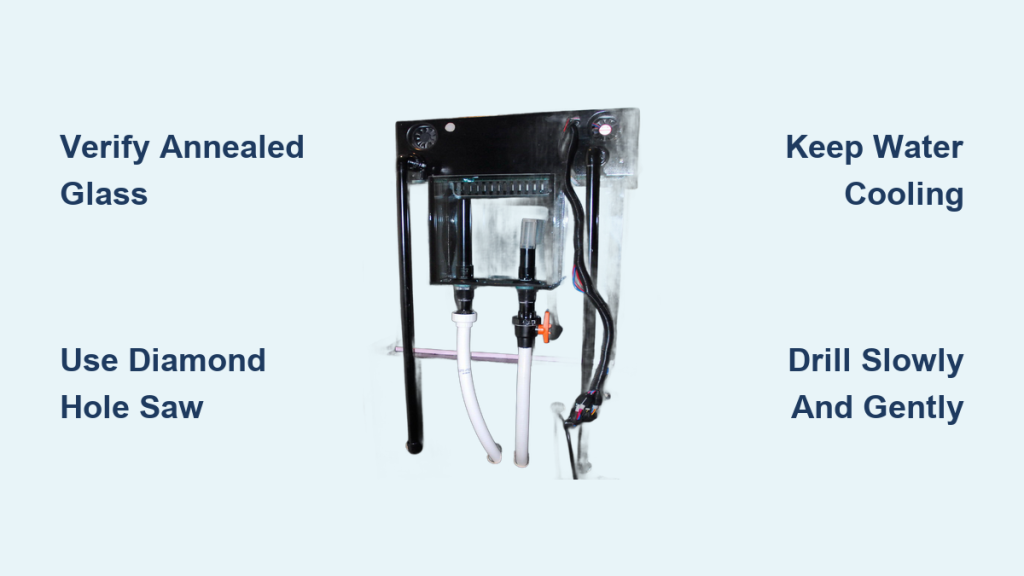
Drilling your own reef tank overflow offers silent operation and hidden plumbing, but attempting a reef tank overflow drill yourself project requires strict safety checks. One wrong move on tempered glass causes instant shattering, while proper technique yields a permanent, leak-free system.
This guide details how to verify glass types, select diamond tools, and execute a zero-breakage drill for your aquarium. You will learn the exact steps to install bulkheads safely and avoid the common mistakes that lead to flooded rooms.
Verify Your Aquarium Glass Is Drillable

Check for Tempered Glass Immediately
Tempered glass cannot be drilled under any circumstances. Attempting to drill it causes the entire panel to shatter violently and instantly. You must contact your aquarium manufacturer directly to confirm the specific panel is made of annealed (non-tempered) glass.
Do not assume all panels are the same. Many tanks use tempered glass for the bottom but annealed glass for the back or sides. A single phone call prevents a total disaster before you even pick up a drill.
Inspect the Drilling Surface for Flaws
Even annealed glass is unsafe if it has pre-existing damage. With the tank empty and dry, inspect your target area under bright light for defects. Look specifically for:
* Deep scratches or chips in the glass surface
* Hairline cracks radiating from edges
* Proximity to silicone seams or frame trim
Avoid drilling within two inches of any flaw. If you see significant damage, stop immediately and consider a siphon overflow alternative instead.
Select the Correct Overflow Configuration

Choose Between Single and Dual Boxes
Most reef setups utilize one of two primary designs for water extraction. A single overflow box uses one internal chamber with dual ports for draining and returning water. This works well for smaller tanks under 90 gallons.
Dual overflow boxes feature two separate chambers, each with its own drain and return lines. This configuration provides redundancy and higher flow capacity, making it ideal for larger display tanks over 90 gallons.
Pick a Kit or Custom Design
You can purchase pre-made kits from brands like Synergy, Figi Cube, or Lifereef. These include bulkheads, boxes, and instructions tailored for specific tank sizes. Alternatively, you can build a custom system using individual bulkheads and PVC piping.
Pro Tip: For maximum reliability on large tanks, use Herbie-style or BeanAnimal-style dual-drain setups. These prevent siphon breaks and eliminate the risk of overflow events if one line clogs.
Gather Essential Tools and Supplies
Required Drilling Equipment List
You need specific tools to cut glass safely without causing thermal shock. Ensure you have the following items ready before starting:
* Variable-speed drill with hammer mode turned OFF
* Diamond-coated hole saw sized for your bulkhead flange
* Drilling jig or guide to maintain a 90-degree angle
* Clamps to secure the jig without cracking the glass
* Plumber’s putty to create a water-holding dam
* Folded towel to catch the glass “cookie” inside the tank
Sealing and Plumbing Materials
Gather these materials to ensure a watertight seal once the hole is drilled:
* Bulkhead fittings (1″, 1.25″, 1.5″, or 2″ sizes)
* 100% RTV aquarium-safe silicone
* Plumbing tape for threaded fittings
* Gate or ball valve for the drain line
* Filter socks to prevent debris clogs
Warning: Never use a hammer drill setting or a standard metal hole saw. Only diamond-coated bits designed specifically for glass will work safely.
Mark and Plan Hole Locations Precisely
Position the Overflow Box
Place your tank on a flat, level surface to ensure stability. If possible, lay the tank on its side so the drilling surface is horizontal. This orientation improves control and helps retain cooling water during the cut.
Hold the overflow box against the glass where it will mount permanently. Mark the center of each hole, clearance for bulkhead nuts, and distance from any trim. Use masking tape to outline the box footprint and re-check alignment from multiple angles.
Verify Bulkhead Fit Before Drilling
Dry-fit the bulkhead through your marked location to ensure proper clearance. The flange must sit flat against the glass, and the retaining nut must tighten by hand without obstruction.
If the nut hits the tank trim or frame, you must reposition the hole or choose a slimmer bulkhead design. Forcing a fit later will result in leaks or broken components.
Build a Water Cooling Dam
Apply Plumber’s Putty Ring
Form a small ring of plumber’s putty around each drilling mark. Make it about the size of a quarter and 1/4 inch high to create a temporary dam. Press the putty firmly against the glass to ensure a complete seal.
Avoid getting putty inside the center mark where the drill will cut. The goal is to hold a small pool of water directly over the cutting zone.
Fill with Clean Water
Pour clean water into the putty ring until it is full. The water must cover the cutting surface at all times to cool the diamond bit and flush away glass slurry.
Never drill dry. Even ten seconds without water causes thermal shock that cracks the glass. The water acts as both a coolant and a lubricant for the diamond coating.
Drill the Hole Safely and Slowly
Set Drill to Low Speed
Confirm your drill settings before touching the glass. The hammer mode must be OFF, and the speed set to low (400–600 RPM). Ensure the chuck is tight on the hole saw to prevent wobbling.
Hold the drill steady with both hands to maintain control. Any sudden movement or high speed generates heat that damages the glass structure.
Start at an Angle Without a Guide
If you lack a drilling jig, start with the hole saw at a 15–20 degree angle. Let one edge of the saw grind a shallow crescent groove into the glass surface. This scores the glass and guides the bit.
Once a groove forms, slowly straighten the drill to 90 degrees. Keep pressure light as you transition to the vertical position.
Apply Light Steady Pressure
Let the diamond coating do the work. Pushing too hard overheats the bit and cracks the glass. Lift the spinning saw slightly every 10 seconds to let fresh water enter and slurry escape.
Maintain a consistent, gentle rhythm. The process should take several minutes, not seconds.
Ease Off at Breakthrough
As the saw nears the back side, reduce pressure to almost zero. Keep spinning at low speed and let the bit exit naturally. Forcing the final cut causes chipping or cracking.
The glass “cookie” should drop gently. Place a folded towel inside the tank directly under the hole to catch it and prevent it from hitting the tank floor.
Clean and Inspect the Hole
Remove Glass Debris Thoroughly
Pull out the glass disc and rinse both sides of the hole with water. Use a soft brush if needed to remove remaining slurry.
Warning: Glass slurry is sharp and toxic to marine life. Rinse the entire tank thoroughly before adding water or livestock.
Check for Cracks and Chips
Inspect the hole under bright light for radial cracks extending outward. Check the sealing surface for deep chips that might compromise the gasket.
Minor edge chipping is normal and usually does not affect the seal if the main gasket area is intact. If you see long cracks, do not install the bulkhead.
Test-Fit the Bulkhead
Insert the bulkhead from the outside to ensure it slides through smoothly. Do not force it. If it binds, ream the hole slightly with the hole saw at low speed. Do not use a file, as this can create uneven edges.
Install the Bulkhead Fitting
Apply Silicone for Extra Security
While the bulkhead gasket is the primary seal, many users add a thin layer of aquarium-safe silicone on the flange side. This creates a secondary barrier against leaks.
Use sparingly, as too much silicone can interfere with the gasket compression. A thin bead around the flange edge is sufficient.
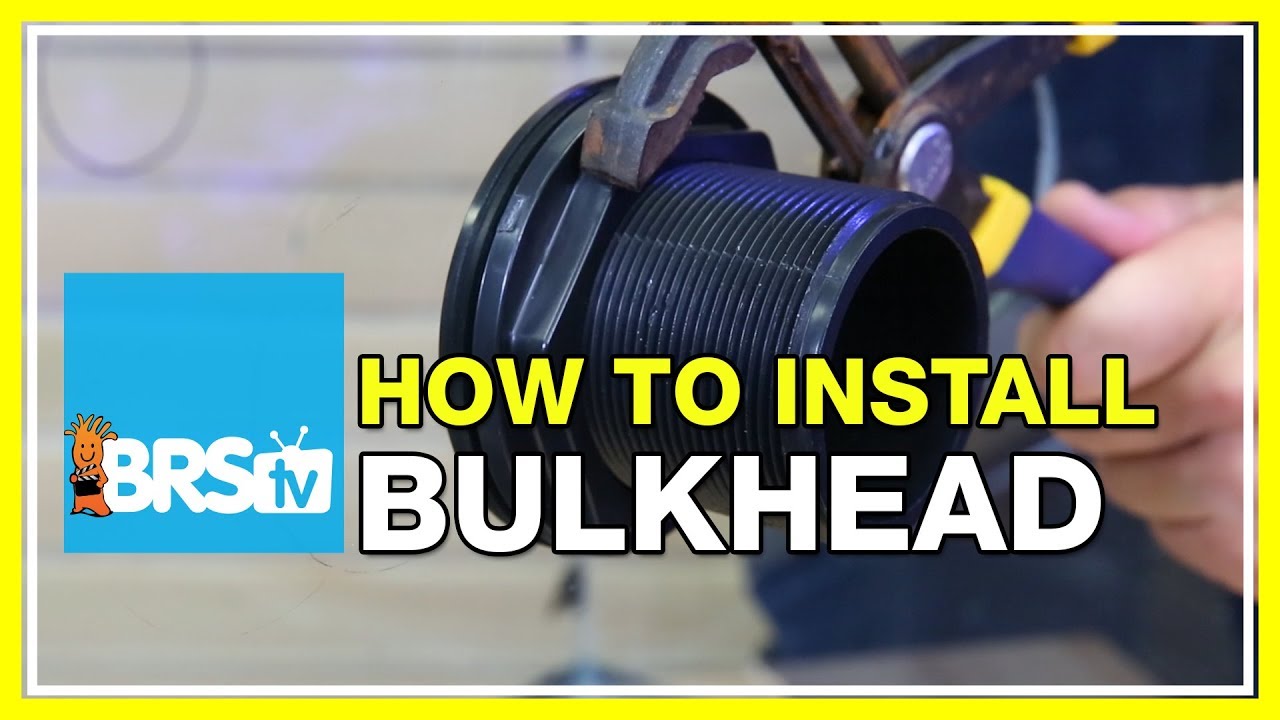
Insert From Outside and Tighten
Slide the bulkhead through the hole from the outside of the tank. The flange should sit flush against the glass. On the inside, place the rubber gasket and washer over the threads.
Screw on the retaining nut by hand until snug. Then tighten one full turn with a wrench. Do not over-tighten, as this can crack the glass or deform the gasket. Wait 24 hours for silicone to cure before testing.
Test for Leaks Before Full Setup
Simulate Water Flow
Before filling the main tank, connect the overflow box and use a hose to pour water into the inside box. Watch the bulkhead from both sides closely. Look for weeping at the flange, dripping from the nut, or seepage through the glass.
If you see leaks, disassemble, clean, reapply silicone, and retighten. It is better to fix this now than after filling the tank with saltwater.
Pressure Test the Sump
Once installed, run the full system with your return pump. Monitor water levels in the display and sump to confirm no overflow or siphon break occurs. Adjust the gate valve on the drain line to balance flow perfectly.
Prevent Common Failures
Avoid These Critical Mistakes
- Drilling tempered glass: Guarantees instant shattering.
- Using wrong hole saw size: Causes bulkhead fit issues or leaks.
- Forcing breakthrough: Leads to chipped exits or cracked panels.
- Over-tightening nut: Cracks glass or deforms seals.
- Ignoring tank trim: Prevents proper bulkhead installation.
Match Pump to Drain Capacity
Your return pump must never exceed the overflow’s drain capacity. If your drain handles 800 GPH, use a 700 GPH return pump maximum. Install a ball valve on the drain line to fine-tune flow during testing.
Maintain Your Drilled Overflow
Clean the Weir Regularly
Algae and biofilm build up on overflow slats, reducing flow efficiency. Clean weekly with a soft brush to maintain optimal water levels. Use a filter sock on the inside box to catch debris and reduce noise.
Inspect for Clogs and Leaks
Check the drain line monthly for obstructions. A clogged overflow can cause a sump overflow and room flooding. Even after years, bulkheads can loosen, so check annually for moisture, corrosion, or silicone cracking.
Consider Alternatives to Drilling
Use a Siphon Overflow
If your tank is tempered or you are renting, consider siphon overflows from brands like Lifereef or Eshopps. These create a siphon without drilling. They are reversible but generally less reliable and prone to air locks if pump rates are mismatched.
Skip HOB Units with Poor Track Records
Older CPR BakPak models have community-reported issues with noise and failure. If using a hang-on-back unit, choose modern, high-rated systems to ensure stability.
Final Notes and Recommendations
Drilled vs Non-Drilled Comparison
For permanent, high-performance systems, a drilled overflow wins on reliability and noise reduction. Siphon overflows offer reversibility but lack the silence and consistency of a drilled system. If you want a professional-grade reef tank, drilling is the superior choice.
When to Call a Professional
If you are unsure about glass type, hole placement, or bulkhead sizing, hire a professional. Many aquarium shops offer drilling services for $50–$150. This cost is far lower than replacing a shattered tank.
Frequently Asked Questions About Reef Tank Overflow Drilling
Can I drill a hole in a tempered glass tank?
No, you cannot drill tempered glass. Attempting to do so will cause the entire panel to shatter instantly and violently. You must verify with the manufacturer that your tank panel is annealed before drilling.
What size hole saw do I need for a 1-inch bulkhead?
The hole saw size depends on the bulkhead manufacturer, not the pipe size. A 1-inch bulkhead usually requires a hole larger than 1 inch to fit the flange. Always check the specific bulkhead packaging for the required drill diameter.
How do I prevent the glass from cracking while drilling?
Keep the drilling area wet with water at all times to cool the bit. Use a diamond-coated hole saw, set your drill to low speed, turn off hammer action, and apply very light pressure throughout the cut.
Is it safe to drill a hole in a filled glass tank?
No, it is not safe to drill a filled glass tank. The water pressure and thermal shock significantly increase the risk of catastrophic failure. You must drain the tank below the drill line or empty it completely.
How long should I wait to fill the tank after drilling?
Wait at least 24 hours after installing the bulkhead and applying silicone. This allows the silicone to cure fully and ensures a watertight seal before you introduce water to the system.
Key Takeaways for Your Reef Tank Overflow Drill Yourself Project
Drilling your own overflow provides a clean, silent, and reliable foundation for a reef tank. Success depends on verifying annealed glass, using diamond tools with water cooling, and applying gentle pressure during the cut.
Always test for leaks before filling your tank with saltwater. If you feel unsure about any step, professional drilling services offer a safe and affordable alternative to DIY risks.



