Is your engine running hotter than usual or showing signs of poor coolant flow? A clogged or contaminated coolant overflow tank could be to blame. Over time, sludge, rust, and degraded coolant can accumulate in the reservoir, compromising your vehicle’s cooling efficiency and risking engine damage. Unlike the radiator, most coolant overflow tanks do not have a drain plug, so draining them requires smart techniques like hose disconnection or suction extraction. This guide shows you exactly how to drain and clean your coolant overflow tank safely and effectively, using simple tools and proven methods.
Whether you are doing a full coolant flush or just routine maintenance, you will learn step-by-step how to access, drain, flush, and reinstall the tank while avoiding common mistakes and ensuring peak cooling system performance.
Access the Coolant Overflow Tank
Before draining, you must properly access the coolant overflow tank, which is usually a translucent plastic reservoir located near the radiator or battery. However, on many vehicles, especially some GM, Ford, and Asian models, the bottom of the tank sits beneath the battery tray, making full access impossible without removal.
Remove the Battery if Needed
If the battery blocks access to mounting screws or hose connections, follow these steps:
• Turn off the engine and disconnect the negative battery terminal first
• Unfasten any hold-down clamps or brackets securing the battery
• Lift the battery out carefully and set it aside on a safe, non-conductive surface
• Now inspect for two mounting screws or clips securing the overflow tank to the chassis
Locate Hose and Mounting Points
Once accessible, identify the key connection points:
• Identify the rubber or plastic hose connecting the overflow tank to the radiator
• Check the type of clamp used, either screw-type, spring clamp, or push-type
• Note the routing of the hose to ensure correct reinstallation later
Pro Tip: Take a photo before disconnecting anything. This helps during reassembly, especially if hoses are stiff or routing is tight.
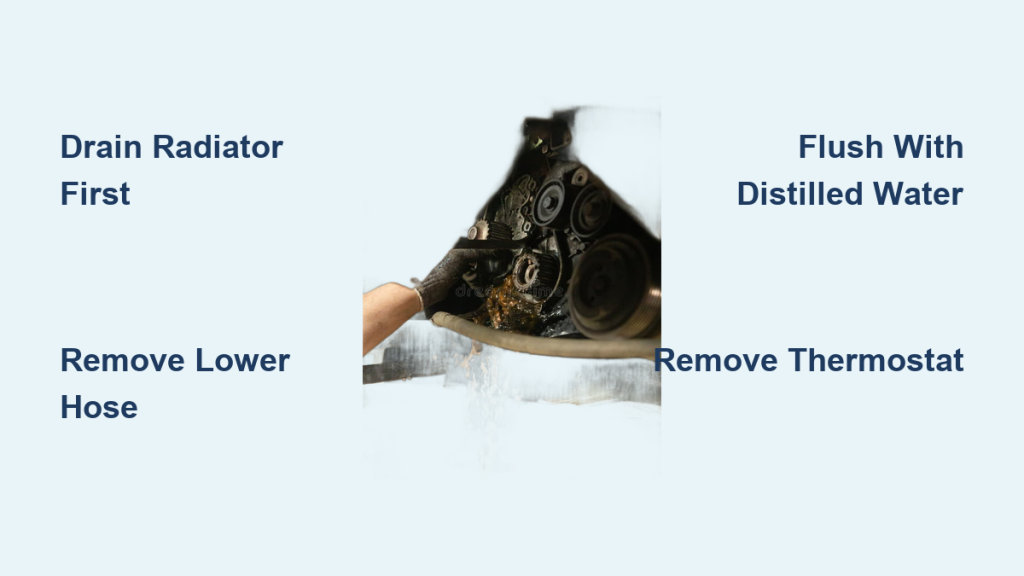
Disconnect and Drain the Hose

Since most overflow tanks lack a drain plug, the most effective way to empty them is by disconnecting the lower hose and using gravity to drain the fluid.
Loosen the Hose Clamp
Use pliers or a screwdriver to loosen the clamp securing the hose to the tank or radiator outlet. Slide the clamp up the hose, away from the connection point, to prevent it from getting lost. Gently twist and pull the hose off the fitting. If it is stuck, rock it side to side. Do not force it, as this can damage the fitting.
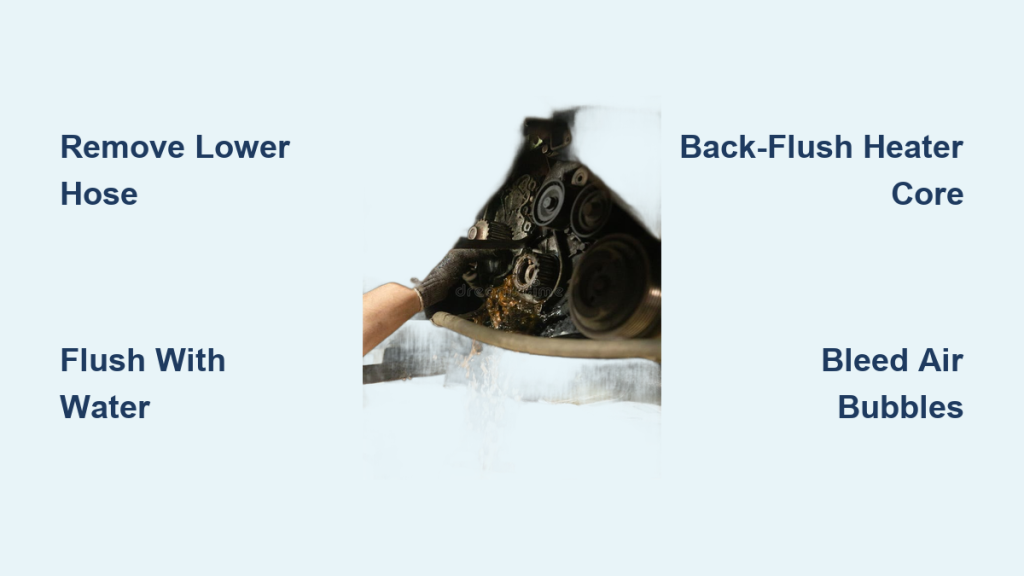
Drain Coolant into a Catch Pan
Position a drain pan or container under the disconnected hose or tank outlet. Let the coolant drain completely by gravity, which may take 2 to 5 minutes depending on fluid level and viscosity. Watch for debris or sludge during drainage, as this indicates the tank needs thorough cleaning.
When to Use This Method: This technique is ideal for full coolant changes, flushing old fluid, or removing sediment buildup from the system.
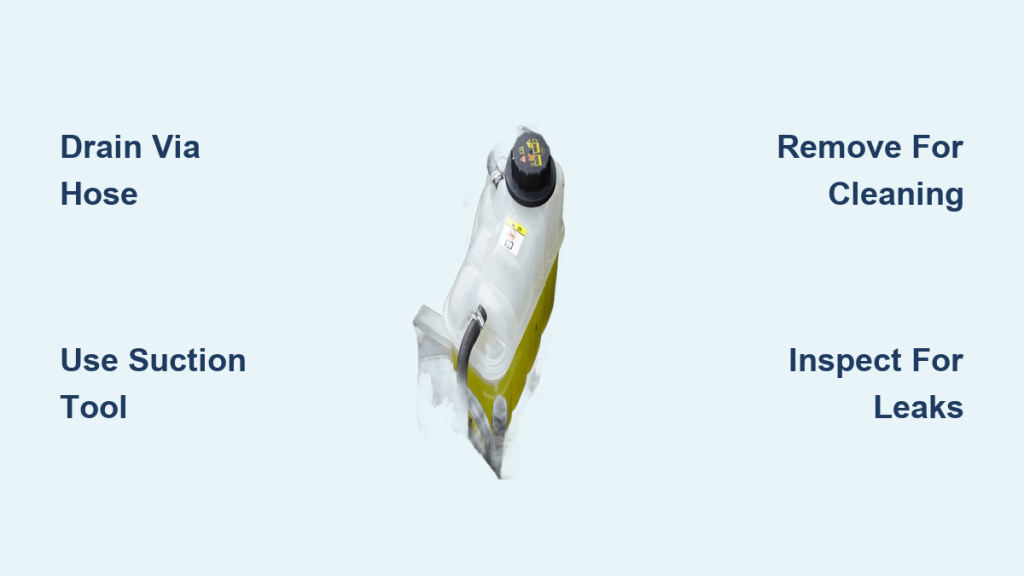
Use a Suction Tool for Partial Draining
If you only need to remove some coolant before topping off with the correct mixture, you can skip disassembly and use a suction method instead.
Extract Fluid with a Turkey Baster
Insert the tip of a turkey baster or hand vacuum pump into the top of the overflow tank. Squeeze and release to draw coolant into the baster. Empty the fluid into a disposal container and repeat until the desired level is reached. This method allows you to remove just enough coolant to achieve the proper concentration when mixing.
Clean Without Removing the Tank
After suctioning, rinse the tank with clean water and extract again to flush out residue. Repeat until the water runs clear. This approach works well for routine maintenance when full removal is not necessary.
Pro Tip: Keep a dedicated baster in your garage for coolant work. Label it clearly to avoid cross-contamination with food items.
Remove the Tank for Full Cleaning
For deep cleaning or replacement, complete removal is best. This gives you full access to flush out gunk and inspect for damage.
Unfasten Mounting Hardware
Remove the two screws or clips holding the tank in place. Carefully wiggle the tank free, being mindful of any tight hose connections still attached. Work slowly to avoid cracking the plastic reservoir.
Empty and Flush the Tank
Pour out any remaining coolant into your disposal container. Rinse the interior with warm water. For stubborn deposits, use a mild detergent or coolant system cleaner. Swirl the solution inside, then flush thoroughly with clean water. Inspect the tank for cracks, warping, or degraded plastic after cleaning.
What to Look For: Milky residue may indicate oil contamination, while rust particles suggest overdue coolant changes.
Inspect Components Before Reassembly
Never reinstall without checking the full system for wear or damage.
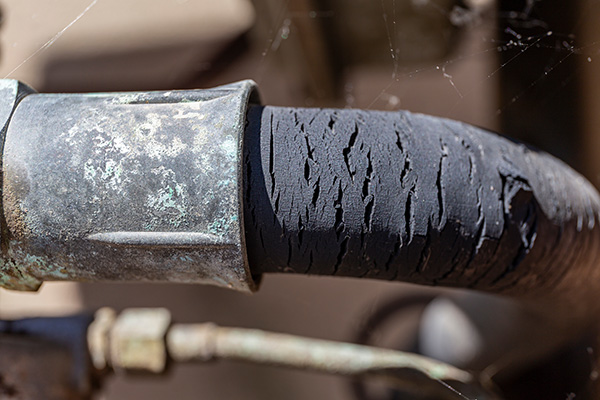
Check Hoses and Clamps
Examine the radiator hose for cracks, soft spots, or brittleness. Replace any degraded clamps, especially if they do not seal properly after loosening. Ensure the hose fits snugly on reconnection with no gaps or leaks.
Verify Tank Integrity
Hold the tank up to light to spot hairline cracks that may not be visible otherwise. Confirm the cap seals properly and the overflow line is unobstructed. Replace the tank if it shows signs of swelling, cloudiness, or leakage.
Reinstall and Refill the System
Once cleaned and inspected, it is time to put everything back together and refill with fresh coolant.
Reconnect and Secure the Tank
Slide the hose back onto the tank or radiator fitting. Push it on fully until seated, leaving no gaps. Slide the clamp back into position and tighten securely, but do not over-tighten plastic fittings.
Remount the Tank and Battery
Align the tank and reinstall mounting screws or clips. Reinstall the battery if it was removed and reconnect the negative terminal. Ensure all connections are secure before proceeding.
Refill with Correct Coolant
Use only the coolant type specified by your manufacturer, such as OAT, HOAT, or IAT. Fill the radiator first with a 50/50 mix of coolant and distilled water. Then top off the overflow tank to the cold fill line. Start the engine and let it warm up with the radiator cap off to burp air from the system. Recheck levels once the engine cools and adjust as needed.
Time Estimate: Full drain and clean takes 30 to 45 minutes for most DIYers.
Prevent Future Buildup
A clean tank will not stay that way without proper maintenance.
Flush Every 2 to 3 Years
Replace coolant according to your vehicle’s maintenance schedule. Always flush the overflow tank during a full cooling system service to prevent sediment buildup.
Use Quality Coolant Mix
Never use straight antifreeze or tap water. A 50/50 pre-mix or properly blended solution prevents corrosion and scaling in the cooling system.
Monitor Fluid Condition
Check the overflow tank monthly for discoloration, cloudiness, or floating debris. These are early signs of contamination that warrant immediate attention.
Troubleshoot Common Issues
Even after draining, problems can arise. Here is how to diagnose them quickly.
Coolant Will Not Drain
If coolant will not drain, the hose may be kinked or blocked by sludge. Blow air through the hose or remove both ends for full cleaning to restore flow.
Leaking After Reassembly
A leak after reassembly usually means a loose clamp or cracked hose. Re-tighten the clamp or replace damaged components to stop the leak.
Overflow Tank Keeps Filling Too Fast
If the tank keeps filling too fast, a head gasket leak may be pushing combustion gases into the cooling system. Perform a block test and inspect for white exhaust smoke or bubbling in the radiator.
Safety and Disposal Tips
Working with coolant requires caution for your safety and the environment.
Always Cool Engine First
Never open or drain the cooling system when hot. Wait at least 1 to 2 hours after shutdown to avoid steam burns or pressure bursts.
Handle Antifreeze Safely
Coolant, especially ethylene glycol, is toxic to pets and humans. Clean spills immediately and store used fluid in sealed containers away from children and animals.
Dispose of Coolant Properly
Take used coolant to a local auto parts store, recycling center, or hazardous waste facility. Never pour it down drains, onto the ground, or into storm sewers.
Tools You Will Need
Having the right tools makes the job faster and safer:
• Socket wrench or screwdriver for battery and screw removal
• Pliers to loosen hose clamps
• Drain pan with at least 2-quart capacity
• Turkey baster or vacuum tool for suction method
• Clean rags and water for flushing and wiping
• Replacement coolant in the OEM-specified type
• Gloves and safety glasses for protection
Frequently Asked Questions About Draining Coolant Overflow Tank
Can I drain the coolant overflow tank without removing it?
Yes, you can drain it without removal by using a turkey baster or hand vacuum pump to suction fluid directly from the top opening. Alternatively, you can disconnect the lower hose and let gravity drain the fluid while the tank remains mounted.
Why do most overflow tanks not have a drain plug?
Most manufacturers design overflow tanks without drain plugs because they are intended as expansion reservoirs, not primary drainage points. The tank works with the cooling system pressure, and the lack of a drain plug simplifies the design while encouraging proper flushing procedures.
How often should I clean my coolant overflow tank?
You should inspect and clean the overflow tank whenever you perform a full coolant flush, which is typically every 2 to 3 years. Check monthly for discoloration or debris, and clean immediately if you notice contamination.
What happens if I do not clean the overflow tank?
Neglecting the overflow tank allows sludge, rust, and degraded coolant to accumulate. This contamination can restrict coolant flow, reduce cooling efficiency, and potentially damage the radiator or engine passages over time.
Can a damaged overflow tank be repaired, or does it need replacement?
Most overflow tanks cannot be repaired effectively. If you notice cracks, warping, swelling, or persistent leaks, replacement is the safer and more reliable option.
Key Takeaways for Draining Your Coolant Overflow Tank
Draining the coolant overflow tank is a simple but critical part of cooling system maintenance. While it lacks a drain plug, using hose disconnection or suction tools allows full or partial drainage with minimal effort. By removing built-up contaminants and replacing old fluid, you protect your engine from overheating and costly damage. Whether you are flushing the system or just cleaning the reservoir, this process takes under an hour and pays off in long-term reliability.
Stay safe by allowing the engine to cool completely before starting, wear protective gloves, and dispose of used coolant properly at a recycling facility. Follow manufacturer guidelines for coolant type and mixture ratios, and your cooling system will deliver reliable performance for years to come.