Draining all coolant from an engine is essential for proper maintenance, system flushing, or component replacement. If you’re replacing coolant, flushing the system, or performing repairs like water pump or thermostat replacement, leaving old coolant behind can reduce cooling efficiency, cause corrosion, or lead to overheating. This guide shows you how to completely drain all coolant from your engine using proven methods, practical tips, and step-by-step techniques that ensure a thorough job without risking damage.
A simple radiator drain only removes about 60-70% of the total coolant. The rest stays trapped in the engine block, cylinder heads, and heater core where gravity cannot reach it. You’ll learn which methods actually work, which ones waste time, and how to refill correctly for optimal protection.
Why Standard Radiator Drains Leave Coolant Behind
The cooling system contains multiple components where coolant remains even after draining the radiator. The engine block contains coolant passages that do not fully drain via the radiator petcock. The heater core, located in the dashboard, holds coolant when the system is full. Cylinder heads have internal coolant galleries that retain fluid. Even the expansion reservoir tank must be drained separately.
A typical radiator drain removes only 60-70% of total system coolant. Up to 2-3 quarts of coolant may remain in the engine block and heater core, depending on engine design and vehicle orientation. For a complete coolant change, flushing or multiple drain/refill cycles are necessary to dilute and remove old coolant effectively.
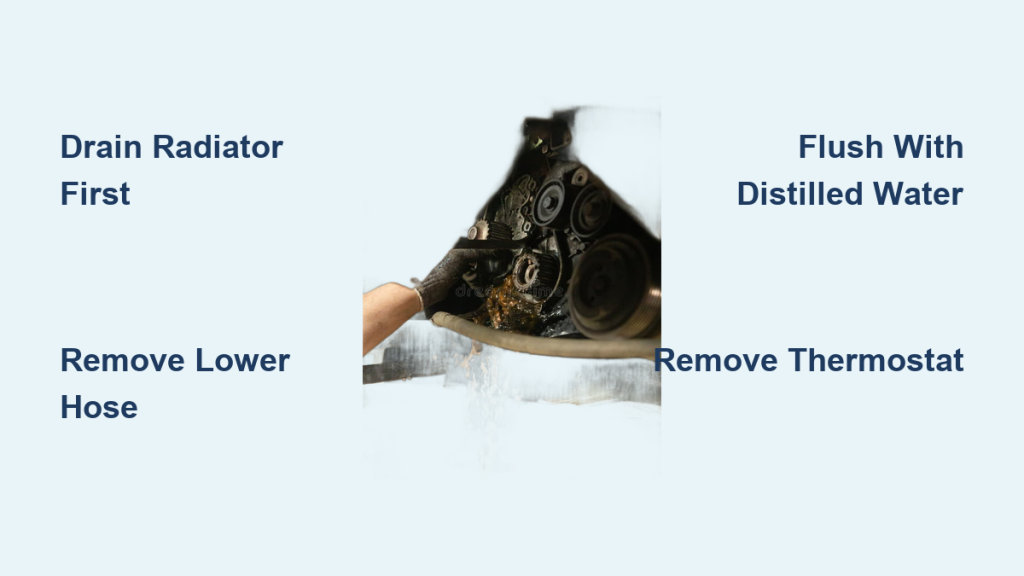
Drain Radiator and Expansion Tank First
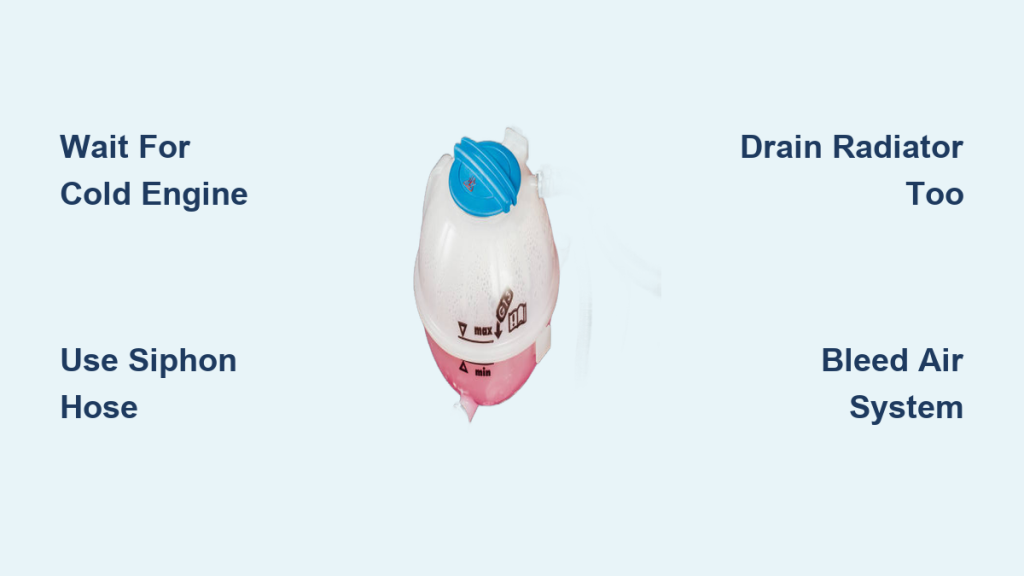
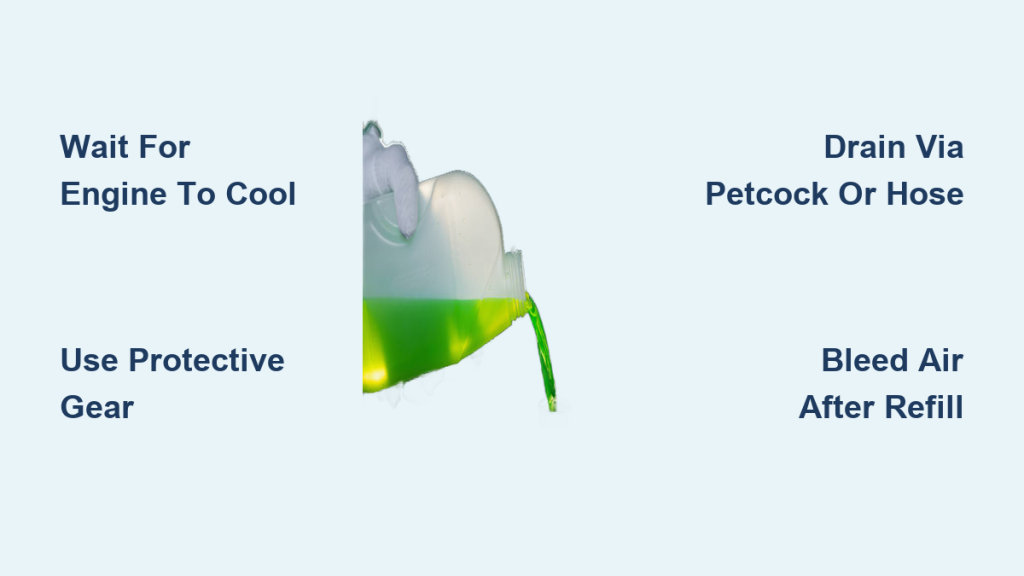
Always begin with a cold engine. Hot coolant is under pressure and can cause severe burns. Wait at least 2-3 hours after shutdown before starting any work.
Open System for Full Drainage
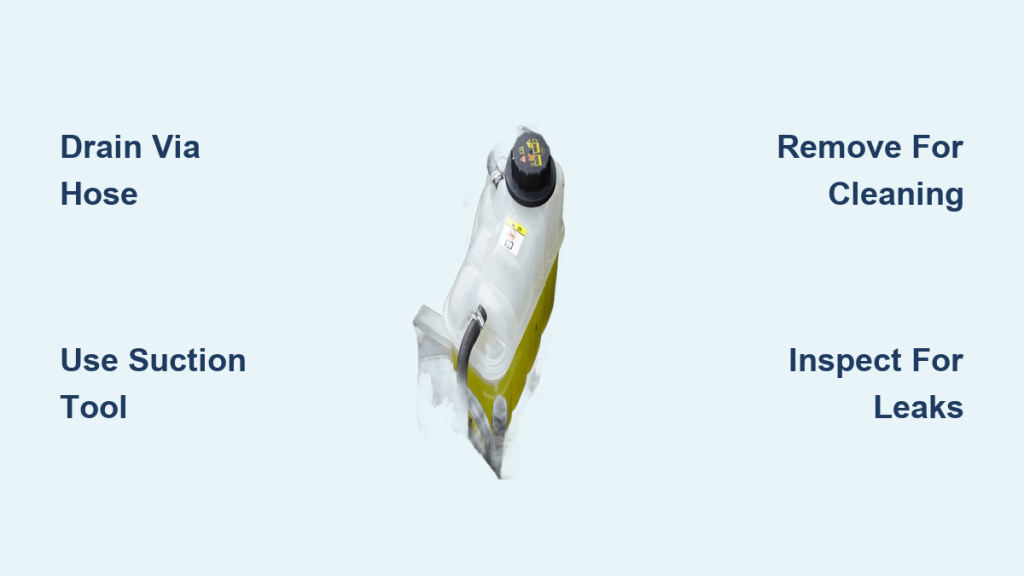
Remove the radiator cap and expansion tank cap to break vacuum and allow air in. Locate the radiator drain petcock, usually on the lower driver side of the radiator. Place a drain pan underneath and open the valve slowly. If no petcock exists, disconnect the lower radiator hose instead. Drain the coolant reservoir separately by removing its cap and tipping or siphoning out remaining fluid.
Pro Tip: Use a wide container to catch splashes. Coolant stains concrete and is toxic to pets.
Estimate Coolant Removed
Most vehicles hold 5-7 quarts total. The radiator alone may release 4-5 quarts, meaning 1.5-2.5 quarts remain in the engine block, heads, and heater core. Don’t assume the job is done. This first drain only sets the stage for deeper cleaning.
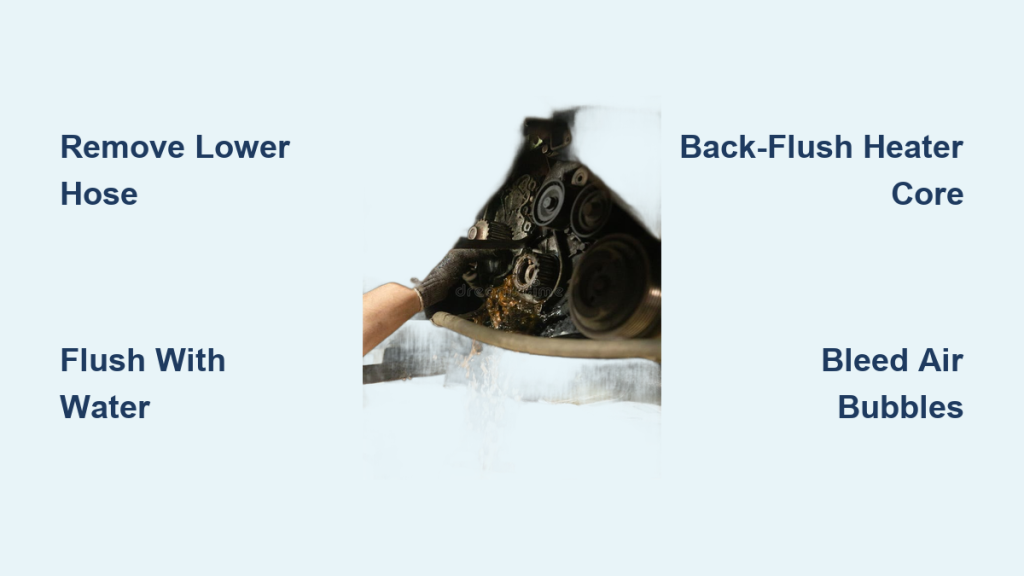
Remove Lower Radiator Hose to Access Engine Block Coolant

This simple step unlocks a major source of trapped coolant. After draining the radiator, disconnect the lower radiator hose at the engine side. Coolant will continue to flow from the block through this opening, the lowest accessible point in many systems.
Drain Coolant from Engine Block
Use a wrench or pliers to loosen the hose clamp. Gently twist and pull the hose free. Let fluid drain completely, which may take 5-10 minutes. Reconnect securely when finished.
Visual Cue: Look for a steady drip slowing to a stop, then wait another minute.
Tilt Vehicle for Better Flow
Gravity works best when the engine is angled. For front-mounted radiators, elevate the rear of the car using ramps or jack stands. For rear-heavy layouts, raise the front. Backing up onto two layers of 2×6 boards tilts V8 engines downhill, improving drainage.
Warning: Never work under a vehicle supported only by jacks. Use safety stands.
Take Out Thermostat for Unrestricted Flow

The thermostat acts as a valve that blocks coolant flow when closed. Even with hoses open, a closed thermostat can trap fluid in the cylinder heads and block.
Prevent Coolant Trapping
Remove the thermostat housing, usually at the end of the upper radiator hose. Extract the thermostat and set aside. Proceed with flushing or refilling.
Bonus: Removing the thermostat ensures unrestricted flow during flushing, letting water reach every corner. You can run the engine briefly without the thermostat during flush cycles. Just reinstall before final use.
Flush System with Distilled Water for Complete Removal
Flushing is the most effective way to purge residual coolant. One drain isn’t enough. Use distilled, deionized, or reverse osmosis water to dilute and flush out old fluid.
Perform Multiple Flush Cycles
Reconnect lower hose and refill system with distilled water. Install thermostat or leave out for better flow. Replace radiator and reservoir caps. Start engine and run until operating temperature. Turn heater to max heat and high fan to open heater core valves. Idle or drive for 15-20 minutes.
Shut off and let cool slightly, about 30-45 minutes. Reopen radiator cap carefully because pressure may still be present. Drain system again into a container. Repeat 2-4 times until drained fluid runs clear or shows no coolant color.
User Tip: After 3-4 cycles, over 95% of old coolant is gone.
Why Use Distilled Water
Tap water contains minerals and chlorine that promote scaling and corrosion. Distilled or RO water is pure, preventing deposits that reduce cooling efficiency.
Cost-Saving Tip: Buy 5-gallon jugs of RO water. It’s cheaper than distilled and just as effective.
Back-Flush Heater Core and Radiator Lines
Reverse the flow to push out stubborn coolant and debris from hard-to-reach areas.
Install T-Fitting in Heater Line
Many heater hoses are small and accessible near the firewall. Clamp a T-fitting into one heater hose. Connect a garden hose to one side. Open the other end to allow backflow. Turn on water to force fluid backward through heater core and engine.
Caution: Use low pressure. High water pressure can damage radiator tubes or heater cores.
Reverse Through Radiator
After back-flushing the heater, do the same through the radiator. Disconnect upper radiator hose. Feed water in from the top while the lower hose drains. Watch for discolored fluid, which indicates trapped gunk.
Best For: Older vehicles with sludge or rust buildup.
Methods That Don’t Work and Waste Your Time
Some popular ideas don’t work due to physics or design limitations.
Cranking Engine Without Coolant
Some suggest cranking the engine with fuel disabled to use the water pump and push out remaining fluid. Once coolant drops below the water pump impeller, no liquid is moved. The pump runs dry and accomplishes nothing. Risk of air locks or pump damage increases.
Verdict: Skip this method. It’s a waste of time.
Using Compressed Air
Blowing air into the system won’t displace coolant pooled at the lowest points. Air rises. It can’t lift liquid from the bottom of the block. You’ll hear gurgling but see little to no fluid expulsion.
Expert Consensus: Does not work. Save your air compressor for other tasks.
Apply Chemical Flush for Heavily Contaminated Systems
If your coolant is rusty or sludgy, clean it first with a chemical-assisted flush.
Use Prestone T-Flush Kit
This method uses a chemical cleaner and T-fitting to deep-clean the system. Add Prestone Cooling System Cleaner via heater hose T-fitting. Run engine for 15-30 minutes. Drain and flush with distilled water.
Effectiveness: Removes scale, rust, and deposits that reduce heat transfer.
Warning: Only use on dirty systems. Over-cleaning can loosen debris that clogs narrow passages.
Refill Cooling System Correctly After Draining
After draining and flushing, refill properly to avoid air pockets and incorrect concentration.
Calculate Final Coolant Amount
Assume 2-3 quarts of water remain after flushing. For a 6-quart system, add 3-4 quarts of concentrated coolant. This results in close to a 50/50 mix without adding tap water. Always use concentrated coolant, not pre-mixed, to control the ratio.
Burp the Cooling System
Air trapped in the heater core or head can cause overheating. Remove radiator cap and run engine at idle. Squeeze upper and lower hoses to release air bubbles. Top off coolant as level drops. Repeat until flow is steady and temperature stabilizes.
Pro Tip: Some vehicles have a bleeder valve. Open it until coolant flows without bubbles.
Vehicle-Specific Drain Tips and Tricks
Engine design affects drainage strategy. Know your specific engine type.
Mitsubishi Pajero/Montero
Has a 14 mm block drain plug under the driver side exhaust manifold. High risk of breakage. Many avoid it. Recommended approach is to drain radiator, remove lower hose, and flush three times with distilled water.
Toyota and Lexus Vehicles
No block drain plugs exist on models like LS400 or Prius. Rely on flush cycles and lower hose removal. Some users report success with tap water at 300k+ miles, but distilled is safer long-term.
Hyundai Elantra
No accessible block plug exists. Use Zerex G05 or phosphated OAT coolant, which is safe for aluminum. Avoid silicate-based coolants.
Safety Best Practices When Working with Coolant
Protect yourself and your engine with smart habits.
Critical Safety Steps
Never open the radiator cap on a hot engine. Wear nitrile gloves and safety glasses. Collect old coolant in sealed containers because it’s toxic to pets and wildlife. Dispose at a recycling center, auto shop, or hazardous waste facility.
Essential Best Practices Summary
Work on a cold engine. Use distilled or RO water for flushing. Remove thermostat during flush. Turn heater to max to open core valves. Elevate the vehicle to improve drainage angle. Record how much you drain versus system capacity. Don’t mix coolant types like OAT, HOAT, or IAT. Use the manufacturer-recommended formula.
Key Takeaways for Draining All Coolant from Your Engine
Not all techniques are equal. Focus on what works best for complete removal.
| Method | Removes Most Coolant | Risk Level | Best Use Case |
|---|---|---|---|
| Multiple water flushes | Yes (95%+) | Low | Routine maintenance |
| Remove lower radiator hose | Yes | Low | All vehicles |
| Block drain plug | Maybe | High | Only if undamaged |
| Shop-vac during repair | Yes | Medium | Water pump job |
| Back-flush with T-fitting | Yes | Low | Dirty or clogged systems |
| Cranking engine | No | Medium | Avoid |
| Compressed air | No | Low | Avoid |
Final Recommendation for Complete Coolant Drain
For a complete, safe, and effective coolant drain, follow this workflow. Cool engine completely. Drain radiator and reservoir. Open caps first. Remove lower radiator hose and let block drain. Remove thermostat for unrestricted flow. Refill with distilled or RO water. Run engine until hot with heater on max. Cool slightly, then drain again. Repeat flush 2-3 more times. Refill with concentrated coolant, adjusting for residual water. Burp system thoroughly by idling with cap off and squeezing hoses.
Skip risky moves like forcing out block plugs. Avoid tap water when possible. Flushing beats chasing the last drop. It’s cheaper, safer, and more effective.
As one seasoned mechanic put it: Why anyone would want to do it any other way is beyond me. It’s a very simple, time-honored, and cheap method of changing the coolant.
Follow this process, and you’ll have a clean, air-free, properly mixed cooling system that protects your engine for years.
Frequently Asked Questions About Draining All Coolant from Engine
How much coolant remains after draining the radiator?
A standard radiator drain typically removes only 60-70% of total coolant. Depending on your vehicle, 1.5-3 quarts may remain trapped in the engine block, heater core, and cylinder heads.
Can I use tap water for flushing the cooling system?
Avoid tap water because it contains minerals and chlorine that promote scaling and corrosion. Use distilled, deionized, or reverse osmosis water instead. These pure water options prevent deposits that reduce cooling efficiency.
Do all engines have block drain plugs?
No. Not all engines have block drain plugs. Many modern engines rely solely on gravity and flushing methods. Check your vehicle service manual. Some, like Toyota and Lexus models, have no block drain plugs at all.
Is cranking the engine an effective way to remove remaining coolant?
No. Cranking the engine is ineffective. Once coolant drops below the water pump impeller, the pump moves no fluid. This method wastes time and risks damaging the water pump.
How many flush cycles are needed to remove most coolant?
Perform 2-4 flush cycles. After the fourth cycle, drained fluid should run clear or show minimal coolant color. Most users report over 95% of old coolant is removed after 3-4 cycles using distilled water.