You notice the coolant level is off, the fluid looks cloudy, or you’re due for routine maintenance—whatever the reason, knowing how to drain water from coolant tank safely and effectively is essential for engine health. The coolant reservoir collects excess fluid when your engine heats up and returns it as it cools. Over time, this tank can accumulate diluted or contaminated coolant, especially if plain water was added instead of proper antifreeze.
But here’s the catch: draining the reservoir isn’t the same as draining the entire cooling system. Many DIYers make the mistake of only emptying the visible tank, leaving old or water-laden coolant behind in the radiator. In this guide, you’ll learn exactly how to drain water from coolant tank using safe, reliable methods, plus when and why to go further.
Drain Coolant Reservoir Safely
Before touching any part of the cooling system, safety comes first. Hot coolant is pressurized and can cause severe burns if released prematurely. Always work with a cold engine. Wait at least one to two hours after shutdown or perform the procedure before starting the vehicle.
Wear nitrile gloves and safety glasses. Used coolant contains ethylene glycol, which is toxic to humans and pets. Even diluted water from the tank may carry contaminants. Keep a spill pan ready and work in a well-ventilated area.
Why Engine Must Be Cold
Opening the reservoir on a hot engine risks scalding injuries. The cooling system operates under pressure when warm, up to fifteen psi in some vehicles. Releasing that pressure suddenly can force hot fluid and steam out violently. Wait until the engine reaches room temperature. For extra caution, perform the drain first thing in the morning before starting the car.
Inspect Cap and Tank Condition
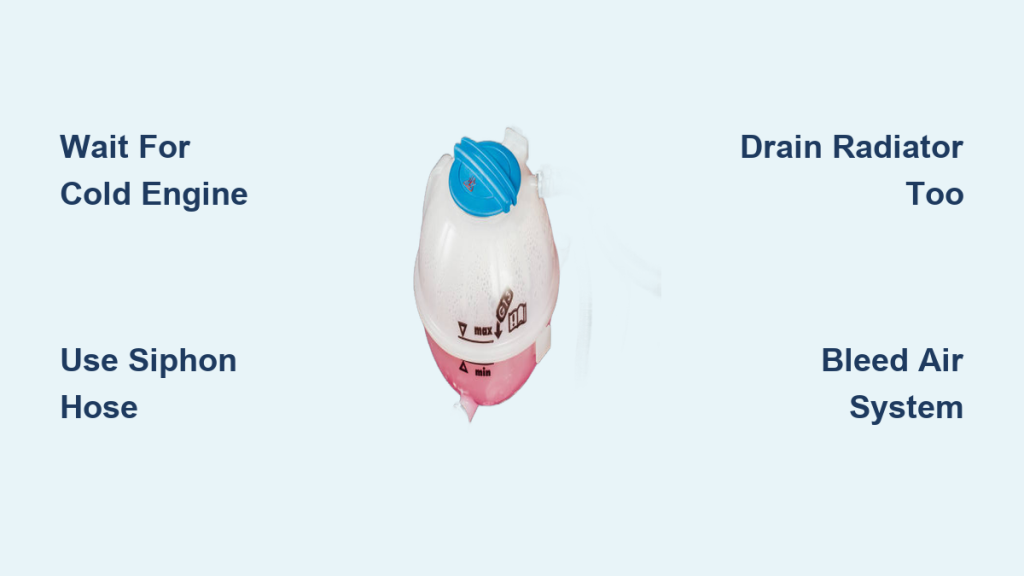
While the system cools, inspect the reservoir cap for cracks, warping, or weakened spring tension. A faulty seal can cause coolant loss or improper pressure regulation. Replace it if damaged. Also check the tank for cloudiness, sludge, or a milky appearance. These are signs of contamination or head gasket failure. Address those issues before refilling.
Use Siphon Hose to Remove Fluid
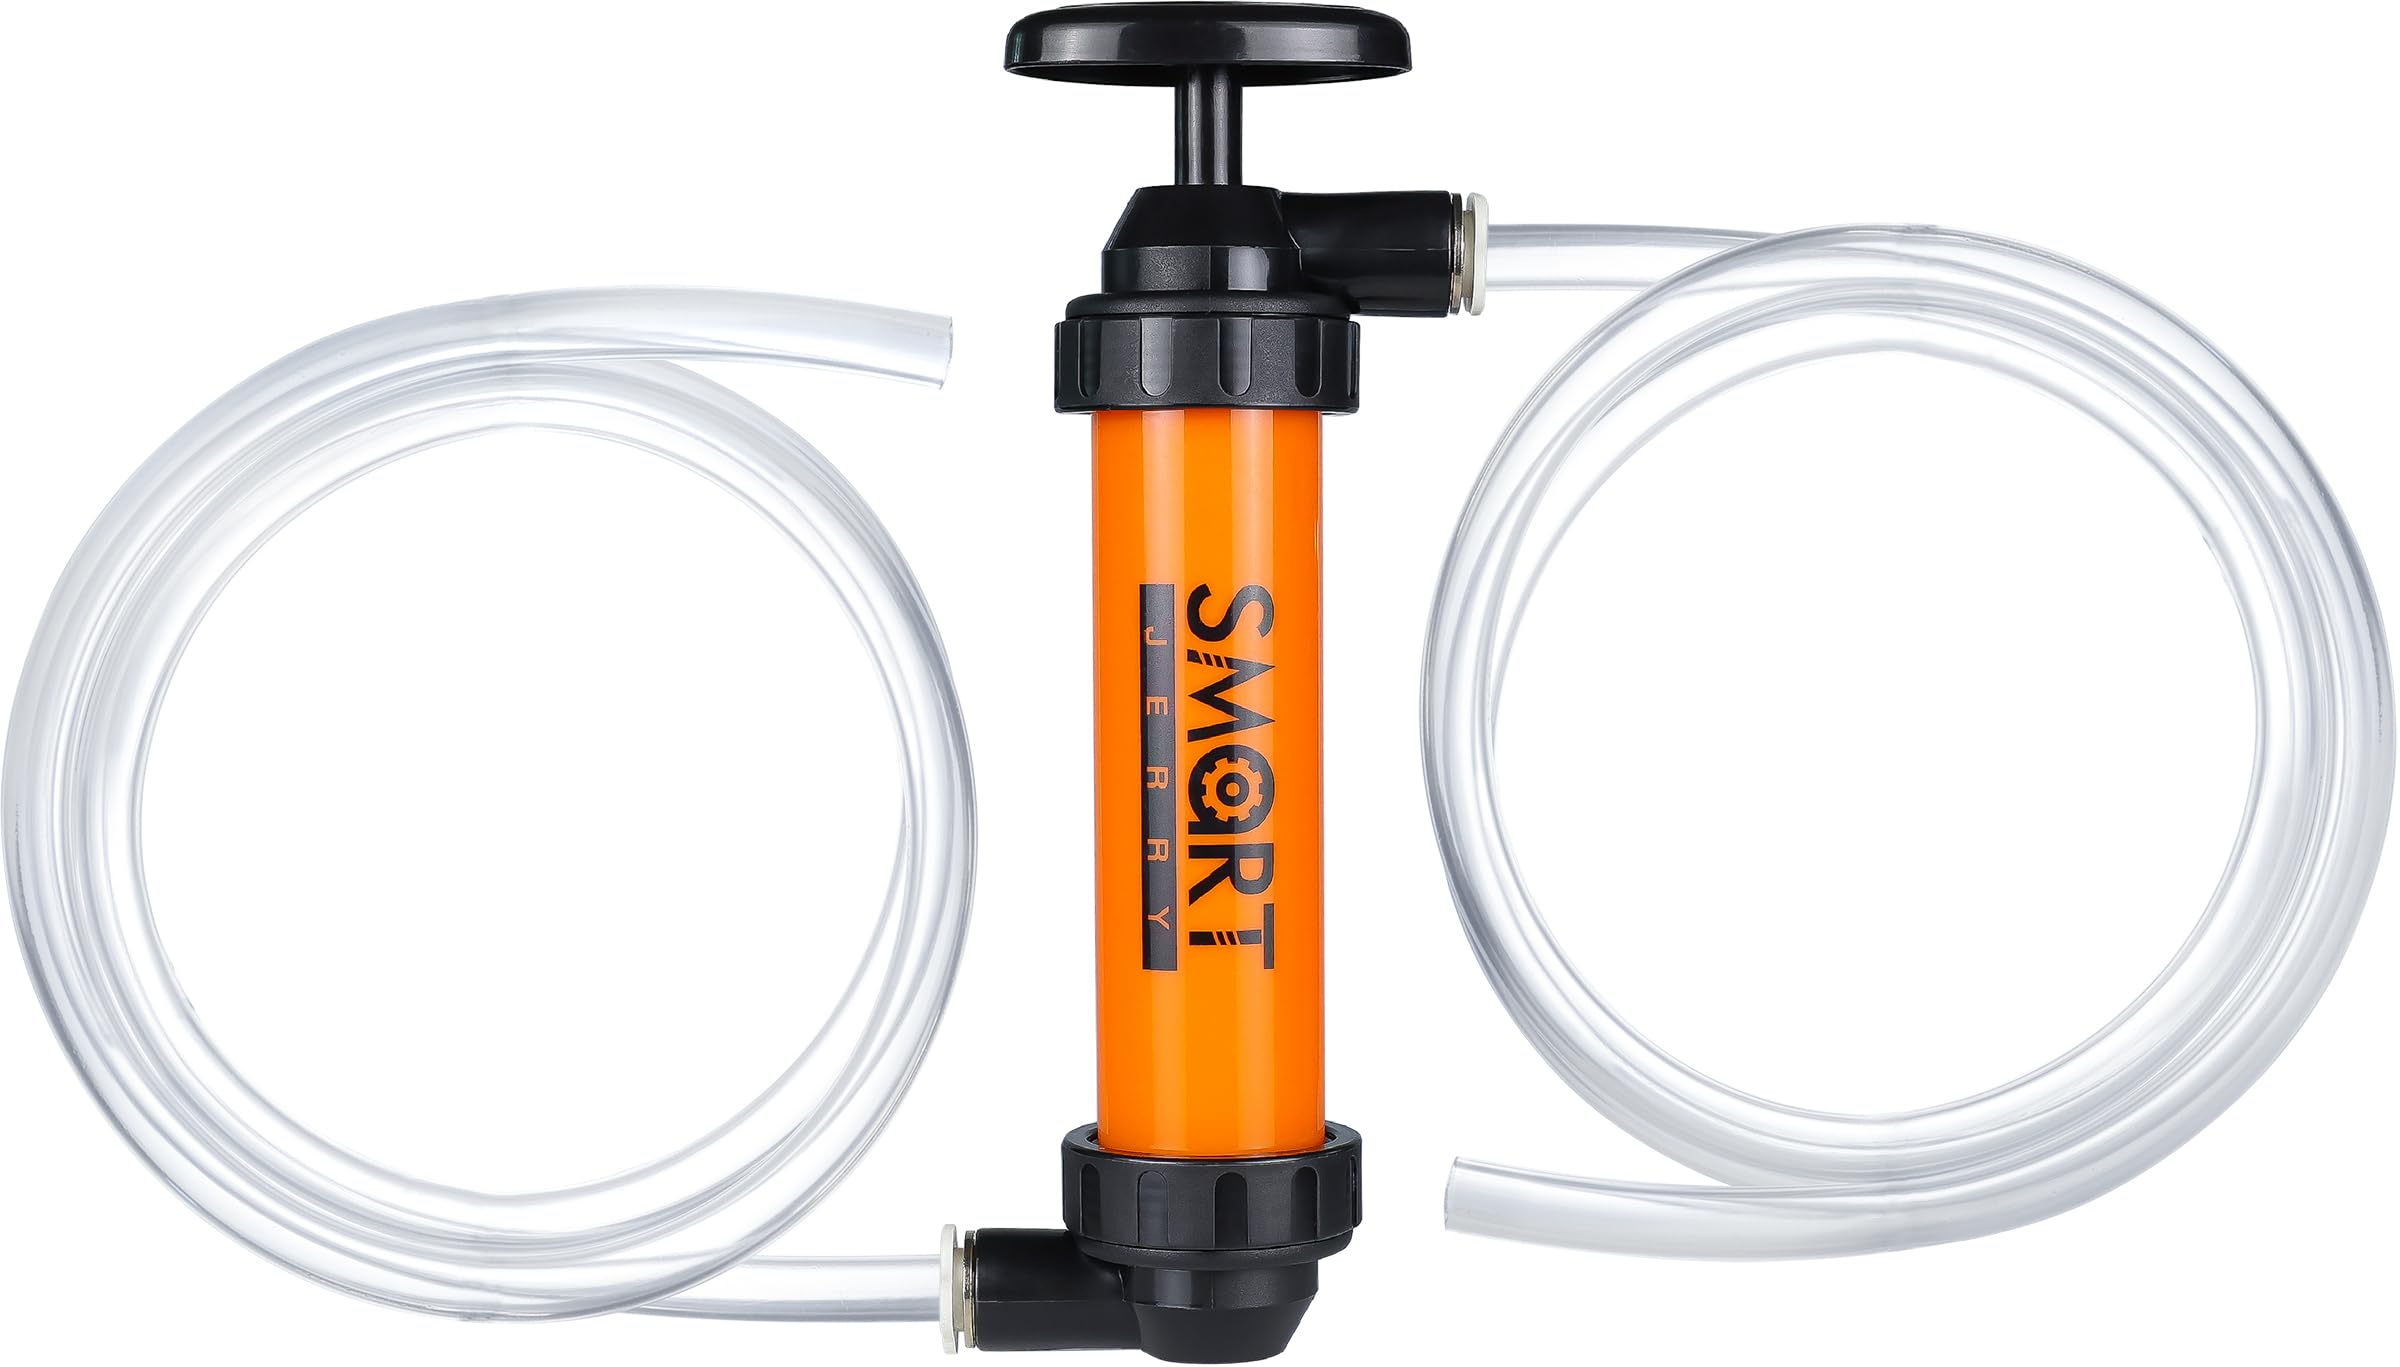
Siphoning is the most effective way to drain water from coolant tank without removing it. You’ll need a clean, flexible hose compatible with coolant, a bulb pump starter, and a drain bucket.
Insert one end of the hose deep into the reservoir, ensuring it reaches the bottom to extract maximum fluid. Place the other end in your collection container, positioned lower than the tank to allow gravity to pull the liquid.
Start Siphon with Bulb Pump
Attach the siphon hose to the bulb pump. Submerge the intake end in the coolant, place the outlet in the bucket, and squeeze the bulb repeatedly until flow begins. Once liquid moves through the tube, gravity maintains the siphon.
Pro Tip: Never use your mouth to start the siphon. Coolant is poisonous, even small amounts ingested can cause serious harm.
Prevent Air Lock in Hose
Keep the outlet end submerged in the drained fluid. If it rises above the liquid level, air enters the line and breaks the siphon. Pause occasionally to adjust the hose position. Continue until flow slows to a trickle. A small amount, fifty to one hundred mL, may remain due to tank shape or hose reach. This is normal and acceptable.
Alternative: Remove Tank and Pour Out
On some vehicles, the coolant reservoir can be unclipped and removed entirely. This allows full evacuation and cleaning.
Disconnect the hoses carefully. Note their routing so you can reinstall correctly. Use pliers if clamps are tight, but avoid damaging the plastic fittings. Lift the tank out and pour its contents into the drain pan.
Clean Interior Before Reinstall
Rinse the reservoir with distilled water. Check for cracks or residue buildup. Reinstall by reconnecting hoses securely and snapping the tank back into place. Ensure no kinks or leaks exist before refilling.
When Removal Is Necessary
This method is ideal when the tank is cracked or discolored, sludge or debris is visible inside, siphoning fails due to limited hose access, or you’re performing a full cooling system flush.
Vacuum Extraction for Precision Drain
If siphoning feels messy or inaccessible, use a hand-operated fluid extractor pump. These devices feature a narrow tube that fits easily into tight spaces and draws fluid into a sealed chamber via manual suction.
Insert the tip into the reservoir and pump the handle to create vacuum. Fluid rises into the container without risk of spills or airlocks. Empty the pump into your waste container and repeat until the tank is nearly dry.
Best For: Scooters, compact engines, or models where space is limited.
Combine With Radiator Drain for Full Flush
Draining the coolant tank alone doesn’t remove most of the system’s fluid. The radiator holds three to fifteen liters depending on the vehicle, far more than the reservoir’s half to one and a half liter capacity.
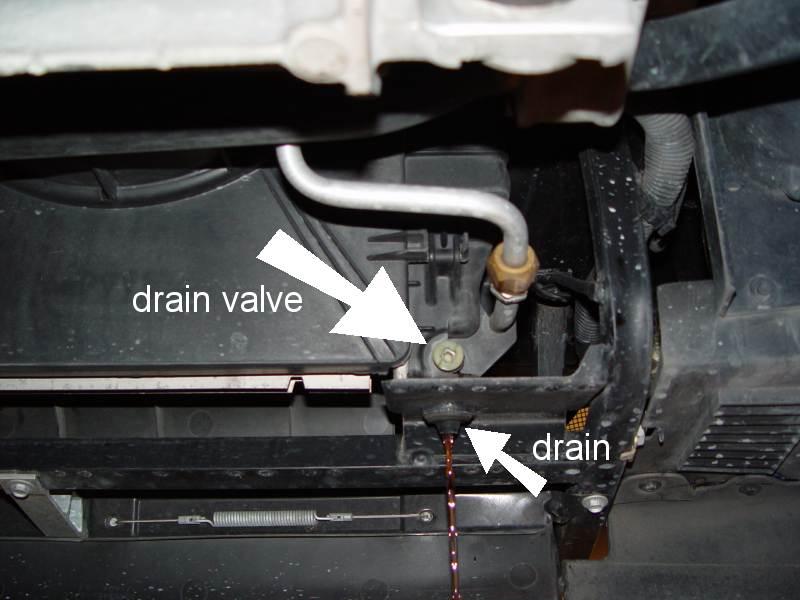
To fully replace old or water-diluted coolant, drain the reservoir using siphon or removal. Then locate the radiator drain valve on the lower tank. Place a pan beneath and open the valve to release fluid. If no petcock exists, loosen the lower radiator hose clamp and let fluid drain.
Critical: Both steps are required for complete coolant replacement.
No Drain Plug? Use Lower Hose
Some radiators lack a drain valve. In that case, use pliers to loosen the clamp on the lower radiator hose. Gently pull the hose away and let coolant flow into the pan. Reattach securely after draining.
Refill With Correct Coolant Mix
After draining, refill with the manufacturer-recommended coolant type. Most systems require a fifty/fifty mix of antifreeze and distilled water. Never use tap water, which contains minerals that cause scaling.
Pour coolant into the reservoir up to the cold fill line. If doing a full system flush, use a spill-free funnel on the radiator neck while bleeding air.
Avoid Mixing Coolant Types
Don’t mix different coolant chemistries. Doing so can form gels or reduce corrosion protection. Check your owner’s manual. Common specs include ASTM D3306 for universal use, Honda Type two for blue coolant, and GM DEX-COOL for orange.
Bleed Air From Cooling System
Trapped air causes overheating, poor heater performance, and false temperature readings. Bleeding is essential after any coolant service.
Start the engine and let it idle. Raise RPM to about three thousand until the thermostat opens and coolant begins circulating. Turn the cabin heater to maximum heat, fan on low. Monitor the reservoir or funnel for bubbles. These indicate air escaping. Top off coolant as the level drops. Once bubbling stops and temperature stabilizes, shut off the engine. Let it cool completely, then recheck the reservoir level.
Expert Note: Skipping heater-core bleeding is a top cause of weak cabin heat after coolant changes.
Dispose of Used Coolant Responsibly
Never pour coolant down drains, onto soil, or into storm sewers. Ethylene glycol is lethal to pets and wildlife, even in small doses.
Take used fluid to auto parts stores with recycling programs, local hazardous waste facilities, or certified repair shops accepting used fluids. Label containers clearly as used coolant toxic and store away from children and animals.
Avoid Common Draining Mistakes
Even experienced DIYers make errors that lead to leaks, overheating, or contamination.
Siphon Won’t Start? Check for Leaks
Common causes include kinked or cracked hose, incomplete submersion of intake end, or air leak at connections. Use a new hose and restart with a bulb pump. Avoid mouth suction.
Coolant Reappears After Draining
This is normal. The system pulls fluid back from the radiator as it cools. Don’t overfill. Follow the cold and hot marks on the tank.
Engine Overheats Post-Service
Likely causes are air pocket in system from improper bleeding, faulty thermostat, or loose hose or cap. Re-bleed the system and verify all connections.
Maintain Coolant System Regularly
Prevention beats repair. Follow your vehicle’s coolant replacement schedule. Standard green coolant needs replacement every two years or thirty thousand miles. Extended-life OAT lasts five years or one hundred fifty thousand miles. Honda Long Life can go up to one hundred thousand miles or seven years.
Inspect the reservoir monthly. Check level between MIN and MAX. Look for discoloration, rust, or oil residue. Replace cracked tanks or worn caps immediately.
Warning Sign: Milky coolant suggests head gasket failure. Seek professional diagnosis.
Final Steps: Test and Verify
After draining, refilling, and bleeding, start the engine and let it reach operating temperature. Monitor the temperature gauge. Confirm the heater blows hot air consistently. Check for leaks around the reservoir, hoses, and radiator. Recheck coolant level once the engine has cooled.
Take a short ten to fifteen minute drive with the heater on, then re-inspect the reservoir. Top off if needed.
Frequently Asked Questions About Draining Coolant Tank
Can I just drain the coolant reservoir without draining the radiator?
No. The reservoir only holds excess expansion fluid, typically half to one and a half liters. The radiator holds the majority of the system’s coolant, three to fifteen liters depending on your vehicle. For complete fluid replacement, you must drain both the reservoir and the radiator.
How long should I wait before draining coolant from a hot engine?
Wait at least one to two hours after the engine has been running. The cooling system remains pressurized until it cools to ambient temperature. Opening the reservoir too soon risks steam burns and spraying coolant.
What happens if I don’t bleed air after draining and refilling?
Trapped air creates air pockets that block coolant flow. This causes overheating, poor cabin heat, and false temperature readings. Always bleed air by running the engine at three thousand RPM with heater on maximum.
Is it safe to use tap water instead of distilled water in the coolant mix?
No. Tap water contains minerals that cause scaling and corrosion inside the cooling system. Always use distilled water for the fifty/fifty antifreeze mixture to prevent damage and maintain proper heat transfer.
How often should I replace coolant in my vehicle?
Check your owner’s manual. Standard green coolant typically needs replacement every two years or thirty thousand miles. Extended-life coolants like OAT or DEX-COOL last five years or one hundred fifty thousand miles. Some manufacturer-specific coolants like Honda Long Life can go up to one hundred thousand miles or seven years.
Key Takeaways for Draining Coolant Tank Properly
Draining the coolant reservoir requires a cold engine and proper safety gear. Use a bulb pump siphon to avoid toxic ingestion. Combine reservoir drain with radiator drain for full system service. Bleed air thoroughly to prevent overheating and poor heater output. Dispose of used coolant at approved recycling centers only. Follow OEM specifications for coolant type and mix ratio.
By mastering how to drain water from coolant tank properly, you protect your engine, extend component life, and ensure reliable performance in all conditions. Whether you’re refreshing old fluid or preparing for winter, this simple maintenance task pays big dividends in long-term reliability.