

You are driving when sweet-smelling steam rises from the hood and green fluid spills from the overflow tank. Your engine might not be overheating yet, but an overflow tank overflowing signals a broken cooling system balance. This sealed loop manages thermal expansion, so losing coolant means a component has failed or was installed incorrectly.
This guide details every cause of a spilling reservoir, from simple overfilling to a blown head gasket. You will learn to diagnose the issue using visual checks, pressure tests, and temperature monitoring without guessing. Follow these steps to identify the root cause and prevent catastrophic engine failure.
Verify Coolant Fill Level First
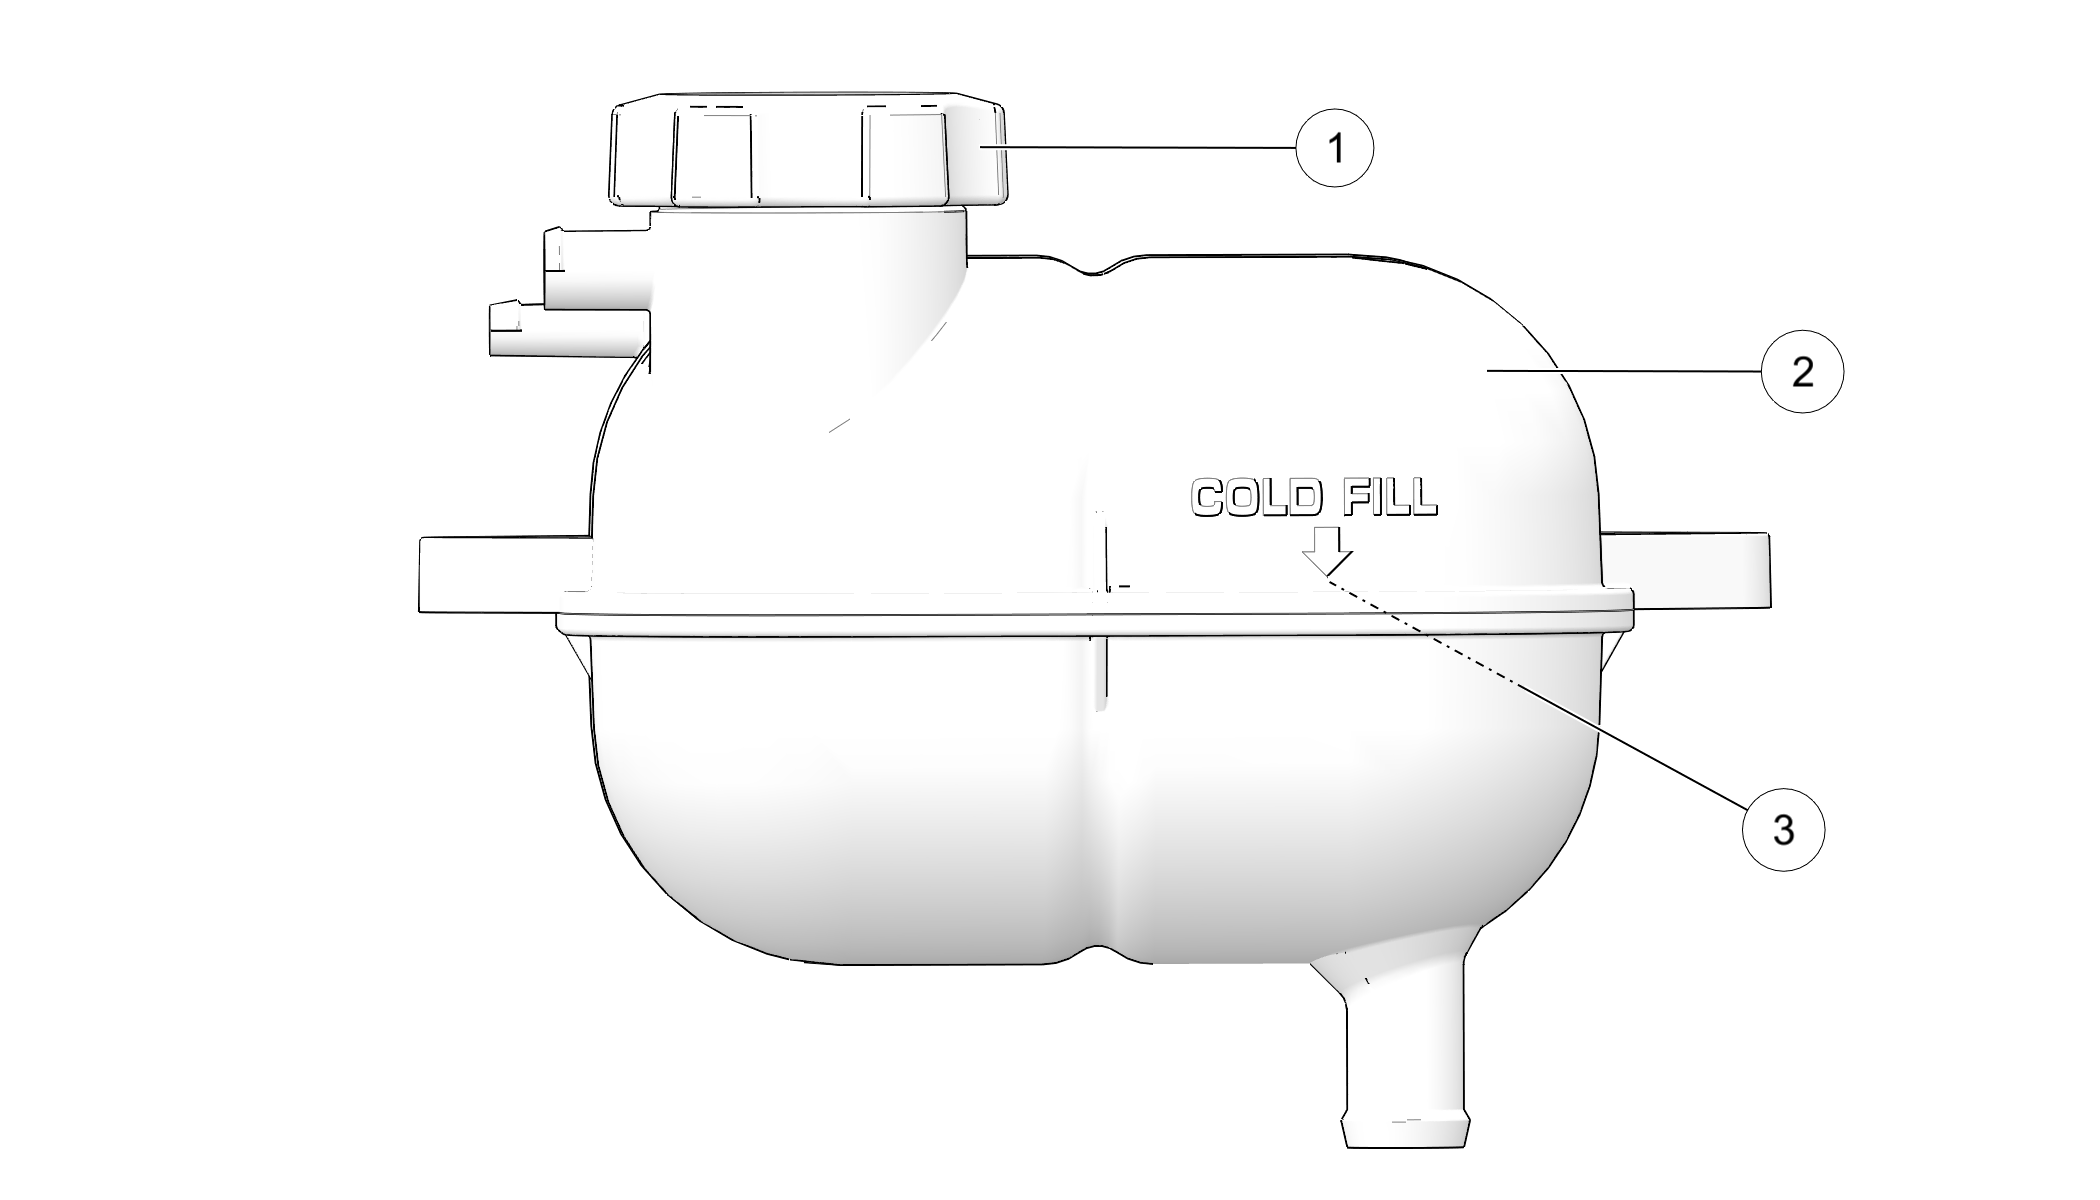
One of the most common reasons for spillage is user error regarding fill levels. The overflow tank acts as a buffer for expanding fluid, so it requires empty space when the engine is cold.
Avoid Overfilling the Reservoir
If you fill the tank to the top while the engine is cold, the expanding coolant has nowhere to go. As heat builds, the excess fluid simply pushes out of the vent.
- Park on level ground and wait for the engine to cool completely.
- Check the side of the tank for “cold” or “min” fill markings.
- Siphon out excess fluid if the level sits above the cold line.
- Drive the vehicle and monitor the tank to see if overflow stops.
Warning: Never open the radiator cap or reservoir while the engine is hot. High pressure can blast scalding coolant and steam.
Expect Post-Repair Spillage
A single overflow event often occurs after replacing a water pump, radiator, or thermostat. Air pockets trapped during the repair expand as the engine heats up and push fluid into the reservoir.
- Accept that one-time overflow after service is normal behavior.
- Expect the coolant level to drop after the first heat cycle.
- Top off the reservoir to the cold line once the engine cools.
- Investigate further only if the overflow repeats daily.
Inspect the Radiator Cap Condition
The radiator cap is a precision valve that controls system pressure and vacuum. A faulty cap is the number one cause of an overflow tank overflowing because it fails to manage pressure thresholds correctly.
Test Cap Seal and Pressure Rating
If the cap cannot hold pressure, coolant vents too early. If it fails to create a vacuum, coolant stays trapped in the reservoir and cannot return to the radiator.
- Remove the cap only when the engine is completely cold.
- Examine the rubber seal for cracks, tears, or swelling.
- Check the internal spring for rust or deformation.
- Shake the cap to listen for loose internal parts indicating breakage.
Pressure ratings vary by vehicle, typically ranging from 13 to 15 psi. Using a cap with a lower rating causes early venting, while a higher rating on a weak radiator risks structural failure.
Replace with OEM-Spec Cap
Never reuse an old cap after a cooling issue since seals degrade over time. Install a new cap with the exact pressure rating specified in your vehicle manual.
Pro Tip: Some manufacturers use color codes for caps. Black often indicates 75 kPa for older metal radiators, while green or gray indicates 150 kPa for aluminum units. Using the wrong color can cause damage. Replace this component every 3 to 5 years as preventive maintenance.
Diagnose a Blown Head Gasket

A blown head gasket allows high-pressure combustion gases to enter the cooling system. These gases force coolant out rapidly, causing an overflow tank overflowing even if the temperature gauge reads normal.
Look for Bubbles in Coolant
Combustion gases create continuous pressure that pushes fluid out of the system. You can often see this happening with a simple visual test.
- Remove the radiator cap when the engine is cold.
- Start the engine and let it idle without driving.
- Watch the coolant in the filler neck closely.
- Identify continuous bubbles as a sign of exhaust gas leakage.
This is a serious failure even if the engine does not feel hot to the touch.
Check for Milky or Frothy Coolant
Oil mixing with coolant creates a distinct chocolate-milk appearance. This happens when the head gasket fails between the oil and coolant passages.
- Dip a clean finger into the overflow tank fluid.
- Check the radiator filler neck for discoloration.
- Inspect the oil cap or dipstick for white, frothy residue.
- Stop driving immediately if you see this mixture.
Internal engine damage is likely if oil and coolant mix, so professional repair is necessary.
Use a Block Tester for Confirmation
A chemical block tester provides definitive proof of combustion gases in the cooling system. This tool uses a special fluid that changes color in the presence of hydrocarbons.
- Fill the tester with the provided blue detection fluid.
- Place the device over the open radiator filler neck.
- Run the engine at idle for several minutes.
- Watch for the fluid to turn yellow or green.
A color change confirms a head gasket failure requiring immediate engine repair.
Identify Circulation Problems
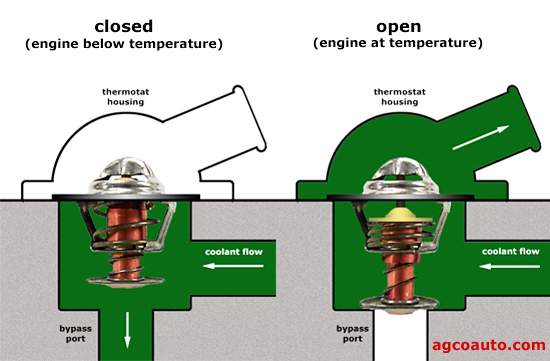
Circulation failures cause heat to build up faster than the system can dissipate it. This excess heat creates pressure spikes that force fluid into the overflow tank.
Test the Thermostat Operation
A thermostat stuck in the closed position blocks coolant flow to the radiator. The fluid heats up in the engine block, builds pressure, and forces its way into the reservoir.
- Remove the thermostat from the engine.
- Place it in a pot of water with a thermometer.
- Heat the water and watch for the valve to open.
- Replace the part if it does not open between 180°F and 195°F.
Always install the new thermostat with the jiggle valve at the 12 o’clock position to allow air escape.
Check Radiator for Blockages
A clogged radiator prevents heat dissipation even if the fan and pump work correctly. Internal corrosion or debris stops coolant from releasing heat.
- Run the engine until it reaches operating temperature.
- Use an infrared thermometer to scan the radiator surface.
- Look for a smooth temperature gradient across the core.
- Identify cold spots as indicators of blocked tubes.
Flush the radiator with a cleaning solution or replace the unit if clogs persist.
Verify Fan Function
The cooling fan pulls air through the radiator at low speeds or idle. A failed fan causes rapid heat buildup, especially in traffic or hot weather.
- Listen for the electric fan turning on near 200°F.
- Check fuses, relays, and wiring for electric systems.
- Spin a clutch fan by hand when cold to feel resistance.
- Replace the clutch if the fan spins freely when hot.
Bleed Air from the Cooling System
Trapped air creates compressible pockets that cause pressure spikes. These pockets push coolant into the overflow tank and prevent the vacuum needed to pull fluid back.
Air Pockets Cause Pressure Spikes
Air enters the system during coolant flushes or component replacements. Unlike liquid, air expands dramatically with heat and disrupts normal circulation.
- Recognize overflow after repair as a likely air pocket issue.
- Watch for bubbling in the reservoir during operation.
- Note inconsistent temperature gauge readings.
- Understand that air prevents proper vacuum formation.
Use Proper Bleeding Techniques
Every vehicle has a specific method to purge air, but a universal approach works for most systems.
- Park the vehicle on level ground.
- Remove the radiator cap with a cold engine.
- Fill the radiator to the very top.
- Start the engine with the heater set to high.
- Squeeze the upper radiator hose to dislodge air bubbles.
- Let the engine idle until the upper hose gets hot.
- Add coolant as the level drops in the filler neck.
- Repeat until no more bubbles appear.
- Replace the cap and fill the overflow tank to the cold line.
Some vehicles require a bleed screw to be opened during this process.
Inspect for Physical Damage
Physical integrity of the reservoir and hoses is vital for maintaining system pressure. Small cracks or degraded hoses can cause leaks that lead to overflow.
Check Overflow Tank for Cracks
Plastic reservoirs develop stress cracks over time, especially around the neck or mounting tabs. These cracks may only leak when the system is under pressure.
- Look for fine lines or stress marks near hose fittings.
- Search for white, chalky residue indicating dried coolant.
- Check for weeping at the base or cap seal.
- Replace the tank if any damage is visible.
Examine Hoses and Connections
Degraded hoses can swell, crack, or collapse, restricting flow or causing leaks. Loose clamps also allow pressure to escape.
- Inspect upper and lower radiator hoses for softness.
- Check heater hoses and the overflow hose for cracks.
- Squeeze hoses to ensure they feel firm, not mushy.
- Replace any hose that bulges or shows signs of wear.
Prevent Future Overflow Issues
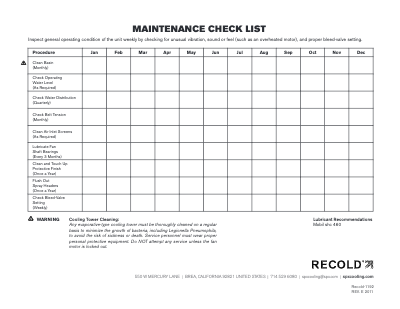
Preventive maintenance keeps the cooling system balanced and prevents an overflow tank overflowing. Regular checks help you catch small issues before they become major failures.
Follow Correct Refill Procedure
Improper refilling introduces air and causes overflow. Always use the correct coolant type and mix it with distilled water if needed.
- Fill the radiator first, then the overflow tank.
- Never exceed the cold line in the reservoir.
- Use the specific coolant formulation for your vehicle.
- Bleed the system after any fluid loss.
Schedule Preventive Maintenance
Regular inspections extend the life of your cooling components. Replace parts on a schedule rather than waiting for failure.
- Flush coolant every 30,000 to 50,000 miles.
- Replace the radiator cap every 3 to 5 years.
- Inspect hoses and fan operation annually.
- Bleed the system after any coolant work.
Frequently Asked Questions About Overflow Tank Overflowing
Why does coolant overflow when the engine is not overheating?
This often indicates a blown head gasket allowing combustion gases into the system. The gas pressure forces coolant out even if the temperature remains normal. A faulty radiator cap that vents too early can also cause this issue.
Is it normal for the overflow tank to bubble after adding coolant?
Brief bubbling is normal as trapped air escapes during the bleeding process. However, continuous bubbling while the engine idles suggests exhaust gases are leaking into the coolant. This requires immediate diagnosis with a block tester.
How full should the overflow tank be when the engine is cold?
The tank should be filled only to the “cold” or “min” line, typically less than half full. This empty space allows the coolant to expand as it heats up without spilling out of the vent.
Can a bad thermostat cause the overflow tank to overflow?
Yes, a thermostat stuck in the closed position blocks coolant flow to the radiator. This causes rapid pressure buildup in the engine block, forcing fluid into the overflow tank quickly.
What happens if I use the wrong radiator cap pressure rating?
A cap with too low a rating causes premature venting and coolant loss. A cap with too high a rating can cause excessive pressure buildup, potentially damaging the radiator or hoses.
Key Takeaways for Fixing an Overflow Tank Overflowing
An overflow tank overflowing is never normal and indicates a break in your cooling system balance. While overfilling or trapped air might cause a one-time spill, persistent issues usually point to a faulty cap, circulation failure, or blown head gasket. Ignoring this problem risks warped cylinder heads and catastrophic engine failure.
Start your diagnosis by checking the fill level and inspecting the radiator cap, as these are the most common and easiest fixes. If those components are functional, proceed to test for combustion gases and circulation problems. Address the root cause immediately to protect your engine from severe damage.



