Spotting a puddle of green or orange fluid under your car is never a good sign. If your engine is running hot and coolant keeps disappearing, you likely have a radiator leak. While a permanent fix calls for a mechanic, learning how to use radiator stop leak correctly can save you from being stranded. This chemical sealant flows through your cooling system and plugs small holes or hairline cracks in the radiator, hoses, or gaskets. When applied right, it buys you valuable time to reach a repair shop without paying for a tow. Misuse, however, can clog your system or cause overheating. This guide covers leak detection, safe application, curing, and when to call a professional.
Confirm the Leak Before Adding Any Sealant
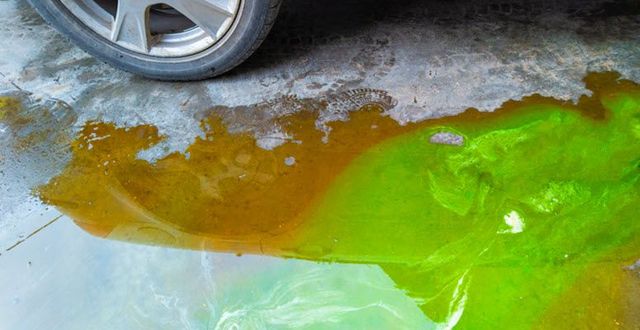
Pouring stop leak into a healthy system wastes product and risks blockages. Always verify the leak first.
Look for Visible Fluid and Residue
Park on level ground and check under the front of the car. Coolant puddles appear bright green, pink, or orange. As it dries, it leaves a chalky, crusty white or colored residue. Trace that residue upward to find the highest point, which usually marks the leak. Also, watch for steam escaping from the engine bay while the car runs.
Sniff for a Sweet, Burnt Sugar Smell
Coolant has a distinctive sweet odor, often compared to burnt syrup. If you catch this smell through the vents or under the hood, a leak is likely nearby.
Pressurize the System to Find Hidden Leaks
A cooling system pressure tester forces leaks to appear without running the engine. Attach the tester to the radiator cap opening and pump to 10 psi. Never exceed 15 psi, as this can rupture hoses or damage the radiator. If the gauge drops, search for escaping air or fluid to pinpoint the source.
Prepare the Vehicle and Work Area Safely
Cooling systems stay pressurized and hot long after shutdown. Skipping safety steps can cause serious burns.
Let the Engine Cool Completely
Wait at least 3 to 4 hours after turning off the car before opening the hood. Removing the cap on a warm engine can blast scalding coolant or steam into your face.
Wear Safety Glasses and Gloves
Coolant is toxic and irritates skin and eyes. Protective gear keeps you safe during inspection and pouring.
Rinse the Radiator with Water
Use a gentle water hose to wash away dirt and grime. Never wipe or brush the fins, since bending them reduces airflow and cooling power. A clean surface also makes leaks easier to spot.
Apply Radiator Stop Leak the Right Way
Once the system is cool and clean, you can add the sealant. Most products, including Bar’s Leaks and generic formulas, follow the same basic steps.
Remove the Radiator Cap Slowly
Twist the cap counterclockwise while the engine is cold. If you hear hissing, stop and wait longer. Pressure is still trapped inside. Once loose, set the cap aside in a safe spot.
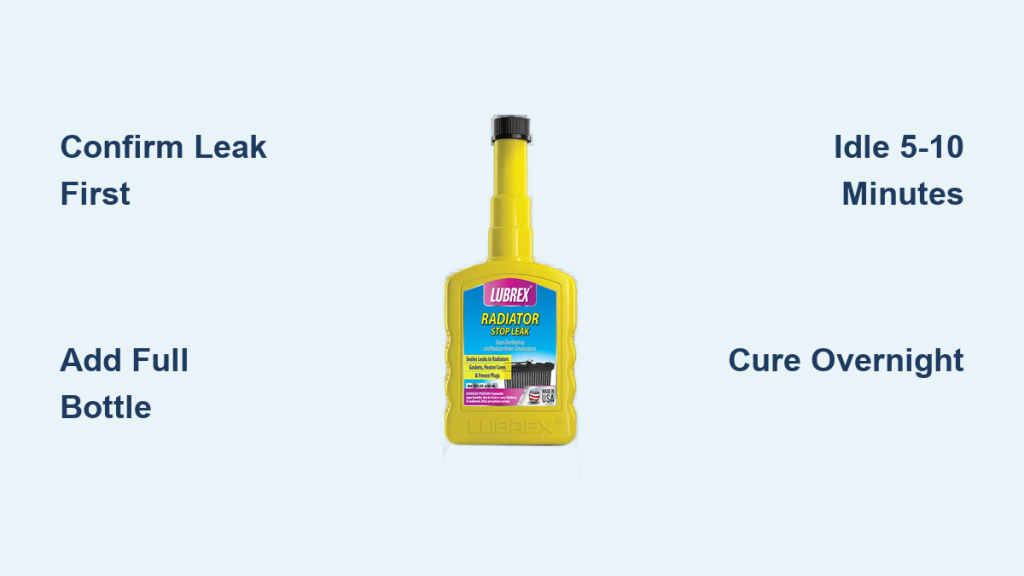
Pour in the Full Bottle
Add the entire contents of the stop leak bottle directly into the radiator. Do not dilute it. The product is designed to mix with your existing coolant. Skip draining unless you are performing a full system flush.
Top Off with a 50/50 Coolant Mix
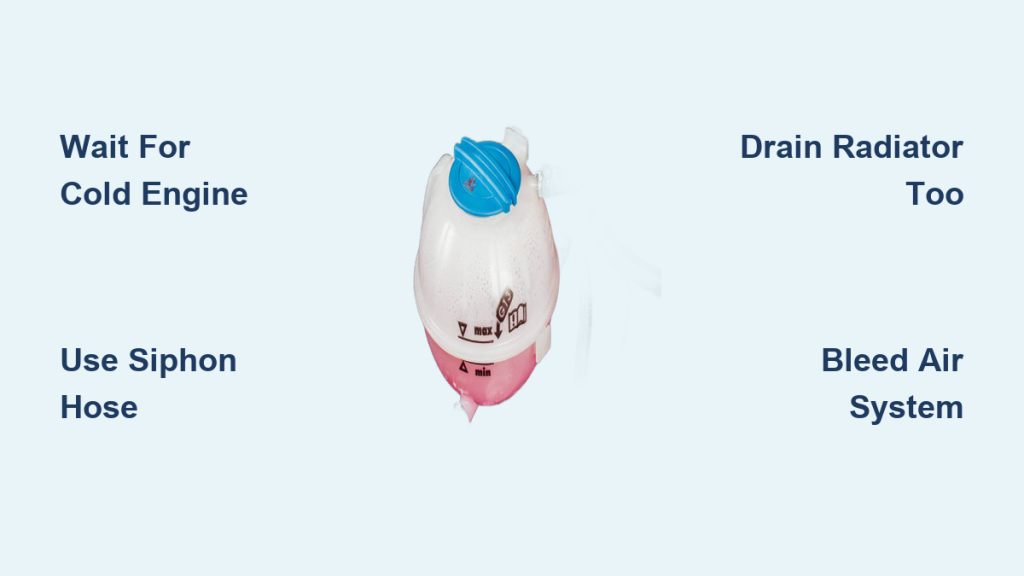
Fill the radiator to the recommended line using a 50/50 blend of water and coolant. This ratio ensures proper circulation and prevents air pockets. If the overflow reservoir is low, fill that too.
Idle the Engine for 5 to 10 Minutes
Start the car and let it idle. Turn the heater to maximum heat to open the heater core and boost flow. Run the engine for 5 to 10 minutes until it reaches normal operating temperature. This circulates the sealant through every part of the system.
Let the Sealant Cure Overnight
Turn off the engine and do not drive. Let the vehicle sit undisturbed for at least 12 hours. This curing time allows the sealant to harden and form a solid plug over the leak.
Verify the Repair the Next Day
Before trusting the fix, confirm the seal is holding.
Restart and Watch the Temperature Gauge
Start the engine and let it warm up. If the temperature needle stays in the normal range, the seal is likely working.
Inspect for New Drips or Residue
Look under the car and around the radiator, hoses, and reservoir. No drips, sprays, or fresh residue means the leak is sealed.
Recheck Coolant Levels After Cooling
Turn off the engine and let it cool. Open the radiator cap and confirm the fluid reaches the fill line. Top off if needed. Stable levels over the next several days confirm a successful repair.
Use Radiator Epoxy for Visible Cracks

If you can see the crack and reach it, epoxy offers a stronger temporary seal than liquid stop leak.
Clean the Damaged Area with Brake Cleaner
Spray brake cleaner on the crack and surrounding surface. Keep the spray away from hoses and wiring. Let the area dry completely, since epoxy will not stick to wet or oily metal.
Press Epoxy Over the Crack
Mix the two-part epoxy into a putty and press it firmly over the damage. Build a layer at least 1/8 inch thick that extends beyond the edges of the crack. Smooth it for full contact.
Cure for 12 Hours Before Testing
Let the epoxy harden overnight. Do not start the engine early, since heat weakens the bond before it fully sets.
Know When to Call a Mechanic

Stop leak and epoxy are emergency tools, not permanent cures. Some damage requires professional repair.
Leaks Hidden Behind Components
If the leak sits behind the AC condenser or inside the fan shroud, you cannot apply epoxy or confirm results. A mechanic may need to remove parts for proper access.
Large Cracks or Damaged Tanks
Stop leak only seals pinholes and hairline cracks. If a tank is split or the radiator core is badly dented, the structural damage is too severe for chemical repair.
Failed Seal Attempts
If the leak continues after proper stop leak or epoxy use, the damage is likely too large. Continuing to drive risks overheating and blown head gaskets.
Consider Professional Repair or Replacement
A radiator shop can brazing repair the unit or replace it entirely. While pricier, a new radiator eliminates future leak risks and restores full cooling efficiency.
Prevent Future Leaks with Routine Maintenance
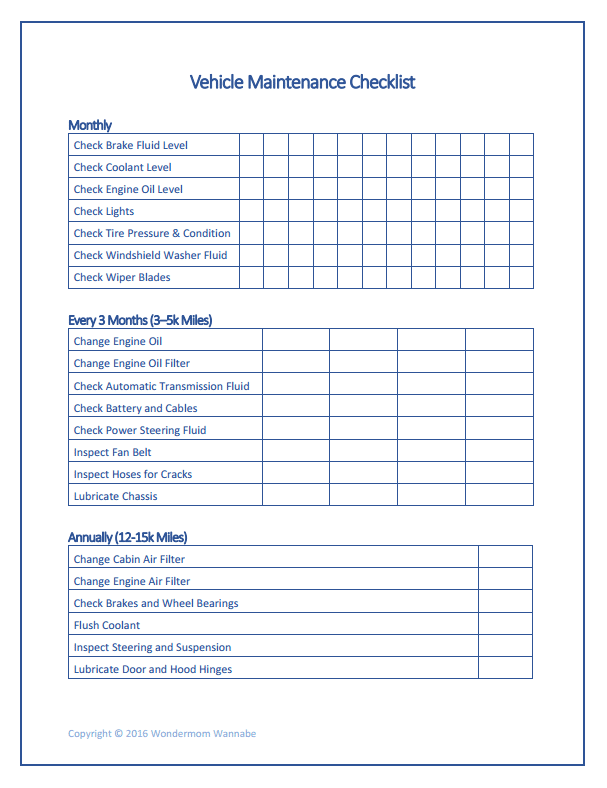
Catching small problems early avoids roadside emergencies.
Check Coolant Levels Monthly
Inspect the reservoir when the engine is cold. Low fluid may signal a slow leak you cannot see yet.
Monitor the Temperature Gauge
A needle creeping toward “HOT” is a warning. Pull over immediately. Even mild overheating can warp metal or damage gaskets.
Flush the Cooling System Every 2 to 3 Years
Old coolant becomes acidic and eats away at internal components. A coolant flush removes rust and sludge, preventing hidden leaks and clogs.
Troubleshoot Common Stop Leak Problems
Even with correct use, issues can arise. Here is how to handle them.
Stop Leak Did Not Seal the Leak
Recheck the size and location. If the crack exceeds 1/8 inch, the product cannot bridge it. Drain the system, inspect manually, and consider epoxy or professional repair.
Engine Overheats After Application
This may signal air pockets or a clogged passage. Bleed air by opening the bleed valve if equipped, or run the engine briefly with the radiator cap off while cold. If overheating continues, stop driving.
Is Stop Leak Safe with Any Coolant?
Most products work with green, orange, red, or yellow coolant. Always read the label. Mixing incompatible chemicals can cause gelling or sludge.
How Long Does the Repair Last?
Results vary. Some seals hold for weeks, others for months, depending on leak size, driving conditions, and product quality. Do not rely on it long-term.
Frequently Asked Questions About Radiator Stop Leak
What are the signs a radiator leak repair was successful?
Steady coolant levels, no visible drips, and a temperature gauge that stays in the normal range all indicate a successful seal.
Can I drive my car with a radiator leak?
It is risky. Coolant loss can lead to overheating and engine damage. Drive only short distances to reach a repair shop, and monitor levels closely.
Is radiator stop leak a permanent fix?
No. It is a temporary measure. The chemical seal degrades over time, and the underlying damage remains. Schedule professional repair or replacement for a lasting solution.
How much pressure should I use when testing the system?
Pump the tester to 10 psi for diagnosis. Never exceed 15 psi, since most cooling systems are rated for this maximum and higher pressure can cause new leaks.
Will stop leak clog my radiator or heater core?
When used as directed on small leaks, stop leak is safe. Misuse, such as pouring in extra product or using it on large cracks, can cause blockages.
Do I need to drain the cooling system before applying stop leak?
No. The product mixes with existing coolant. Drain the system only if you are performing a full flush or replacing the coolant entirely.
Key Takeaways for Using Radiator Stop Leak Safely
Radiator stop leak works best when you start with a cold engine, identify the leak, and apply the full bottle undiluted. Run the engine briefly to circulate the sealant, then let it cure overnight for a strong bond. Always verify the repair the next day by checking for drips and monitoring the temperature gauge. Remember that stop leak is an emergency tool, not a permanent cure, so schedule professional repair as soon as possible. Keep a bottle in your trunk alongside basic tools. Combined with regular coolant checks and system flushes every few years, this habit can prevent costly breakdowns and keep your engine running cool for years to come.