

Coolant hose connectors fail more often than most drivers realize, especially on General Motors trucks like the Chevrolet Silverado and GMC Sierra from 2007 to 2013. When a leak develops at the firewall, the culprit is usually the 3/4-inch plastic quick-connect fitting, not the hose itself. These OEM push-on connectors are designed for manufacturing speed, not long-term durability. Over time, they crack, leak, or seize, making removal frustrating without the right knowledge and tools.
This guide covers exactly how to remove a coolant hose connector safely and efficiently. You will learn the essential tool, step-by-step removal process, what to do when the fitting is stuck, and why upgrading to metal fittings prevents future problems. Whether you are fixing a slow drip or replacing a seized connector, this guide provides everything you need.
Identify GM Internal-Release Connectors Before Removal
Before attempting removal, confirm you are dealing with a GM-style internal-release coolant hose connector. Mistaking it for another type leads to failed attempts and damaged parts.
Look for These Features
The connector has a cylindrical plastic body where the hose meets the metal tube. There are no external tabs, buttons, or clips on the sides. The fitting is located at the firewall heater core inlets. Common size is 3/4 inch inner diameter. These connectors are found on 5.3L, 6.0L, and 6.2L V8 engines.
Correct Identification Tips
If you see no release mechanism, it is almost certainly an internal-locking quick connect. Do not try to pry or squeeze the fitting, as this breaks the plastic housing and makes removal harder. Vehicles with rear heat use T-fittings with dual flow paths, which are tighter to access and may require disconnecting both legs.
Get the Right 3/4-Inch Release Tool
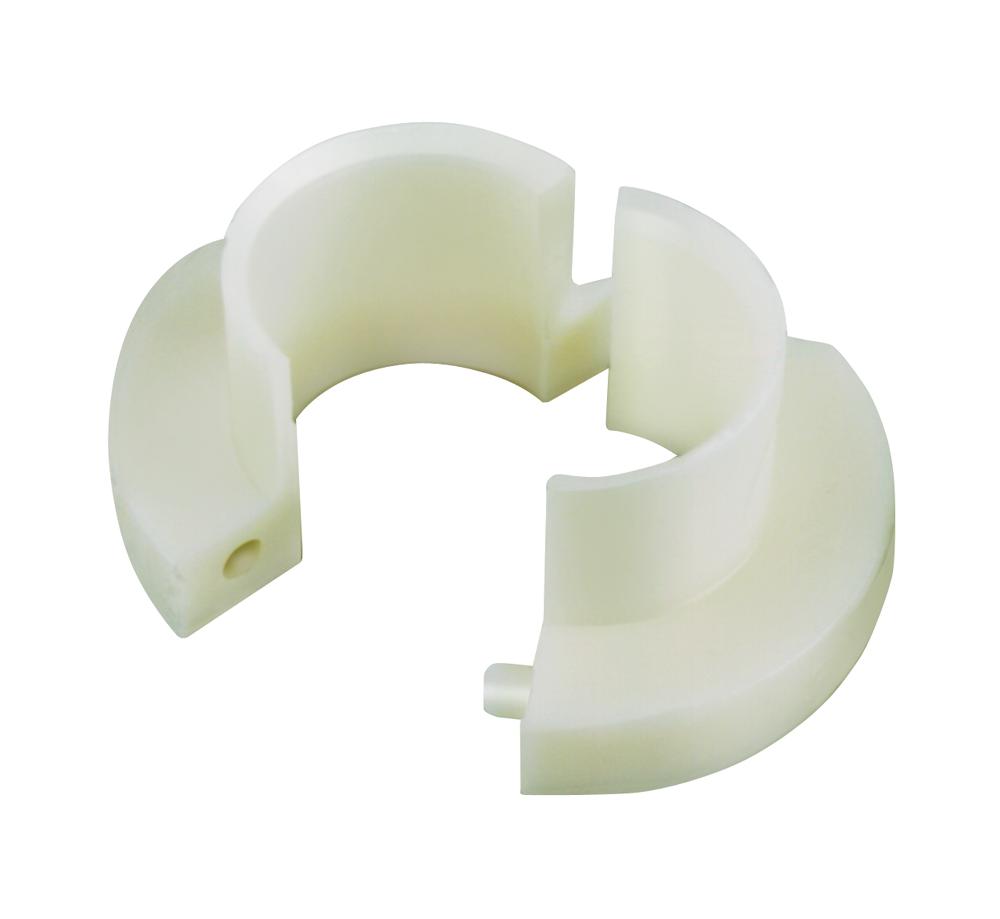
Using the wrong tool is the number one reason removal fails. Most generic quick-connect tools are too short or too flimsy to reach and retract the internal locking fingers.
Tool Requirements
The tool must be at least 4 to 5 inches long to fully insert into the fitting. The tip design should be hooked, clawed, or bristled to catch internal fingers. Material should be metal or reinforced nylon. Size must match the 3/4-inch GM heater line fittings.
Recommended Tools
The OTC 6668 Radiator Hose Quick Disconnect Tool works well for this application. The Lisle 28300 Hose Quick-Connect Release Tool is another solid option. The AutoZone Duralast DX40360 is available via loaner program at many auto parts stores.
Do not use screwdrivers or wire as makeshift tools. These damage the locking mechanism and heater core tube. Many auto parts stores offer tool loan programs, so borrow before buying to test fit.
Prepare the Engine and Work Area
Removing a coolant hose connector safely starts with proper preparation. Working on a hot or pressurized system risks scalding from high-pressure coolant spray.
Safety Steps
Shut off the engine and wait until completely cold, preferably overnight. Do not open the radiator cap until pressure is confirmed to be zero. Place a drain pan under the radiator or engine block. Remove the valve cover sight shield for better access. Wear chemical-resistant gloves and safety glasses.
On 4.8L, 5.3L, and 6.0L V8s, removing the sight shield gives critical extra space to maneuver. Never force the fitting, as excessive leverage can bend or snap the heater core tube, requiring dash-out heater core replacement.
Insert and Activate the Release Tool
This is the core step where most attempts fail due to incorrect technique.
Step-by-Step Removal
Slide the tool into the open end of the hose, feeding it straight toward the firewall. Push firmly until you feel resistance, which is the internal locking fingers. Continue pushing until the tool seats fully, about 1.5 to 2 inches deep.
Pull the tool straight back to retract the locking fingers. At the same time, push the hose forward toward the engine and twist the hose slightly clockwise and counterclockwise. Twisting breaks thermal bonding between hose and fitting and reduces binding.
You should feel a release click or sudden give. Once unlocked, pull the hose and fitting straight off the metal tube. The verified technique is push the connector in, pull the tool back, and twist both. This works across Silverado, Sierra, and Tahoe models.
Cut Hose If Connector Will Not Release
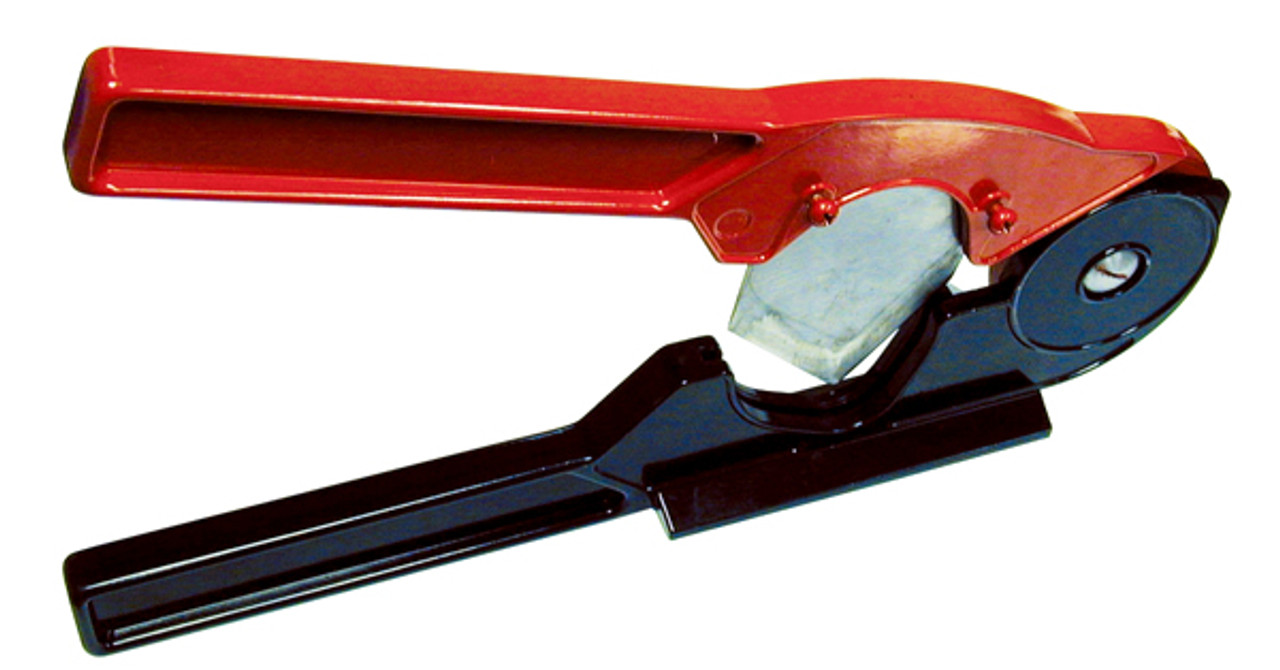
When the fitting is corroded, cracked, or jammed, standard tools may not work. Destructive removal is acceptable if the heater core tube remains undamaged.
Safe Cutting Methods
Use diagonal cutters to snip the plastic housing in multiple spots. An oscillating tool cuts away sides without touching the metal tube. A Dremel with cutoff wheel provides precision cuts at low speed to avoid heat. A hacksaw blade wrapped in tape protects nearby wiring and hoses.
Cut the connector in sections, first the outer shell, then expose and pry out internal locking arms. Avoid hammering, prying with screwdrivers, or excessive force on the metal tube. Once removed, clean the tube with a lint-free cloth and inspect for cracks, bends, or corrosion.
Bypass Heater Core for Emergency Fixes
If the connector or heater core is too damaged to repair, a coolant bypass stops the leak, though you lose cabin heat.
Quick Bypass Steps
Cut both heater hoses near the firewall. Slide a radiator hose barb connector into each cut end. Join with a straight hose splice or short rubber hose. Secure with two new worm-gear clamps. Tighten and pressure test.
Most GM trucks lack a heater control valve, so coolant flows constantly. Turning HVAC to cold does not stop flow. Only repair or bypass stops the leak. This method eliminates defrost and cabin heat, so it is not ideal for winter climates.
Upgrade to Metal Fittings to Prevent Future Leaks

Factory plastic connectors typically fail between 8 and 12 years. Replace with metal adapters for longer life.
Why Metal Is Better
Metal resists cracking from heat cycling. It is easier to remove in the future. Metal is more durable under pressure and less likely to seize.
Installation Tips
Lubricate the heater core tube with coolant or silicone spray. Slide the new metal quick-connect fitting onto the hose. Add a new clamp just behind the fitting. Push firmly onto the metal tube until you hear a distinct click. Tug test for security with no movement allowed.
Always replace old clamps, as they lose tension and cause leaks. Top brands include ACDelco for OEM-spec parts, Demand TRQ for affordable aftermarket, and Amazon brass adapters for popular DIY upgrades.
Refill Coolant and Pressure Test
After reconnection, refill and verify the system is leak-free.
Refill Procedure
Close all connections and install the radiator cap. Fill the reservoir with DEX-COOL or compatible 50/50 mix. Start the engine with heater on max heat and fan high. Let run 10 to 15 minutes to purge air from heater core. Shut off, cool down, then recheck coolant level.
Pressure Test
Attach a coolant pressure tester to the reservoir or radiator neck. Pump to 15 psi, which is standard system pressure. Hold for 10 to 15 minutes. No drop indicates success, while a drop means inspect connections.
Pressurize the system cold before starting to catch leaks early. Avoid mixing coolant types, as orange with green can form sludge and damage seals.
Troubleshoot Stuck or Leaking Connectors
Even with the right tool, problems happen. Here is how to fix them fast.
Connector Will Not Release
The tool may be too short, or there is corrosion and debris. Try a longer metal tool. Apply PB Blaster at the base. Use the push-pull-twist method.
Leak After Replacement
The fitting may not be fully seated, the tube may be damaged, or the clamp is loose. Pull and reseat with an audible click. Inspect the tube for nicks. Retighten the clamp.
Limited Access at Firewall
Wiring harness, brackets, or sight shield may be blocking access. Remove the plastic sight shield. Use a swivel ratchet if needed.
T-Fitting with Rear Heat
Dual connections in tight space create a challenge. Disconnect one leg at a time. Support hoses to avoid strain.
Frequently Asked Questions About Removing Coolant Hose Connectors
What tools do I need to remove a GM coolant hose connector?
You need a 3/4-inch quick-connect release tool that is at least 4 to 5 inches long with a hooked or bristled tip. Metal or reinforced nylon tools work better than flimsy plastic versions. Recommended options include the OTC 6668, Lisle 28300, or AutoZone Duralast DX40360.
Why will my coolant hose connector not release?
The most common cause is using a tool that is too short to reach the internal locking fingers. Corrosion, debris, or thermal bonding can also prevent release. Try a longer tool, apply penetrating oil, and use the push-pull-twist technique.
Can I reuse the hose after cutting off the old connector?
Yes, you can reuse the hose if it is in good condition. Cut the hose just above the old fitting and slide a new connector onto the clean end. Inspect the hose for cracks, swelling, or brittleness before reusing.
How do I know if my heater core tube is damaged?
Inspect the metal tube protruding from the firewall. It should be smooth, straight, and free of cracks or corrosion. If bent, cracked, or damaged, heater core replacement may be required, which is a more extensive repair.
Should I upgrade to metal fittings instead of plastic?
Yes, metal fittings are recommended for longer service life. They resist cracking from heat cycling, are easier to remove in the future, and are more durable under pressure. Upgrade to brass or aluminum adapters during replacement to prevent recurrence.
Key Takeaways for Fixing GM Coolant Hose Connectors

Removing a coolant hose connector on a GM truck is not difficult with the right knowledge. The three most important factors for success are using the correct long-reach release tool, following the push-pull-twist technique on a cold engine, and ensuring the new fitting is fully seated with an audible click.
Avoid the common pitfalls of using screwdrivers or generic tools that are too short. Take photos before disassembly and label hoses if working on multiple lines. Consider upgrading to metal fittings to prevent future leaks, as factory plastic connectors typically fail within 8 to 12 years.
After replacement, always perform a pressure test to verify the repair is leak-free. Most users complete this repair in 30 to 60 minutes once they understand the correct procedure. With patience and the right tool, you can stop the leak and keep your truck running cool.



