
A broken coolant cap can quickly turn a simple maintenance check into a frustrating underhood ordeal, especially when the outer shell twists off while the inner core remains stubbornly sealed inside the reservoir neck. This common failure occurs frequently on Ford Focus, C-Max, and GM Silverado models, often resulting from thermal cycling, O-ring adhesion, or brittle plastic degradation. Before you resign yourself to replacing the entire coolant reservoir, know this: you can often extract the broken base without damaging the neck or introducing debris into the cooling system. This guide walks you through every proven method, from low-risk lubrication tricks to last-resort cutting techniques, so you can safely remove a stuck or broken coolant cap and get your vehicle back on the road.
Assess the Damage Before Removal
Determining exactly how the cap failed prevents further damage and helps you choose the right removal strategy. Take a close look at what remains of the cap and check the engine temperature before proceeding.
Identify the Break Type
Examine the cap remnant carefully to understand what you are dealing with. If the outer ring spins freely but won’t lift, the O-ring has likely bonded to the neck. If only the center core remains, the cap fractured at the stress point, which is common on Ford and GM models. If the cap feels solid but won’t budge, it may be seized due to chemical fusion or corrosion.
Visual Tip: Shine a flashlight into the reservoir neck to see if remnants of the internal spring or washer are still lodged below.
Check Engine Temperature
Never attempt removal on a hot engine. Coolant systems are pressurized when warm, and removing a cap can release scalding steam and coolant. Wait at least 2-3 hours after shutdown. Confirm the engine is cold by touching the hood or radiator before beginning work.
Clear the Work Area
Remove dirt and grime around the cap with compressed air or a clean cloth. This prevents debris from falling into the reservoir during extraction. Place a shop towel over nearby belts and electrical components to protect them from accidental spills or metal shavings.
Break the O-Ring Seal Without Force
The most common reason a broken cap won’t budge is a fused O-ring. Breaking this seal is often the key to successful removal without applying damaging force.
Cut Through the Bond with a Razor Blade
If the cap base is flush or slightly recessed, slide a utility knife or razor blade between the cap edge and reservoir neck. Rotate the blade 360 degrees to slice through the rubber seal. Work slowly and carefully to avoid gouging the neck surface.
User Success: “A razor knife and WD-40 got it out in under 10 minutes.”
Apply Penetrating Lubricant
After cutting the seal, spray PB Blaster, Liquid Wrench, or even dish soap around the base. Let it sit for 5-10 minutes to wick under the O-ring. Avoid over-spraying, as lubricant can contaminate coolant if it seeps into the reservoir.
Why It Works: Dish soap acts as a gentle penetrant and reduces surface tension, helping break the adhesion between the cap and neck.
Use Pliers for Controlled Extraction

Once the seal is broken, pliers can provide the grip needed to extract the cap, especially if it has a lip or ridge remaining.
Choose the Right Pliers
Flat-jaw pliers work best for gripping plastic without crushing it. Needle-nose pliers are ideal for tight engine bays, such as those found in Ford Focus models. Snap-ring pliers with an angled tip can reach under low-profile caps where other pliers won’t fit.
Mechanic Insight: “Angled snap-ring pliers are a game-changer for Ford models with tight engine bays.”
Grip and Rotate Carefully
Clamp the pliers onto the cap’s upper edge. Apply steady upward pressure while turning counter-clockwise. Use a rocking motion with small back-and-forth turns to break resistance. Never yank suddenly, as force can crack the reservoir neck.
Try the Dowel and Epoxy Method
When the cap is flush or broken below the surface, creating a handle using epoxy and a wooden dowel provides a strong pulling point.
Prepare the Surface
Clean the cap’s top with isopropyl alcohol to remove oil and coolant residue. Let it dry completely, as epoxy won’t bond to a wet surface.
Apply the Dowel
Cut a 3/4-inch wooden dowel or PVC pipe to 6-8 inches in length. Mix two-part epoxy and apply it to one end. Press the dowel into the center of the cap remnant and hold for 2-3 minutes to set the initial bond.
Alternative: Use a threaded rod instead. Glue it in place or screw it into a pilot hole for even more secure attachment.
Wait and Remove
Let the epoxy cure for 30-60 minutes. Grip the dowel and rotate counter-clockwise while applying steady upward pull.
User Confirmation: “Dowel and epoxy worked perfectly and saved me $120 in parts.”
Drill and Use a Bolt for Leverage
If the cap has a hollow center, drilling creates an anchor point for mechanical extraction using a bolt or threaded rod.
Drill a Pilot Hole
Use a 1/8-inch drill bit to make a shallow hole in the cap’s center. Drill only through the plastic and do not penetrate the reservoir tank. Keep the drill perpendicular to the cap to avoid damaging the walls.
Insert a Bolt or Threaded Rod
Screw a 1/4-20 bolt into the hole. Add a washer and nut on top for grip. Use a wrench to turn the bolt counter-clockwise while pulling up simultaneously.
Risk Control: Place a shop vacuum nozzle nearby to catch plastic shavings and prevent them from entering the cooling system.
Success Rate: This method works approximately 80% of the time and is effective for caps with intact central cores.
Wedge Wood to Expand and Release
For caps with a central cavity, a hardwood wedge can force outward pressure to break the seal by expanding against the inner walls.
Make and Use a Wedge
Cut a hardwood wedge from a 2×4, making it about 2-3 inches long with one end tapered to fit snugly into the cap’s center. Tap the wedge into the cavity with a hammer. As it expands, it presses against the cap’s inner walls. Once tight, rotate the entire assembly counter-clockwise.
Limitation: This method only works if the cap hasn’t shattered internally and has an intact central cavity.
Cut the Cap as a Last Resort
When all other methods fail, a controlled cut can collapse the cap for removal, though this method carries the highest risk of damage.
Use a Dremel with Cutoff Wheel
Cover surrounding components with a rag or cardboard to protect them from sparks and debris. Position a shop vacuum nozzle close to the cut zone. Make a single vertical cut through the cap’s side from top to bottom. Use a flat-head screwdriver to push the edges inward, collapsing the ring.
Warning: Avoid scratching the reservoir neck, as metal shavings or plastic fragments can enter the coolant system and cause serious engine damage.
User Experience: “I used a Dremel with a vacuum attached and got it out without dropping debris into the system.”
Retrieve Internal Components
After removing the cap body, check for parts left behind inside the reservoir neck, as these can cause serious engine damage if not removed.
Remove the Internal Spring
Most coolant caps contain a steel spring inside the neck. Use a flexible magnet or telescoping magnet tool to pull it out. A lost spring can clog the water pump impeller or thermostat, leading to expensive repairs.
Extract O-Rings and Washers
Use tweezers, adhesive putty, or a vacuum to remove rubber seals lodged in the neck. Shine a flashlight down the neck to confirm the area is completely clear before proceeding.
Mechanic Rule: “Always flush the system thoroughly. Even one shard can cause a $500 water pump failure.”
Inspect the Reservoir Neck
Before reinstalling a new cap, ensure the neck is intact and free of debris, cracks, or deformation.
Check for Damage
Run your finger around the inner lip to feel for chips or sharp edges. Look for hairline fractures or chew marks from prying attempts. Minor scratches on the outer lip are usually safe, as the functional seal occurs inside the neck, not at the lip.
Replace if Necessary
If the neck is cracked, warped, or deeply gouged, replace the entire reservoir. On high-risk models like the Ford Focus and C-Max, consider replacement even if damage isn’t visible, as these models are prone to recurrence.
Clean and Flush the Reservoir
Even if the coolant looks clean, particles may be suspended in the tank or stuck to the walls.
Flush Thoroughly
Disconnect reservoir hoses to prevent backflow. Rinse with clean water using a garden hose or squeeze bottle. Repeat until water runs clear. Dry with compressed air or let air-dry completely before reinstalling.
Never Use Chemical Cleaners unless specified by the manufacturer, as they can damage plastic reservoir materials.
Install the Correct Replacement Cap
Using the wrong cap or skipping O-ring lubrication invites future failure.
Choose the Right Cap
| Vehicle | OEM Part Number | Aftermarket Option |
|---|---|---|
| Ford Focus | YC-476, YC-477 | Dorman 47405 |
| GM Silverado 1500 | 3014115 | Stant 10508 |
| BMW X3 | 17117570754 | Gates T31883 |
Cross-reference using your VIN for exact fit. Aftermarket options like Dorman 47405 offer good durability for Ford and GM models.
Lubricate and Seat Properly
Apply dielectric grease or bee’s wax to the new cap’s O-rings. Press down firmly until it clicks into place. Rotate slightly to confirm engagement. Do not overtighten, as plastic caps can crack under excess torque.
Test the System Before Driving
A final check ensures the repair holds under real operating conditions.
Bleed Air from the System
With the engine cold, start it with the cap off. Let it run until the thermostat opens and air bubbles stop forming. Top off coolant to the full cold mark.
Monitor for Leaks
Let the engine reach operating temperature, then shut off and recheck cap seating, coolant level, and signs of seepage. Never drive with a loose or missing cap, as loss of pressure leads to overheating.
Avoid Common Mistakes
Even experienced DIYers make errors that turn a simple fix into a costly repair.
Don’t Use Excessive Force
Pipe wrenches and brute strength often crack the reservoir neck. Use controlled leverage instead of muscle. Many users admit to damaging their reservoirs by using improper tools.
Don’t Skip Debris Removal
Leftover plastic or metal fragments can block coolant flow, damage the water pump, and cause engine hot spots. Always retrieve all fragments and flush the system before reinstalling a new cap.
Don’t Reuse Old Caps
A cracked or warped cap won’t seal properly. Always install a new, correct-spec cap to ensure proper system pressure and prevent recurrence.
Know When to Replace the Reservoir
If removal attempts have failed or the neck is compromised, replacement is safer than risking engine damage.
Replacement Options
OEM parts are available from dealerships or RockAuto. Aftermarket options include Dorman, Stant, and Gates. Used units from pick-and-pull yards are an option but require careful inspection. Parts typically range from $40-120.
Pro Tip: Upgrade to Dorman 47405, as users report better durability on Ford and GM models.
Frequently Asked Questions About Removing a Broken Coolant Cap
Can I drive my car with a broken coolant cap?
No. Driving with a broken or missing coolant cap causes loss of system pressure, which raises the boiling point of coolant. This leads to overheating, potential engine damage, and coolant loss. Address this issue immediately before driving.
What causes coolant caps to break?
Coolant caps break due to material degradation of plastic components over time, thermal cycling causing expansion and contraction stress, chemical interaction with coolant formulations, O-ring adhesion or hardening that bonds the cap to the reservoir neck, and poor OEM design in certain models leading to fracture at stress points.
How do I know if my coolant reservoir neck is damaged?
Run your finger around the inner lip to feel for chips or sharp edges. Look for hairline fractures or chew marks from prying attempts. If the neck is cracked, warped, or deeply gouged, replace the entire reservoir rather than risking cooling system failure.
What is the easiest way to remove a stuck coolant cap?
Start with the lowest-risk method first. Apply penetrating lubricant around the base, wait 5-10 minutes, then use a razor blade to cut through the O-ring seal. Finally, use pliers to grip and rotate counter-clockwise. This approach succeeds over 90% of the time.
Do I need to flush my cooling system after removing a broken cap?
Yes. Even if the coolant looks clean, particles may be suspended in the tank or stuck to the walls. Flush with clean water until it runs clear to prevent debris from clogging the water pump or thermostat.
How much does it cost to replace a coolant reservoir if removal fails?
Replacement reservoirs range from $40-120 for the part, plus labor if professional installation is needed. This is significantly cheaper than repairing damage from overheating or a clogged water pump, which can cost $500 or more.
Key Takeaways for Removing a Broken Coolant Cap
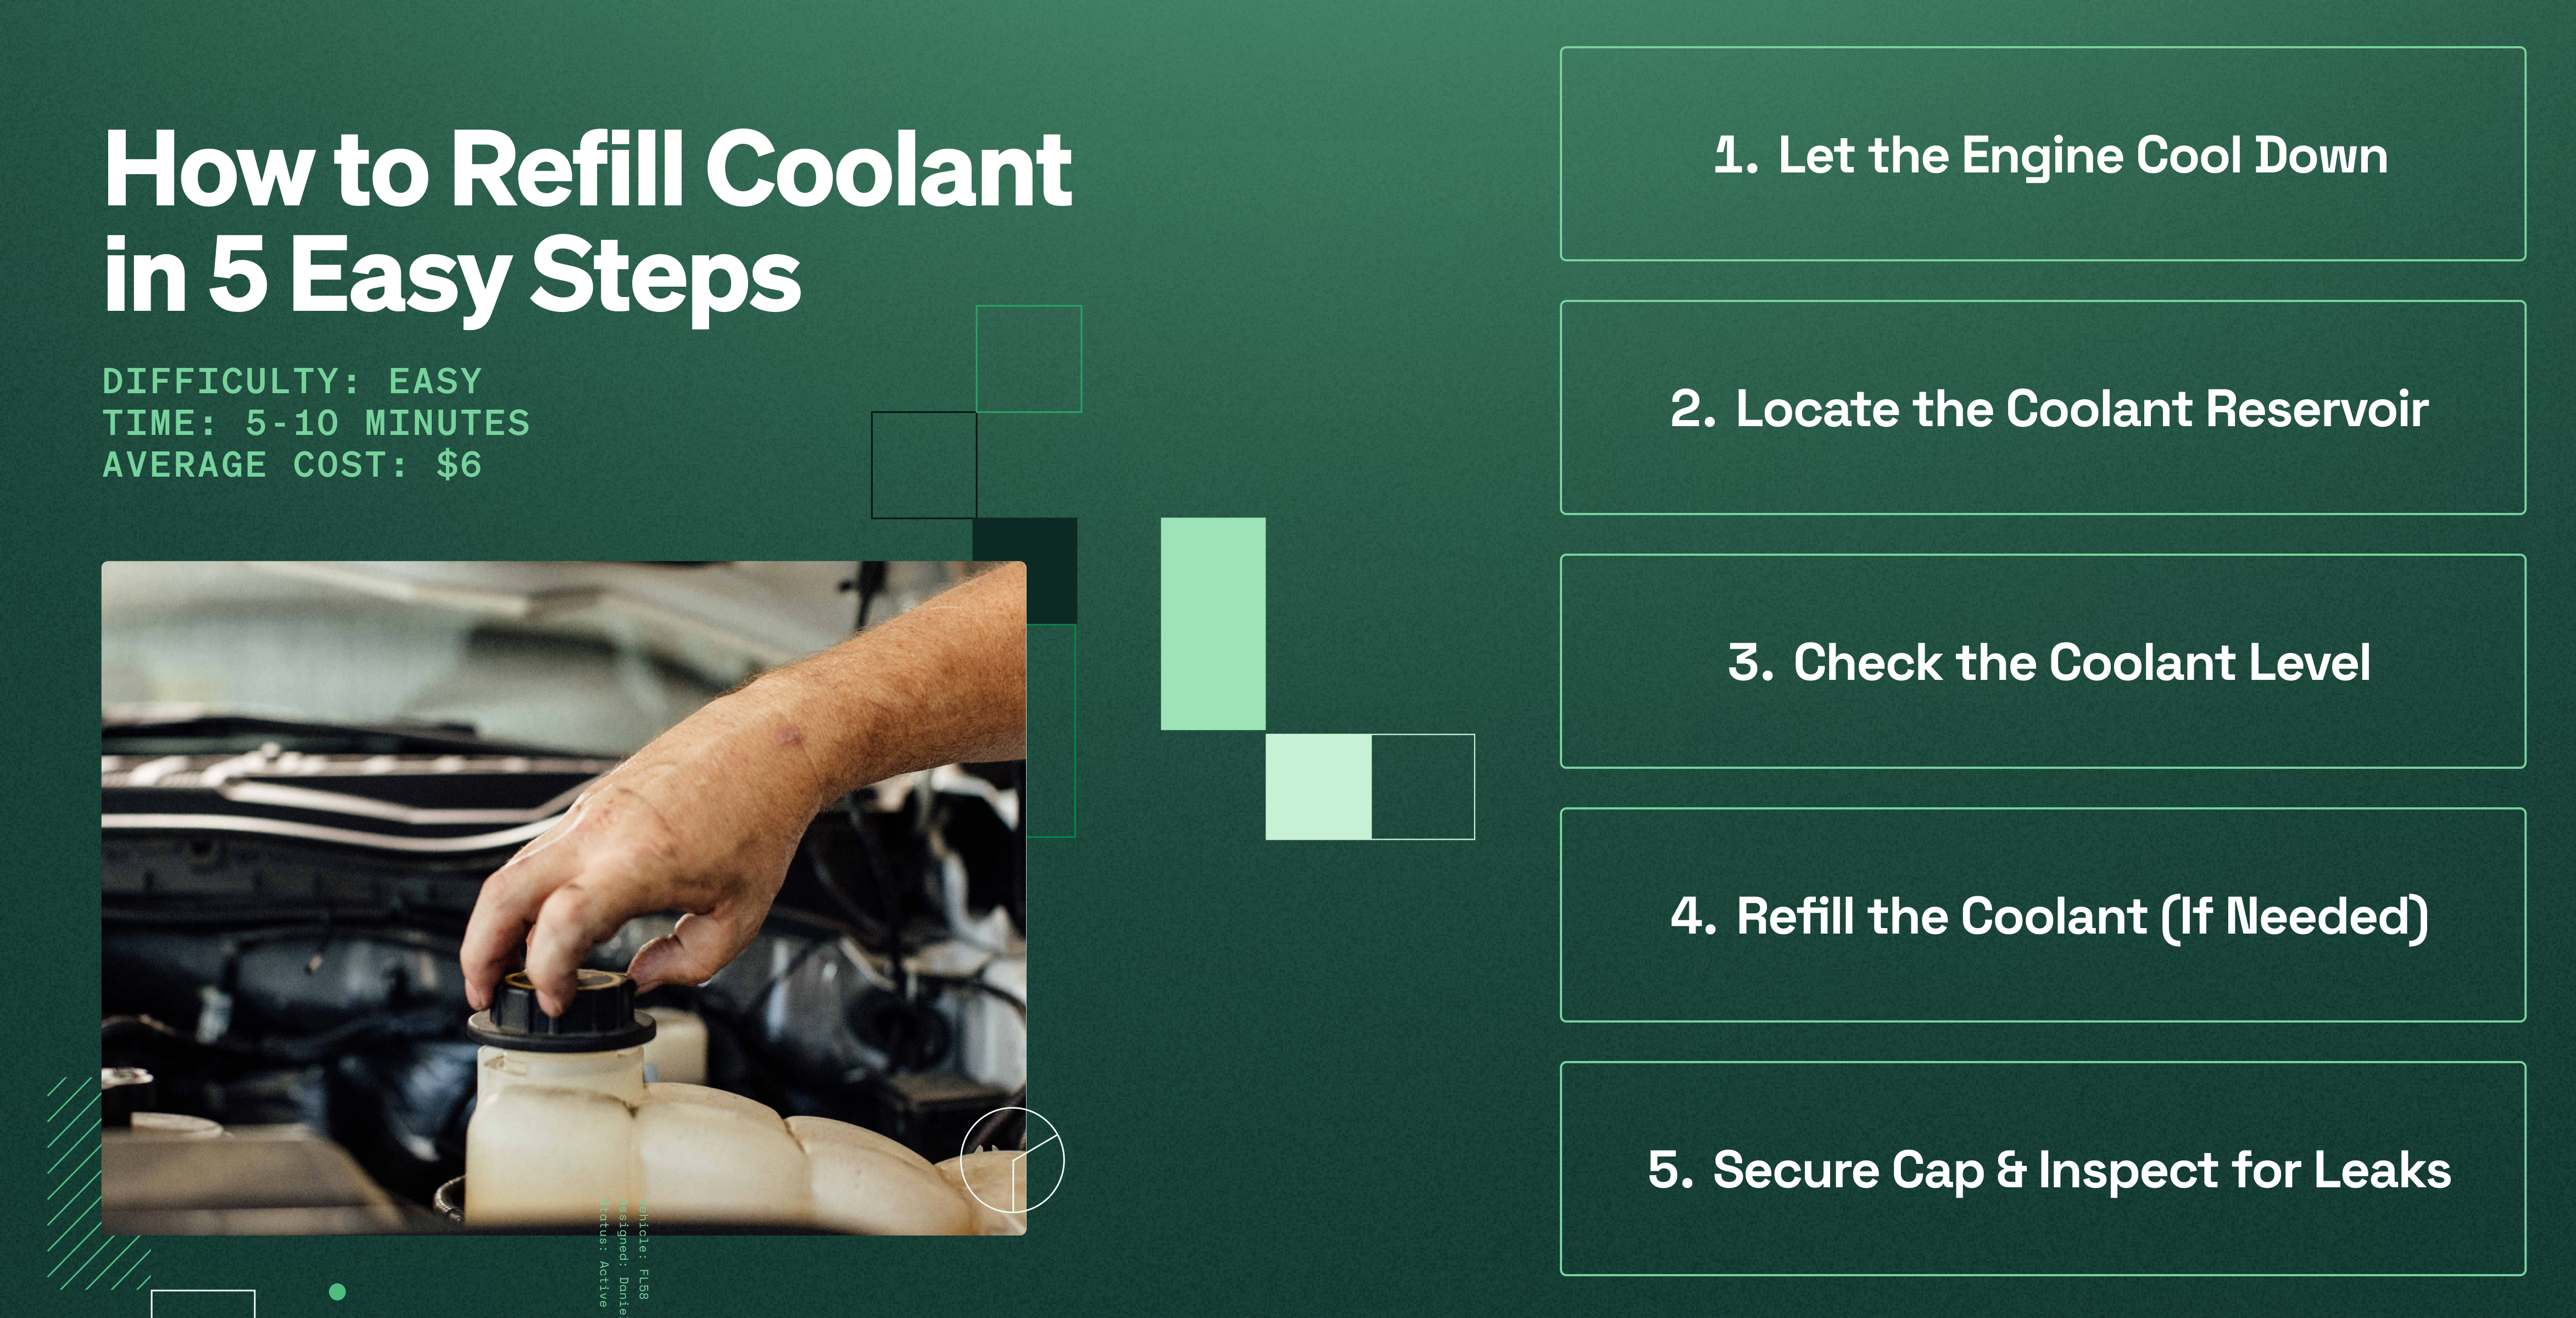
Removing a broken coolant cap doesn’t have to mean a trip to the shop or a costly reservoir replacement. With the right approach, starting with lubrication and progressing to controlled leverage, you can restore your cooling system’s integrity and avoid downstream damage. Prioritize safety by ensuring the engine is cold, use the correct tools like angled snap-ring pliers or two-part epoxy, and always retrieve all internal components including the spring and O-rings. Thoroughly flush the system before installing a new OEM-spec cap with lubricated O-rings. Whether you’re working on a Ford Focus, GM Silverado, or BMW X3, these methods give you the best chance to succeed without breaking the bank. If the neck is damaged or removal attempts fail, replace the entire reservoir rather than risking engine overheating damage.



