
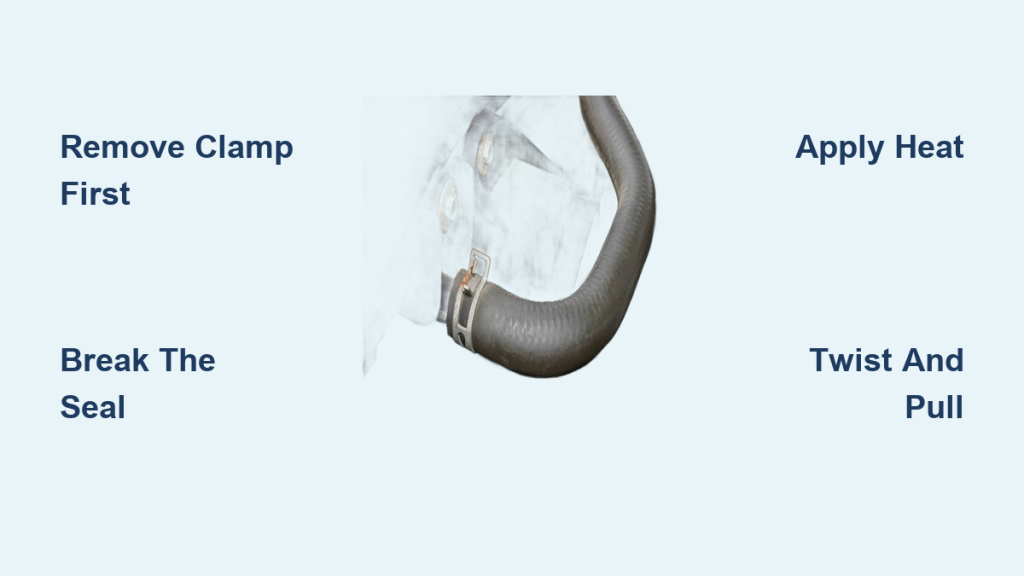
Removing a stuck coolant hose is one of the most frustrating tasks in automotive maintenance, especially on older vehicles or high-mileage engines. If you’ve ever tugged, twisted, or pried at a hose that simply won’t budge, you know the struggle is real. Over time, coolant hoses bond tightly to metal or plastic fittings due to heat cycling, aging rubber, chemical adhesion, and barbed connectors. Brute force rarely works and often leads to torn hoses, damaged fittings, or broken components.
This guide reveals the exact techniques professional mechanics use to get a stuck coolant hose off safely and efficiently. You’ll learn how to assess the situation, choose the right tools, apply heat and lubricants correctly, and decide when to save the hose or cut your losses. Most importantly, you’ll discover how to prevent this problem in the future with one simple step during reinstallation.
Remove the Retaining Clamp First
Before applying any force, the clamp securing the hose must be fully loosened or removed. This step is critical because pulling a hose while the clamp is still in place increases friction dramatically and risks tearing the hose or damaging the fitting.
Identify Your Clamp Type
Different vehicles use different clamp styles, and each requires a specific approach.
Worm-drive clamps use a threaded screw mechanism and are the most common type. You’ll need a screwdriver or socket wrench to loosen the bolt completely. Spring clamps feature a coil that tightens automatically and require compression with needle-nose pliers or a dedicated clamp removal tool. OEM crimped clamps are permanently attached at the factory and must be cut off with a clamp cutter or side cutters, as they are not designed for reuse.
Slide the Clamp Away from the Fitting
Once loosened, slide the clamp at least 2 inches away from the fitting end. This gives you full access to the hose base and prevents the clamp from restricting movement during removal. When the clamp is fully retracted, you should see a small gap between the hose edge and the fitting. That gap is your entry point for the next steps.
If the clamp is rusted or seized, spray penetrating oil such as PB Blaster onto the threads or spring ends. Wait 5 to 10 minutes for the lubricant to work, then try loosening again. Gentle tapping with a hammer can also help free corroded parts.
Break the Seal with a Pick or Screwdriver
Pulling straight off rarely works because the hose and fitting have developed a chemical and mechanical bond. You need to break this initial seal before any twisting or pulling will be effective.
Use a Dedicated Hose Pick Tool
Insert a sharp pick, awl, or plastic spudger between the hose lip and the fitting base. Gently work it around the circumference to lift the rubber just enough to break the seal. A dedicated radiator hose removal tool, which features a curved metal design, slides easily behind fittings in tight spaces. Bicycle tire levers make excellent substitutes because they are rigid, curved, and won’t damage the fitting.
Start at one point and rotate the tool every 30 to 45 degrees. Even a slight lift all the way around dramatically reduces resistance. If you must use a flathead screwdriver, choose a small one with a 5 to 8 millimeter tip. Insert it at the hose-fitting junction and gently twist to pry the edge upward. Never force it, as this can puncture the hose or scratch a soft aluminum fitting.
Pro tip: Combine tools by starting with a pick to create an initial gap, then using the screwdriver to widen it incrementally. This two-step approach works better than either tool alone.
Apply Heat to Soften the Rubber

Heat makes aged rubber more pliable, significantly reducing its grip on the barb. This technique is particularly effective on radiator hoses and heater hoses.
Pour Hot Water Over the Joint
Boil water and slowly pour it over the hose-fitting connection for 1 to 2 minutes. The heat transfers through the rubber and softens it without any fire risk or possibility of melting plastic components. Target a temperature around 40 degrees Celsius, which feels warm to the touch but not scalding. At this temperature, the rubber becomes noticeably more flexible and easier to manipulate.
Use a Hair Dryer or Heat Gun
If pouring water isn’t practical, use a hair dryer on high heat or a heat gun on its lowest setting, which should not exceed 65 degrees Celsius. Move the heat source in a circular motion to heat the area evenly, and never hold it in one spot. Heat for 30 to 60 seconds, then attempt to twist the hose free.
Never use an open flame such as a propane torch. The flame can melt rubber, ignite residual fluids, or damage plastic housings. Also, be cautious about overheating old, brittle hoses, as excessive heat can make them more prone to cracking rather than more pliable.
Lubricate the Connection Point
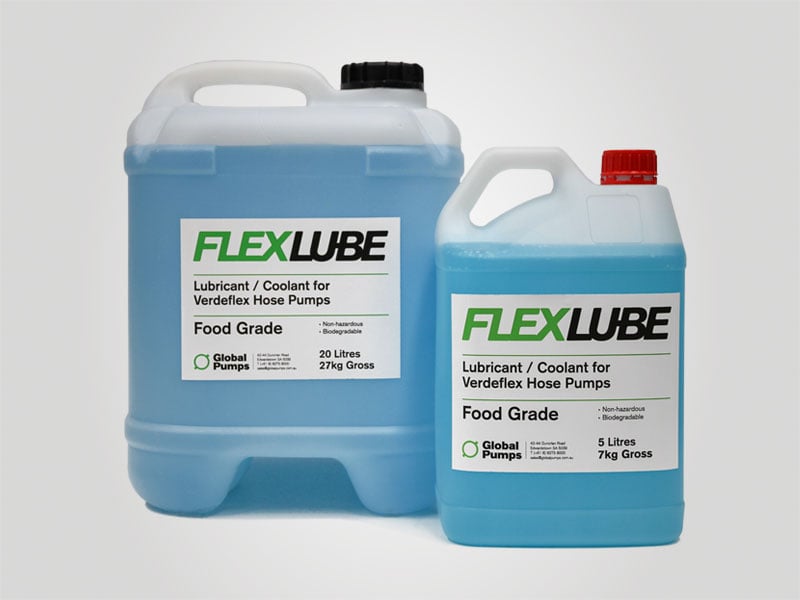
Once you’ve created a small gap, applying lubricant reduces friction and helps break down the adhesion between the hose and fitting.
Best Lubricants for Stuck Hoses
PB Blaster and Kroil are the top choices for penetrating oils and work exceptionally well on old hoses. Silicone dielectric grease is ideal for reinstallation and safe for rubber. Hot soapy water works as a safe DIY option. WD-40 should be used with caution because it may degrade soft rubber over time.
How to Apply Lubricant Effectively
After prying a small gap, spray or drip lubricant directly into the hose-fitting interface. Let it sit for 5 to 10 minutes to penetrate, especially on long hoses or corroded joints. Reapply if necessary.
Avoid petroleum-based oils on EPDM or silicone rubber hoses, as they can cause swelling or cracking. Stick with silicone-based or water-dispersed lubricants when working with modern rubber compounds.
Twist and Wiggle to Release the Hose
Once the seal is broken and the rubber is softened, rotational force is far more effective than pulling straight out. This technique works because twisting breaks the vacuum and mechanically defeats the barb retention.
Use Rag-Wrapped Pliers for Grip
Use slip-joint pliers such as Channel-Locks to grip the hose near the fitting. Wrap the jaws with a rag to improve your grip, prevent crushing the hose, and protect your hands if the tool slips. Apply a firm back-and-forth twisting motion while slowly pulling outward. Keep your other hand on the fitting to support it and prevent bending soft brass or aluminum tubes.
You’ll often feel a sudden snap as the hose releases from the barb. Once this happens, it should slide off easily.
Always support fragile fittings during this process. Twisting without bracing the component behind the hose can distort brass piping or crack aluminum housings.
If space is tight, consider using HD pinch-off pliers for better grip. On some vehicles, removing nearby components such as a vacuum pump provides the access needed to apply proper technique.
Cut the Hose as a Last Resort

If all non-destructive methods fail, cutting the hose guarantees removal, though it means replacement is mandatory.
Use a Utility Knife Safely
Make a single lengthwise cut from the open end toward the fitting. Cut through the full thickness of the hose wall but stop before touching the metal. Once split, peel the hose open like a banana.
Wear gloves and eye protection when cutting. Keep your fingers clear of the blade path, and shield nearby belts, wiring, and fuel lines from accidental contact.
This method is especially useful on vintage cars or marine engines where hoses have been in place for decades. Order the replacement hose first if you suspect a tough removal, so you won’t care about damaging the old one.
Prevent Future Sticking
The best time to prevent a stuck coolant hose is during reinstallation. This single step can save hours of frustration next time.
Lubricate Before Reassembly
Apply silicone dielectric grease to both the inside of the hose and the barbed fitting, especially on aluminum or brass components. This makes installation easier, creates a better seal, and prevents future adhesion. A little grease goes a long way toward making the next removal much simpler.
Never use petroleum grease, motor oil, or cooking oil, as these can degrade rubber over time.
Avoid Over-Tightening Clamps
Tighten clamps just enough to prevent leaks. Over-tightening compresses the rubber permanently, increases adhesion, and raises the risk of hose failure. Use a calibrated feel or torque wrench if available.
Mark Insertion Depth
Use a permanent marker to note how far the hose sits on the fitting. This ensures correct reassembly and prevents both under-insertion, which causes leaks, and over-insertion, which restricts coolant flow.
When to Replace the Hose
Even if you get the hose off intact, don’t assume it’s reusable. Replace the hose if it is over 5 to 7 years old or has more than 100,000 miles. Also replace it if the hose feels hard, brittle, or cracked, or shows swelling, soft spots, or delamination. Any hose that was cut or damaged during removal must be replaced.
Rubber residue left on the fitting after removal indicates internal breakdown and means the hose should be replaced. Most mechanics recommend replacement as a precaution, especially on older vehicles. For classic or high-value cars, use OEM or premium aftermarket hoses from manufacturers such as Gates, ACDelco, or JAE for the best durability and fit.
Best Tools for the Job
Having the right tools dramatically increases your success rate and reduces the risk of damage.
A radiator or heater hose removal tool set features curved metal picks designed to slide behind tight fittings and allows full 360-degree separation without twisting. These tools cost approximately $18 to $25 and work well in tight engine bays, on vintage cars, and on marine systems.
Bicycle tire levers are rigid, curved, and have non-sharp edges, making them perfect for prying without cutting. They cost less than $10 and are often already in your toolkit.
HD pinch-off pliers provide secure grip in confined spaces and can also clamp off coolant flow during service. These cost approximately $24.
Slip-joint pliers such as Channel-Locks are essential for twisting. Use them with a rag wrap to protect the hose and your hands. These cost $10 to $20.
Vehicle-Specific Challenges
Some vehicles are notorious for stuck coolant hoses due to their design and materials.
Mercedes-Benz models from the W123, W124, and W126 series feature sand-cast aluminum fittings with a coarse texture that creates extreme mechanical grip. Tight engine packaging limits access, and removing the vacuum pump is often necessary to reach the water pump hose.
Older Toyotas, Lotuses, and marine engines experience long service lives combined with repeated heat cycles, resulting in strong adhesion. Users report success with PB Blaster combined with twisting, or hot water combined with prying.
Proactive disassembly of adjacent components often makes the job easier than forcing a stuck hose.
Safety First
Always cool the engine completely before starting work. Hot coolant under pressure can cause severe burns. Wear gloves and safety glasses because prying tools can slip and hoses can snap back.
Support fragile fittings carefully. Brass and aluminum parts can bend or break under excessive force. Work in a well-ventilated area, especially when using sprays or heat tools.
Never hammer on coolant system components, as this risks cracking housings or dislodging internal parts. Protect wiring, belts, and fuel lines when using sharp tools.
Final Takeaways for Removing Stuck Coolant Hoses
Removing a stuck coolant hose doesn’t require strength. It requires technique. Always remove the clamp first and never pull with it still in place. Break the seal with a pick or screwdriver rather than relying on pulling alone. Use twisting motions instead of straight pulling, as rotational force works every time.
Apply heat wisely with hot water or a low-temperature heat gun to soften rubber safely. Lubricate the joint with PB Blaster or silicone grease to reduce friction. Cut the hose if necessary as a guaranteed last resort. Most importantly, lubricate during reassembly to prevent the problem from recurring.
Plan for replacement by assuming any hose over 5 to 7 years old needs to be replaced. Invest in a $20 hose removal tool, and it will pay for itself in saved knuckles and intact fittings.
With the right approach, even the most stubborn coolant hose will come off cleanly, safely, and without damage.
Frequently Asked Questions About Removing Stuck Coolant Hoses
Why do coolant hoses get stuck?
Coolant hoses become stuck due to thermal cycling, which causes rubber to conform tightly to the fitting. Chemical adhesion forms between the hose and metal, and barbs on the fitting create mechanical grip. Corrosion and mineral buildup also glue the components together.
Can I use WD-40 to remove a stuck coolant hose?
WD-40 can be used with caution, but it may degrade soft rubber over time. PB Blaster or Kroil are better choices because they penetrate effectively without damaging rubber compounds.
What is the easiest way to remove a stuck hose?
The most effective method combines multiple techniques. Remove the clamp first, break the seal with a pick, apply heat to soften the rubber, lubricate the connection, then twist and pull. A dedicated hose pick tool provides the highest success rate with the lowest risk of damage.
Should I replace the hose after removing it?
Replace the hose if it shows cracks, brittleness, swelling, or delamination, or if it is over 5 to 7 years old. Even if it appears intact, internal degradation may have occurred, making replacement the safer choice.
How do I prevent hoses from sticking in the future?
Apply silicone dielectric grease to the hose interior and fitting during reinstallation. Avoid over-tightening clamps, and mark the insertion depth with a permanent marker for correct reassembly.



