
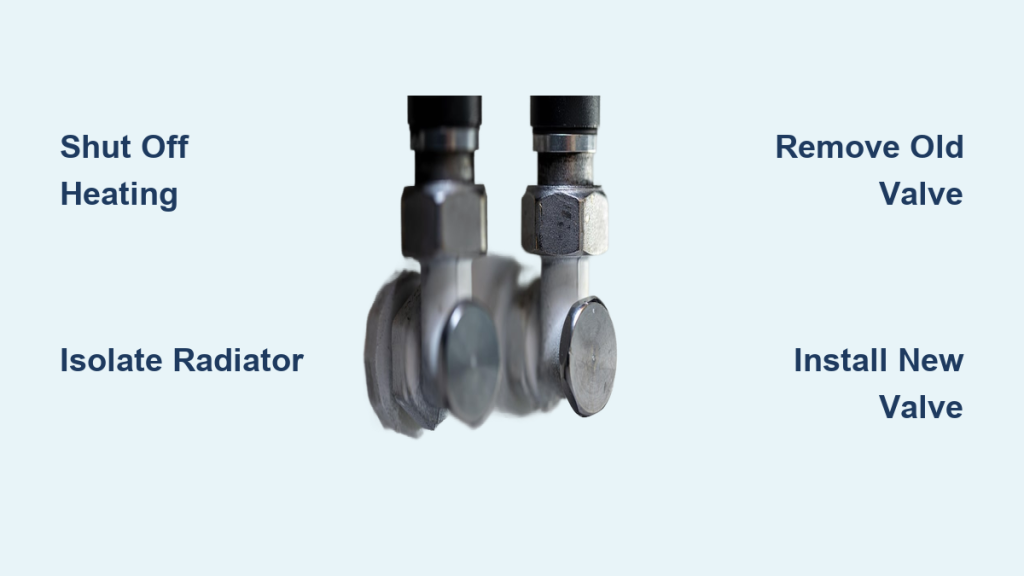
Is your radiator not heating evenly, or is the valve stiff and leaking? Installing or replacing a radiator valve can restore full heating performance, cut energy bills, and give you precise room-by-room temperature control. Whether you’re upgrading from a manual valve to a thermostatic radiator valve (TRV) or simply replacing a faulty one, this guide walks you through every step, safely and correctly.
You’ll learn how to isolate the system, remove the old valve, install the new one with a leak-proof seal, and repressurize your heating system like a pro. From essential tools and sealing techniques to avoiding common mistakes, this step-by-step process ensures a successful DIY installation.
Prepare Your Tools and Materials for Valve Installation

Before touching any pipes, gather everything you’ll need. Working without the right tools risks leaks, stripped fittings, or even radiator damage.
Essential Tools for the Job
- Adjustable wrenches (2): One to hold the pipe, one to turn the nut
- Pipe wrench or plumber’s wrench: For gripping stubborn valve bodies
- Spud wrench: Crucial for removing the threaded spud without damaging internal threads
- Radiator bleed key: Releases trapped air after installation
- PTFE tape and pipe dope: Create a watertight seal on threaded connections
- Single-strand wicking (for older radiators): Fills worn threads for a secure fit
- Drop cloths and bucket: Catch water and protect floors
- Hex key (Allen key): Removes chrome tails or tight fittings
- Measuring tape: Confirms pipe size (usually 15mm)
Choose the Right Replacement Valve
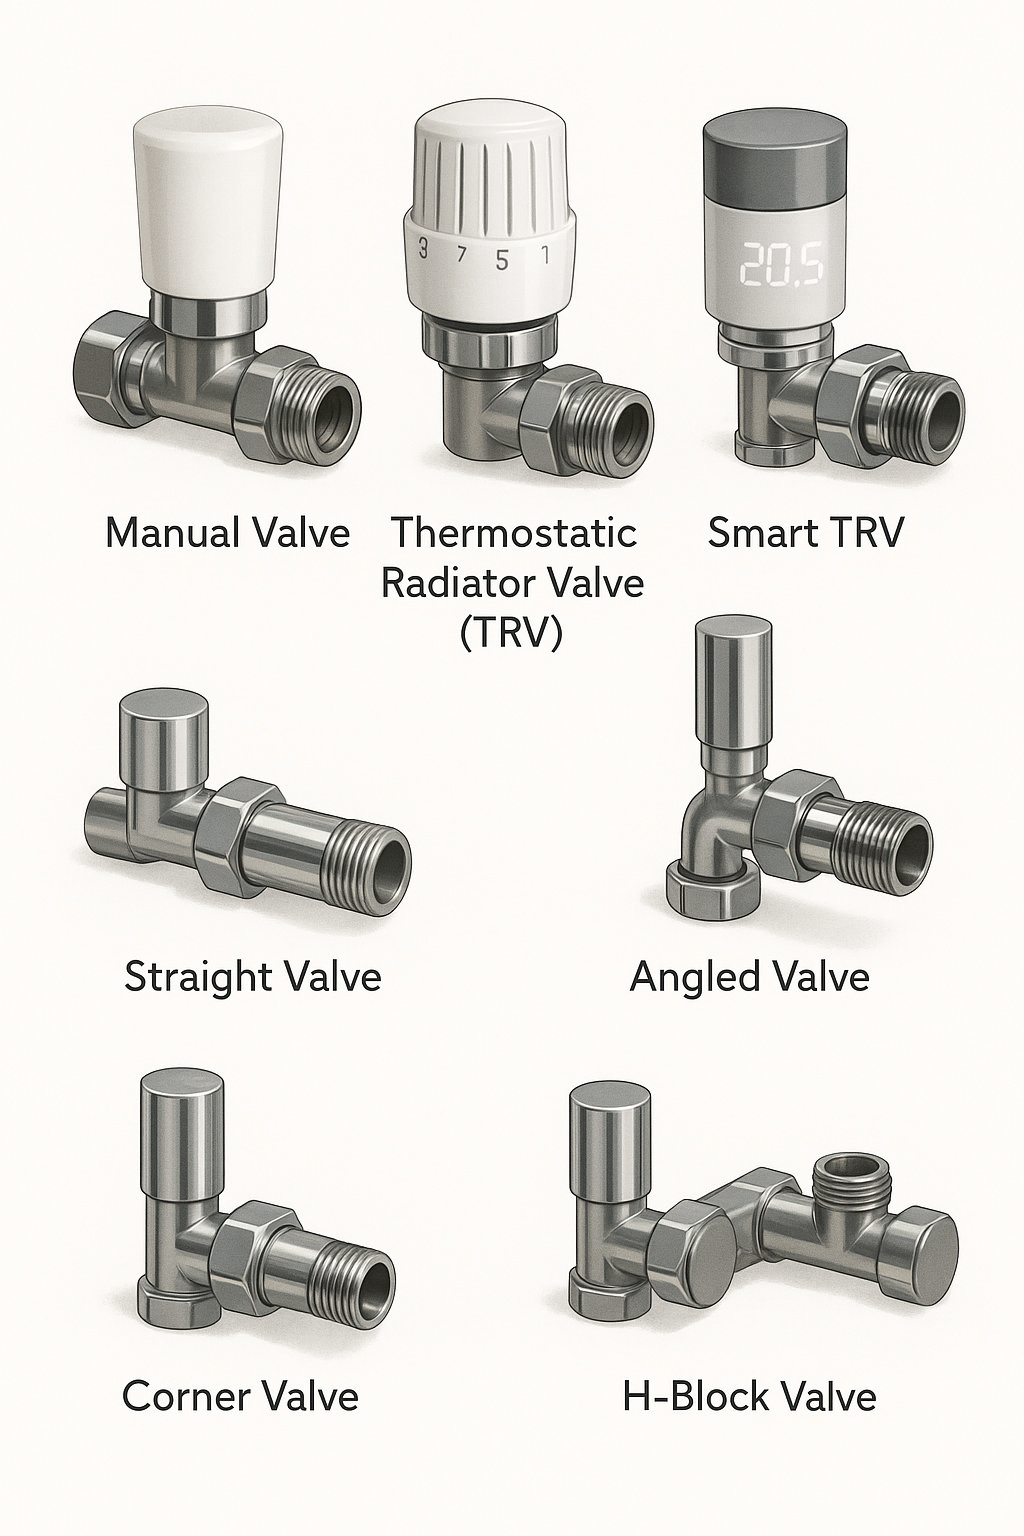
Ensure your new valve matches your existing setup:
– Pipe diameter: 15mm or 22mm, measured from the existing pipe
– Valve type: TRV for automatic temperature control, manual for simple on/off
– Valve orientation: Angled or straight, depending on pipe layout
Pro Tip: If replacing with a TRV, verify it includes a remote sensor option if the valve head will be blocked by a radiator cover.
Shut Down and Isolate the Heating System
Never work on a pressurized or hot heating system. Safety comes first.
Turn Off Heat and Cool the Radiator
- Switch off the central heating at the boiler and thermostat.
- Wait 2 to 3 hours for the radiator to cool completely.
- Confirm it’s cold to the touch before proceeding.
Isolate the Radiator for a Single Valve Replacement
If only replacing one valve, isolate that radiator:
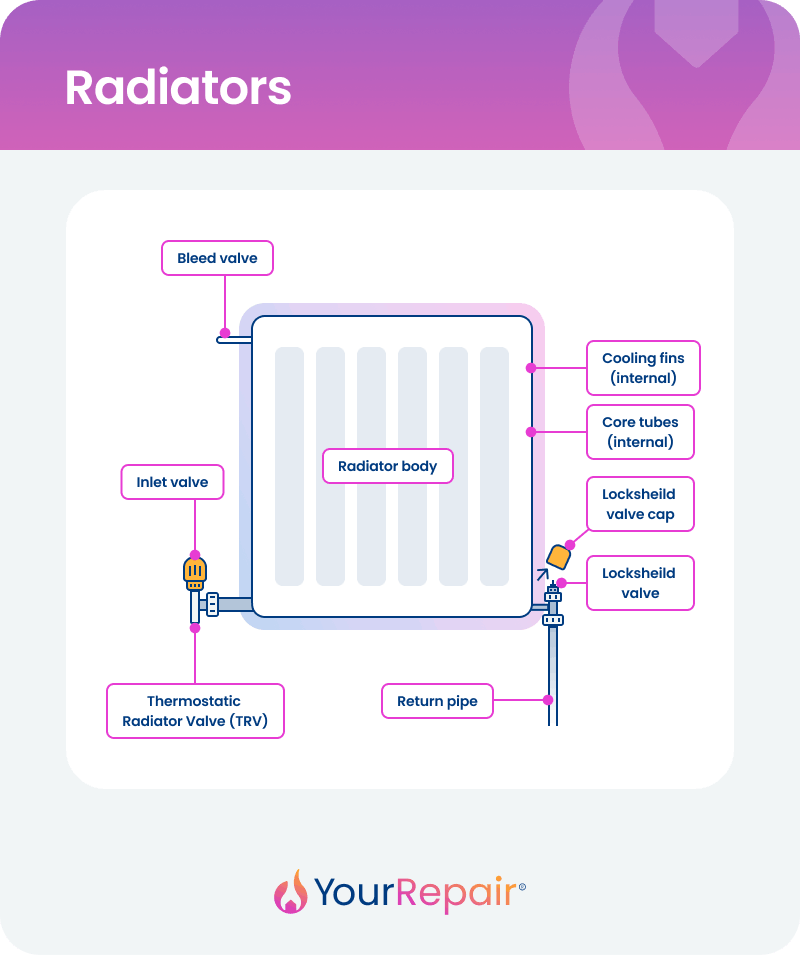
1. Close the lockshield valve: Turn clockwise until tight. Count the turns. You’ll need this number later to rebalance.
2. Close the control valve: Turn the TRV or manual valve fully clockwise.
3. Bleed the radiator: Use a bleed key at the top corner. Let air and water escape into a bucket until flow stops.
4. Drain residual water: Loosen a valve nut slightly to empty leftover water. Use towels to



