
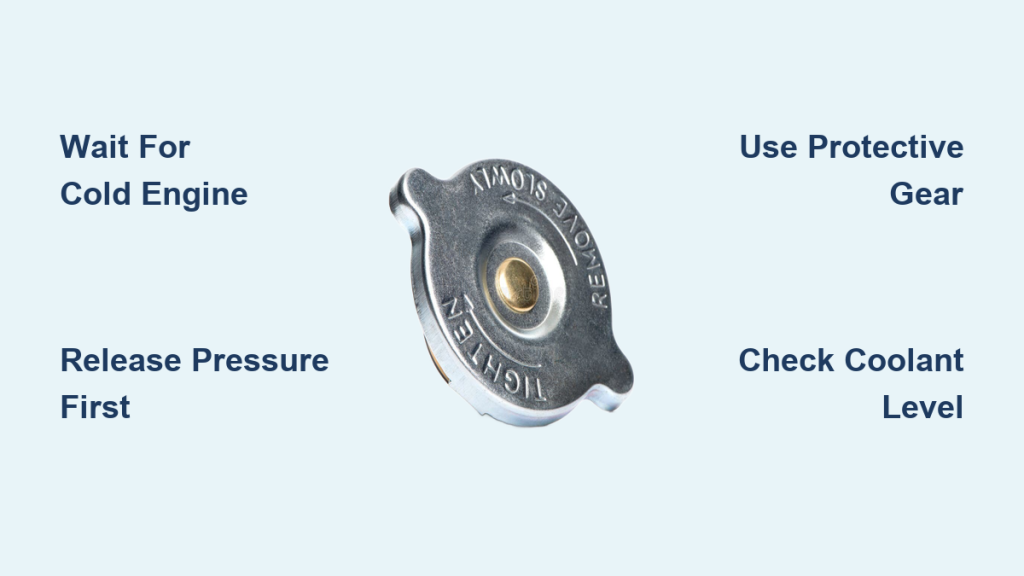
You’re low on coolant, your engine’s running hot, and you need to access the radiator fast. But before you twist off that cap, there is one critical rule: never open a radiator cap on a hot engine. Doing so can trigger a violent burst of scalding steam and coolant, causing serious burns to your face and hands. The secret to safely opening a radiator cap lies in proper timing, correct technique, and understanding how your vehicle’s cooling system works. This guide walks you through every step, ensuring both your safety and your engine’s long term health.
Most modern vehicles use pressurized cooling systems that raise the boiling point of coolant to prevent overheating. When the engine runs, pressure builds inside the system, sometimes reaching 15 to 18 PSI, turning coolant into superheated liquid. Releasing that pressure too soon is dangerous, even if the engine feels cool on the outside. In this article, you will learn how to identify your cap type, safely release pressure, open the cap without injury, and avoid the most common mistakes drivers make.
Wait for a Cold Engine Before Opening the Radiator Cap

Minimum 30-Minute Cool-Down Period
The only safe time to open a radiator cap is when the engine is completely cold. After driving, wait at least 30 minutes to one full hour before attempting access. Even then, verify by touching the hood or engine block. If any warmth remains, wait longer. The safest time of all is first thing in the morning, before starting the engine for the day.
Opening the cap too soon risks a high pressure eruption of boiling coolant and steam. This is not just uncomfortable. It can cause severe scalding to your hands, arms, and face. The pressurized system can blast fluid several feet, and even a small splash can lead to serious burn injuries.
Check the Reservoir Before the Radiator
Many modern cars use a sealed cooling system where the radiator cap stays closed permanently. Instead, coolant is accessed through a plastic expansion tank, a translucent reservoir marked with MIN and MAX lines. If your vehicle has this setup, you only need to open the reservoir cap, and still only when the engine is cold. Never assume the radiator cap is the access point. Consult your owner’s manual or look for labels under the hood to confirm your system type.
Identify Your Radiator Cap Type
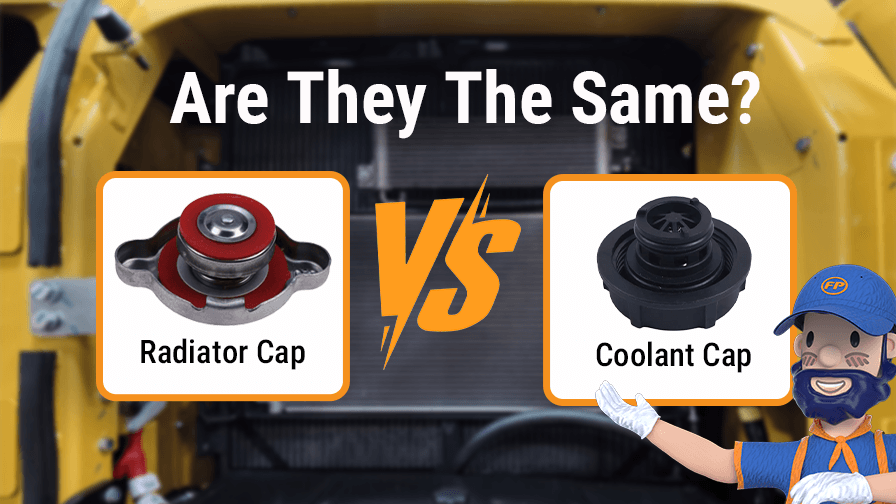
Standard Pressure Cap
Found on older or performance vehicles, this cap screws directly onto the radiator. It has no lever and relies on a two stage release. You turn to the first stop to vent pressure, then press and unscrew fully. These caps are rated in PSI, typically between 13 and 18 PSI. The correct rating is often stamped on the top of the cap. Using the wrong PSI can cause overheating or hose damage, so always match the original spec when replacing.
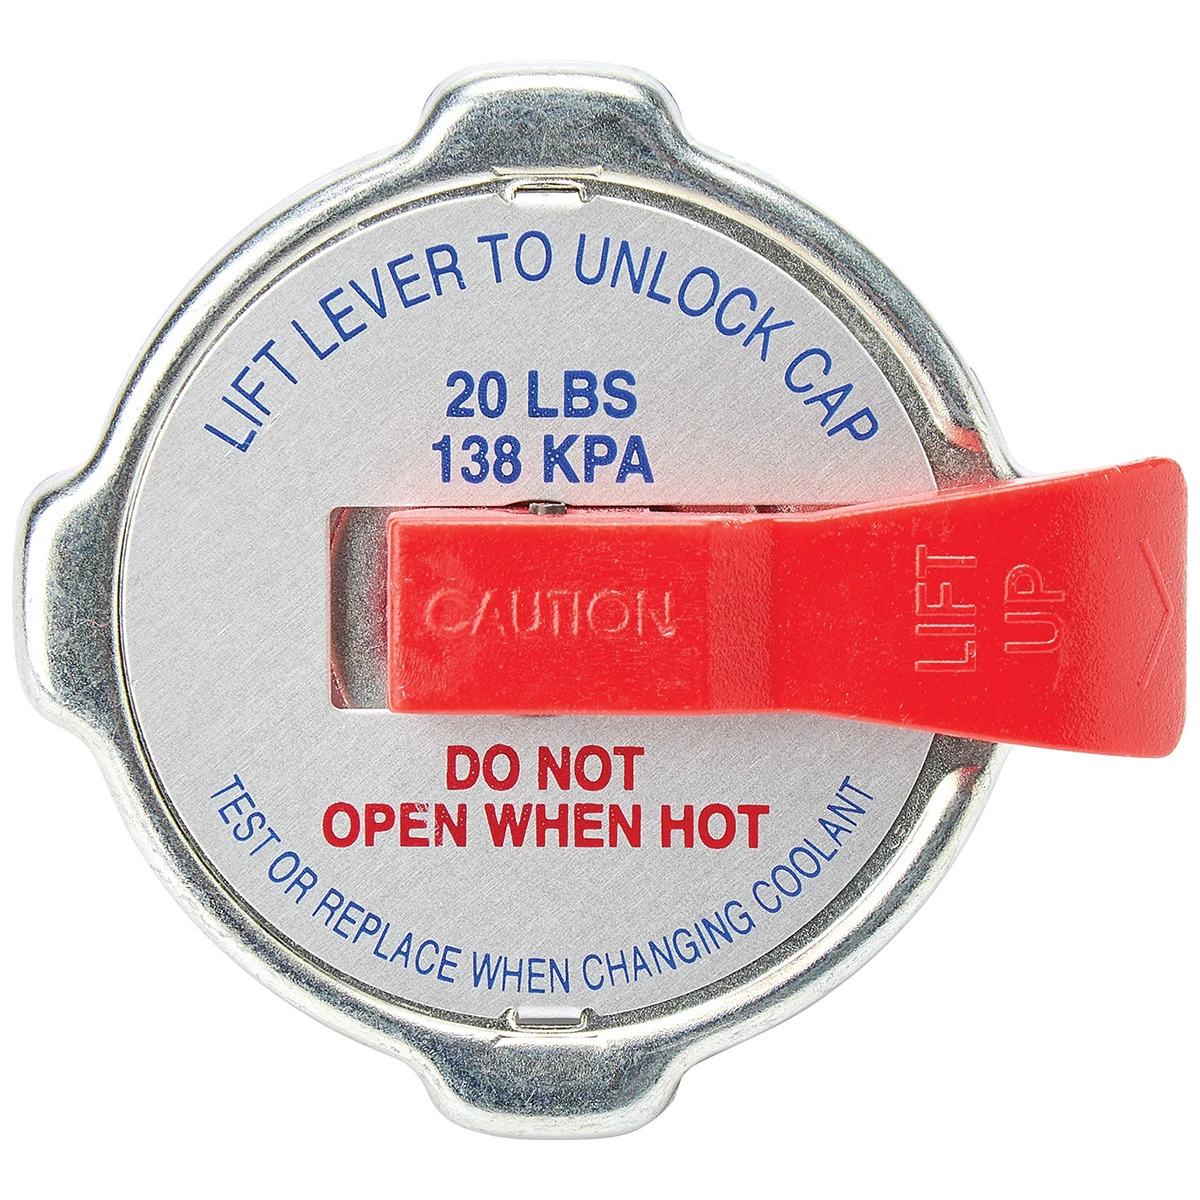
Safety Lever Cap
Some radiators use a cap with a built in lever. To open, lift the lever to release pressure, then unscrew the cap. This design simplifies the process and reduces risk, but the engine must still be cold. After refilling, ensure the lever clicks back into the locked position. If it fails to seal, the system will not pressurize, leading to overheating on the road.
Reservoir Expansion Tank Cap
On most modern cars, coolant is added here, not at the radiator. These caps may be low pressure or non-pressurized. Simply unscrew them when the engine is cold. Never open this cap when hot. Even though pressure is lower, steam and hot fluid can still escape violently and cause burns.
Release Pressure Safely From the Radiator Cap
Turn to the First Stop on Standard Caps
For standard pressure caps, use the two step method. First, cover the cap with a thick towel or heavy glove. Then turn the cap counterclockwise slowly until it stops, about a quarter to half turn. Do not push down yet. This is the pressure release position. If you hear hissing, wait. That sound is trapped steam escaping safely. If coolant sprays out, immediately retighten the cap. The system is still too hot, so wait another 30 minutes and try again.
Lift the Lever on Safety Caps
For safety lever caps, place a cloth over the cap first. Then lift the lever upward to open the pressure valve. Wait 5 to 10 seconds for any hissing to stop. Finally, unscrew the cap fully. This method is faster but still requires caution. Always shield your hands and face throughout the process.
Remove the Radiator Cap Correctly
Tilt the Cap Away From Your Body
Even after pressure release, residual steam can escape. Always tilt the cap opening away from your body and face as you lift it off. Stand to the side of the engine bay, not directly over it. Let the cap dangle by your side or place it on a clean surface. Never set it on the engine where it can collect dirt or heat.
Inspect the Coolant Before Refilling
Once the cap is open, look inside the radiator. Is the coolant level covering the visible tubes? Is the fluid clean, or does it look rusty, foamy, or oily? Dirty or contaminated coolant can signal a failing head gasket, internal corrosion, or system breakdown. If you spot anything unusual, plan a full flush and inspection.
Refill With the Proper Coolant Mix

Use a 50/50 Coolant and Water Blend
Always refill with a 50 percent antifreeze and 50 percent distilled water mix. This balance protects against freezing, boiling, and internal corrosion. Never use straight coolant, since it does not transfer heat as efficiently. Never use tap water long term, because minerals can form scale and clog internal passages.
Add Coolant to the Correct Level
For a radiator fill neck, fill to within 1 to 2 inches of the top. For a reservoir tank, fill between the MIN and MAX lines on the side. Overfilling causes coolant to expand and spill through the overflow tube when hot, creating a toxic puddle under the vehicle. If you overfill, siphon out the excess before driving.
Emergency Tap Water Top-Off
If coolant is unavailable and the level is critically low, tap water can be used temporarily. However, replace it with a proper 50/50 mix within 100 miles to prevent corrosion and overheating. Tap water should never be your permanent solution.
Fix a Stuck Radiator Cap Without Damage
Never Force a Stuck Cap
If the cap will not budge, do not use tools or excessive force. You could break the cap, damage the filler neck, or cause a sudden pressure release. Common causes include residual pressure, corrosion or grime around the threads, the wrong cap type, or a seized internal mechanism. Diagnose the issue before applying any force.
Clean and Lubricate the Threads
Wipe the cap and filler neck with a damp cloth. Use a soft brush to remove debris from the threads. If corrosion is heavy, replace the cap entirely. A new radiator cap costs between $10 and $20 and is a critical safety component. Never reuse a damaged or leaking cap. The rubber seal must remain pliable and intact to hold pressure properly.
Replace With the Correct PSI Radiator Cap
Match the Pressure Rating Exactly
Radiator caps are not one size fits all. The PSI rating must match your vehicle’s specs, usually found in the owner’s manual or stamped on the old cap. A cap with too low PSI allows coolant to boil early, leading to overheating. A cap with too high PSI can burst hoses or damage the radiator. When replacing, buy OEM or high quality aftermarket parts. Cheap caps often fail prematurely.
Install and Seal the New Cap Properly
To close the system, align the cap and turn clockwise until snug. For lever caps, ensure the lever clicks down fully into the locked position. Never overtighten, since this can warp the sealing surface. After refilling, start the engine and let it warm up with the heater on. Watch the temperature gauge and check under the vehicle for any leaks.
Know When to Call a Mechanic
Signs of Cooling System Failure
You should seek professional help if coolant drops frequently without visible leaks, which may indicate a blown head gasket. Other warning signs include a cap that fails to seal or does not click when pressed, coolant that appears milky or oily, and an engine that overheats repeatedly. These symptoms suggest internal damage that requires diagnosis beyond simple cap maintenance.
Persistent Cap Resistance
If the cap remains stuck after the engine has cooled for over an hour and cleaning has not helped, do not force it. A mechanic can use specialized tools to remove it safely without damaging the radiator neck. Persistent resistance often points to deeper issues like corrosion or thread damage that need professional attention.
Avoid These Common Radiator Cap Mistakes

Opening a Hot Engine
This is the number one mistake and the most dangerous. Even if the car has not been driven hard, the cooling system retains heat and pressure. Wait. Always.
Skipping Protective Gear
Never open the cap bare handed. Use a thick towel or work glove. This protects against heat, steam, and sudden sprays.
Overfilling the System
Too much coolant expands when hot and spills out toxic fluid. Always fill to the correct level and never above the MAX line.
Using the Wrong Coolant Type
Not all antifreeze is the same. Some are red, green, orange, or blue, each formulated for specific engines. Using the wrong type can damage seals and cause clogs. Check your owner’s manual before refilling.
Forcing a Stuck Cap
You risk breaking the cap inside the neck or cracking the radiator. If it will not turn, wait longer or consult a professional mechanic.
Frequently Asked Questions About Opening a Radiator Cap
How long should I wait before opening a radiator cap?
Wait at least 30 minutes to one hour after driving. The safest option is to check coolant levels in the morning before starting the engine. If the engine feels warm at all, wait longer.
Can I open a radiator cap when the engine is warm?
It is not recommended. If liquid must be added to a warm engine, keep the engine running and add liquid very slowly. This allows cold liquid to mix gradually with circulating hot water. However, adding cold liquid to a hot engine block can cause the metal to contract sharply and potentially crack.
What happens if I open a radiator cap on a hot engine?
Removing the cap releases trapped pressure instantly. The superheated coolant boils explosively and erupts from the filler neck. Escaping hot coolant or steam can cause severe burns to your face, hands, and body.
How do I open a stuck radiator cap?
Do not use force. First, wait longer for the engine to cool. Then clean around the threads with a damp cloth and soft brush. If the cap still will not turn or fails to click properly, replace it. A mechanic can help if resistance persists.
What PSI radiator cap do I need?
The required pressure rating is listed in your owner’s manual or stamped on the original cap. Most vehicles use caps rated between 13 and 18 PSI. Always match the PSI exactly to avoid overheating or hose damage.
Where is the radiator cap on a modern car?
On most modern vehicles, the radiator cap is located on a plastic coolant recovery reservoir (expansion tank), not on the radiator itself. Look for a translucent plastic tank with MIN and MAX lines on the side. In these sealed systems, you typically never need to open the actual radiator cap.
Key Takeaways for Safely Opening a Radiator Cap
Opening a radiator cap is simple when done correctly. Always wait for a completely cold engine, use the proper pressure release method for your cap type, and refill with a 50/50 coolant and distilled water mix. These steps protect you from burns and keep your cooling system running efficiently for years to come.
If you ever feel uncertain about the engine temperature or the cap will not release cleanly, delay the task until conditions are right. Your safety matters more than saving a few minutes. When in doubt, consult a qualified mechanic who can diagnose deeper cooling system issues and ensure your vehicle stays reliable on every drive.



