
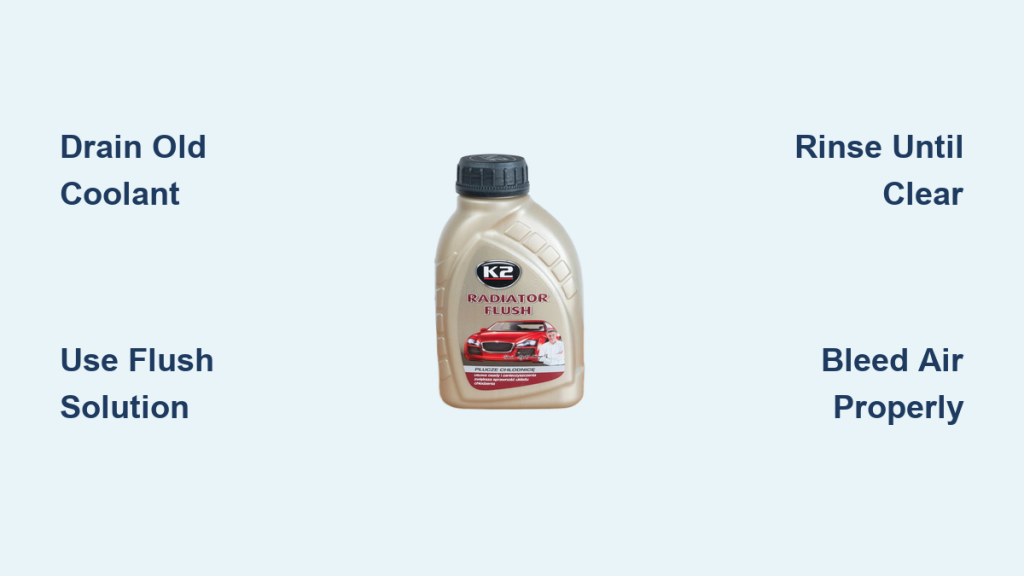
Your vehicle’s cooling system works tirelessly to prevent engine overheating, but over time, coolant breaks down and collects rust, sludge, and acidic byproducts that compromise its effectiveness. A simple drain-and-refill often leaves up to 50% of old fluid trapped in the heater core and engine block, while a proper flush removes contaminants from every corner of the system. This guide walks you through the safest, most effective way to flush coolant at home, from gathering tools to test-driving your refreshed system.
Check Coolant Condition Before Flushing
Before committing to a flush, inspect your current coolant to determine if the service is actually needed. Coolant should appear bright green, orange, red, or blue depending on the type. If you see brown, rusty, or murky fluid instead, flush immediately. Other warning signs include visible sediment in the overflow tank, a sweet antifreeze smell inside the cabin or under the hood, engine overheating or temperature gauge fluctuations, and weak cabin heat. Always wait for the engine to cool completely before opening the cooling system.
Signs You Need a Coolant Flush
• Coolant appears brown, rusty, or murky instead of clear and bright
• Sediment or sludge visible in the radiator or overflow tank
• Sweet antifreeze odor inside the vehicle or near the engine
• Temperature gauge climbs into the red zone or fluctuates erratically
• Heater blows weak or cold air despite engine reaching operating temperature
Recommended Flush Intervals for Your Vehicle
Sticking to the right schedule prevents costly engine damage and maintains optimal performance. Older vehicles built before 2000 typically need a flush every 30,000 to 50,000 miles or every 2 to 3 years. Modern vehicles with long-life OAT coolants like Dex-Cool can often go 50,000 to 100,000 miles between flushes. Severe driving conditions such as frequent short trips, towing heavy loads, stop-and-go traffic, or extreme climates may require more frequent service. Consult your owner’s manual or check the coolant reservoir cap for manufacturer’s specific recommendations.
Safety Steps Before Starting
Working with coolant involves serious risks that demand proper precautions. Never open a pressurized cooling system when the engine is hot, as coolant can spray at temperatures exceeding 220°F (104°C) and cause severe burns. Wait at least 1 to 3 hours after shutdown before touching any component. Confirm the engine is cool by checking the temperature gauge or feeling near (not on) the radiator cap. Wear safety goggles, chemical-resistant gloves, long sleeves, and closed-toe shoes. Work in a well-ventilated area and keep pets and children away, as ethylene glycol is highly toxic if ingested, even in small amounts. Clean spills immediately using absorbent material like kitty litter.
Tools and Supplies Needed
Having everything ready before starting prevents frustrating interruptions mid-job. Gather a wrench or socket set (typically 10-14mm), screwdrivers for hose clamps, a long-neck funnel, a large catch pan (2-5 gallons capacity), wheel chocks, a flashlight, and plenty of rags or shop towels. For fluids, you need distilled water only (never tap water), fresh coolant matching your OEM specifications, and a 50/50 pre-mixed coolant for foolproof dilution. Add a radiator flush additive like Prestone, Valvoline, or Simple Green Pro HD, and consider water pump lubricant for older or high-mileage engines.
Choose the Right Coolant Type
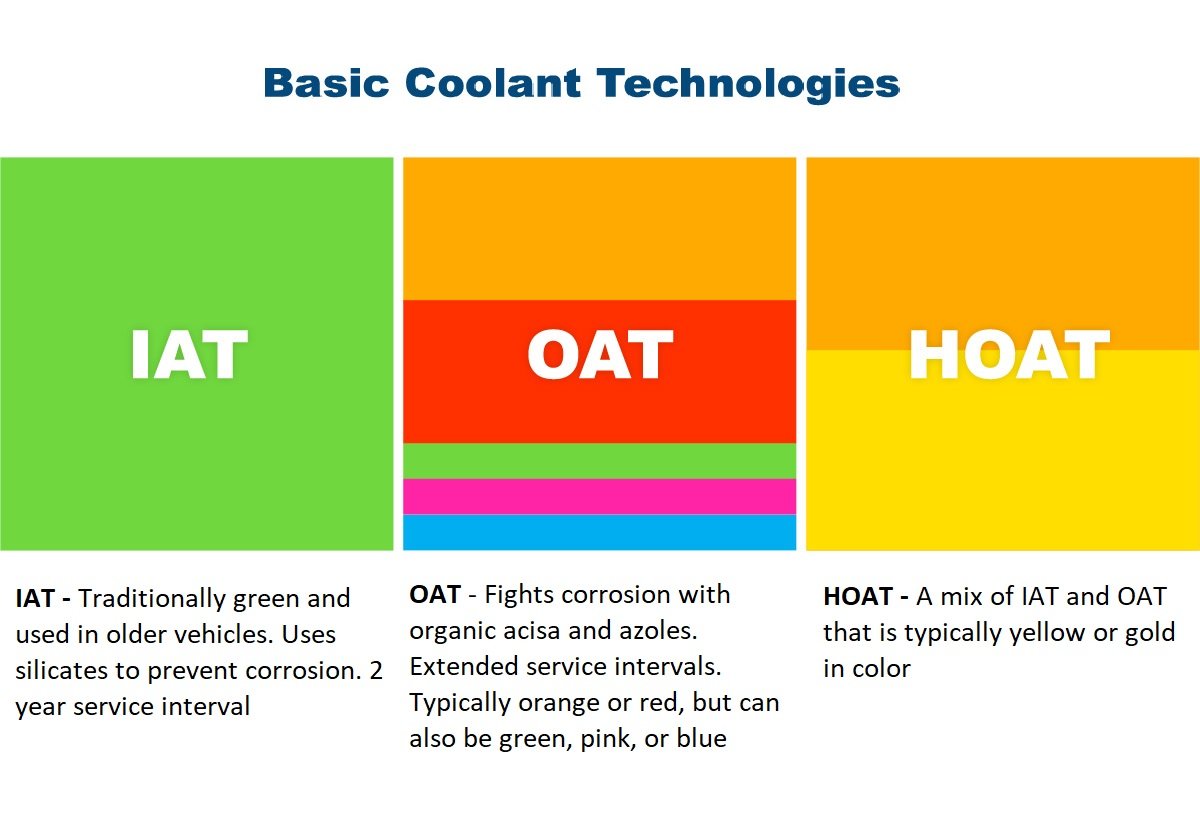
Using the wrong coolant can cause gel formation, internal clogs, and accelerated corrosion. IAT coolants (green) work best in pre-1996 vehicles with iron blocks and brass components. OAT coolants (orange/red like Dex-Cool) suit modern aluminum radiators and can last up to 150,000 miles. HOAT coolants (yellow/blue like G11/G12) are required for many European vehicles with mixed metal systems. NOAT coolants (green/yellow) serve diesel engines and heavy-duty applications. Never mix coolant types or colors unless performing a complete system conversion after a full flush. Use a 50/50 mix of coolant and distilled water, or buy pre-mixed coolant to avoid errors.
Step-by-Step Coolant Flush Procedure

Drain Old Coolant Completely
Park on level ground, apply the parking brake, and secure wheel chocks. Place your catch pan beneath the radiator drain petcock, usually located on the lower driver’s side. Remove the radiator cap to break the vacuum, then open the petcock and let the coolant drain fully. If your vehicle lacks a petcock, disconnect the lower radiator hose temporarily. On older engines, remove the block drain plugs to release trapped coolant from the engine core.
Add Flush Solution and Circulate
Reinstall all drain plugs and mix your radiator flush additive with distilled water according to product instructions, typically a 1:3 ratio. Pour the mixture into the radiator using your funnel and top off with additional distilled water to fill the system. Replace the radiator cap, start the engine, and run it for 10 to 15 minutes with the heater set to maximum heat and the fan on highest speed. This forces the thermostat open and circulates cleaning solution through the heater core and engine block. Monitor the temperature gauge and shut off immediately if it climbs toward overheating.
Drain and Rinse Until Clear
Allow the engine to cool completely, then reopen the drain and remove the flush solution. Dispose of this fluid properly (see the disposal section below). Refill the system with clean distilled water, run the engine for 5 to 10 minutes with the heater on high, then cool and drain again. Repeat this rinse process until the outflow runs completely clear and colorless. Most vehicles require 2 to 3 rinses totaling 20 to 30 minutes.
Refill with Fresh Coolant
Prepare your 50/50 coolant mixture using fresh coolant and distilled water, or use pre-mixed coolant directly. With the radiator cap off, slowly pour in the fresh coolant while the engine runs and the heater stays on high. Squeeze the upper and lower radiator hoses to help release trapped air pockets. Fill until the coolant level stabilizes, then secure the cap. Top off the overflow reservoir to the “MAX” or “COLD” line, being careful not to overfill as coolant expands when hot.
Bleed Air and Test Drive
Air trapped in the cooling system causes overheating, poor heater performance, and inaccurate temperature readings. Run the engine with the radiator cap off until the thermostat opens and the upper radiator hose gets hot. Watch for bubbles rising through the coolant and keep topping off until the flow stabilizes and no more bubbles appear. Once stable, install the cap and let the engine reach full operating temperature.
Final Performance Check
Take a 10 to 15 minute test drive and verify that the temperature gauge stays centered in the normal range, the heater blows consistently hot air, and there are no leaks around the drain plug, hoses, or water pump. After the engine cools, recheck coolant levels in both the radiator and overflow reservoir and top off as needed.
Dispose of Old Coolant Responsibly
Used coolant is hazardous waste and must never be poured down drains, toilets, storm sewers, or onto the ground. Auto parts stores like AutoZone, O’Reilly Auto Parts, and Advance Auto Parts often accept used coolant for free recycling. You can also use local hazardous waste collection centers or licensed repair facilities. Store old coolant in a sealed, labeled container (the original jug works well) and keep it out of reach of children and pets. Remember that ethylene glycol tastes sweet to animals and can be deadly to dogs and cats even in small doses.
Common Mistakes to Avoid
Flushing with a cold engine keeps the thermostat closed, meaning only about half the system gets cleaned. Skipping the heater during the flush leaves the heater core full of old, contaminated coolant. Using tap water introduces minerals that cause scale buildup and reduce cooling efficiency. Mixing coolant types causes gel formation and severe corrosion. Failing to bleed air properly creates hot spots and false temperature readings. Reusing an old radiator cap risks pressure loss and boil-over because worn seals fail to maintain proper system pressure.
When to Call a Professional
Some cooling systems require professional tools and expertise. Seek professional help if your vehicle has electric water pumps or complex cooling circuits, if you’re unsure about coolant compatibility, if overheating persists after a proper flush, or if you discover visible leaks or damaged hoses. Professionals offer machine-powered reverse flushes for deep cleaning, pressure testing to find hidden leaks, and radiator repair services for vintage or severely damaged units.
Extend Coolant Life Between Flushes
Keep your cooling system running efficiently between major flushes by using distilled water only when topping off. Inspect coolant color and condition every 6 months and flush immediately if it appears discolored. Replace the radiator cap every 5 years during major service. Add water pump lubricant during coolant refills on high-mileage engines. Record your flush date and mileage in a maintenance log, and label your overflow tank if using non-standard coolant to prevent future confusion.
Key Takeaways for Flushing Your Coolant
A proper coolant flush removes degraded fluid, rust, and sludge that compromise engine cooling and heater performance. Always use distilled water, run the heater on high during the flush, choose the correct coolant type for your vehicle, and bleed all air from the system before driving. Dispose of old coolant responsibly at auto parts stores or hazardous waste facilities. Following this process protects your engine from overheating, corrosion, and premature failure while keeping your cabin warm and your vehicle reliable.
Frequently Asked Questions About Flushing Coolant
How often should I flush my vehicle’s coolant?
Most vehicles need a coolant flush every 30,000 to 50,000 miles, though modern cars with long-life OAT coolants can go 50,000 to 100,000 miles. Severe driving conditions may require more frequent service.
Can I flush coolant without special tools?
Yes, you only need basic hand tools including wrenches, screwdrivers, a funnel, and a catch pan. Specialty flush kits are optional but helpful.
What happens if I don’t flush my coolant?
Neglected coolant breaks down and becomes acidic, causing corrosion, radiator clogs, heater core blockages, and eventually engine overheating or catastrophic failure.
Is it okay to mix different coolant colors?
Never mix coolant types or colors unless performing a complete system conversion. Mixing causes gel formation, clogs, and accelerated internal corrosion.
How long does a complete coolant flush take?
Plan for 1 to 2 hours total, including cooling time between steps. The actual working time is about 45 minutes to an hour.
Why is my heater still cold after flushing?
The heater core may still be partially clogged. Try back-flushing through the heater hoses, or there may be air still trapped in the system requiring additional bleeding.



