A clogged coolant hose can silently sabotage your engine’s cooling system, leading to overheating, pressure buildup, and even misdiagnosed head gasket failures. Many drivers assume serious internal damage when they see coolant spraying from the cap or a hose blowing off, only to discover the real culprit is a simple clog in the overflow hose or reservoir dip tube. How to fix a clogged coolant hose is not complicated, but it requires careful diagnosis and thorough cleaning. In this guide, you will learn how to identify blockages, test flow, flush the system safely, and prevent future issues without jumping to costly repairs.
Recognize Signs of a Clogged Coolant Hose
Before grabbing tools, confirm the problem is not something more severe. A clogged coolant hose mimics symptoms of head gasket failure, but the root cause is often far simpler. Watch for these common indicators that your cooling system has a flow restriction rather than an internal engine problem.
Common Symptoms of a Clog
Coolant hose blows off under pressure due to restricted return flow. Low radiator level with a full reservoir means coolant cannot return as the engine cools. Coolant expelled from the cap occurs because pressure builds when trapped air or debris blocks circulation. Engine overheating without boiling happens when heat is not transferring due to poor flow. Air bubbles in the reservoir suggest air entrapment, though continuous bubbles may indicate combustion gases.
Pro Tip: If there is no white exhaust smoke, misfires, or compression loss, a clog, not a blown head gasket, is likely the culprit.
Where Clogs Hide in Your Cooling System
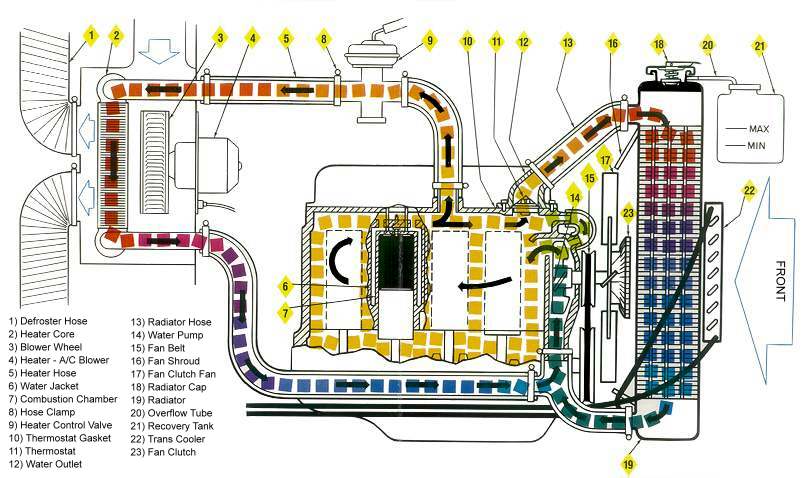
Clogs do not just happen in the hose itself. They often hide in low-flow zones where sludge and scale accumulate over time. Understanding these common locations helps you target your cleaning efforts effectively.
Key Clog Sites
The coolant hose interior can collect degraded rubber, algae, or mineral deposits. The reservoir dip tube is the plastic tube extending from the hose barb into the tank, and it is a prime clog spot. Hose barbs and connections collect corrosion or hardened gunk where the hose meets the radiator or reservoir. Radiator inlet and outlet ports can become blocked, especially in older systems. The heater core and engine block can accumulate sludge that spreads through the entire system.
Expert Note: “That stuff is in the whole cooling system—the radiator, heater core, and the block.”
Diagnose the Clog Accurately
Never replace parts blindly. Confirm the blockage with simple tests that rule out major engine issues. Accurate diagnosis saves you money and prevents unnecessary repairs.
Visual Inspection First
Check the coolant color. Brown paste indicates likely rust. A milky appearance suggests possible oil contamination from a head gasket. Inspect hoses for swelling, cracks, or stiffness. Examine connections for corrosion or crusty deposits that signal poor flow.
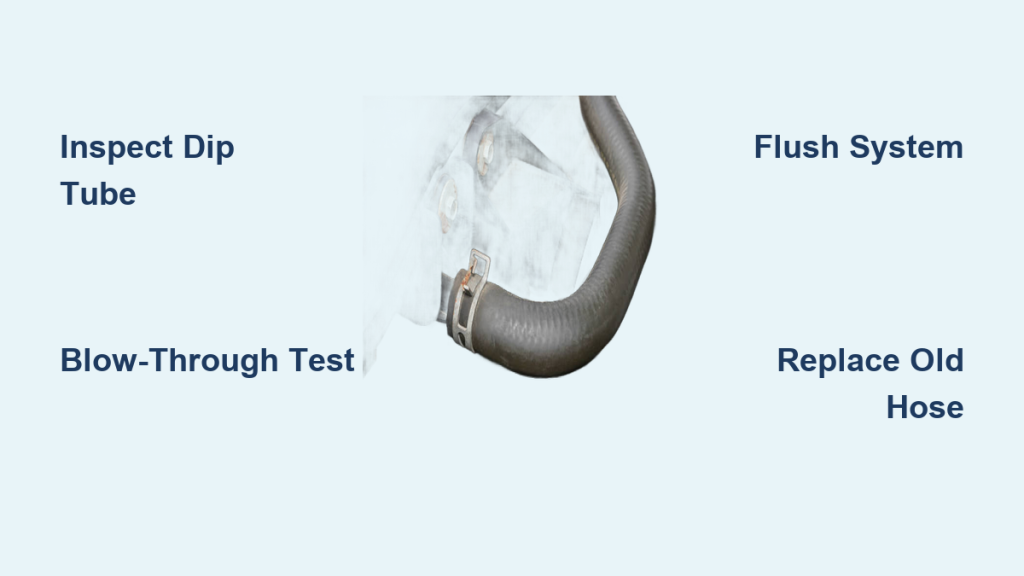
Blow-Through Test
Disconnect both ends of the coolant hose. Try blowing air through it using your mouth, compressed air, or a hand pump. If air will not pass, the hose or reservoir dip tube is blocked.
Clear Hose Flow Test
Replace the suspect hose with a clear plastic tube. Route the end from the radiator into a container. Start the engine and observe the flow. Coolant should flow out as the engine heats and should suck back in as it cools. No return flow confirms you have a clog. This test also helps rule out head gasket issues by confirming whether combustion gases are entering the system.
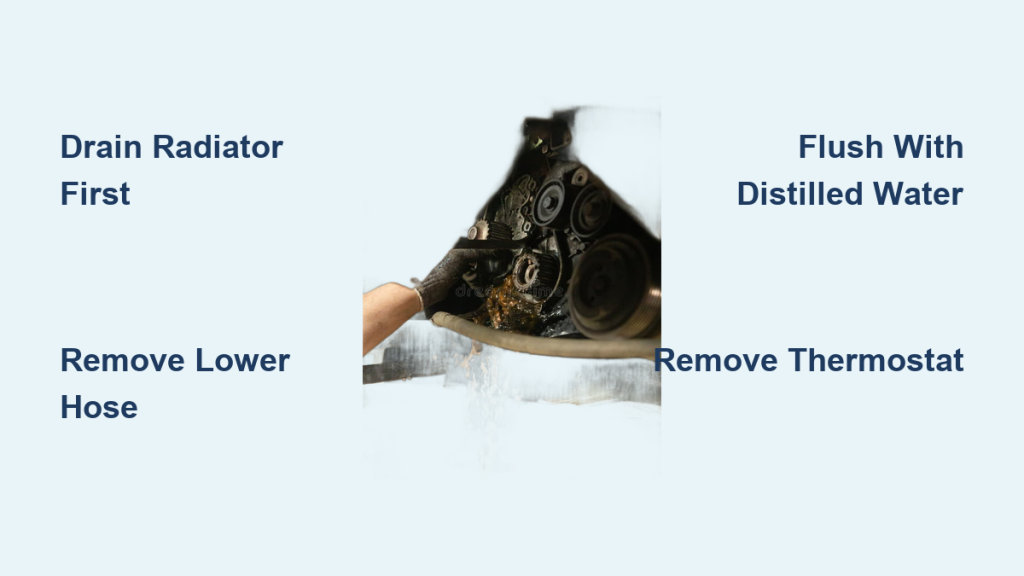
Flush the Cooling System
Once you have confirmed a clog, drain and flush the entire system. A partial clean will not solve deep sludge that has accumulated throughout the cooling system.
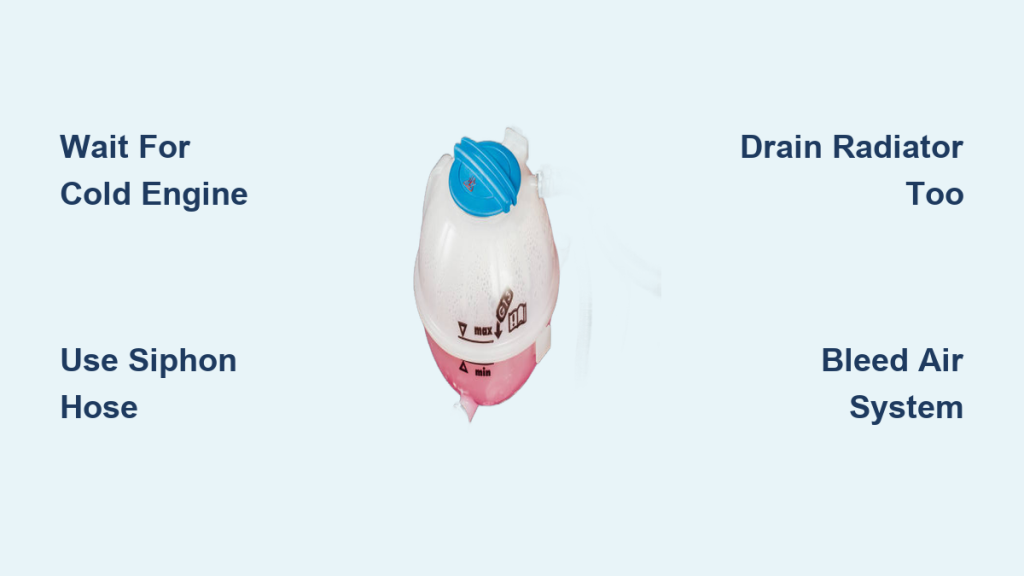
Step 1: Drain the Coolant
Wait until the engine is completely cold. Place a sealable container under the radiator. Remove the radiator cap and open the drain plug. If there is no plug, disconnect the lower radiator hose.
Warning: Never pour coolant down drains. It is toxic to pets and wildlife.
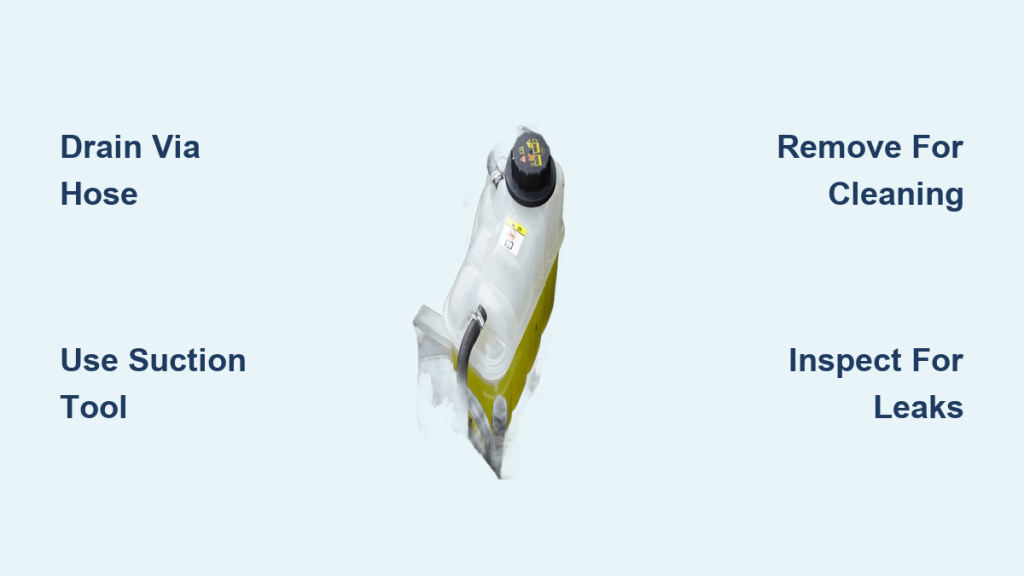
Step 2: Remove and Inspect Components
Loosen clamps and disconnect the coolant hose. Remove the reservoir if needed. Shine a flashlight into the dip tube and look for sludge buildup.
User Insight: “Found really bad clogging at the bottom of the tank and hose inside… didn’t even need a new hose.”
Clear the Blockage Manually
Now clean every component involved. Do not skip the reservoir because its dip tube is the most common clog site. Manual cleaning removes the majority of blockages without chemicals.
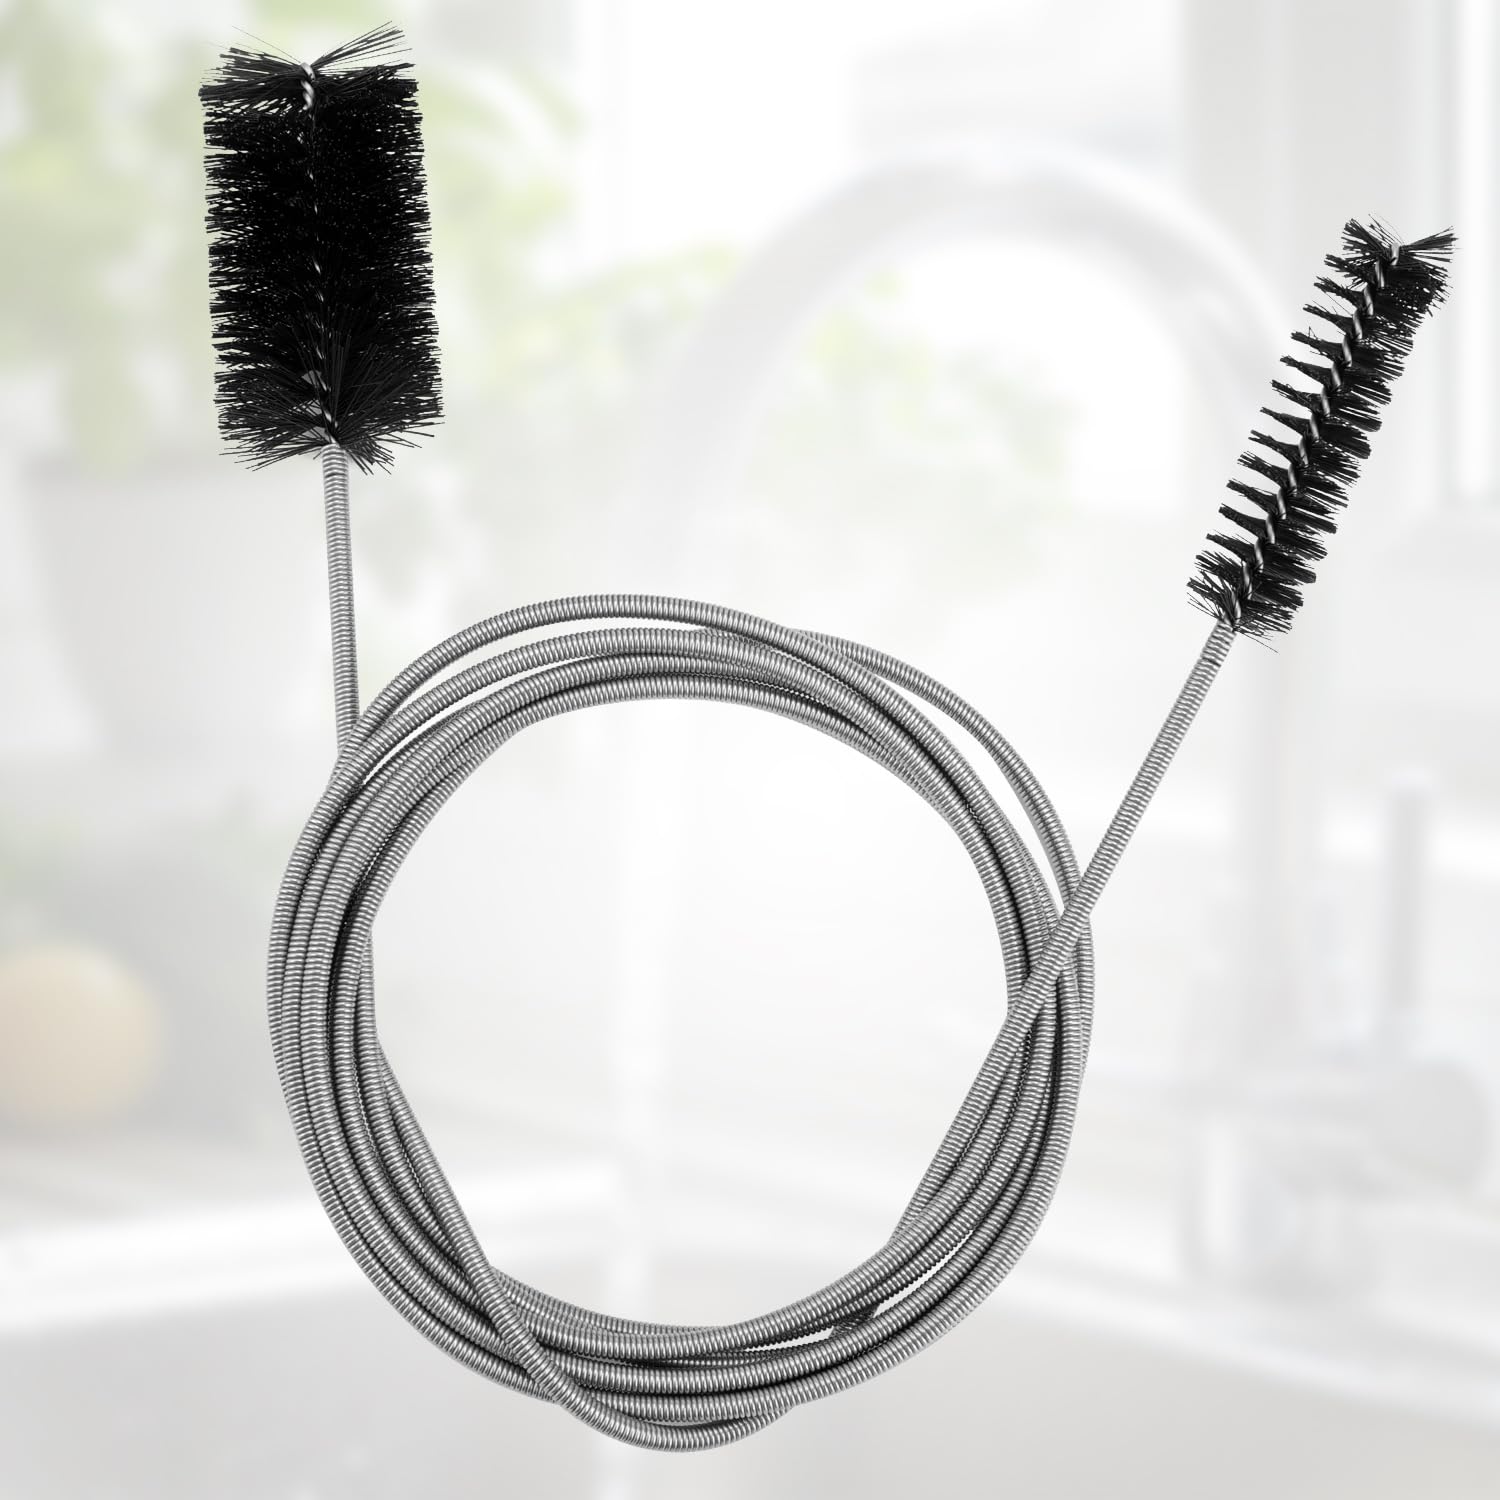
Clean the Coolant Hose
Flush with high-pressure water from a garden hose. Use a pipe cleaner or stiff wire to push out debris. Soak in hot water with dish soap to dissolve mineral scale.
Unclog the Reservoir Dip Tube
Blow air through the hose barb on the reservoir. Use a bent wire or small brush to scrape the inside. Rinse until water runs clear. Replace the reservoir if it is cracked, heavily scaled, or the tube is damaged.
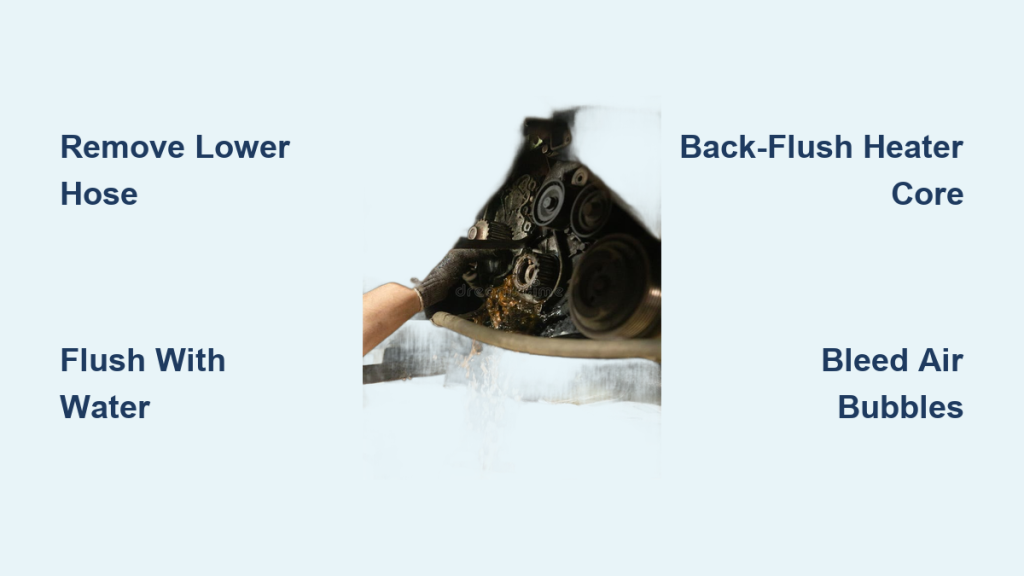
Reverse Flush the Radiator
Disconnect both upper and lower hoses. Insert a garden hose into the bottom outlet. Force water upward through the radiator. Repeat until outflow is clear. Flush top-to-bottom afterward to ensure all passages are clear.
Pro Tip: Use rags to seal connections and avoid making a mess.
Flush the Engine Block
Access via heater hoses or water pump outlet. Reverse flush to dislodge trapped sludge. This step may require multiple cycles to remove all deposits.
Use Chemical Cleaning for Tough Buildup

If flushing alone does not work, use citric acid. It is a safe, effective cleaner endorsed by Mercedes-Benz for removing rust and scale without damaging aluminum components.
Citric Acid Flush
Mix 10 percent food-grade citric acid with 90 percent water. Use approximately one kilogram for an average system. Remove the thermostat first. Fill the system and run the engine at operating temperature for 30 minutes. Expect bubbling as the acid dissolves rust and scale. Drain and flush with clean water. Repeat up to five times until water runs clear.
Why citric acid? It dissolves rust, scale, and sludge without damaging aluminum, unlike harsher chemicals that can degrade rubber seals and metal components.
Alternative Cleaners
Consider Liqui Moly Radiator Flush for moderate buildup, though it may not remove heavy deposits. Vinegar is weak and requires a long soak, making it less effective. CLR works well but can damage aluminum and rubber if not rinsed thoroughly. Never leave acid-based cleaners in the system longer than recommended.
Replace Worn Components
Even after cleaning, old parts can fail. Replace key components to prevent repeat issues and ensure long-term reliability.
When to Replace
Replace the coolant hose if it is brittle, cracked, or over five to seven years old. Replace the reservoir if it is cracked or the dip tube is damaged. Replace the thermostat if it is sticking or during any major cooling system service. Replace the water pump if the impeller is worn or the vehicle has over 100,000 miles, especially with plastic impellers. Replace the radiator if tubes are collapsed, tanks are cracked, or flushing is ineffective.
Cost-Saving Tip: Aftermarket radiators from sources like RockAuto cost approximately $100, much cheaper than OEM pricing.
Refill with Correct Coolant
Using the wrong coolant or tap water can cause clogs all over again. Proper coolant selection prevents future problems and protects engine components.
Coolant Guidelines
Use 50/50 pre-mixed coolant or mix concentrate with distilled or deionized water only. Never use tap water because minerals cause scaling and corrosion. Use the manufacturer-specified coolant type, such as Mopar MS-9769 for Jeep vehicles. Avoid mixing coolant types such as OAT, HOAT, and Hybrid because chemical reactions create sludge.
User Experience: One driver switched from Motul Hybrid to Mopar OEM coolant after sludge formed, and the problem was solved.
Note: Redline Water Wetter improves heat transfer but must be used with distilled water, not antifreeze.
Bleed Air from the System
Air locks are common after flushing. Bleed properly to restore proper flow and prevent overheating from trapped air.
Bleeding Steps
Refill coolant with the radiator cap off. Run the engine until the thermostat opens and watch the temperature gauge. Keep the heater on high and the fan on low. Open the bleeder screw if equipped and close it when fluid flows cleanly. Some vehicles require front-end lift or specific bleeding sequences.
Tech Tip: On BMW E46 models, hold the toggle button, then press 19, then 7 to access the hidden coolant temperature display.
Test After Repair
Do not assume the fix is complete. Verify performance under real conditions to ensure the cooling system operates properly.
Cold Start Test
Monitor temperature rise from cold start. Activate the heater to help purge air. Confirm coolant moves in and out of the reservoir properly.
Load Test
Drive at sustained RPM, such as 5,000 in third gear for 20 minutes. Observe temperature stability. Normal operating temperatures vary by vehicle. Some Jeeps run around 100 degrees Celsius, while Mercedes 2.7 CRD engines run around 87 degrees Celsius.
Note: Ninety-five degrees Celsius is not inherently problematic, especially during water-only flushes.
Fan System Check
Hydraulic fans should engage automatically with heat. A fan clutch that is hot will be hard to spin. Test electric fans by checking the relay or thermal switch.
Final Check
Let the engine cool completely. Recheck the coolant level. Confirm no leaks or vapor are present. Monitor performance over several drive cycles.
Real Result: After a proper flush, temperatures dropped from 117 degrees Celsius to 95 degrees Celsius, a 22-degree improvement.
Prevent Future Clogs
A clean system today can clog again without proper maintenance. Regular upkeep prevents recurrence and extends component life.
Prevention Checklist
Flush the system every two to three years or 30,000 to 50,000 miles. Always use distilled water when mixing coolant or flushing. Replace hoses every five to seven years. Inspect the radiator cap during routine maintenance. Replace the thermostat during every major service interval.
Critical Insight: The overflow hose operates on the low-pressure side of the system. Persistent pressure means either a clog or combustion gas intrusion. Always test before assuming engine damage.
Frequently Asked Questions About Fixing a Clogged Coolant Hose
How do I know if my coolant hose is clogged versus having a head gasket problem?
A clogged hose often causes the hose to blow off, coolant to spray from the cap, and low radiator levels with a full reservoir. However, if there is no white exhaust smoke, no misfires, and no compression loss, the problem is likely a clog, not a head gasket. Continuous bubbles in the reservoir suggest head gasket failure, while intermittent bubbles usually indicate air entrapment from a clog.
Can I fix a clogged coolant hose without replacing it?
Yes, most clogs can be cleared by flushing with a garden hose, using a pipe cleaner or wire to push out debris, and cleaning the reservoir dip tube. Chemical cleaning with citric acid dissolves stubborn deposits. Replacement is only necessary if the hose is cracked, brittle, or over seven years old.
What is the most common location for a coolant system clog?
The reservoir dip tube is the most common clog site. This plastic tube extends from the hose barb into the bottom of the tank and collects sediment over time. Always inspect and clean this component before assuming the problem is elsewhere.
How often should I flush my cooling system to prevent clogs?
Flush the cooling system every two to three years or every 30,000 to 50,000 miles. Using distilled water and the correct coolant type extends the interval between flushes and prevents mineral buildup.
Can I use vinegar instead of citric acid to clean a clogged cooling system?
Vinegar is weaker than citric acid and requires a much longer soak to be effective. While it can help with mild deposits, citric acid is more effective for dissolving rust and scale. If using vinegar, expect to leave it in the system for several hours before flushing.
What happens if I drive with a clogged coolant hose?
Driving with a clogged hose can cause the engine to overheat, leading to warped cylinder heads and potentially catastrophic engine damage. Sustained temperatures above 115 degrees Celsius are dangerous. Address clogs immediately to avoid expensive repairs.
Key Takeaways for Fixing a Clogged Coolant Hose
A clogged coolant hose is often the hidden cause of overheating and pressure issues that get misdiagnosed as head gasket failures. Always inspect and clean the reservoir dip tube and test flow before assuming internal engine damage. With the right approach, a simple cleaning can save you thousands of dollars in unnecessary repairs. Do the simple stuff first. Inspect the hose, flush the system, clean the reservoir, and replace worn components. Only then consider more serious engine issues if the problem persists. Keep your engine running cool and safe by maintaining the cooling system with regular flushes, correct coolant, and quality replacement parts.