A broken coolant hose can turn a routine drive into a roadside emergency. When coolant leaks from a cracked or ruptured hose, your engine loses its ability to regulate temperature, leading to overheating, warped cylinder heads, or even total engine failure. The good news is that most coolant hose issues are repairable, either temporarily to get you home or permanently with basic tools and parts.
This guide covers everything you need to fix a broken coolant hose safely and effectively. You will learn how to identify hose damage, when to use emergency repairs, and the correct steps for a lasting replacement. By the end, you will be equipped to handle this common cooling system failure with confidence.
Diagnose Coolant Hose Failure
Recognizing the signs of a failing coolant hose early can prevent catastrophic engine damage. These failures rarely happen without warning, and knowing what to look for helps you act before a complete break.
Check for Visible Leaks and Puddles
Look under your parked car for green, orange, pink, or yellow fluid, depending on your coolant type. A fresh puddle after shutdown often points to a leaking hose, especially near the radiator or engine connections. Even slow seepage will leave behind crusty residue or staining around clamps.
Monitor Engine Temperature
A rising temperature gauge into the red zone is a major red flag. If your engine overheats quickly, especially during idle or low-speed driving, it may mean coolant is not circulating due to a disconnected or collapsed hose.
Inspect Hoses When Engine Is Cold
Never squeeze hoses when hot. Wait until the engine has cooled completely, at least 30 minutes off. Then gently compress each hose along its length. Soft, mushy spots indicate internal degradation. Bulges or swelling suggest delamination under pressure. Brittle, cracked surfaces mean the rubber is aging out.
Apply Emergency Fixes (Temporary Only)
Temporary repairs are not permanent solutions. They are meant to stabilize the system for a short drive to a repair shop or parts store. Use these methods only when necessary and plan for proper replacement immediately.
Cut and Reclamp Damaged Ends
Use when the crack or split is near the end of the hose and there is enough extra length.
Steps for this method:
1. Turn off the engine and wait 30 minutes or more.
2. Loosen clamps at both ends using pliers.
3. Cut past the damaged area with a sharp knife or cable cutters, making a clean, straight cut.
4. Slide the hose further onto the metal barb, ensuring full contact.
5. Reinstall a new clamp just behind the hose edge, covering the ridge of the fitting.
6. Tighten securely but avoid crushing the rubber.
7. Refill coolant and check for leaks before driving.
This method only works if the hose has excess length. It reduces durability, so replace the hose as soon as possible.
Install a Metal Coupler for Mid-Hose Ruptures
Use when the hose is torn or leaking in the middle.
Steps for this method:
1. Cut out the damaged section.
2. Insert a high-temperature metal barb coupler rated for coolant systems.
3. Slide the original hose ends over both sides of the coupler.
4. Secure each side with a new hose clamp.
5. Refill coolant and inspect for leaks.
Avoid plastic connectors, as they can crack under heat and pressure. Use only brass or stainless steel fittings.
Seal Holes with Self-Vulcanizing Silicone Tape
Use when you have a small hole or crack and no clamps or couplers available.
Steps for this method:
1. Stretch the tape while wrapping it tightly around the damaged area.
2. Cover 2 to 3 inches beyond the damage with overlapping layers.
3. The tape bonds to itself without adhesive, forming a solid, heat-resistant seal.
4. Reinforce with electrical tape if needed.
Recommended brands include 3M Scotch Super 33+ and Nashua 324. This is a temporary solution, and you should consider it a lucky fix rather than a reliable repair.
Patch with Duct Tape (Last Resort)
Use when nothing else is available and you need to reach a parts store.
Steps for this method:
1. Clean the area with alcohol-based window cleaner.
2. Wrap tightly in spiral layers, covering 4 to 6 inches around the damage.
3. Use multiple rolls for strength.
4. Add electrical tape underneath for better adhesion.
Duct tape fails quickly when wet or hot. Only use this method to reach a parts store within 10 to 15 miles.
Plug Leaks with Epoxy Putty
Use when you have a small puncture or crack and can wait 15 to 30 minutes for the cure time.
Steps for this method:
1. Clean and dry the surface thoroughly.
2. Knead and apply JB Weld WaterWeld or similar high-temp epoxy putty.
3. Mold over the hole and let cure completely, following package instructions.
4. Reinforce with tape if possible.
Standard silicone will not hold under pressure. Use only coolant-rated sealants.
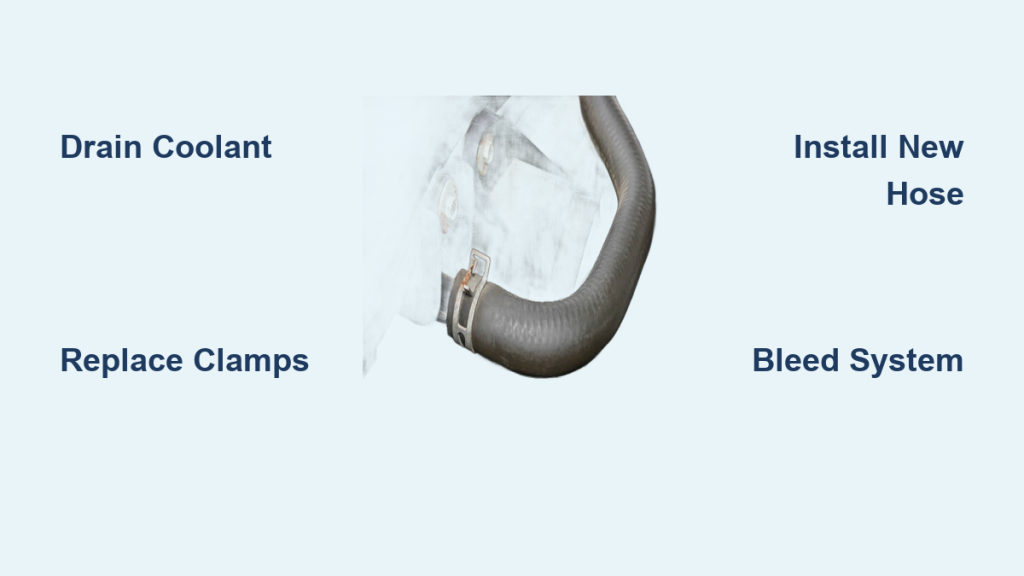
Replace the Hose Permanently
For any serious damage, including bulges, brittleness, mid-hose tears, or leaks at both ends, a full hose replacement is the only safe, long-term solution. This is the proper way to fix a broken coolant hose for good.
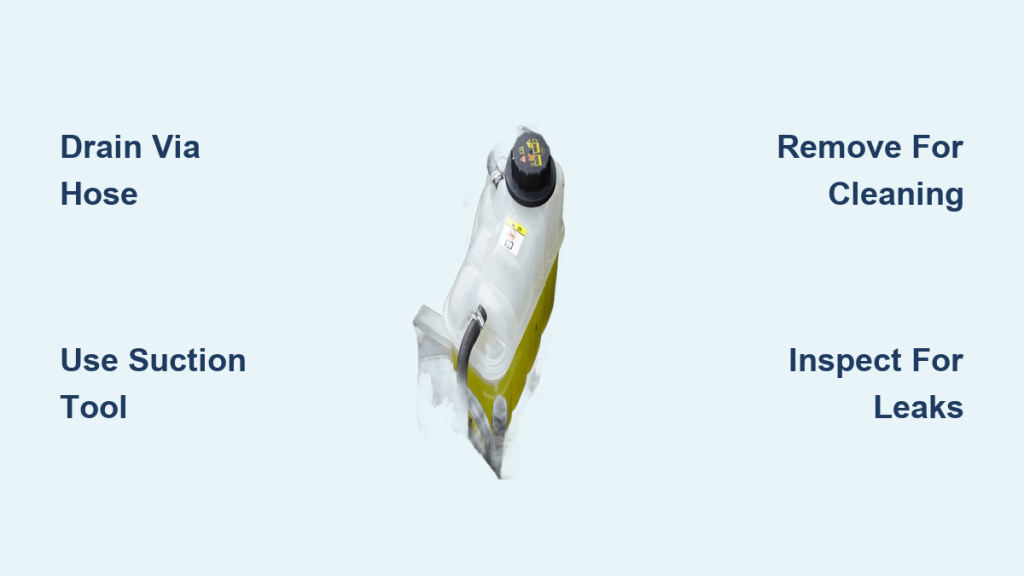
Prepare the Vehicle Safely
Park on level ground and engage the parking brake. Ensure the engine, radiator, and hoses are completely cool. Wear gloves and safety goggles, as hot coolant causes severe burns. Place a drain pan beneath the radiator drain plug. Even if replacing the upper hose, draining prevents spills and allows cleaner access.
Never open a hot cooling system. Pressure can blast scalding steam and coolant.
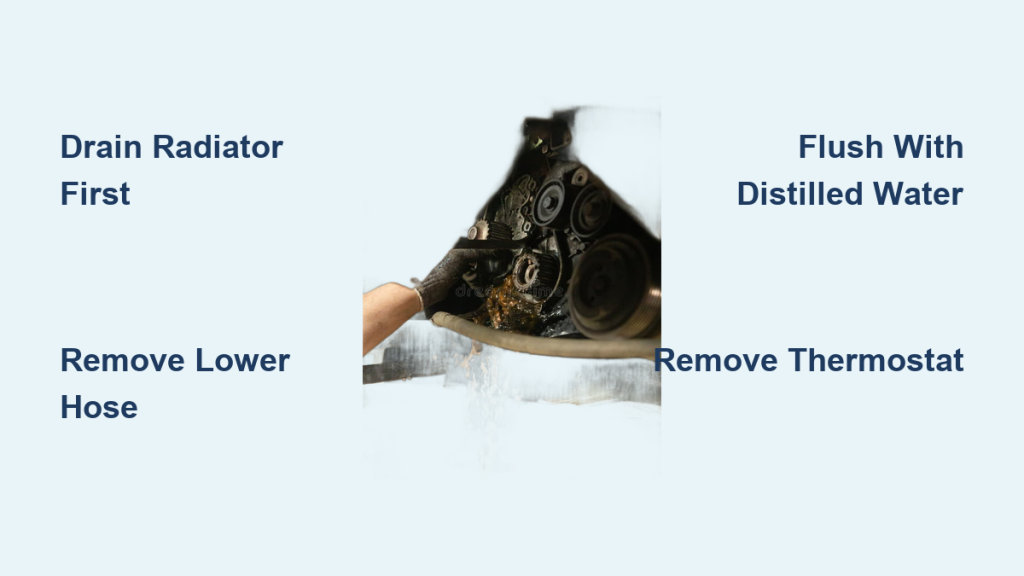
Drain the Cooling System
Steps for draining:
1. Remove the radiator cap, but only if the engine is cool.
2. Locate the drain plug at the bottom of the radiator.
3. Unscrew slowly, and coolant will flow out.
4. Let drain completely, then reinstall and tighten the plug.
Always drain coolant for controlled work, even if some guides say it is optional.
Remove the Old Hose
Steps for removal:
1. Loosen both clamps with pliers or a screwdriver.
2. Gently twist and pull the hose off the fittings.
3. If stuck, use a flat-head screwdriver to carefully pry it loose.
4. Wipe away residual coolant.
5. Inspect the metal barbs for corrosion or scale, and clean with a wire brush if needed.
Never reuse old clamps. Corrosion and fatigue reduce clamping force, so always use new ones.
Install the Correct Replacement Hose
Steps for installation:
1. Match the new hose exactly in length, diameter, and bend angle.
2. Lubricate the inside of the hose ends with coolant, never oil or grease.
3. Slide the hose fully onto both fittings until seated against the base of the barb.
4. Position new clamps just behind the barb ridges.
5. Tighten securely, but do not over-tighten, which can cut into rubber.
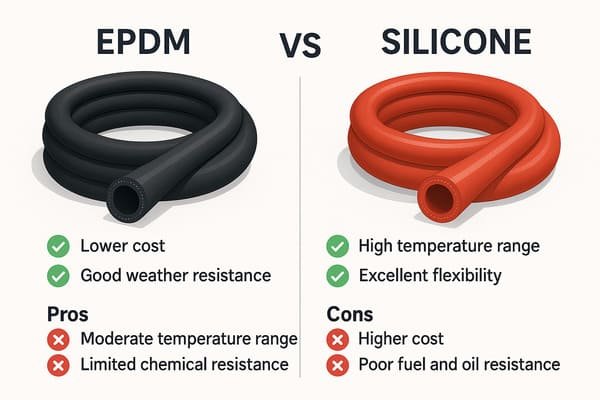
Use OEM-spec or silicone hoses for longer life. Silicone handles heat better and lasts 10 or more years.
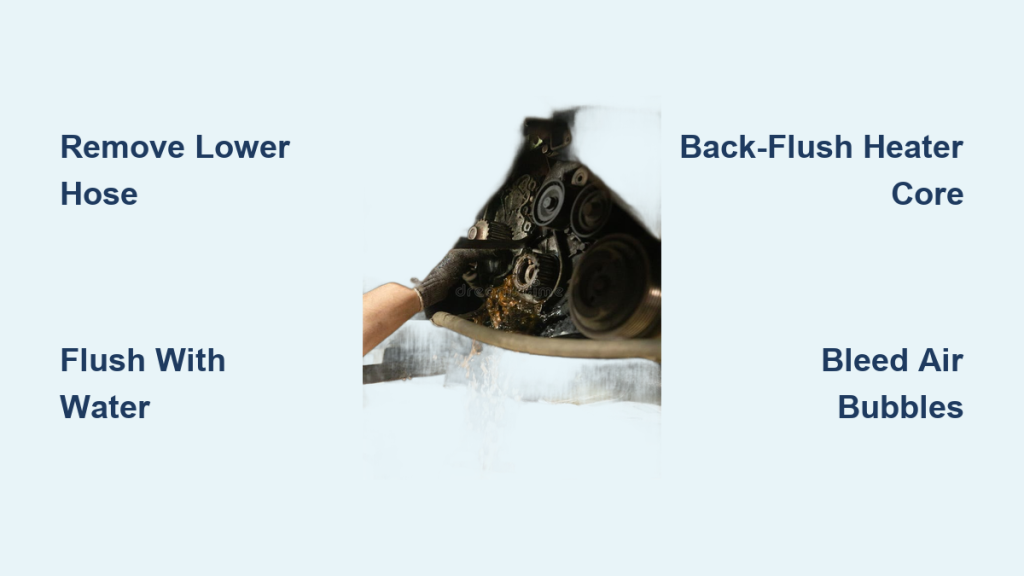
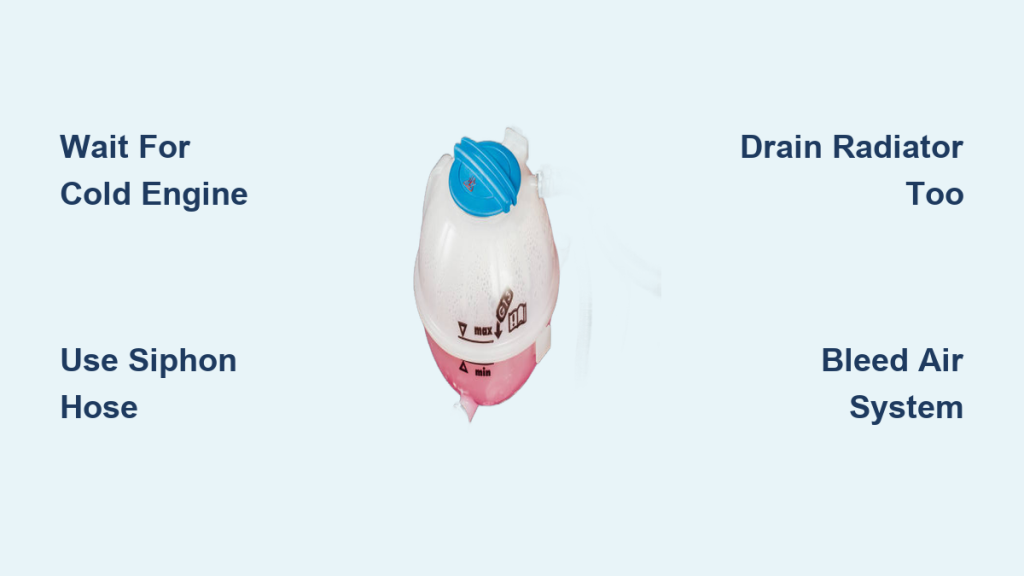
Refill and Bleed the System
Steps for refilling:
1. Use a funnel to pour in 50/50 pre-mixed coolant or mix concentrate with distilled water.
2. If your vehicle has bleeder screws, open them during filling and close when coolant flows without bubbles.
3. Run the engine with the heater on high to purge trapped air.
4. Monitor temperature, and shut off immediately if it climbs.
5. Let the engine cool, then top off the reservoir to the cold fill line.
Recheck the coolant level after several drive cycles, as air pockets may settle and create space.
Prevent Future Failures
A single hose failure often means others are aging too. Take this opportunity to extend the life of your entire cooling system and avoid needing to fix a broken coolant hose again.
Inspect All Hoses During Replacement
Check every hose for softness or sponginess, bulges or swelling, cracks or chalking, and coolant residue near clamps. Replace any suspect hose, especially if your vehicle has over 75,000 miles or is more than 5 years old.
Replace Hoses Proactively
Even without visible damage, coolant hoses degrade over time. Replace rubber hoses every 5 to 8 years and silicone hoses every 10 or more years with proper care. Replace upper and lower radiator hoses together, as they wear at similar rates.
Fix Oil Leaks Immediately
Oil contamination softens rubber hoses and accelerates failure. If you see oil on a hose, trace and repair the leak. Common sources include valve cover gaskets and oil coolers.
Use Correct Coolant and Water
Use only the coolant type specified in your owner’s manual, whether OAT, HOAT, or IAT. Always mix concentrate with distilled water, as tap water leaves mineral deposits that clog passages. Never run plain water, as this risks freezing and cracking the engine block.
Carry an Emergency Kit
Keep these items in your vehicle for roadside emergencies:
– Self-vulcanizing tape
– Duct tape and electrical tape
– Spare clamps and short rubber sleeve
– Universal repair hose
– Funnel and extra coolant
– Pliers and utility knife
Choose the Right Parts and Tools
Using proper components ensures reliability and avoids repeat failures when you need to fix a broken coolant hose.
Select High-Quality Hoses
EPDM rubber hoses last 5 to 7 years and work well for OEM replacement and daily drivers. Silicone hoses last 10 or more years and suit performance vehicles and long-term reliability. Standard hoses cost $15 to $40, while silicone kits for upper and lower hoses cost $60 to $120.
Use New Clamps Every Time
Worm-drive clamps work best for upper hoses and offer easy adjustment. Spring clamps suit lower hoses and provide constant tension. T-bolt clamps are best for high-pressure or performance systems. Never reuse old clamps, as they lose tension and often corrode.
Essential Tools for the Job
Hose clamp pliers allow quick removal. Screwdrivers or nut drivers, with 8 mm being common, handle most clamps. A wrench set in 10 to 14 mm sizes fits drain plugs. You also need a funnel, drain pan, and coolant tester to verify freeze point.
AutoZone, O’Reilly, and Advance Auto Parts offer free tool loan programs for funnels and bleed tools.
Know When to Call a Pro
While most coolant hose replacements are DIY-friendly, some situations require professional help. Hard-to-reach hoses, such as those behind intake manifolds, often need a pro. Integrated hose assemblies with sensors also benefit from professional attention. Vehicles with complex cooling systems, including turbocharged and hybrid vehicles, may need expert repair.
Labor costs average $150 to $300, including parts and 1 to 2 hours of work.
Frequently Asked Questions About Fixing a Broken Coolant Hose
Can I drive with a broken coolant hose?
Driving with a broken coolant hose is dangerous. You risk engine overheating, which can cause warped cylinder heads or complete engine failure. If you must drive, make only short distances at low speed after applying a temporary fix.
How long does a temporary coolant hose repair last?
Temporary repairs like tape or couplers are designed for emergency use only. They may last a few hours to a few days at most. You should replace the hose permanently as soon as possible.
What causes coolant hoses to fail?
Coolant hoses fail due to age, heat degradation, ozone exposure, oil contamination, and pressure cycling. Most hoses last 5 to 8 years before showing signs of wear like cracking, bulging, or softening.
Can I replace just one hose?
You can replace one hose, but it is often wise to replace both upper and lower radiator hoses together since they wear at similar rates. Inspect all hoses during replacement and replace any that show age or wear.
Do I need to drain coolant to replace a hose?
Yes, draining the cooling system is best practice for a controlled, leak-free repair. Some guides say it is optional for upper hose replacement, but draining ensures a cleaner job and prevents spills.
What happens if I reuse old hose clamps?
Reusing old clamps risks failure. Old clamps lose tension due to corrosion and fatigue, which can cause slow seepage or complete detachment. Always use new clamps when replacing a hose.
Key Takeaways for Fixing Your Coolant Hose
A broken coolant hose is more than an inconvenience. It is a serious threat to your engine that requires immediate attention. Temporary fixes like tape or metal couplers can get you moving, but only a proper replacement ensures safety, performance, and longevity.
Always work on a cold engine, use new clamps, and refill with the correct coolant mix. Inspect all hoses during repair, and replace aging ones before they fail. The cost of prevention is far less than the cost of engine repair.
With the right knowledge and tools, you can fix a broken coolant hose confidently and keep your cooling system running strong for years.