

Is your car overheating or showing a low coolant warning? Refilling the coolant reservoir is a simple but critical maintenance task that keeps your engine running safely. The coolant reservoir, also called the overflow or expansion tank, plays a vital role in your vehicle’s cooling system by managing thermal expansion and maintaining proper fluid levels. If you’re wondering how to fill coolant reservoir correctly, this guide walks you through every step, from safety checks and choosing the right coolant to bleeding air and verifying a complete fill.
Done improperly, coolant refills can lead to overheating, head gasket failure, or even engine damage. But with the right tools, precautions, and method, you can do it safely and effectively without risking burns or system damage.
Essential Safety Precautions Before You Start
Never open the coolant system when the engine is hot. The cooling system is pressurized when warm, and removing the cap can release scalding steam or boiling coolant under pressure. Always wait at least 30 minutes to 2 hours after turning off the engine. If you hear a hissing or suction sound when loosening the cap, stop because pressure is still present. Close the cap and wait longer.
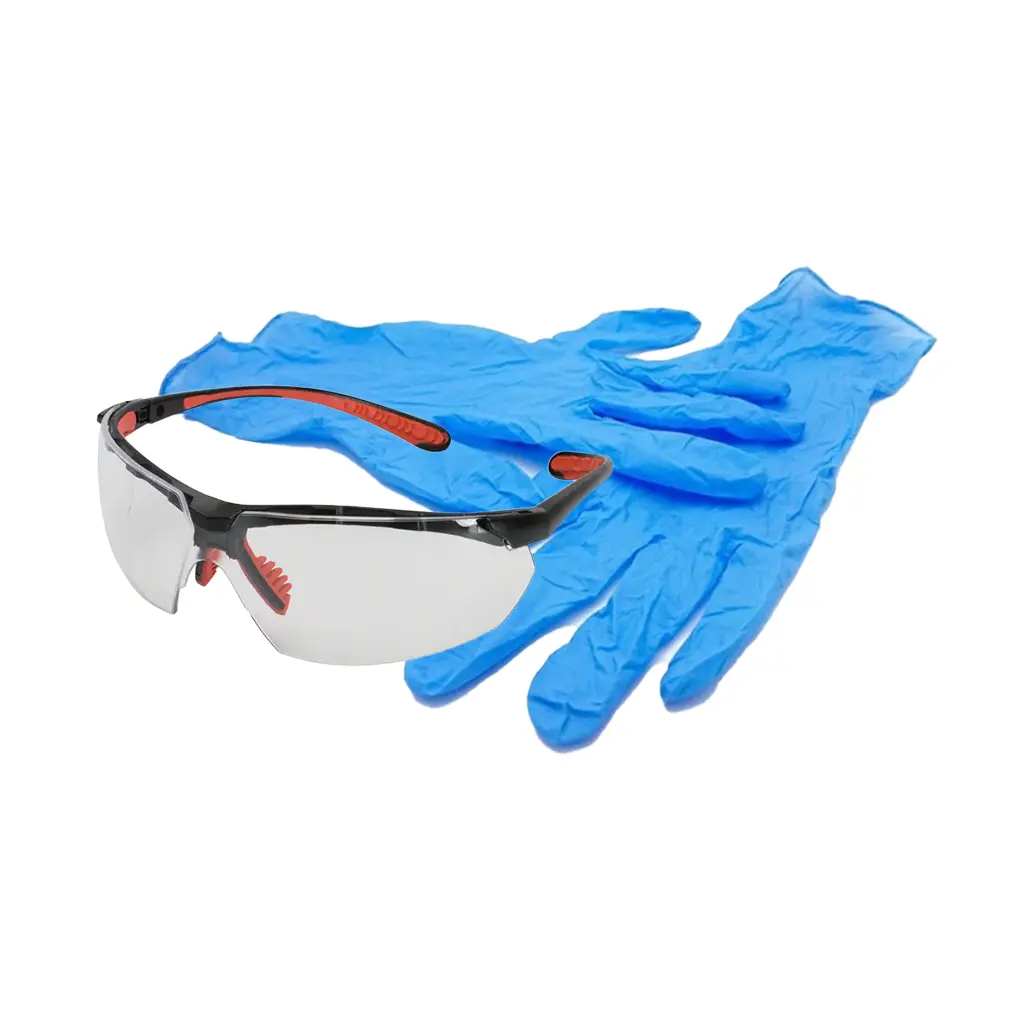
Wear protective gloves, safety glasses, and long sleeves when handling coolant. Antifreeze is toxic and can irritate skin or eyes. Place a clean rag over the cap as you unscrew it to catch any residual pressure release or spray. Ensure your vehicle is parked on level ground before checking or filling coolant. An uneven surface gives false level readings in the reservoir, leading to over or under-filling.
Locate the Coolant Reservoir
Open the hood and find the translucent plastic reservoir near the radiator or firewall. It is usually white or black with MIN and MAX markings. Do not confuse it with the windshield washer fluid tank, which often has a blue cap and a windshield symbol.
Some vehicles use the reservoir as the primary fill point, while others require filling at the radiator. If your car has no radiator cap, the reservoir is your fill point. Consult your owner’s manual to confirm your vehicle’s design, especially important for modern closed-loop systems.
Choose the Right Coolant Type
Coolant types vary by color and chemistry, such as IAT, OAT, and HOAT. Using the wrong type can cause sludge, corrosion, or gasket damage. Always check your owner’s manual for the correct specification based on your vehicle’s year, make, model, and engine.
If using concentrated coolant, mix it 50/50 with distilled water. Never use tap water because minerals can form deposits and reduce cooling efficiency. Premixed ready-to-use coolant eliminates mixing errors and is ideal for topping off.
Never mix different coolant types or colors. Doing so can create a gel-like substance that clogs passages and stops coolant flow. Stick to one type unless performing a full flush and replacement.
Drain and Flush the System When Needed
If replacing old coolant, flush the system first. Lift the vehicle with a jack and jack stands and place a drain pan under the radiator. Remove any undertray blocking access to the drain valve on the lower radiator tank.
Open the wingnut-style drain valve and let all fluid drain. Inspect the color and clarity. Clear, bright fluid indicates a healthy system. Brown sludge, rust, or particles suggest internal corrosion, and you should seek professional inspection.
Close the valve and refill with distilled water. Run the engine with the heater on high for 10 to 15 minutes to circulate. Drain and repeat 2 to 3 times until outflow is clear.
Fill the Coolant Reservoir Properly
With the engine cold, place a rag over the reservoir cap and unscrew it slowly. If pressure releases, close it and wait. Once safe, remove the cap completely.
Using a funnel, pour coolant into the reservoir until it reaches the COLD or FULL line. Do not overfill because coolant expands when hot and needs space. Leave at least 1 inch below the brim if no markings exist.
On vehicles with a radiator cap, remove it and fill the radiator to just below the filler neck. Some models require filling both the radiator and reservoir. Refer to your manual.
Bleed Air from the Cooling System
Trapped air causes hot spots, overheating, and head gasket failure. Air pockets prevent proper coolant circulation, especially in modern engines with complex coolant paths.
Squeeze the upper radiator hose repeatedly while adding coolant to release bubbles. This is called burping the system. Set the heater to maximum heat because this opens the heater core valve and helps purge air. Start the engine and run it for 10 to 15 minutes with the heater on high. Watch for bubbles in the reservoir.
Some vehicles have an air bleed screw near the thermostat or water outlet. Open it while filling until coolant flows without bubbles, then tighten.
For European or modern vehicles, vacuum filling is most effective. Using a vacuum kit, attach to the reservoir or radiator fill point. Pull 27 to 28 in Hg vacuum and hold for 30 seconds to test for leaks. Release vacuum, and coolant is drawn in automatically. When the hose collapses and the gauge reads 0 in Hg, the system is full.
Run Engine and Recheck Coolant Levels
Start the engine and let it run until it reaches normal operating temperature, usually when the cooling fan cycles on. The thermostat opens during this phase, allowing coolant to circulate fully.
Turn off the engine and wait 1 to 2 hours for it to cool completely. Recheck the reservoir level. It will likely be below the COLD line due to air purge and contraction. Top off as needed.
For accurate results, repeat the warm-up and cool-down cycle once or twice. Only when the level stabilizes between MIN and MAX is the system properly filled.
Secure Caps and Check for Leaks
Ensure both the reservoir and radiator caps are fully tightened. These caps maintain system pressure, typically 13 to 18 psi, and prevent boiling and leaks.
Check for drips or wet spots around radiator hoses and clamps, the water pump weep hole, heater core connections, and the drain valve. A persistent drop in coolant level after refill suggests a leak. Inspect thoroughly or consult a mechanic.
Turn the heater to maximum heat and verify warm air blows from the vents. This confirms coolant is circulating through the heater core.
Coolant Fill Level Guidelines
| Condition | Correct Fill Level |
|---|---|
| Engine cold | Fill to COLD or FULL line |
| Engine hot | Level rises. Do not open cap |
| After refill | Recheck after cooldown. Top off |
| Never | Fill to the brim. No expansion space |
Overfilling forces coolant out the overflow hose when hot, creating mess and potential electrical hazards.
Handle Vehicle-Specific Systems
Many modern cars have no radiator cap. The reservoir is the only fill point. These systems are sensitive to air pockets. Some require filling through the upper radiator hose, using a vacuum filler, or following a specific drive cycle to purge air. Always follow service manual instructions, not generic online videos.
In engines where coolant enters the cylinder head first, air tends to trap at the top. These require careful bleeding, often via a dedicated bleed screw or fill procedure. Know your total coolant capacity for full refills.
Avoid Common Mistakes
Opening a hot system is dangerous. Never remove the cap while the engine is warm. Severe burns from pressurized coolant can result. Wait until the engine is cold, and use a timer if you are unsure.
Using tap water causes mineral deposits and scaling. Always use distilled or bottled water when mixing coolant.
Skipping air bleed leads to overheating, warped heads, and blown gaskets. Run the engine with heat on, squeeze hoses, and recheck the level.
Mixing coolant types creates gel formation and clogged passages. Use one type only, and flush completely if switching.
Monitor After Refill
Inspect the reservoir each morning before driving for the first few days. A steady drop in level indicates a leak. Check hoses, radiator, and head gasket.
After 2 to 3 drive cycles, the level should stabilize between MIN and MAX when cold. If not, repeat the bleed and refill process.
Always use the same type and color when topping off. Mixing types risks chemical reactions that damage the system.
Dispose of Old Coolant Responsibly
Used antifreeze contains ethylene glycol, which is deadly to pets and wildlife. Never pour it down drains, onto soil, or into storm sewers.
Pour used coolant into the original container or a sealed jug. Label it clearly: Used Antifreeze. Do Not Reuse. Take it to an auto parts store that offers free recycling, a hazardous waste facility, or a municipal HHW collection site.
When to Call a Professional
Seek professional service if you cannot find the fill point, if coolant is rusty or sluddy, if the engine overheats repeatedly, if you lack tools for vacuum filling, or if the system has hidden bleed screws or complex routing.
Modern vehicles, especially European models, often require specialized procedures not suited for beginners. While YouTube videos are popular, they lack peer review and may promote outdated methods. Service manuals are engineered for accuracy and safety. When in doubt, trust the manual, not the video.
Frequently Asked Questions About Filling Coolant Reservoir
How long should I wait before opening the coolant reservoir cap?
Wait at least 30 minutes to 2 hours after turning off the engine. If you hear a hissing or suction sound when loosening the cap, pressure is still present. Close it and wait longer to avoid burns from pressurized steam or coolant.
Can I use tap water to mix concentrated coolant?
No. Always use distilled or bottled water when mixing concentrated coolant. Tap water contains minerals that form deposits and reduce cooling efficiency. The standard ratio is 50% coolant to 50% distilled water.
What happens if I skip bleeding air from the system?
Skipping air bleed leaves pockets that cause hot spots, overheating, and potentially head gasket failure. Air prevents proper coolant circulation. Always run the engine with the heater on high and recheck levels after cooling.
How do I know if my vehicle needs filling at the radiator or reservoir?
Consult your owner’s manual. Some vehicles use the reservoir as the primary fill point, while others require filling at the radiator. Many modern cars have no radiator cap, making the reservoir the only fill point.
How often should I check coolant levels after refilling?
Check the reservoir daily for the first few drive cycles. A continual drop indicates a leak. After 2 to 3 cycles, the level should stabilize between MIN and MAX when cold.
Is it normal for coolant level to drop after the first warm-up?
Yes. As the thermostat opens and coolant circulates into the engine block and heads, the level drops. This is normal. Recheck after the engine cools completely and top off as needed.
Key Takeaways for Properly Filling Your Coolant Reservoir
Knowing how to fill coolant reservoir correctly protects your engine from overheating and costly damage. Always work with a cold engine, use the correct coolant type, and mix it properly with distilled water. Bleed air thoroughly by running the engine with the heater on high, and recheck levels after the engine cools completely.
Follow your vehicle’s specific procedure from the service manual, avoid mixing coolant types, and never overfill the reservoir. Monitor for leaks daily after refilling, and dispose of old coolant responsibly at recycling centers. With these steps, you will keep your cooling system in top condition for years.



