
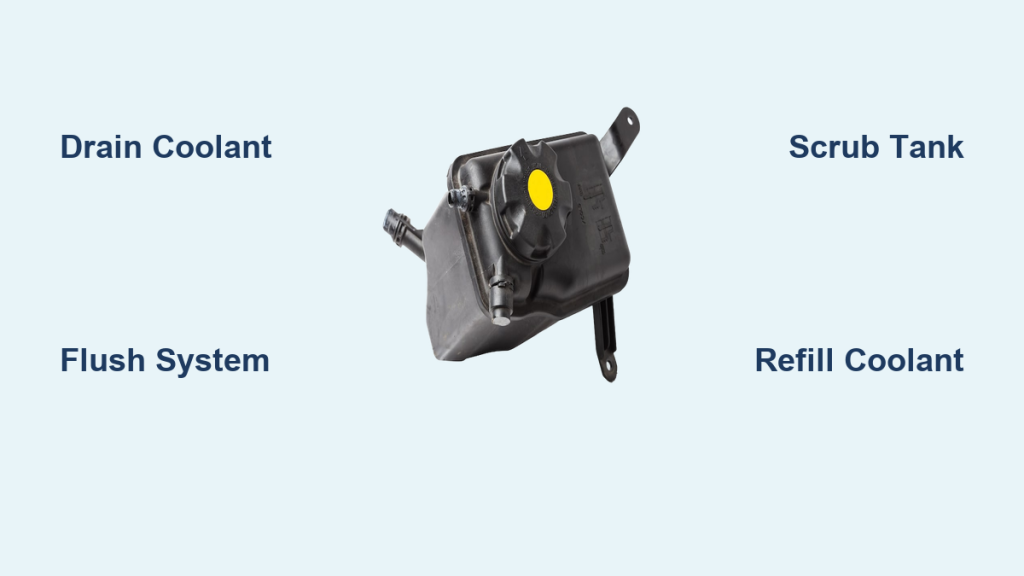
A dirty radiator tank can cause your engine to overheat, reduce cooling efficiency, and lead to costly repairs if left ignored. Over time, rust, scale, and debris accumulate inside the tank, restricting coolant flow and trapping heat. Cleaning your radiator tank is a straightforward maintenance task that most car owners can handle with basic tools and a little patience.
This guide walks you through every step of the process, from draining old coolant to flushing the system and refilling with fresh fluid. You will also learn the warning signs of a dirty tank, common mistakes to avoid, and how often the job should be done.
Why Cleaning Your Radiator Tank Matters
Your radiator tank stores coolant and feeds it into the cooling system as the engine heats up. When sediment, rust, or oily residue builds up inside, the tank cannot perform efficiently. This buildup acts like insulation, preventing proper heat transfer.
A clean radiator tank keeps your engine temperature stable, extends the life of water pumps and thermostats, and helps you avoid roadside breakdowns. Skipping this simple maintenance step often leads to overheating, especially during summer driving or heavy traffic.
How Contaminants Enter the Radiator Tank
Coolant breaks down over time and loses its protective properties. Once it degrades, it no longer prevents rust inside metal components. Tiny rust particles then circulate and settle in the tank.
Other contaminants include:
• Sealant residue from old gasket repairs
• Oil that leaks past a worn head gasket
• Mineral deposits from hard water mixed with coolant
• Dust and debris entering through a loose cap
Signs Your Radiator Tank Needs Cleaning

Your vehicle usually gives clear warnings before a radiator tank becomes a serious problem. Paying attention to these signs can save you from an expensive engine repair.
Visual Warning Signs
Look for these indicators during a quick inspection:
• Coolant that looks brown, rusty, or oily instead of bright green or orange
• Sludge or grit visible inside the tank when you remove the cap
• Crusty white or green residue around the cap or filler neck
Performance Warning Signs
Your driving experience also reveals tank problems:
• Temperature gauge climbing higher than normal
• Heater blowing cool air even after the engine warms up
• Sweet smell of coolant leaking from under the hood
• Frequent need to top off coolant with no visible external leak
Tools and Supplies for Cleaning a Radiator Tank
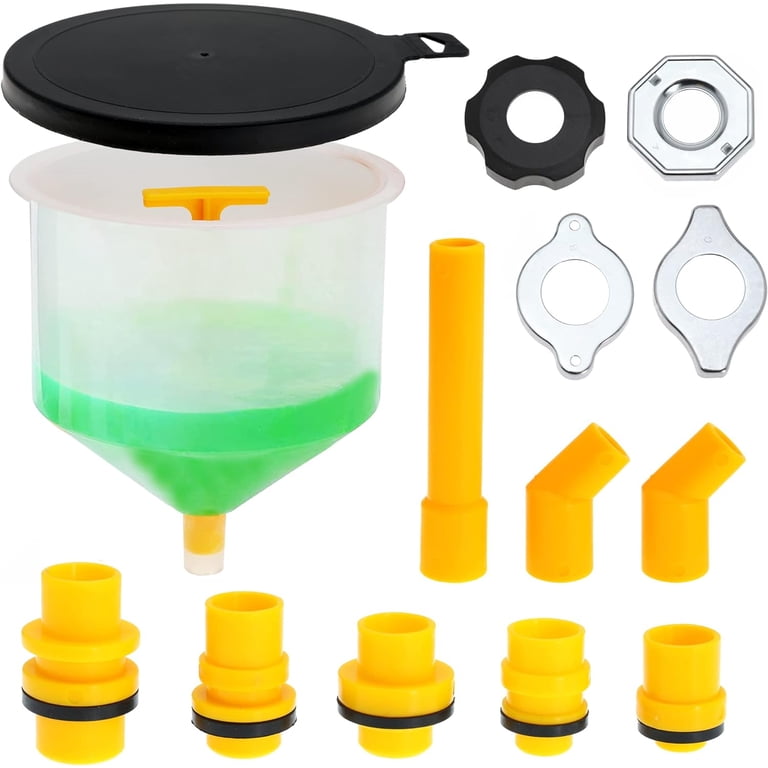
Gathering everything before you start saves time and avoids mid-job trips to the store. Most of these items are inexpensive and reusable.
Essential Tools
You will need:
• Socket wrench set and screwdrivers
• Drain pan with at least 2 gallon capacity
• Garden hose or pressure washer
• Clean rags or shop towels
• Funnel and bucket
Cleaning Products
Choose products designed for automotive cooling systems:
• Radiator flush chemical or distilled white vinegar for a natural option
• Distilled water for rinsing and refilling
• Fresh coolant matching your vehicle manufacturer specification
• Soft brush for scrubbing internal surfaces
Safety Precautions Before You Start
Working with a hot cooling system can cause severe burns. Always let the engine cool completely before opening the radiator cap. Even warm coolant can spray out under pressure and injure your skin or eyes.
Wear gloves and safety glasses throughout the process. Coolant is toxic to humans and animals, so keep pets away from the work area and dispose of old coolant at a certified recycling center. Never pour used coolant onto the ground or into storm drains.
Work on a level surface in a well-ventilated space. Keep a fire extinguisher nearby, especially if you smoke or use flammable cleaning chemicals.
Draining the Coolant From the Radiator Tank
Draining is the first hands-on step in cleaning a radiator tank. Take your time here to avoid spills and burns.
Step-by-Step Draining Process
- Turn off the engine and let it cool for at least 30 minutes.
- Place the drain pan directly under the radiator drain petcock or under the lower radiator hose.
- Open the petcock or loosen the hose clamp slowly to release coolant.
- Allow the fluid to drain completely into the pan.
- Tighten the petcock



