
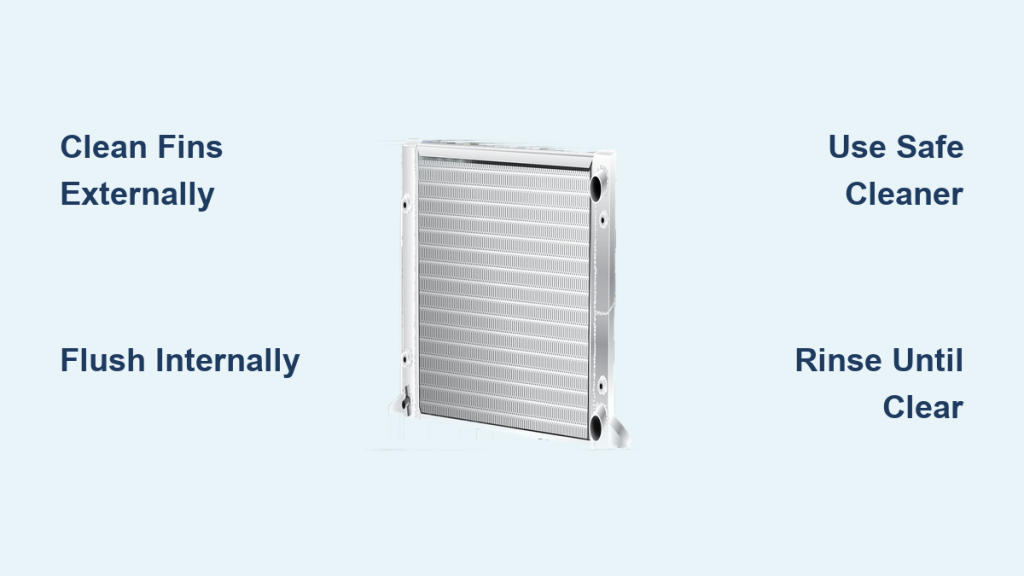
A dirty radiator can quietly destroy your engine. Bugs, dust, and road grime clog the external fins, while rust and old coolant choke the internal passages. Both problems force your engine to run hotter, often without warning. Learning how to clean car radiator components safely protects your engine from overheating and extends the life of your entire cooling system.
This guide breaks down the exact tools, cleaners, and techniques professionals recommend. You will learn which chemicals to avoid, how to flush the inside without damaging aluminum parts, and how to restore full cooling power in under an hour. Everything here is based on proven automotive maintenance practices, not risky DIY shortcuts.
Spot Radiator Problems Before They Worsen
Warning Signs of a Dirty Radiator
Your engine usually gives clear signals when the radiator struggles to keep up. Watch for these common symptoms:
- Temperature gauge climbing into the red zone
- Weak airflow through the grille, even at highway speeds
- Coolant that looks rusty, brown, or filled with floating particles
- Sludge or discoloration visible inside the coolant reservoir
- Heater blowing cool air even when the engine is warm
These issues point to restricted coolant flow or blocked airflow. Both respond well to proper cleaning.
Why Cleaning Prevents Costly Overheating
The radiator transfers heat from coolant to outside air. When fins are packed with debris or internal tubes are clogged with sediment, heat exchange fails. Even partial blockages can reduce cooling capacity by up to 40%. Regular cleaning restores airflow and fluid circulation, keeping your engine in a safe temperature range and protecting gaskets, hoses, and the cylinder head from thermal stress.
Avoid Dangerous Cleaning Chemicals
Why Bleach Destroys Cooling Systems
Chlorine bleach is one of the most damaging substances you can introduce to a cooling system. Modern radiators are primarily aluminum, which bleach aggressively corrodes. Bleach also degrades rubber hoses, gaskets, and seals, leading to leaks. Worse, it releases aluminum ions that migrate through the system and cause hidden damage elsewhere.
Bleach offers no real cleaning benefit for organic buildup. Mixing bleach with any acid, including vinegar, produces toxic chlorine gas. Never use bleach in or around your radiator.
The Hidden Risks of Vinegar Flushes
Vinegar appears harmless, but acetic acid erodes metal over time. Documented cases show prolonged vinegar exposure dissolving rust around Welsh plugs, forcing complete engine disassembly for repair. If you must use vinegar, limit exposure to 10 to 20 minutes and flush the system immediately afterward. For safer results, choose a commercial radiator flush or a non-corrosive cleaner like Simple Green Pro HD.
Gather the Right Tools and Supplies
Essential Equipment for the Job
Before you begin, assemble these items:
- Simple Green Pro HD or a commercial radiator flush such as Prestone or Bar’s Leaks
- Distilled water for rinsing and refilling
- Soft-bristled brush with nylon or plastic bristles
- Garden hose with a low-pressure nozzle
- Drain pan with at least 2-gallon capacity
- Safety gloves and protective glasses
- Flathead screwdriver for straightening bent fins
- Pliers for opening the drain valve
- Empty spray bottle for diluted cleaner
Using the correct tools prevents accidental damage to delicate fins and seals.
Safety Checks Before You Start
Always work on a completely cold engine. Opening a hot radiator cap can release scalding steam or pressurized coolant. Review your owner’s manual for the correct coolant type and system capacity. Plan ahead for proper disposal of old coolant, since it is toxic to pets and must be taken to a recycling center or hazardous waste facility.
Clean Radiator Fins Externally

Spray With a Safe Degreaser
External buildup blocks airflow and lowers cooling efficiency. Mix Simple Green Pro HD with water at a 1:3 ratio in a spray bottle. Apply the solution evenly across the radiator fins from the front of the vehicle. Let it sit for 2 to 3 minutes so the cleaner can break down grease and grime.
Remove Debris With a Soft Brush
Gently scrub between the fins using a soft-bristled brush. Avoid wire brushes, which can slice through thin aluminum. Focus on the lower corners where debris collects. If you spot bent fins, straighten them carefully with a flathead screwdriver. Proper alignment restores airflow and cooling power.
Rinse From the Engine Side Outward
Never spray water directly into the front of the radiator. Doing so drives debris deeper into the core. Move to the engine side and rinse from back to front using low pressure. This pushes dirt and bugs out instead of packing them in. Continue rinsing until the water runs clear, then let the radiator air dry before starting the engine.
Flush the Radiator Internally
Drain Old Coolant Completely
Place a drain pan beneath the radiator’s petcock or drain valve. Remove the radiator cap to break the vacuum seal, then open the valve using pliers or by hand. Allow all old coolant to drain fully. Once empty, close the valve securely. Take the used fluid to an auto parts store or hazardous waste facility for proper disposal.
Mix the Correct Cleaner Ratio
For internal cleaning, combine Simple Green Pro HD with water at a 1:15 ratio. Prepare enough solution to fill the radiator completely. Most 4-cylinder engines hold about one gallon. Stir the mixture thoroughly in a clean bucket before pouring.
Circulate Cleaner at Operating Temperature
Pour the solution into the radiator and replace the cap. Start the engine and let it run for 5 to 15 minutes, or until it reaches normal operating temperature. This opens the thermostat and allows cleaner to flow through the engine block, heater core, and cylinder head. Turn on the heater to confirm full system circulation.
Drain and Rinse Until the Water Runs Clear
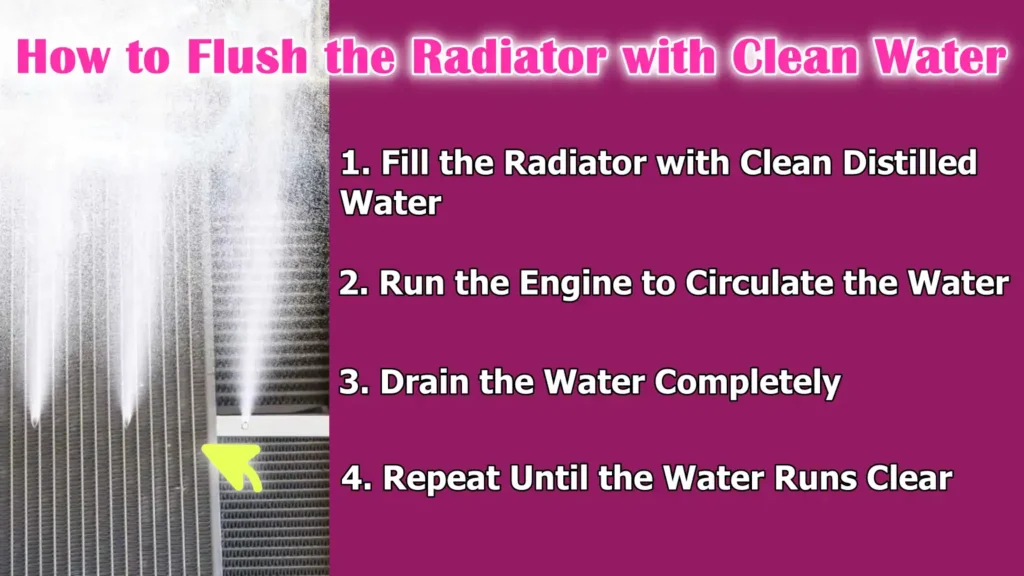
Turn off the engine and let it cool. Drain the cleaning solution completely, then refill with clean distilled water. Run the engine for 5 minutes, cool it down, and drain again. Repeat this rinse cycle 3 to 4 times until the water runs crystal clear with no foam or residue. Skipping this step leaves cleaner behind that can contaminate new coolant.
Refill With the Proper Coolant Mix
Choose the Right Coolant Type
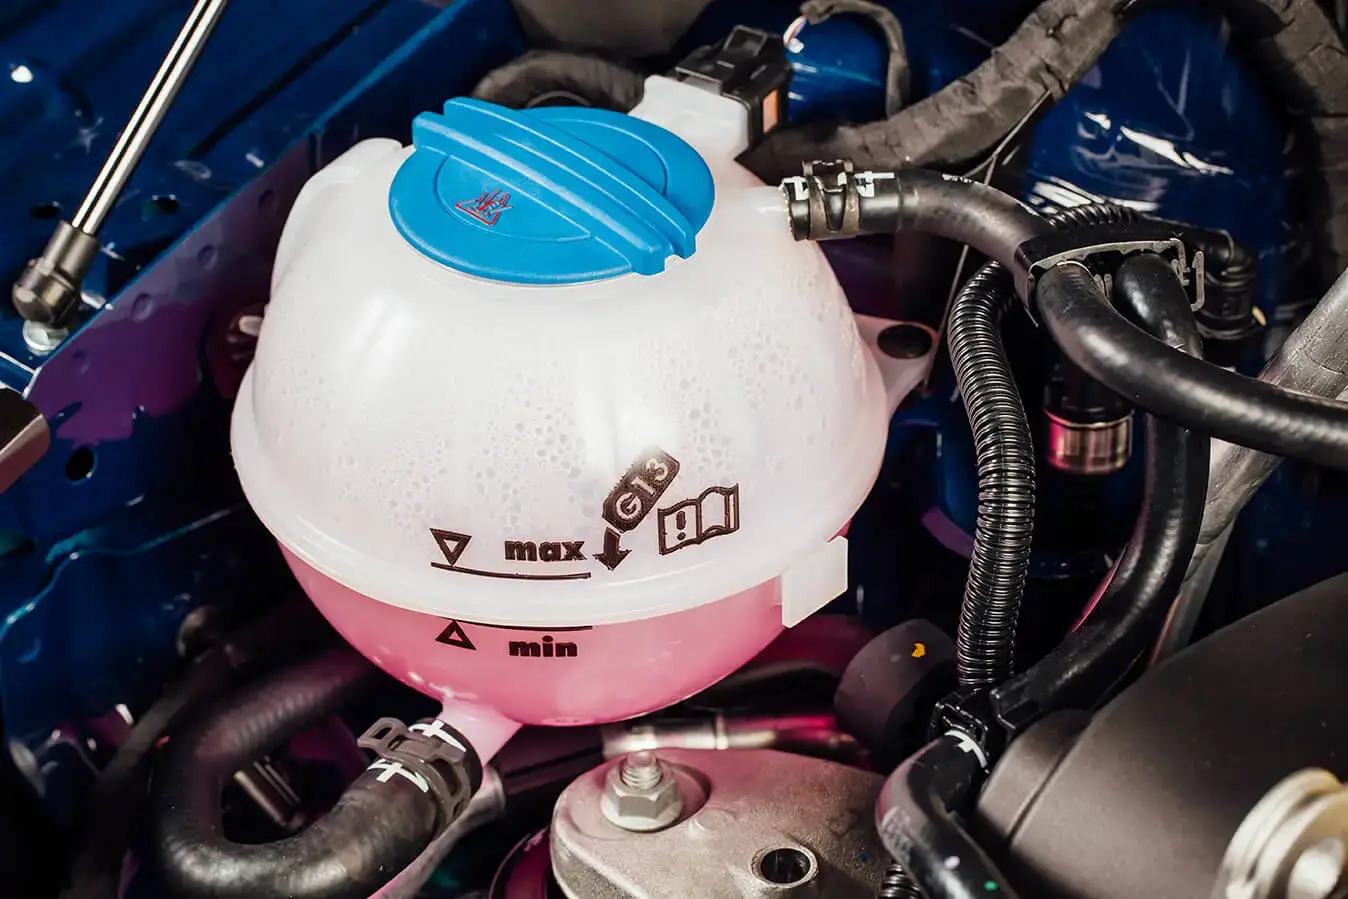
Check your owner’s manual for the required coolant specification, such as OAT, HOAT, or IAT. Using the wrong type can cause sludge or corrosion. Most vehicles require a 50/50 mix of coolant and distilled water. Pre-mixed coolant is available if you prefer convenience.
Bleed Air From the Cooling System
After refilling, run the engine with the radiator cap off for a few minutes. Watch for air bubbles, which indicate trapped air escaping the system. Top off as needed until the level stabilizes. Secure the cap only when the system is full and bubble-free.
Consider Alternative Cleaning Methods

Distilled Water Flush for Light Maintenance
For routine upkeep or trace contamination, use only distilled water. Drain the old coolant, fill with distilled water, run the engine until warm, then cool and drain. Repeat the cycle 3 to 4 times. Finish with a proper 50/50 coolant mix. This method is safe, chemical-free, and effective for regular maintenance.
Vinegar Flush With Extreme Caution
Only consider vinegar if no commercial cleaner is available, and only with strict time limits. Add one gallon of white vinegar, run the engine for 10 to 20 minutes maximum, then flush immediately with water until the drain runs neutral. Do not exceed the time limit. Due to aluminum corrosion risk, this method is not recommended for modern vehicles.
Remove the Radiator for Severe Rust
For radiators with heavy internal rust, remove the unit and use Tremans X-Rost. Block the ends, fill with solution, and let it sit for 48 hours. Flush thoroughly before reinstalling. This aggressive approach is reserved for severe cases and requires full radiator removal.
Verify Your Cleaning Was Successful
Check for Crystal Clear Drain Water
The most reliable indicator of a successful flush is clear rinse water with no foam, odor, or particles. If water remains cloudy, repeat the rinse cycle. Residual cleaner or sludge can damage the system over time.
Confirm the Thermostat Opens Properly
A failed flush often results from a stuck thermostat. If the engine does not reach operating temperature during cleaning, the cleaner never circulated through the engine block. Replace a faulty thermostat before attempting another flush.
Inspect Fin Alignment After Cleaning
Walk along the radiator face and check for bent or crushed fins. Use a screwdriver to gently straighten any misaligned sections. Even small bends disrupt airflow and reduce cooling efficiency.
Frequently Asked Questions About Cleaning a Car Radiator
How Often Should You Clean a Car Radiator?
Clean the exterior at least once per year and perform a full internal flush every five years. Vehicles driven in dusty or hot climates may need more frequent attention.
Can You Use Vinegar to Clean a Car Radiator Safely?
Vinegar carries real risks for aluminum components. If used, limit exposure to 10 to 20 minutes and flush thoroughly. Commercial flushes are safer and more effective.
What Happens If You Put Bleach in a Radiator?
Bleach corrodes aluminum, degrades rubber seals, and releases harmful ions into the coolant. It offers no cleaning benefit and can cause severe engine damage.
How Do You Know When the Radiator Flush Is Complete?
The drain water should run completely clear with no foam, discoloration, or particles. Repeat the rinse cycle until this standard is met.
Is Simple Green Safe for Aluminum Radiators?
Yes. Simple Green Pro HD is non-corrosive and safe for aluminum, stainless steel, rubber, and seals when diluted properly.
Should You Remove the Radiator for Cleaning?
Removal is only necessary for severe internal rust that cannot be cleared through a standard flush. Use Tremans X-Rost and follow the 48-hour soak procedure.
Key Takeaways for Cleaning Your Car Radiator Safely
Learning how to clean car radiator components the right way saves money and prevents engine damage. Always work on a cold engine, use non-corrosive cleaners like Simple Green Pro HD, and avoid bleach entirely. Limit vinegar use to short durations if you must use it, and rinse the system thoroughly until water runs clear.
Schedule annual external cleaning and a full internal flush every five years. Inspect fins for bends, confirm the thermostat opens during the cleaning cycle, and refill with the correct 50/50 coolant mix. With the right tools and techniques, you can restore full cooling performance in under an hour and keep your engine running safely for years to come.



