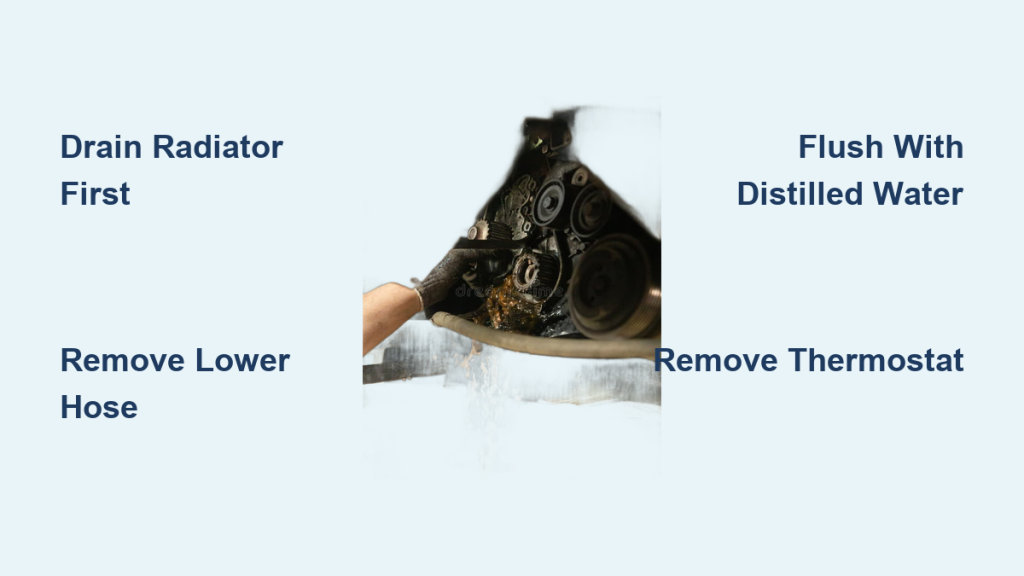
You’re losing coolant, but there’s no puddle under your car. No drips. No stains. Yet every time you check, the reservoir level is lower. This frustrating scenario points to a hidden failure in your vehicle’s cooling system. A coolant leak but not on ground means fluid is escaping through internal or evaporative pathways, often going undetected until serious engine damage occurs.
This guide walks you through every possible source of invisible coolant loss, how to test for each cause, and what steps to take for repair. You’ll learn to diagnose head gasket failures, identify heater core leaks, test your radiator cap, and catch pressurized micro-leaks before they destroy your engine.
Check for White Exhaust Smoke
Look for Sweet-Smelling Steam at Cold Startup
If your coolant is vanishing but not pooling on the ground, examine your tailpipe when starting a cold engine. A steady stream of thick, white smoke with a distinctly sweet, syrupy odor signals coolant entering the combustion chamber and burning.
This typically happens due to:
- Blown head gasket between cooling passages and cylinders
- Cracked cylinder head allowing coolant seepage
- Fractured engine block with internal cracks
Unlike normal condensation vapor, which clears within seconds, this smoke persists and carries that unmistakable sweet smell. Run your engine at 2,000 RPM for two to three minutes. If smoke increases with RPM, combustion chamber intrusion is likely.
Perform a Block Test for Confirmation

Use a combustion leak tester to confirm internal coolant intrusion. This tool uses chemical reagent that changes color when exposed to exhaust gases in your coolant.
Follow these steps:
- Cool the engine completely before testing
- Fill the tester bottle with blue indicator fluid
- Attach the tool to the radiator neck
- Run engine at idle for two to three minutes
- Watch the fluid color change:
– Stays blue: no combustion gases detected
– Turns green or yellow: hydrocarbons present, confirming internal leak
A positive block test result means head gasket or structural engine damage. Stop driving immediately to prevent warped cylinder heads, hydrolock, or complete engine failure.
Inspect Engine Oil for Coolant Contamination
Check Dipstick for Milky Residue
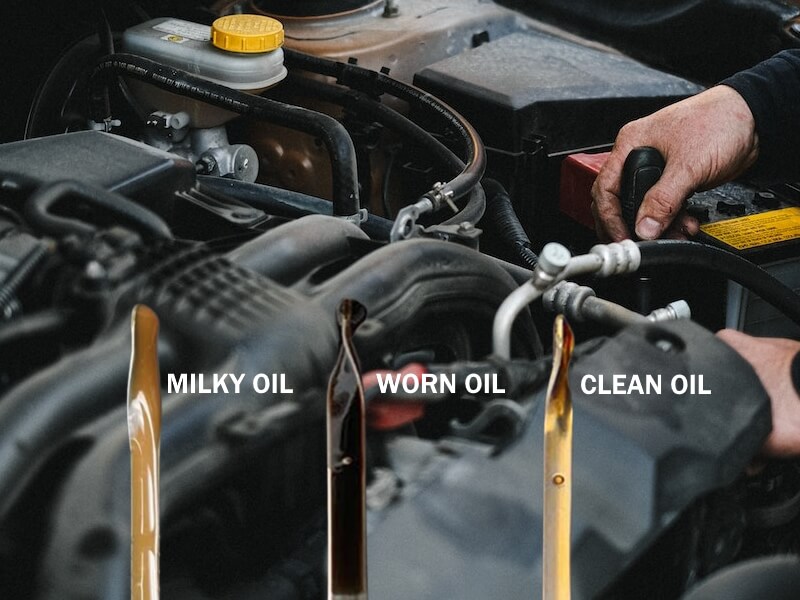
One of the most serious hidden leaks occurs when coolant mixes with engine oil inside the motor. Since this happens internally, no fluid hits the ground, but the consequences are severe for your engine.
Pull your oil dipstick and inspect for these warning signs:
- Normal oil appears amber to dark brown with slick, uniform texture
- Contaminated oil shows milky, chocolate-milk appearance with frothy texture
- Remove the oil filler cap and look underneath for a foamy, mayonnaise-like layer
This condition indicates coolant has breached into the crankcase through failed seals or gaskets. Common causes include:
- Failed head gasket allowing coolant into oil passages
- Cracked engine block or cylinder head
- Timing-chain-driven water pump seal failure (common in Ford 3.5L V6 engines)
Why Coolant in Oil Is Dangerous
Coolant mixed with engine oil dramatically reduces lubrication efficiency. The glycol in antifreeze breaks down oil’s protective properties, increasing friction and heat inside bearings. This can cause spun rod bearings or catastrophic engine seizure.
Even small amounts are harmful. If you find contamination, stop driving immediately and arrange for tow to a repair facility.
Immediate Steps When Contamination Is Found
When oil contamination is confirmed, take these actions:
- Drain the contaminated oil and inspect for water content
- Pressure test the cooling system to locate the leak path
- Replace the faulty component (water pump, head gasket, or other)
- Flush the oil system thoroughly and refill with fresh oil
Delaying repair risks thousands in engine damage and possible total engine replacement.
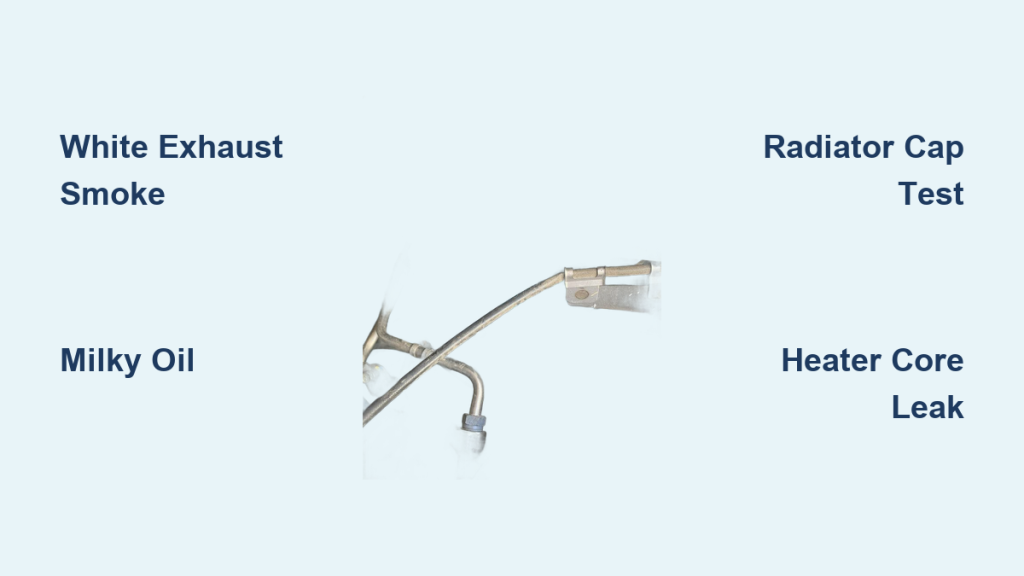
Test the Radiator Pressure Cap
Replace Cap Before Major Repairs
A faulty radiator cap is one of the most overlooked causes of coolant loss with no ground leak. It’s cheap, simple, and should be your first diagnostic step before pursuing expensive repairs.
The cap performs two critical functions:
- Seals the system to maintain pressure (typically 13-18 psi), raising coolant boiling point
- Allows coolant to return from the overflow tank when the system cools
If the vacuum valve inside the cap fails, coolant gets pushed into the reservoir during heating but never gets sucked back during cooling. Over time, this creates net loss even with no actual leak present.
Signs of Cap Failure
Watch for these indicators:
- Coolant only in overflow tank, not in the radiator itself
- Steam hissing from overflow after driving
- Gradual depletion over weeks or months
- Boil-over episodes without overheating warning light
How to Test Your Cap
Use a radiator pressure tester following this procedure:
- Remove the cap and attach the tester pump
- Pump to rated pressure (check your spec, typically 15 psi)
- Hold pressure for one minute
- If pressure drops, the cap is failing and needs replacement
Also physically inspect for:
- Cracks in the plastic housing
- Warped sealing surface
- Debris or corrosion on the cap seat
Replace with an OEM-spec cap (Stant, Gates, or manufacturer brand). Cost runs $15-$40, and labor takes about two minutes. This simple fix resolves approximately 18% of unexplained coolant loss cases.
Investigate Heater Core Leaks
Detect Sweet Smell in Cabin
A leaking heater core can drain coolant without leaving any trace on the ground. Located inside the HVAC box beneath your dashboard, leaks here release fluid into the passenger compartment where it often evaporates or soaks into floor insulation.
Key symptoms include:
- Sweet, chemical odor when the heater is running
- Foggy windshield that won’t clear with defroster
- Damp or wet passenger-side floor mat
- Reduced heating performance despite adequate coolant levels
Confirm with Floor Mat Inspection
Remove the passenger-side floor mat and weigh it when cold. After a 30-minute drive with the heater on high, reweigh the mat. A noticeable weight increase indicates coolant leakage into the cabin.
Also check for:
- Residue buildup on HVAC vents
- Staining visible under the dashboard
- Crusty deposits near the HVAC housing
Use UV Dye for Pinpointing

Add UV-compatible coolant dye to your system. Drive 20 or more miles, then scan the interior with a blacklight. Any glowing spots reveal the exact leak location.
Heater core replacement is labor-intensive, typically requiring four to eight hours due to dashboard removal. Average cost ranges from $500 to $1,200 depending on your vehicle. This repair prevents mold growth, corrosion, and continued coolant loss.
Pressure Test for Invisible External Leaks
Find Micro-Leaks That Evaporate
Some leaks only appear when the engine is hot and under pressure. Coolant escapes as mist or vapor, evaporating before it reaches the ground. These pressurized micro-leaks leave telltale signs if you know where to look.
Common failure points include:
- Degraded hose clamps allowing seepage under pressure
- Cracked plastic radiator tanks or seams
- Leaking thermostat housing gaskets
- Water pump weep hole seepage
- Loose or corroded bleed screws
Look for Crusty Residue
Inspect your engine bay components carefully for white or green crusty deposits. This dried coolant residue is left behind after evaporation and serves as a telltale sign of a pressurized leak you can’t otherwise see.
Perform a Cold-to-Hot Pressure Test
Follow this diagnostic sequence:
- Cool engine to ambient temperature
- Attach pressure tester to radiator or reservoir
- Pressurize to 16 psi or 1-2 psi above your cap rating
- Start engine and warm to operating temperature
- Monitor for pressure drop or visible steam
If pressure drops but no external leak is visible, suspect an internal crack in the cylinder head or block, or a head gasket leak.
Use UV Dye and Toweling Method
Add fluorescent dye to your coolant and drive normally for 20+ miles. Then scan the entire engine bay with a UV flashlight, looking for glowing dye traces. Alternatively, place white towels around suspect areas before driving and check them afterward for damp spots indicating leak locations.
Replace any leaking hoses, radiator, or housing with OEM or reinforced parts.
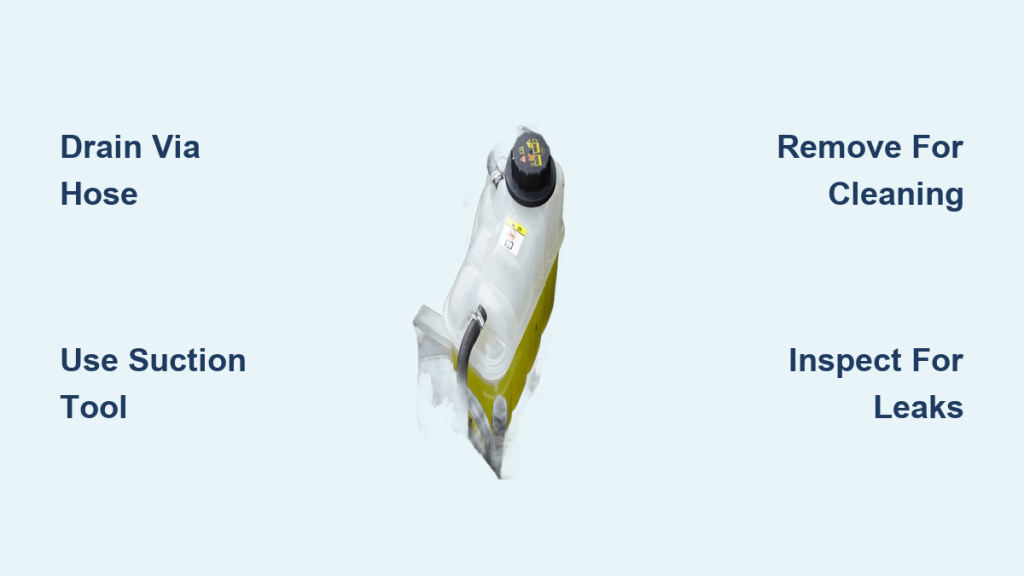
Examine the Coolant Reservoir
Check for Cracks and Proper Fill Level
The overflow tank (also called the coolant reservoir) is a common but hidden leak source. Hairline cracks, especially near mounting brackets, can spray coolant onto hot engine components where it instantly vaporizes.
Additionally, overfilling the reservoir causes excess coolant to be expelled during thermal expansion, mimicking a leak when none actually exists.
Inspect your reservoir for:
- Hairline fractures (use a flashlight for backlighting)
- Warped or swollen housing
- Leaking cap seal
Replace the reservoir assembly if damaged. When refilling, always fill to the “MIN” and “MAX” cold-fill lines, never exceeding the maximum mark. Use the correct coolant type specified for your vehicle (OAT, HOAT, G12++, or other).
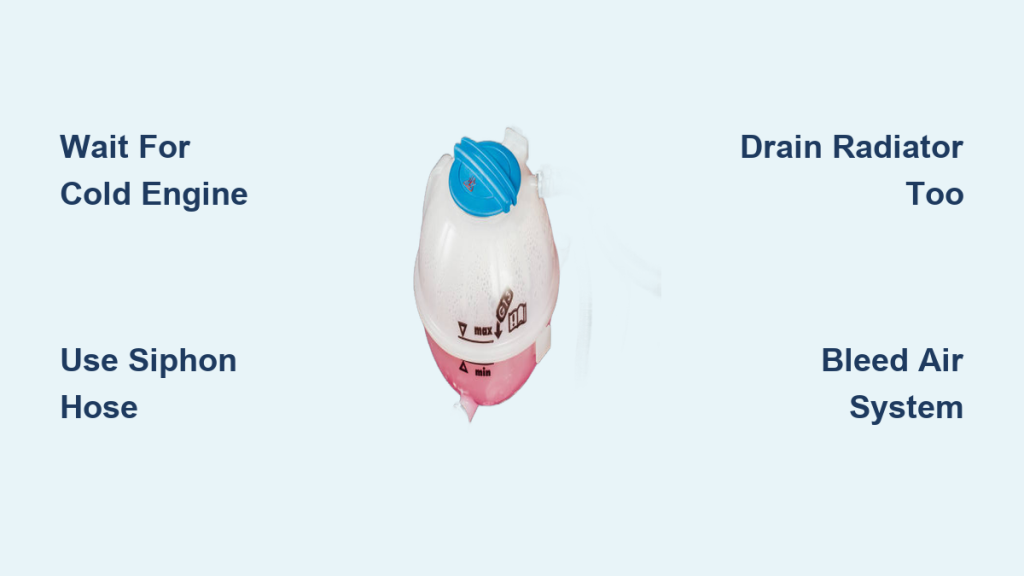
Rule Out Air Pockets After Coolant Service
Bleed System Properly After Refill
After any coolant service or refill, trapped air can create a false low coolant reading. As air escapes during driving, the level appears to drop, mimicking a leak when the system is actually just burping air.
This is not a true leak but rather a filling issue that resolves once air is purged.
How to Properly Bleed the System
Follow these steps to eliminate air pockets:
- Run engine with radiator cap off (only if your vehicle design allows safe removal)
- Let engine reach operating temperature
- Squeeze the upper radiator hose repeatedly to release trapped air
- Top off coolant as needed
- Recheck level after 3-5 complete drive cycles
If the level stabilizes after bleeding, no leak exists. The system was simply holding air that needed to escape.
Scan for Diagnostic Trouble Codes
Retrieve OBD2 Error Codes
Use a scan tool to check for stored codes related to cooling system performance. Even if your check engine light isn’t illuminated, intermittent codes can reveal hidden issues.
Key codes to watch for:
- P0116: Coolant temperature sensor rationality
- P0128: Thermostat below regulating temperature
- P2181: Cooling system performance
- P0300: Random misfire (possible if coolant is entering cylinders)
Perform Wiggle Test on Wiring
A faulty coolant level sensor can trigger false low coolant warnings. This is common in BMW, Audi, and Mercedes vehicles with electronic monitoring systems.
Manually verify coolant level when the engine is cold. If physical check shows normal level but your warning light persists, test sensor resistance and inspect wiring for damage. Replace the sensor if faulty.
Inspect Intake Manifold Gaskets on V8 Engines
Target GM LS and Ford Modular Engines
On engines with coolant passages running through the intake manifold, failed gaskets can leak coolant into the engine valley or directly into intake ports. This creates coolant loss without external puddles.
Symptoms specific to intake manifold gasket failure:
- Coolant loss with white exhaust smoke present
- Rough idle or cylinder misfires
- Visible corrosion or residue in the intake valley
Remove the intake manifold and inspect gasket integrity. Look for coolant residue in the valley and check for cracks in the manifold itself. Replace gaskets, clean all passages thoroughly, and flush the cooling system before reassembly.
Prevent Future Coolant Loss
Follow Essential Maintenance Practices
To avoid recurrence of hidden coolant leaks, implement these maintenance habits:
- Flush coolant every 30,000-60,000 miles per manufacturer recommendations
- Always use the correct coolant type specified in your owner’s manual
- Replace your radiator cap every five years or 60,000 miles as preventive maintenance
- Inspect all hoses annually for softness, bulging, or cracking
- Torque all cooling system fasteners to specification (over-tightening cracks plastic)
- Always bleed air from the system after any coolant service
Invest in high-quality replacement components, especially caps, water pumps, and hoses. Cheap aftermarket parts often fail prematurely, leading to recurring issues.
Key Takeaways for Diagnosing Coolant Leak But Not on Ground
A coolant leak but not on ground is never normal. Even slow, intermittent loss leads to overheating and catastrophic engine damage if ignored. Start your diagnosis with the radiator cap inspection and pressure test, as these low-cost, high-impact steps resolve a significant percentage of mystery coolant loss cases.
If pressure testing reveals no external leak, proceed to block testing, oil inspection, and UV dye tracing to identify internal failures. White exhaust smoke or milky oil demands immediate attention and cessation of driving. Heater core leaks, while expensive to repair, prevent ongoing coolant loss and protect your engine from damage.
The systematic approach outlined here helps you identify the exact cause before it leads to complete engine failure. Early diagnosis saves thousands in repair costs and keeps your vehicle running reliably.
Frequently Asked Questions About Coolant Leak But Not on Ground
Why is my coolant disappearing with no visible leak?
Coolant can escape through internal pathways like a blown head gasket, cracked engine block, or heater core. It can also leak as vapor that evaporates before hitting the ground, or simply not return from the overflow tank due to a bad radiator cap.
Can a head gasket leak cause no external puddle?
Yes. A head gasket leak typically sends coolant into the combustion chamber (visible as white smoke) or into the oil passages (visible as milky oil). Neither creates a puddle on the ground, but both cause coolant loss.
How do I know if my heater core is leaking internally?
Look for a sweet smell inside the cabin when the heater is on, foggy windshield that won’t clear, and damp passenger floor mats. The leak often evaporates in the HVAC ducts rather than pooling visibly.
Can a bad radiator cap cause coolant loss without leaks?
Yes. If the vacuum valve in the cap fails, coolant gets pushed to the overflow tank during heating but doesn’t get drawn back during cooling. This creates gradual coolant loss that appears mysterious.
How much coolant loss is normal?
A properly sealed cooling system should lose virtually no coolant. Loss of more than half an inch in the reservoir over 500 miles indicates an active leak requiring diagnosis.
Should I keep driving if coolant is low but I see no leak?
No. Continuing to drive with unexplained coolant loss risks overheating, engine damage, and potential complete engine failure. Diagnose the issue before operating the vehicle.