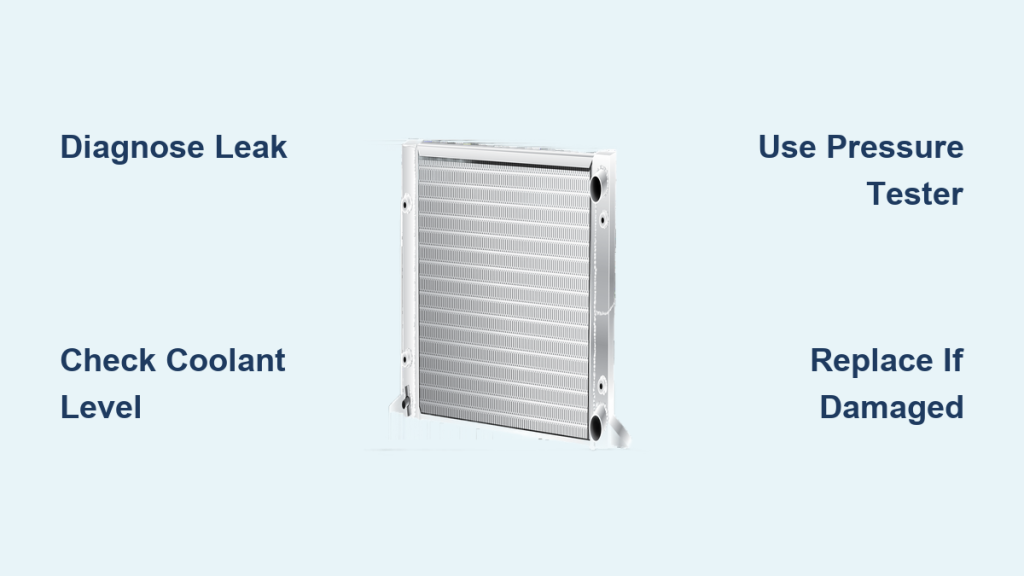
A puddle of green coolant under your car is never a welcome sight. When the temperature gauge starts climbing into the red zone, every minute counts. Knowing how to repair a radiator can mean the difference between a quick roadside fix and a costly tow truck ride.
The good news is that not every radiator problem requires a full replacement. With the right diagnostic approach, you can identify the source of the leak, apply effective temporary fixes, and decide whether repair or replacement is the smarter move. This guide walks you through leak detection, emergency patching, material-specific repair options, and prevention strategies that keep your cooling system running strong.
Diagnose the Leak Before You Start
Before attempting any repair, confirm the radiator is actually the source of the problem. Misdiagnosing a hose leak as a core failure wastes both time and money.
Check Temperature and Fluid Levels
A rising temperature gauge is your first warning sign. If the needle creeps into the red zone, pull over immediately. Overheating damages head gaskets, warps cylinder heads, and can destroy an engine in minutes.
Next, inspect the coolant reservoir. Low fluid levels without visible puddles suggest an internal or slow external leak. Always check when the engine is cold. Opening a hot radiator risks severe burns from pressurized steam.
Identify Coolant Leaks Visually
Park on a clean, dry surface overnight. In the morning, examine the ground beneath the front of the vehicle for these telltale signs:
- Green, orange, or pink puddles indicate a coolant leak
- Clear water suggests normal AC condensation
- Oily residue points to motor oil or transmission fluid
Trace the leak upward. Dried, crusty white deposits on the radiator fins often lead directly to the source. Coolant also has a sweet, burnt sugar smell that becomes noticeable when the engine is warm.
Use a Pressure Tester
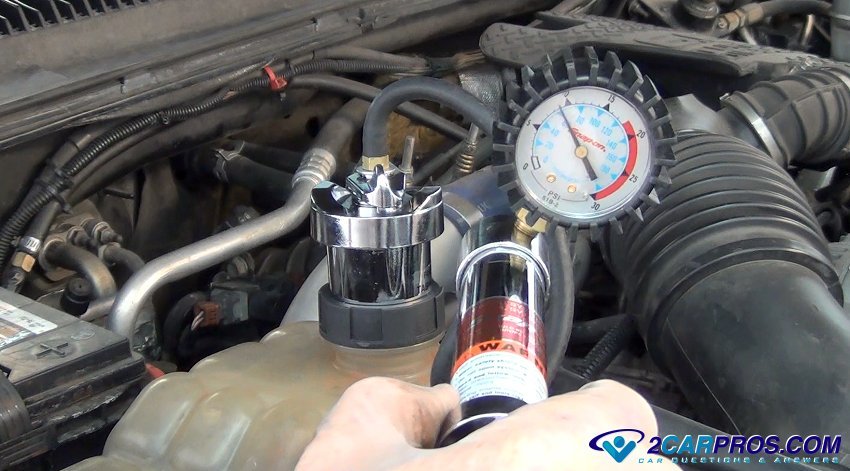
This is the most reliable way to confirm and locate a radiator leak. Follow these steps:
- Wait until the engine is completely cool.
- Remove the radiator cap and attach a cooling system pressure tester.
- Pump to 10 to 15 PSI based on your vehicle’s specifications.
- Watch the gauge. A steady drop means a leak exists.
- Inspect the radiator, hoses, and connections for drips or hissing sounds.
If the pressure holds but you still overheat, the issue may be internal, such as a head gasket problem, or related to a stuck thermostat.
Locate the Leak by Position

Where the leak occurs tells you what is wrong and whether it is fixable. Each location points to specific failure modes.
Bottom Leaks: Corrosion or Fatigue
Leaks at the base often mean internal corrosion. The metal becomes soft and porous, especially in older radiators. Patching one spot may only shift pressure to the next weak area.
Verdict: Replace the radiator. It is failing from the inside out.
Top Leaks: Cracked Tanks or Failed Seals
Leaks near the top usually stem from cracked plastic tanks, failed gaskets between tank and core, or a loose radiator cap. These may only show up when the system is hot and pressurized.
Fix: Replace the cap first. If the leak persists, the tank or gasket is likely compromised, and replacement is usually the best course.
Side or Core Leaks: Punctures or Impact Damage
A single hole in the core from road debris is one of the most repairable types of damage, especially if the rest of the radiator is sound. Temporary epoxy or professional welding may work depending on the material.
Transmission Cooler Leaks
Many radiators have built-in transmission fluid coolers. If you see red fluid mixing with coolant or dripping from the radiator tank, the internal cooler tube is breached.
Danger: This can ruin your transmission. Replace the radiator immediately.
Can Your Radiator Be Repaired?

Not all radiators are created equal. Repair success depends heavily on construction material.
Aluminum Radiators: Limited Repair Options
Most modern vehicles use aluminum-core radiators with plastic end tanks. These are not reliably repairable for the long term.
The core reasons include:
- Plastic tanks become brittle and crack over time
- Gaskets fail due to thermal expansion mismatch between materials
- Aluminum suffers from metal fatigue, so welds may hold while surrounding metal fails
Repair Verdict: Temporary fixes only. Replace for lasting results.
All-Aluminum Radiators: Possible Re-Core
High-performance or heavy-duty radiators with fully welded aluminum tanks can sometimes be re-cored. The damaged core is removed and replaced while keeping the good tanks.
Best for: Classic trucks, race cars, or high-value units where replacement cost is high.
Copper-Brass Radiators: Fully Repairable
If you own a vintage car with a copper-brass radiator, you are in luck. These can be professionally re-soldered and restored.
The restoration process includes:
- Cutting off tanks
- Rodding out tubes
- Re-soldering joints
- Pressure testing the finished unit
With proper care, a copper-brass radiator can last 50 years or more.
Emergency Fixes: Stop Leaks and Patches
Need to get home or to a shop? These temporary solutions can help you reach safety.
Use a Quality Stop-Leak Additive
Modern stop-leak products like Bar’s Leaks or Wynns RadSeal work by circulating fibers that clot at leak points. Apply them correctly:
- Cool the engine completely.
- Shake the bottle well.
- Pour the entire contents into the radiator or overflow tank.
- Run the engine for 10 minutes to circulate the sealant.
Best for: Pinholes, hairline cracks, and seam leaks.
Avoid: Large holes, structural damage, or transmission cooler leaks.
Pro Tip: Don’t use cheap stop-leak products. They can clog heater cores or water pumps.
Apply High-Temp Epoxy or Putty
For external, accessible leaks, a heat-resistant epoxy can seal small cracks. Follow these steps:
- Clean the area with brake cleaner.
- Dry the surface thoroughly.
- Knead epoxy like JB Weld RadiatorWeld into a putty.
- Press it over the leak at least 1/8 inch thick.
- Let it cure for 8 to 12 hours before driving.
Works on: Aluminum, copper, and brass.
Not for: Leaks under pressure or inside tanks.
Try Stic-Tite (Solder Stick)
This is a step up from cold epoxy. It is a solder-like rod that melts into the hole when heated. Heat the area with a propane torch until it smokes, then press the Stic-Tite rod into the hole. The metal bonds as it cools.
Requires: Bare metal with no paint or corrosion.
Best for: Small holes in copper or brass.
Avoid These DIY “Fixes”
Some popular life hacks do far more harm than good.
Don’t Use Pepper
Pouring black pepper into the coolant is a myth. It does not seal leaks. Instead, it clogs the system and risks damaging the water pump, thermostat, and heater core. Flushing it out is expensive and time-consuming.
Don’t Crimp or Cut Tubes
Sealing off a leaking tube reduces cooling efficiency. It also risks damaging adjacent fins and tubes. The radiator will overheat under load.
Don’t Weld Without Expertise
DIY aluminum welding often fails. Contamination, poor prep, or heat distortion creates weak joints. A professional with a TIG welder and inert gas setup is required for reliable results.
When to Replace the Radiator
Repair is not always the answer. Replace your radiator if you notice any of these warning signs:
- Multiple leak points
- Cracked or bulging plastic tanks
- Soft, porous metal at the base
- Internal debris or sludge
- Transmission fluid mixing with coolant
Cost Note: A new radiator may cost $150 to $600 or more, but labor often matches or exceeds the part price. If you are doing the work yourself, buy a high-quality unit with a solid warranty.
Professional Repair Options

For valuable or rare vehicles, professional restoration is worth considering.
Re-Solder a Copper-Brass Radiator
A radiator shop can perform a complete restoration:
- Remove tanks and clean internals
- Rod out every tube
- Re-solder all joints
- Reattach and pressure test the unit
Cost: $150 to $300.
Result: Like-new performance with vintage authenticity.
Re-Core an Aluminum Radiator
If the tanks are solid but the core is damaged, a shop can install a new core while keeping the original tanks. This works best for performance builds or hard-to-find models.
Prevent Future Failures
The best repair is the one you never need. Simple maintenance extends radiator life dramatically.
Change Coolant on Schedule
Old coolant loses corrosion inhibitors. Even if it looks clean, it can become acidic and eat away at metal. Follow your owner’s manual. Most modern vehicles need coolant changes every 5 to 7 years.
Flush the System
Every 2 to 3 years, flush out sediment and old fluid. Use a radiator flush product, then refill with the correct coolant type (OAT, HOAT, or IAT).
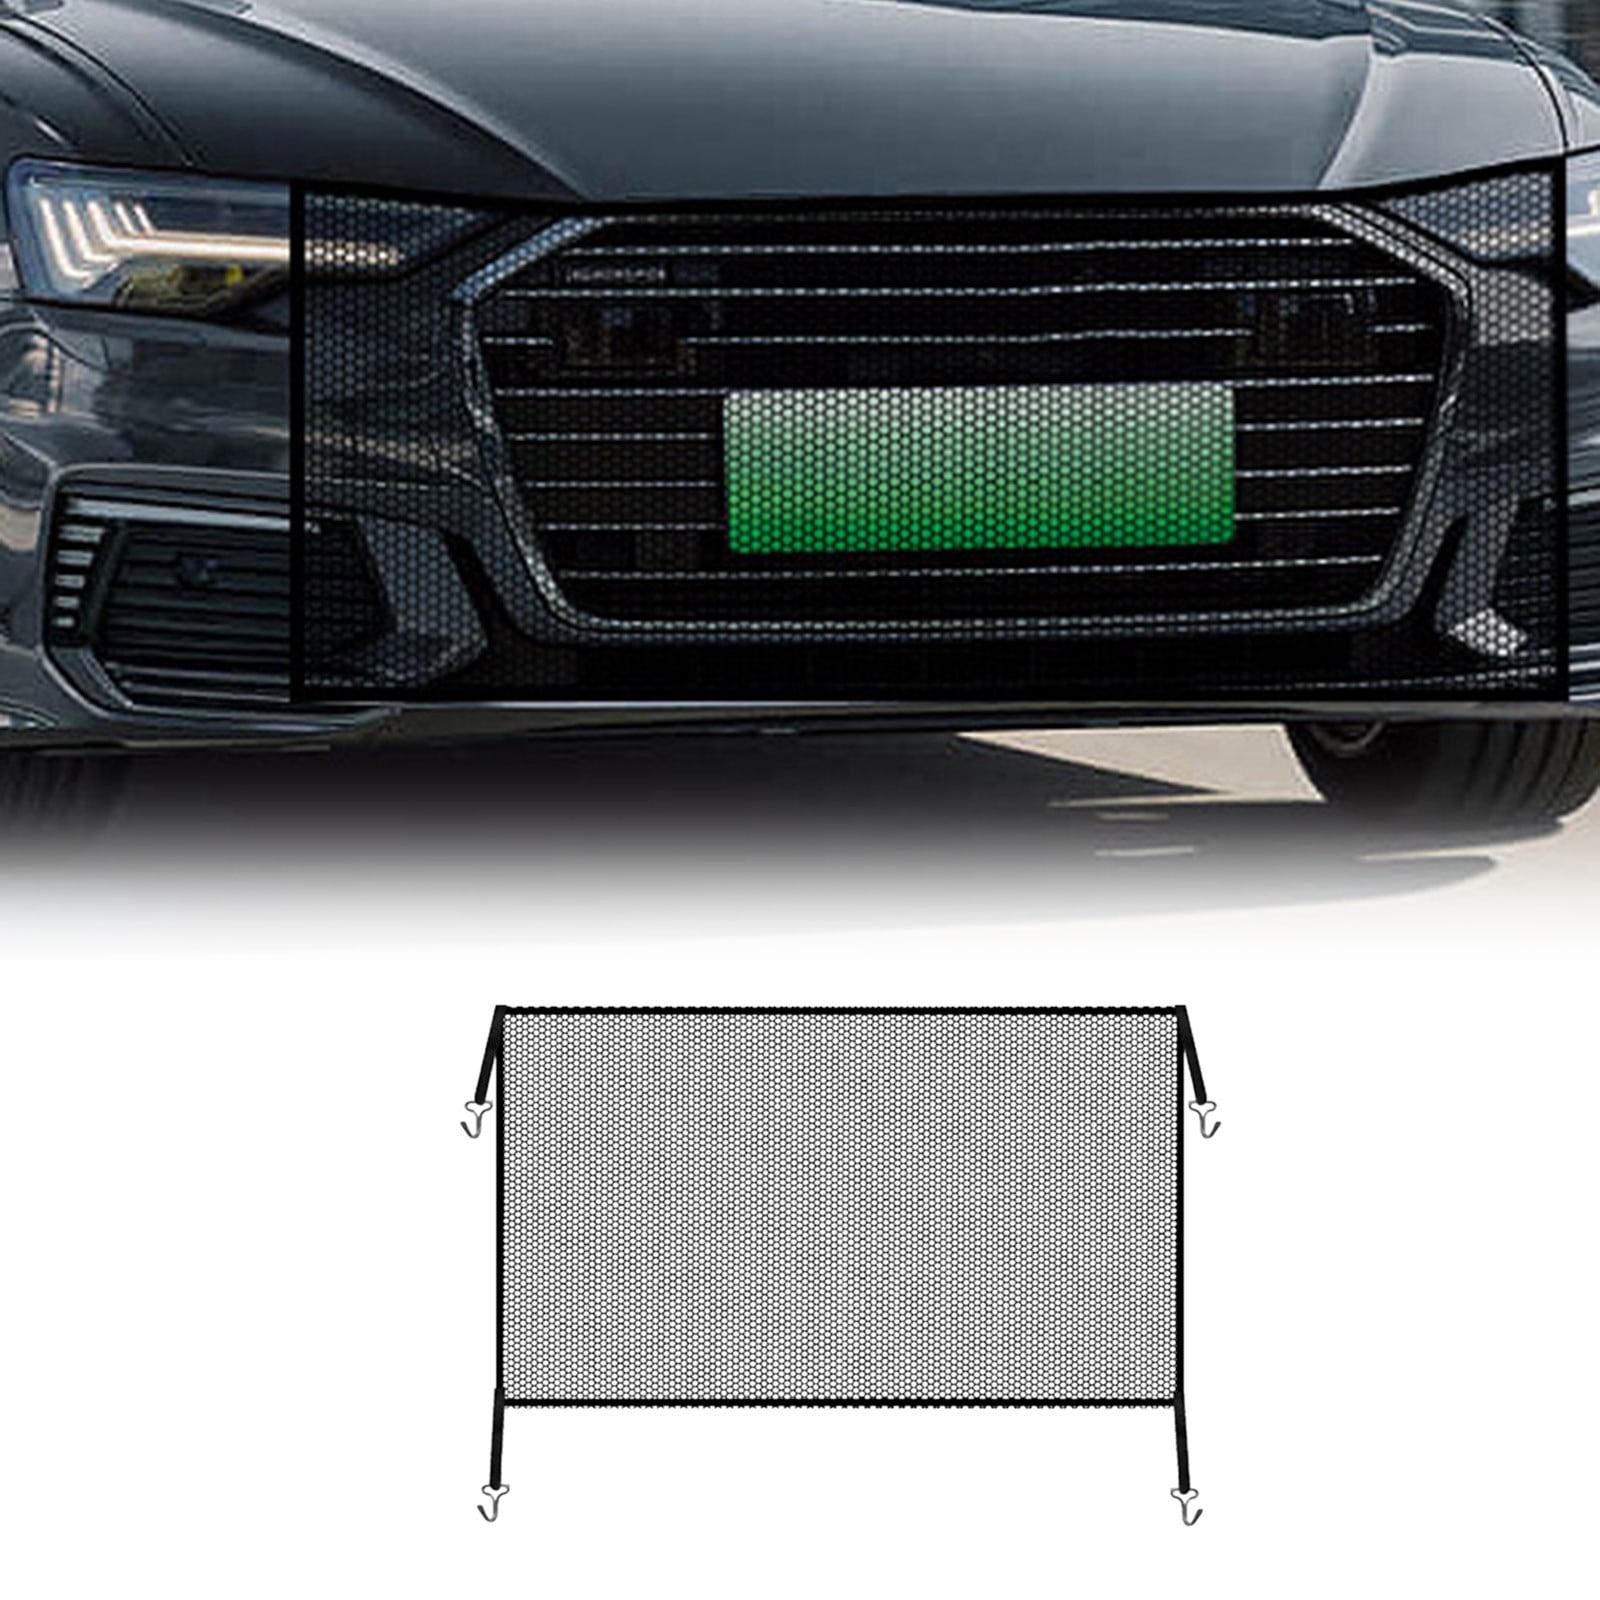
Install a Radiator Guard
A Nomex radiator screen stops rocks, bugs, and debris without blocking airflow.
Perfect for:
- Off-roading
- Racing
- Highway driving in gravel areas
Costs under $50 and installs in minutes.
Check Mounts and Hoses
Vibration and rubbing wear out radiators. Ensure mounts are secure but not rigid, core supports are not touching the tank, and hoses are tight and crack-free.
Know the Risks and Safety Rules
Working on a radiator can be dangerous if you skip safety steps.
Never Open a Hot Radiator
The system is pressurized. Hot coolant can blast out at 200°F or higher and cause severe burns. Wait 2 to 3 hours after shutdown before removing the cap.
Handle Coolant Safely
Ethylene glycol is toxic to pets and humans. Clean up spills immediately, store coolant in sealed containers, and dispose of old fluid at a recycling center.
Use Proper Tools
Equip yourself with these essentials:
- Cooling system pressure tester ($30 to $50)
- UV dye kit for invisible leaks
- Brake cleaner for surface prep
- High-temp epoxy or solder
Frequently Asked Questions About Radiator Repair
Can I repair a radiator myself, or do I need a mechanic?
You can handle many temporary fixes yourself, including stop-leak additives, epoxy patches, and even full replacement on accessible vehicles. However, professional repair is recommended for welding, re-coring, or any work on vintage copper-brass units.
How long does a temporary radiator repair last?
Temporary fixes like stop-leak or epoxy typically last weeks to a few months. They are designed to get you to a shop, not to serve as permanent solutions. Plan on a proper repair or replacement soon after.
What causes radiators to leak in the first place?
Common causes include corrosion from old coolant, thermal cycling stress, road debris impacts, gasket failures, and electrolysis from stray electrical voltage. Regular coolant changes prevent most corrosion-related leaks.
Is it worth repairing an old radiator, or should I replace it?
For modern aluminum radiators, replacement is usually more cost-effective. For vintage copper-brass units, professional re-soldering can restore decades of service and preserve originality, making repair well worth the investment.
How much does it cost to repair a radiator professionally?
Professional repair costs vary widely. Stop-leak applications cost under $20, while professional re-soldering of a copper-brass radiator runs $150 to $300. Full replacement typically costs $150 to $600 for the part, with labor adding significantly more.
How can I tell if my radiator is leaking or if it’s a hose?
Hose leaks usually show wetness at connection points or along the hose itself. Radiator leaks often leave crusty white residue on the fins or tank surface. A pressure test confirms the exact source quickly.
Key Takeaways for Repairing Your Radiator Safely
Learning how to repair a radiator starts with accurate diagnosis. Use a pressure tester to confirm the leak, then assess the material and damage location before deciding on a fix.
For modern aluminum-plastic radiators, replacement is usually the best long-term solution. For vintage copper-brass units, professional repair can restore decades of reliable service.
Prevention saves money. Regular coolant changes, system flushes every few years, and a simple radiator guard can prevent most failures before they start. Check your hoses and mounts during routine maintenance to catch small issues early.
Your next step: Grab a cooling system pressure tester and check your radiator today. Catching a slow leak now costs far less than replacing a warped head gasket later.