
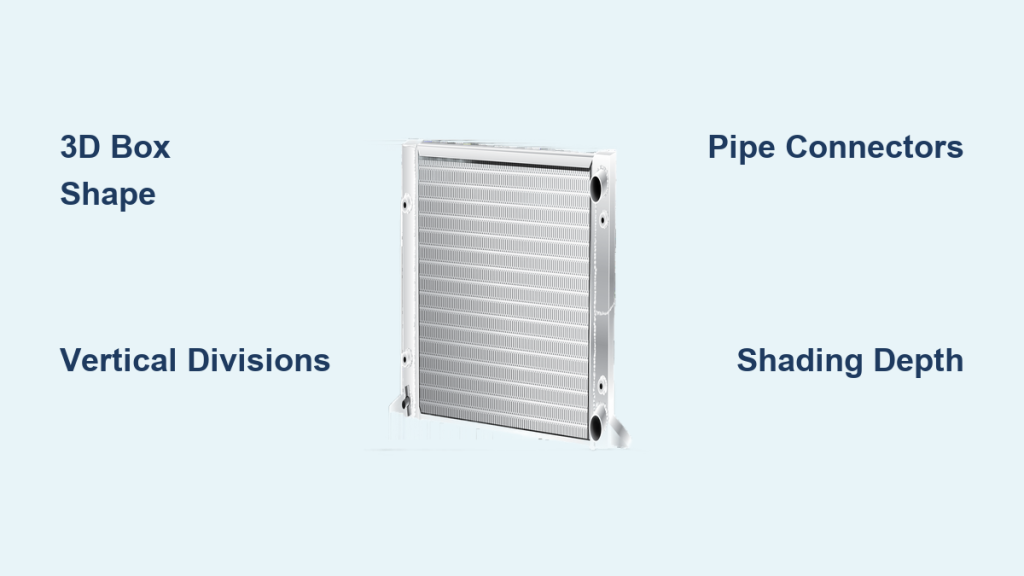
Learning how to draw a radiator is easier than most beginners expect. Radiators appear in countless interior scenes, architectural sketches, and design illustrations, yet many artists avoid them because they look complex. The truth is that a heating radiator breaks down into a few basic shapes once you understand its structure. With a pencil and a clear method, you can produce a realistic, three-dimensional radiator drawing in just four stages.
This guide walks you through the entire process from start to finish. You will learn how to establish a 3D rectangular foundation, add pipe connectors and vertical sections, refine your lines for a clean final look, and apply shading that brings real depth to your drawing. By the end, you will have a structured method you can repeat for any radiator style.
Tools and Mindset You Need Before Starting
You only need one main tool to draw a radiator: a pencil. Choose a pencil that lets you vary pressure easily, since you will use it for both light construction lines and darker shading later.
Keep one core idea in mind as you work. Every complex object starts as a simple geometric figure. A radiator is just a rectangular box with vertical divisions and two small pipes. Once you accept this, the drawing becomes far less intimidating.
Build the 3D Rectangular Foundation

The first real step in drawing a radiator is



