
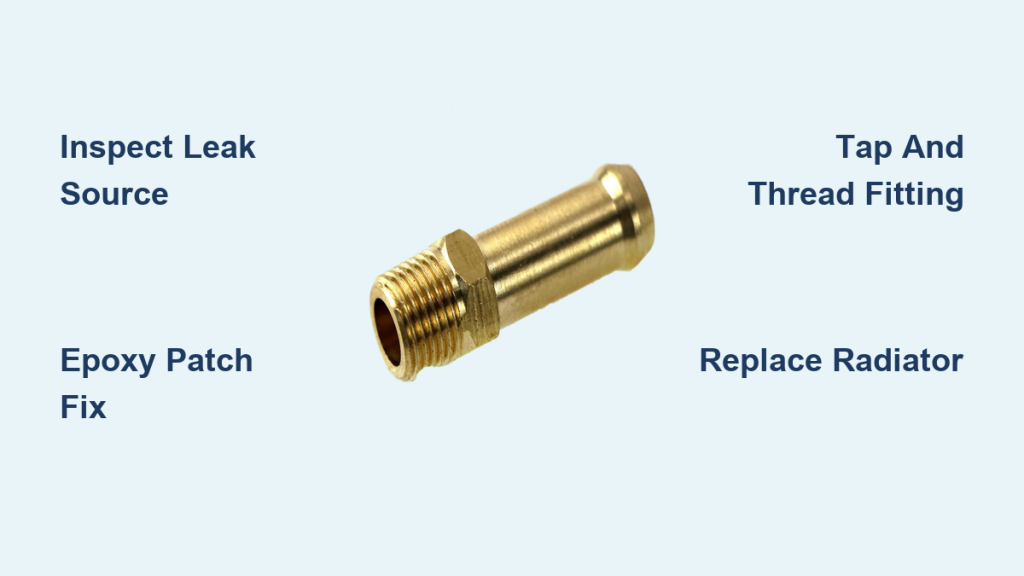
A cracked or snapped radiator overflow nipple is a frustratingly common failure in older vehicles, especially 1992 Land Cruisers with the 3FE engine and vintage Ford trucks. When this small port breaks, coolant escapes during thermal expansion, which can quickly lead to overheating and serious engine damage. Even worse, an unsealed overflow system draws air into the cooling loop, reducing efficiency and accelerating internal corrosion. The good news is that learning how to fix a broken radiator overflow nipple does not always require a full radiator replacement. This guide walks through proven repair methods, from emergency epoxy patches to threaded brass fittings and complete unit swaps, all backed by real-world testing across thousands of miles.
Diagnose the Damage Before Grabbing Tools
Before assuming the nipple is the problem, confirm the leak source. Coolant pooling near the radiator cap or visible cracks at the nipple base are strong indicators. The overflow nipple does not handle high system pressure, but it must stay airtight to manage coolant expansion and block air ingress.
Visual Inspection Steps
- Cool Engine Check: Always inspect when the engine is cold to avoid burns and sudden pressure release.
- Trace the Leak: Look for dried or fresh coolant residue around the top tank near the overflow hose connection.
- Check Hose Integrity: Rule out a split or dislodged overflow hose before blaming the nipple.
- Assess Material Type: Older plastic nipples turn brittle with age, while aluminum ones often crack at stress points.
If the nipple is snapped off flush or cracked at the base, repair is straightforward. Choose your method based on available tools, vehicle use, and how long you need the fix to last.
Temporary Epoxy Fix for Roadside Emergencies

When you are stranded and need to keep moving, a quick epoxy patch can get you home if done correctly. Many attempts fail within days due to poor surface prep or thermal stress, but proper technique dramatically improves your odds.
Gather Emergency Supplies
- High-temp epoxy such as JB Weld Original
- 80-grit sandpaper or a metal file
- Brass tubing sized to match the hole diameter
- Isopropyl alcohol for cleaning
Apply Epoxy the Right Way
- Scuff the Surface: Sand the area around the broken nipple hole aggressively to remove oxidation and create a rough texture.
- Clean Thoroughly: Wipe with alcohol to remove grease, oil, and debris.
- Insert Brass Tube: Push a short piece of brass tubing into the hole as a structural core.
- Seal Generously: Pack epoxy around the tube and over the surrounding tank surface.
- Let Cure Fully: Wait at least 4 to 6 hours before refilling coolant. Overnight curing is ideal.
⚠️ Warning: This is not a permanent fix. Monitor coolant levels closely and plan a durable repair as soon as possible.
Permanent Repair: Tap and Thread a Brass Fitting
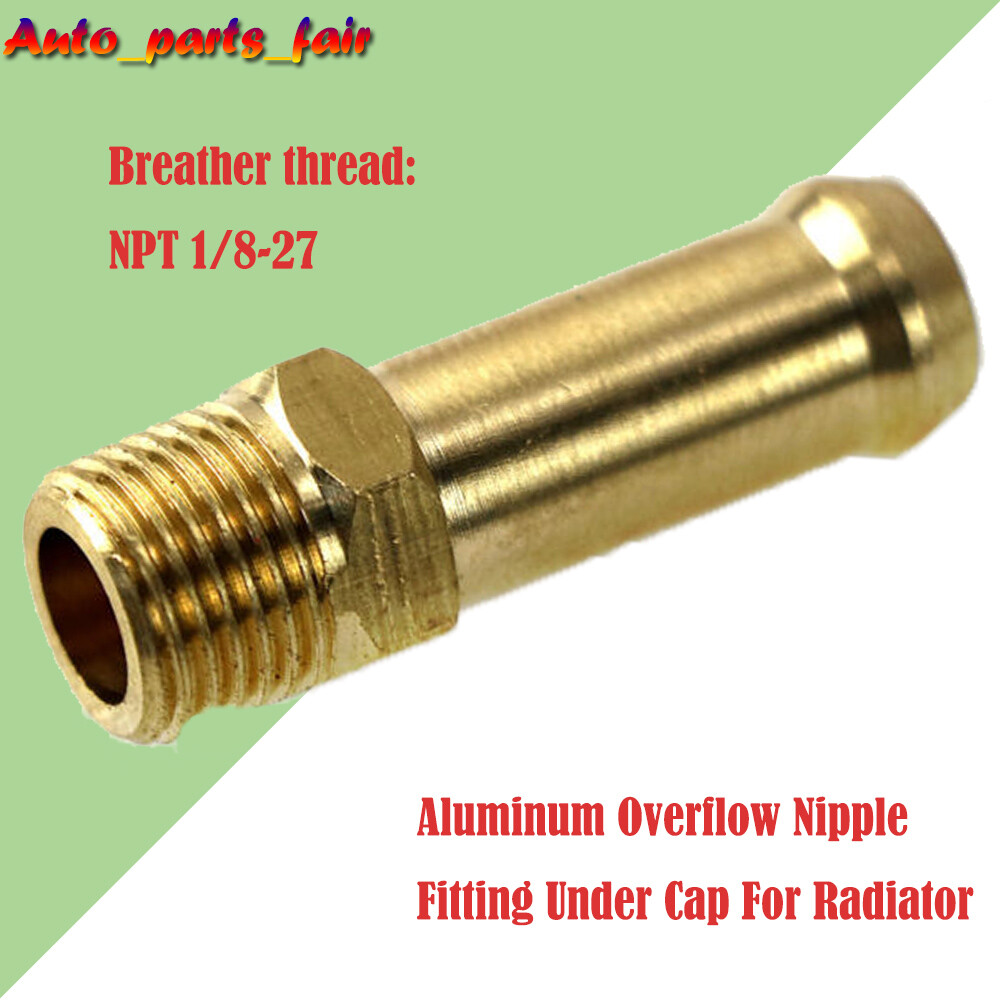
For long-term reliability, converting the broken nipple hole into a threaded port is the gold standard. This method uses a 1/8″ NPT brass fitting, thread tape, washers, and epoxy reinforcement to create a leak-proof seal that resists vibration and thermal stress.
Tools and Materials Needed
- 1/8″ NPT brass nipple with a barbed end for the hose
- “R” size drill bit (approximately 0.339 inches)
- 1/8″ NPT pipe tap
- Blue Monster thread tape or equivalent Teflon tape
- Rubber sealing washer plus a 1/8″ thick steel or brass washer
- JB Weld epoxy
- Drill and tap handle
- Slender step bit for modifying the washer
Drill and Tap the Hole
- Clear Debris: Remove all broken plastic or aluminum fragments from the nipple hole.
- Drill Straight: Use the “R” bit to open the hole evenly. Keep the drill perpendicular to avoid misalignment.
- Tap Threads: Insert the 1/8″ NPT tap and turn slowly, backing off frequently to clear metal chips. Apply light pressure to avoid stripping thin radiator walls.
✅ Pro Tip: If space is tight (common on Land Cruisers), consider drilling a new hole facing the engine side for easier access.
Install the Brass Nipple
- Modify Rubber Washer: Enlarge its center hole with a step bit so it fits over the nipple threads but still seals against the radiator tank.
- Prep Threads: Wrap male threads with thread tape for initial sealing.
- Apply Epoxy: Coat the threads and surrounding area with JB Weld.
- Screw In Firmly: Thread the nipple in by hand, then tighten until the rubber washer compresses fully without over-torquing.
Reinforce with a Washer Sandwich
- Add Outer Washer: Slide the 1/8″ thick steel or brass washer over the assembly to distribute load.
- Encapsulate with Epoxy: Cover the entire base with more JB Weld, bonding the outer washer to the radiator tank.
- Let Cure 24 Hours: Full strength develops after a complete day.
This “sandwich” design prevents the nipple from pulling out under hose tension or vibration, which is critical for durability.
Replace the Radiator for Aging Units

If your radiator is over 20 years old, fixing the nipple may only delay another failure. Corrosion, core fatigue, or mounting weakness could surface next. For off-road rigs or high-mileage daily drivers, replacement is often the smarter move.
Choose the Right Replacement: Liland 13AA
Based on extensive field testing, the Liland Global 13AA aluminum radiator outperforms alternatives for 3FE Land Cruisers:
- Core: 2-row aluminum construction that is lightweight, efficient, and vibration-resistant
- Fitment: Direct bolt-on with minor bracket adjustments
- Durability: Proven in daily driving and technical off-roading for over four years
- Cost: Roughly $150 to $200, available through RockAuto
Avoid brass and copper units like CSF for off-road use, since they are prone to vibration cracks.
Installation Tips
- Adjust Mounting Brackets: Slight bending may be needed to align lower mounts with the fan shroud.
- Seal Shroud Gaps: Use open-cell foam tape between the radiator core and shroud to direct airflow properly.
- Handle with Care: Aluminum fins bend easily, so protect them during installation.
✅ Test Result: Users report stable temperatures and zero leaks after 3,500-mile cross-country trips.
Prevent Future Nipple Breakage
Even the best repair can fail if the new nipple gets knocked off by a knee, tool, or trail debris. Protect it proactively with a simple guard.
Build a “Square C” Guard
- Cut Steel Bracket: Shape a three-sided guard from 1/8″ steel bar.
- Bolt to Mount: Attach it to the passenger-side radiator mount so it wraps around the overflow area.
- Deflect Impacts: This simple shield blocks accidental hits from knees, wrenches, or rocks.
Carry a Spare Kit
Keep these in your garage or emergency bag:
- Extra 1/8″ NPT brass nipple
- Rubber and steel washers
- Thread tape
- Small tube of JB Weld
- Mini step bit
A cracked nipple will not stop you twice.
Field-Tested Repair Comparison
| Repair Method | Cost | Durability | Skill Level | Best Use Case |
|---|---|---|---|---|
| Epoxy plus Brass Tube | Under $10 | Days to Weeks | Low | Emergency fix only |
| Tapped Brass Fitting | About $4 plus tools | Years | Moderate | Permanent repair on solid tanks |
| Liland 13AA Replacement | About $175 | Lifetime of Unit | Moderate | Aging radiators or off-road builds |
User ratings consistently favor the tapped brass fitting and full replacement, both earning “excellent” feedback, while epoxy-only fixes receive mixed or poor reviews due to early failures.
Real-World Case Studies
3,500-Mile Stress Test
A modified truck with a fiberglass topper used the tapped brass fitting method before a cross-country trip through Utah and Colorado. After 3,500 miles of desert heat and mountain passes, the repair remained completely leak-free. Five months later, no issues were reported.
4-Year Off-Road Validation
A 1992 Land Cruiser running the Liland 13AA radiator endured daily commutes and intense rock crawling for four years. Despite minor shroud gaps sealed with foam tape, the system held pressure, maintained temperatures, and showed no signs of leakage or fatigue.
Why Epoxy Fails Alone
Multiple users tried epoxy-only fixes. Most failed within days. The root cause was inadequate scuffing and lack of mechanical support. Success came only when threading and washers were added.
Frequently Asked Questions About Fixing a Broken Radiator Overflow Nipple
Can I drive with a broken radiator overflow nipple?
You can drive short distances with a temporary epoxy fix, but coolant will leak during thermal expansion. Monitor your temperature gauge closely and top off coolant as needed until you reach a workshop for a permanent repair.
What causes the overflow nipple to break?
Age and material brittleness are the main culprits. Plastic nipples become brittle over time and crack under vibration or minor impacts. Aluminum nipples can fail at stress points, especially on radiators over 20 years old.
How long does a tapped brass fitting repair last?
When properly installed with a washer sandwich and epoxy reinforcement, a tapped brass fitting repair can last for years. Field tests show zero leaks after 3,500 miles of varied terrain and continued reliability five months later.
Is it better to repair or replace the radiator?
If your radiator is under 20 years old and otherwise healthy, the tapped brass fitting method is the most cost-effective permanent fix. If the radiator is older or you use the vehicle for off-road driving, replacement with an aluminum unit like the Liland 13AA is the smarter long-term investment.
What tools do I need to tap a new thread?
You will need an “R” size drill bit (about 0.339 inches), a 1/8″ NPT pipe tap, a tap handle, a drill, and a slender step bit for modifying the rubber washer. Total material cost is approximately $4.
Can I use regular epoxy instead of high-temp epoxy?
Regular epoxy will fail quickly under thermal cycling. Always use a high-temperature automotive epoxy like JB Weld Original, which is rated to withstand the heat generated in engine bays.
Key Takeaways for Fixing Your Radiator Overflow Nipple
Learning how to fix a broken radiator overflow nipple comes down to choosing the right method for your situation. For daily drivers with healthy radiators, the tapped brass fitting method offers a permanent, low-cost repair that outperforms OEM when reinforced with the washer sandwich and epoxy. For off-road vehicles or radiators over 20 years old, replacing the unit with a Liland 13AA aluminum radiator eliminates the risk of secondary failures and provides modern durability.
For roadside emergencies, the epoxy and brass tube trick can get you home, but treat it as a stopgap, not a solution. No matter which path you take, protect your repair with a “Square C” guard and keep spare parts on hand. Start by inspecting your radiator today, gather the right materials, and choose the method that matches your vehicle and driving needs.



