
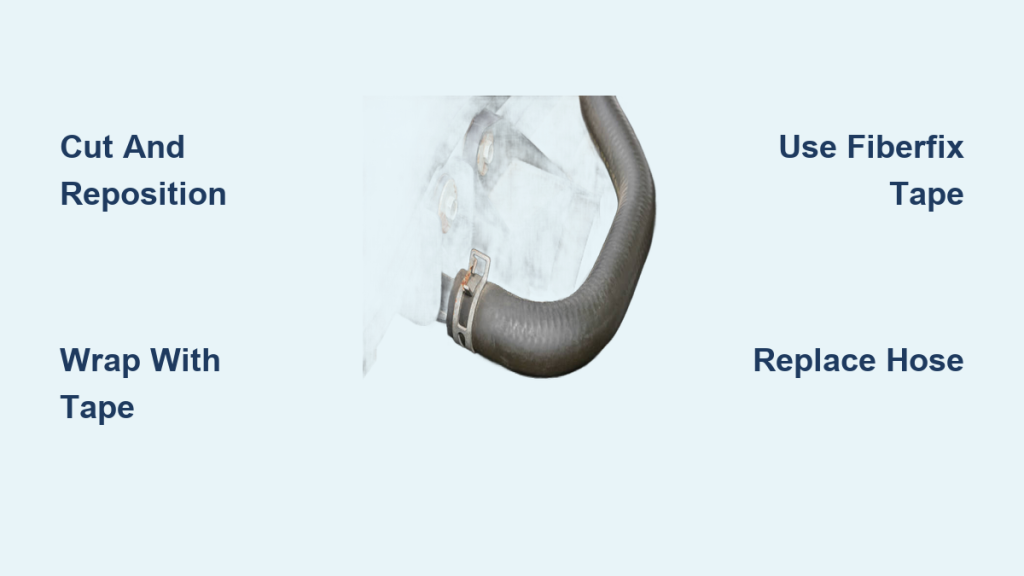
A leaking coolant hose can strand you on the road or cause serious engine damage if ignored. Whether you notice a sweet smell under the hood or spot green puddles beneath your car, knowing how to fix a leaking coolant hose quickly can save you from costly repairs. This guide covers emergency fixes that work in minutes, permanent replacement steps, and exactly when to call for help instead of driving further.
You’ll learn to identify leak locations, apply temporary patches safely, replace hoses the right way, and prevent future failures. Every method here comes from real-world testing and field experience.
Spotting a Coolant Hose Leak Early
Recognizing Warning Signs Before They Worsen
Coolant leaks rarely appear without warning. Watch for wet spots, crusty residue, or dried coolant streaks along hoses and fittings, especially near clamps or bends. Brightly colored puddles beneath your car—green, orange, pink, or blue—are clear signs of coolant loss. A sweet, syrup-like odor when the engine warms up means coolant is burning on hot components.
Other red flags include steam rising from the engine bay, overheating gauge readings after short drives, and low coolant levels despite no visible external damage. Foggy windows or damp floor mats can indicate a heater core leak rather than a simple hose problem.
If you see white exhaust smoke or notice milky oil, the issue may be internal—possibly a blown head gasket—rather than a straightforward hose failure.
Confirming the Leak Source Before Repair
Checking Nearby Components
Before replacing a hose, verify the leak isn’t coming from something else. A failed radiator cap can release coolant under pressure, mimicking a hose leak. A cracked expansion tank or leaking bleeder screw may drip onto nearby hoses, misleading your diagnosis. A weeping water pump indicates a failing seal, not a hose problem.
Inspect these components during a cold engine check: radiator cap seal and spring tension, expansion tank seams and mounting points, air vents and bleed screws, and the water pump weep hole at the base.
Using Diagnostic Tools
Pressure test the cooling system by attaching a hand pump to the radiator neck. If pressure drops or you see bubbles, you’ve found the leak without starting the engine. Add fluorescent dye to the coolant and scan with a black light to trace invisible seepage. Start the engine and let it warm up—real leaks often appear only when the system is hot and pressurized.
Emergency Fixes for Coolant Hose Leaks
Cut and Reposition at the Barb
This method works best for leaks within 1-2 inches of a hose end. When a hose splits near a fitting, cutting out the damaged section and repositioning the good part over the barb can restore a seal quickly.
Steps:
1. Wait for the engine to cool completely—never open the system hot.
2. Relieve pressure by loosening the radiator cap with a thick cloth.
3. Remove clamps and slide the hose off both ends.
4. Cut out the cracked section with a sharp knife, making a clean, square cut.
5. Slide the undamaged portion fully onto the barb fitting.
6. Reinstall clamps and tighten just enough to seal—over-tightening crushes rubber.
7. Refill with coolant or water and test at operating temperature.
The barb is the sealing surface, so reseating intact hose material restores contact. This fix worked for three months on a 2003 Toyota Camry with 187,000 miles before scheduled replacement.
Wrapping with Self-Fusing Silicone Tape
Ideal for pinholes or small cracks in mid-hose sections, self-fusing tape bonds to itself—not the surface—forming a waterproof, heat-resistant seal. Clean and dry the leak area with alcohol first, then stretch and wrap tightly, overlapping 50% each turn. Extend 2-3 inches beyond the leak on both sides and wait 5-15 minutes for full bonding before driving.
This tape withstands 500°F and 400 psi, lasting 1-7 days under normal use. It’s flexible and oil-resistant, making it a solid temporary solution.
Hardening with FiberFix Tape
For pressurized leaks on straight hose runs, FiberFix uses water-activated resin to form a rigid, durable shell. Soak the tape in water for 10 seconds, wrap tightly over the leak extending 3 inches on each side, slide on the included sleeve to compress and harden, then wait 10-15 minutes. It’s field-tested for 80-mile emergency drives and holds up to system pressure and heat.
Avoid this on high-flex zones since it hardens completely and may crack with movement.
Patching with Rubber and Clamp
Best for soft rubber hoses with slow seepage, use a scrap of rubber wrapped around the leak and secured with a stainless steel clamp. Cut a 2-inch rubber patch, wrap it around the leak, and secure with one or two clamps—one on each side of the leak. Tighten evenly without crushing the hose. This works well on lower radiator hoses, heater lines, and coolant bypass tubes.
Using Epoxy Putty for Small Cracks
For pinholes or hairline fractures, high-temp epoxy fills small breaches and sets into a durable plug. Clean and sand the area, knead and mold the putty over the leak, then let cure 1-3 hours before restarting. Wrap with fiberglass tape for added strength. This method won’t hold splits or high-pressure zones—only minor damage.
Duct Tape as Last Resort
Despite its reputation, high-quality duct tape has saved many drivers. Use 3M Scotch Super 33+ electrical tape underneath—it sticks better to damp surfaces. Spiral-wrap multiple layers, alternating directions, and carry alcohol wipes to clean the hose first. A driver in Arizona used this method to fix a split upper radiator hose and drove 120 miles to safety. Expect this to last 1-3 days maximum.
Permanent Repair Solutions

Replacing the Entire Hose
Full replacement is the only long-term solution. Even if a temporary fix holds, the hose is compromised and will fail again.
Steps:
1. Cool the engine completely.
2. Drain coolant below the repair point using a drain pan.
3. Remove clamps and pull off the old hose—twist gently to avoid damaging fittings.
4. Clean metal connections with emery cloth.
5. Lubricate the new hose with coolant or silicone spray.
6. Slide it on fully—ensure it seats past the barb.
7. Use new clamps—preferably spring or T-bolt type.
8. Refill with 50/50 coolant mix—never pure antifreeze.
9. Bleed air following your vehicle’s procedure.
10. Run to operating temperature and check for leaks.
| Hose Type | Max Temp | Best For |
|---|---|---|
| Reinforced Silicone | 350°F+ | High-performance, long life |
| Hybrid (Rubber-Silicone) | 300°F | Balance of cost and durability |
| Standard Rubber | 250°F | Older, low-stress systems |
Spring clamps maintain tension through thermal cycling. T-bolt clamps provide even pressure on large hoses. Oetiker clamps are OEM standard but need special tools.
Splicing with a Coupler Sleeve
When full replacement is difficult due to routing, use a rigid nylon or metal sleeve to join two hose sections. Cut out the bad section with clean, square cuts, slide clamps onto both ends, insert the sleeve into one side, attach the new hose segment and slide on, then secure both ends with clamps. Refill and bleed the system. Not for kinked or flex zones—this is a bridge to full replacement.
Preventing Coolant Hose Failures
Why Hoses Fail
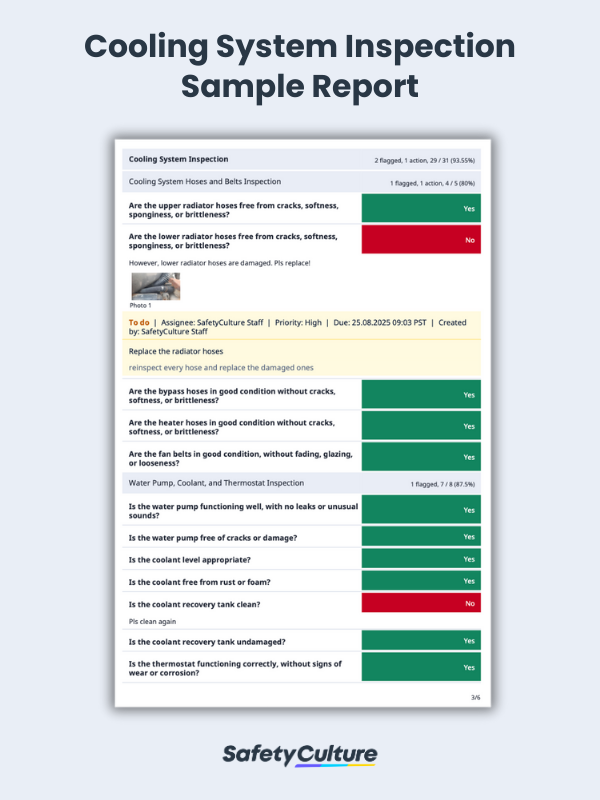
Thermal cycling repeated heating and cooling fatigues rubber, especially at bends. Ozone exposure cracks outer walls. Pressure spikes from overheating increase stress. Belt contact from misrouted hoses wears through. Wrong coolant mix causes swelling or gel formation.
Maintenance Tips That Work
Inspect hoses every 6 months—squeeze them; soft or bulging means replace. Replace every 5-7 years even if they look good. Flush every 30,000-60,000 miles to remove contaminants. Use the correct coolant type (OAT, HOAT, or IAT as specified). Upgrade clamps to spring type on critical lines. Secure routing with zip ties to keep hoses away from belts and fans.
What to Do If You Used Water
Water Is a Temporary Fix with Real Risks
Using water to top off coolant is acceptable in emergencies, but it comes with serious drawbacks. Water freezes at 32°F and can crack engine blocks. It boils at 212°F—lower than pressurized coolant around 265°F. It provides no corrosion protection and leads to rust and water pump failure. It offers no lubrication for pump seals.
After using water, flush the system within 100 miles or 1 week. Refill with proper 50/50 mix. Test freeze point with a refractometer.
Testing Your Repair
Post-Repair Verification
After any fix—temporary or permanent—run the engine to operating temperature. Check for leaks, bulges, or clamp slippage. Monitor the temperature gauge. Recheck coolant level after 3-5 drive cycles. Listen for gurgling, which signals trapped air. Use a coolant pressure tester to confirm the system holds 13-18 psi.
Building a Coolant Leak Emergency Kit
Carry these items in your trunk:
• FiberFix tape for hard-setting patches
• Self-fusing silicone tape for flexible seals
• 3M duct tape or gaffer’s tape for reinforcement
• 3M Scotch Super 33+ electrical tape for damp surfaces
• Alcohol wipes for cleaning leak sites
• Spare 50/50 coolant for topping off
• Gloves and safety glasses for protection
When to Tow Instead of Drive
| Scenario | Action |
|---|---|
| Large rupture or burst hose | Tow—don’t risk engine damage |
| Leak near moving belt or fan | Do not drive—failure could cause fire |
| White exhaust smoke or milky oil | Stop—possible head gasket failure |
| Small pinhole, accessible location | Patch and drive to mechanic |
| Mechanic within 50 miles | Patch and proceed cautiously |
DIY vs Professional Repair
| Factor | DIY? | Notes |
|---|---|---|
| Accessibility | Hard on lowered cars | Ramps may not fit |
| Hose location | Upper hose = easy | Lower often near exhaust |
| Tools needed | Basic (pliers, sockets) | Drain pan essential |
| Bleeding system | Varies | Some need scan tools |
| Labor cost | $100-$200 | Higher for European brands |
| Parts cost | $20-$50 aftermarket | OEM adds $30-$60 |
If unsure, pay for professional help. A $250 hose job beats a $2,500 engine rebuild.
Frequently Asked Questions About Fixing Leaking Coolant Hoses
How long can I drive with a leaking coolant hose?
Small pinholes may last days with temporary fixes. Large ruptures require immediate attention—driving risks complete hose failure and engine overheating. Assess the leak severity before deciding.
Can I use duct tape to fix a coolant hose temporarily?
Yes, as a last resort. Use high-quality 3M tape layered with electrical tape underneath. Clean the surface first with alcohol. Expect 1-3 days maximum before it fails.
What’s the fastest emergency fix for a coolant hose leak?
The cut-and-reposition method works fastest if the leak is near a hose end. It requires no parts—just a knife and clamps. It can get you home immediately.
How do I know if it’s the hose or something else causing the leak?
Pressure test the system with a hand pump. Watch for pressure drops or visible bubbles. Check the radiator cap, water pump weep hole, and expansion tank first. Leaks only appearing when the engine is hot often indicate hose failure.
Should I replace both hoses when one leaks?
Replace the leaking hose now and inspect the other. If the other shows signs of aging (cracking, bulging, hardness), replace it too to avoid future breakdowns.
Key Takeaways for Fixing Leaking Coolant Hoses
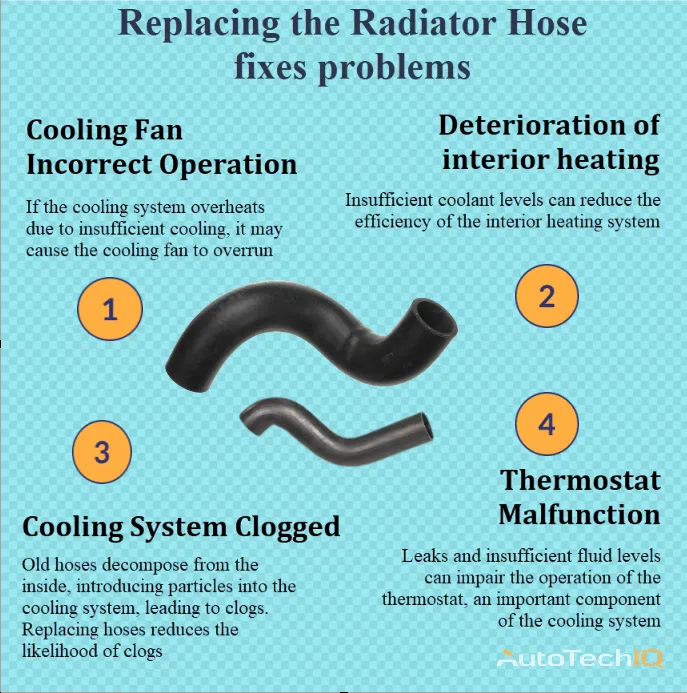
Acting fast on coolant hose leaks prevents engine overheating and costly damage. Temporary fixes like cut-and-reposition, silicone tape, and FiberFix can get you home or to a mechanic safely. Permanent repair requires full hose replacement with correct materials and clamps. Inspect hoses every 6 months, replace every 5-7 years, and carry an emergency kit—especially on long trips. If you’re unsure about the repair, professional help is worth the cost compared to engine replacement.



