A bright green or orange puddle under your car is never a good sign. When coolant escapes, your engine loses its ability to regulate heat, and even a small drip can snowball into warped cylinder heads or a cracked block. Spotting the leak early and knowing how to respond can save you thousands in repair bills.
This guide walks you through every stage of a radiator coolant leak repair. You will learn how to pinpoint the exact source of the leak, apply temporary fixes to keep driving, and perform permanent repairs at home. Whether you are a hands-on DIYer or just want to speak confidently with your mechanic, this roadmap will help you stop the leak and protect your engine.
Identify the Radiator Coolant Leak Source
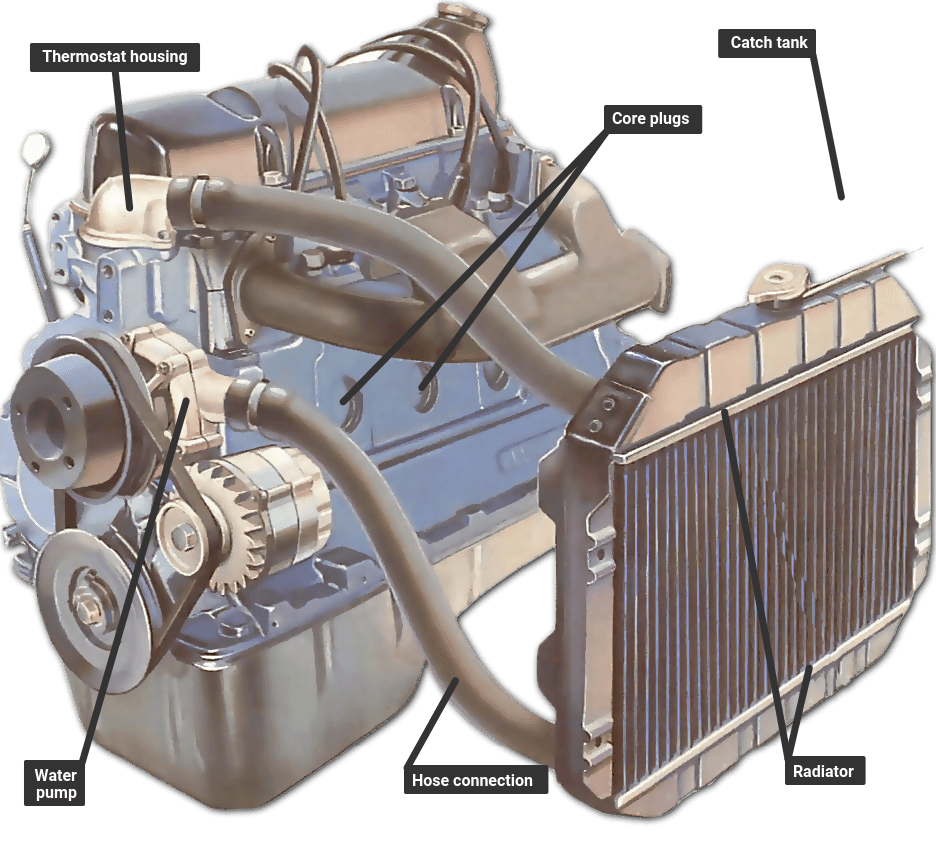
Before buying parts or pouring in sealant, confirm the leak is actually coming from the radiator. Several other components mimic radiator leaks but require completely different fixes.
Check Coolant Color, Smell, and Texture
Coolant is dyed specifically to make identification easy. Traditional ethylene glycol appears bright green, while OAT formulas used in newer vehicles show up as orange or pink. HOAT hybrids often look yellow or blue-green. The fluid carries a distinctively sweet smell and a slippery feel that separates it from motor oil or plain water. If the puddle under your car is clear and odorless, you may simply be seeing condensation from your air conditioning system.
Inspect the Most Common Failure Points
Direct your flashlight to these high-risk zones when searching for a radiator coolant leak:
- Radiator seams, welds, and plastic side tanks
- Upper and lower radiator hoses, especially near the clamps
- Water pump weep hole behind the pulley
- Thermostat housing, the small metal box near the top hose
- Heater core, often signaled by damp floor mats inside the cabin
- Radiator cap, where a failed seal causes pressure loss
Pay special attention to the bottom of the radiator core, where road debris tends to strike and create pinholes or corrosion damage.
Watch for Steam and Exhaust Smoke
Steam rising from under the hood signals active boiling, so shut the engine off immediately. Thick white smoke pouring from the tailpipe suggests coolant is burning inside the combustion chamber, which points to a blown head gasket or cracked engine block. Milky residue on the oil dipstick confirms coolant is mixing with oil, a serious internal failure that requires engine disassembly.
Decode the Warning Signs of a Coolant Leak
Your vehicle communicates cooling system problems long before a breakdown. Learning to read these signals helps you catch a radiator coolant leak early.
Temperature Gauge Climbing into the Red
A rising needle means the system cannot regulate heat effectively. Even brief overheating can warp cylinder heads or damage gaskets. Pull over, shut off the engine, and let everything cool before checking the reservoir.
Frequent Coolant Top-Offs
A healthy cooling system should not lose coolant over time. If you find yourself adding fluid weekly or monthly, a leak is present. Mark the reservoir level with a piece of tape and track how fast the fluid drops to gauge severity.
Low Coolant Warning Light
Modern vehicles use sensors inside the reservoir tank to alert drivers when fluid runs low. Treat this warning seriously and inspect the system even if the engine feels cool to the touch.
Sweet Smell Inside or Outside the Cabin
A persistent sweet odor while driving often points to a leaking heater core or a hose dripping onto hot exhaust components. Either way, the smell signals escaping coolant that deserves immediate attention.
Pressure Test the Cooling System

Visual inspection alone often misses slow leaks. A pressure test forces the system to operating pressure while the engine sits idle, revealing drips that would otherwise stay hidden.
Run a Pressure Test Step by Step
- Wait until the engine is completely cold. Never pressurize a hot system.
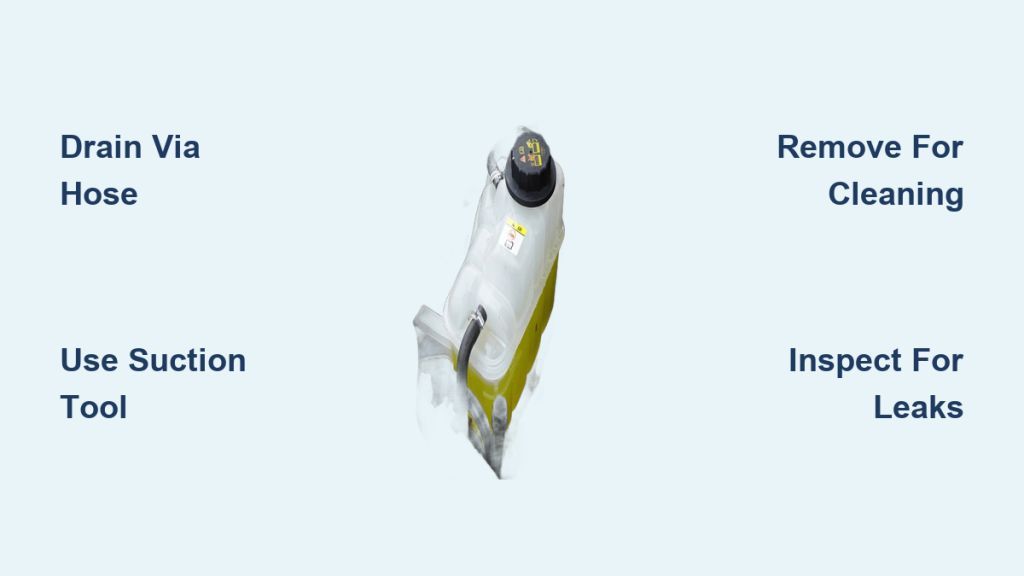
- Remove the radiator cap or attach the tester directly to the overflow reservoir.
- Pump the tester until the gauge matches the pressure rating printed on the cap, usually between 13 and 18 psi.
- Watch the gauge for several minutes. Any drop confirms a leak.
- Inspect every connection, hose, and component while the system stays pressurized.
Many auto parts stores loan or rent pressure testers at no charge, so call ahead before buying one.
Interpret the Results Correctly
A pressure drop with no visible leak suggests an internal problem such as a head gasket or heater core failure. Bubbles rising through the coolant indicate combustion gases entering the system, which you can confirm with a block test kit. If the leak shows up right at the cap, swap it for a new one. Radiator caps are inexpensive and critical for maintaining pressure.
Stop-Leak Products: Quick Fix or Risky Shortcut?
Radiator stop-leak additives can seal minor leaks fast, but misuse creates bigger problems by clogging heater cores and water passages.
Top Stop-Leak Products Worth Considering
- Bar’s Leaks Radiator and Engine Coolant Stop Leak works well for small radiator and freeze plug leaks
- BlueDevil Radiator Stop Leak seals porous radiators and minor cracks
- K-Seal ST5501 has been lab-tested for head gasket and block repairs
- CRC Head Gasket and Block Repair uses nanotechnology to seal micro-cracks
Apply Stop-Leak the Right Way
- Make sure the engine is off and completely cool.
- Shake the bottle thoroughly to mix the contents.
- Pour the entire bottle into the radiator or reservoir.
- Run the engine at idle for 10 to 15 minutes.
- Let the system cool, recheck fluid levels, and monitor for leaks.
Never use stop-leak on large cracks, severely overheated engines, or systems with mixed coolant types. The chemicals can solidify inside narrow passages and create expensive blockages.
When to Skip Stop-Leak Entirely
Avoid stop-leak products if you are dealing with large radiator cracks, leaking water pump seals, a blown head gasket producing white smoke, or a vehicle due for a coolant flush. Treat stop-leak strictly as a temporary bridge to get you to a repair shop, never as a permanent fix.
Replace a Leaking Radiator Hose

Cracked, swollen, or soft hoses rank among the easiest and cheapest coolant leaks to fix. A fresh hose and two new clamps often solve the problem in under an hour.
Gather Your Tools and Parts
You will need a replacement hose that matches the original length, diameter, and bend. Pick up new worm-drive or spring clamps, hose pliers or a wrench, a drain pan, and a funnel for refilling.
Follow These Replacement Steps
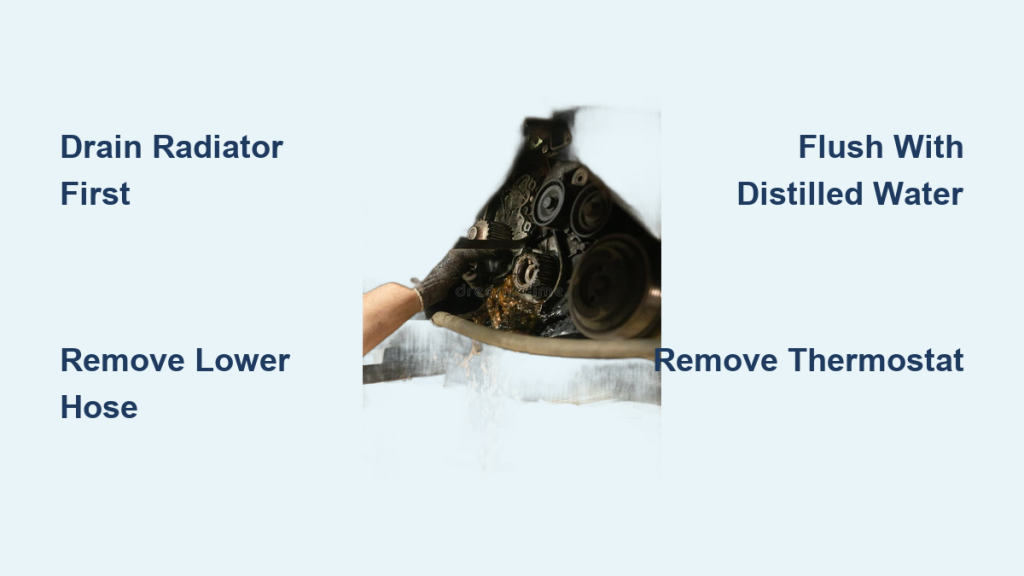
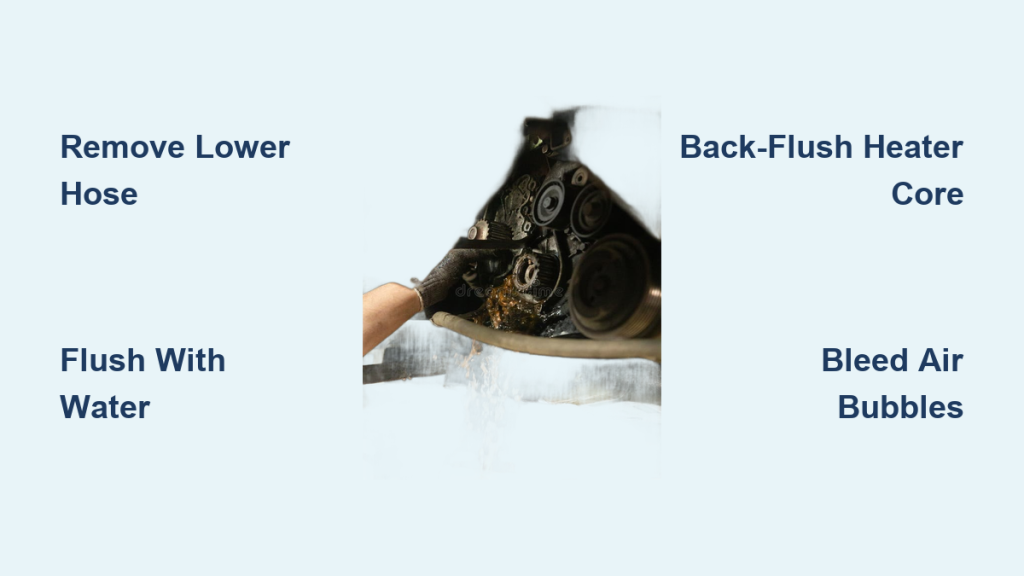
- Drain coolant below the leak point by opening the petcock or removing the lower hose.
- Loosen the clamps at both ends of the failing hose.
- Twist and pull the old hose off the fittings.
- Clean both fittings with a rag to remove old gasket material and debris.
- Slide the new hose on and make sure it seats fully.
- Secure with new clamps tightened just enough to prevent slipping. Over-tightening crushes the hose.
- Refill coolant and bleed air by running the engine with the heater set to high.
- Test drive and check for leaks after the system cools.
This repair typically takes 30 to 60 minutes and suits beginners with basic hand tools.
Replace a Failed Radiator
When the radiator itself is leaking, replacement is the only permanent solution. This job takes longer but remains within reach for most DIYers with patience and the right tools.
Know When Replacement Beats Repair
Replace the radiator if the plastic side tank is cracked, the core leaks from multiple fins, or corrosion has eaten through the metal. Do not waste time patching large holes, structural damage, or leaks near transmission cooler lines.
Tools You Will Need
- Socket set with extensions
- Wrenches and a flare-nut wrench for transmission lines
- Drain pan and funnel
- Torque wrench for accurate tightening
Radiator Replacement Walkthrough
- Drain coolant completely into a pan for proper disposal.
- Remove the upper and lower hoses, clamping them shut to minimize spillage.
- Disconnect the electric fans and unplug the wiring harness.
- Remove the fan shroud, which may require taking out the fan assembly itself.
- Disconnect transmission cooler lines using a flare-nut wrench to avoid rounding the fittings.
- Remove the 2 to 4 mounting bolts at the top and bottom of the radiator.
- Lift the radiator out carefully, tilting slightly if space is tight.
- Transfer the rubber mounting pads to the new radiator.
- Install the new radiator, aligning it carefully before securing the bolts.
- Reconnect transmission lines, hoses, fans, and shroud in reverse order.
- Refill with a 50/50 mix of antifreeze and distilled water.
- Bleed the system by running the engine with the heater on maximum until heat output stabilizes.
- Check for leaks and retorque clamps if needed.
Set aside 2 to 4 hours for this job, and rate the difficulty as intermediate.
Fix Other Common Coolant Leak Points
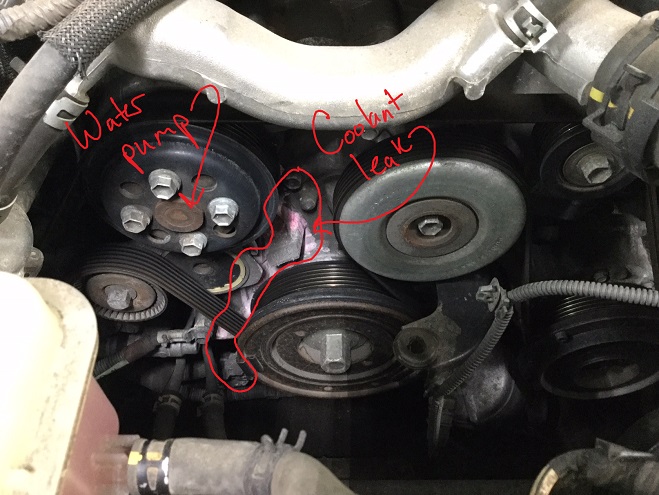
The radiator is not always the culprit. Several nearby components fail just as often and can mimic a radiator coolant leak.
Swap Out a Faulty Radiator Cap
A failed $15 cap causes coolant to boil over or the reservoir to overflow. Pressure tests often fail right at the cap. Buy an OEM-spec replacement with the correct pressure rating and replace it every couple of years as preventive maintenance.
Repair a Leaking Water Pump
Coolant weeping from behind the pulley means the internal seal has failed. Drain the coolant, remove the drive belt, unbolt the pump from the engine block, scrape off the old gasket, and install the new pump with fresh sealant. Some water pumps run off the timing belt, so consider replacing both components at the same time.
Replace a Failing Thermostat
A stuck-closed thermostat causes overheating, while a leaky housing drips coolant onto the engine. Drain coolant below the housing, remove the 2 to 3 mounting bolts, swap the thermostat to match the original temperature rating, and reinstall with a new gasket or sealant.
Bleed Air from the Cooling System
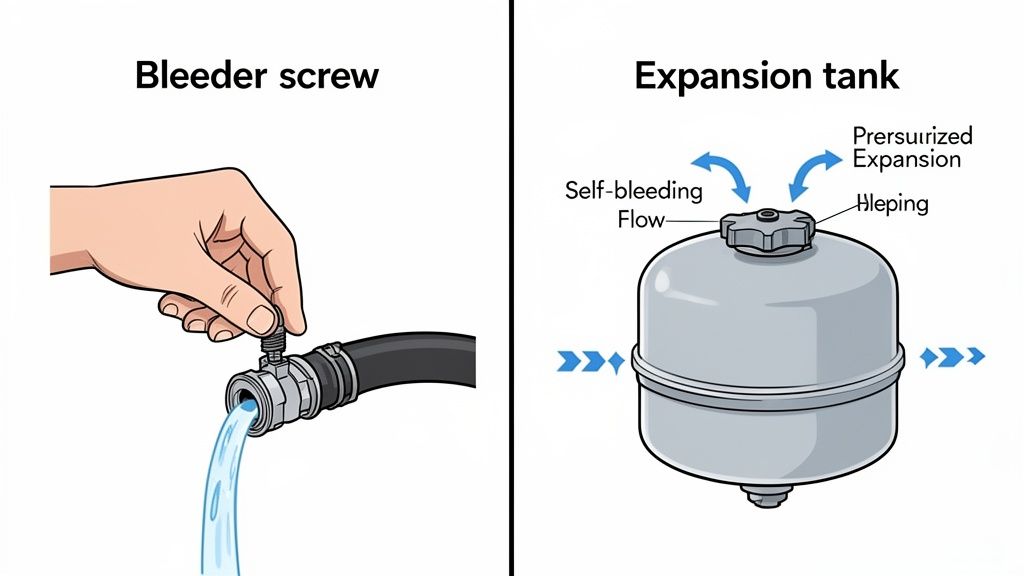
Air pockets trapped inside the cooling system cause overheating even after a successful repair. Bleeding the system restores proper circulation.
Bleed the System in Seven Steps
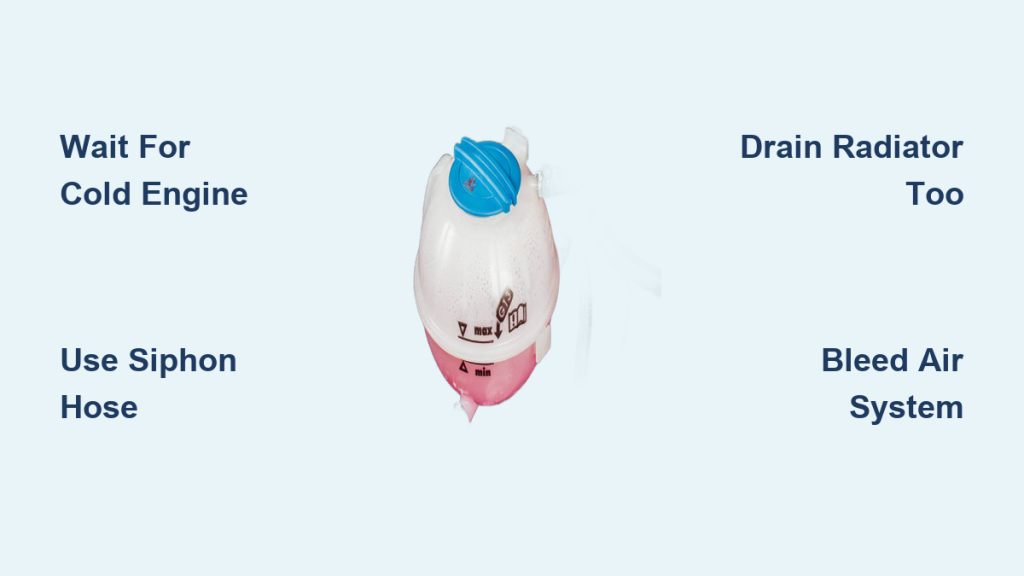
- Fill the radiator and reservoir to the maximum line.
- Start the engine and let it warm up.
- Turn the heater to maximum to open the heater core valves.
- Squeeze the upper radiator hose gently to push trapped air toward the reservoir.
- Rev the engine slightly to 1,500 to 2,000 RPM and circulate coolant.
- Top off the reservoir as the fluid level drops during bleeding.
- Run the engine until the upper hose feels hot and the temperature gauge stabilizes.
Some vehicles include a bleeder valve on the thermostat housing. Open it until coolant flows steadily, then close it and continue the process.
Prevent Future Coolant Leaks
Most radiator coolant leak repair situations are preventable with routine care and the right habits.
Stick to a Maintenance Schedule
Check coolant levels monthly and inspect hoses and clamps at every oil change. Replace coolant every 2 to 5 years depending on your owner’s manual recommendations. Swap the radiator cap every 2 years to maintain proper pressure.
Use the Correct Coolant Mix
Always mix antifreeze with distilled water at a 50/50 ratio. Tap water contains minerals that accelerate corrosion and clog passages. Never mix different coolant types, since chemical reactions can form gel and block waterways.
Flush the System When Needed
Flush the cooling system every 5 years or sooner if the coolant looks rusty or sludgy. Flush after major repairs such as radiator or water pump replacement, and any time you switch coolant types.
Know When to Call a Professional
Some repairs cross the line from DIY-friendly to professional territory. Recognizing that boundary protects you from making the problem worse.
Seek Professional Help If You Notice These Signs
White exhaust smoke or milky oil on the dipstick points to internal engine damage that requires disassembly. If the leak sits inside the engine block or head gasket area, a shop has the tools and expertise to handle it. Call a professional if you cannot safely access the fan shroud or transmission cooler lines, or if the repair demands specialized equipment like a vacuum filler or torque wrench.
Follow the “Point of No Return” rule during any repair. If you start disassembling components and cannot safely reassemble them, stop immediately. Reconnect what you can and drive the vehicle to a shop rather than risk leaving it inoperable.
Frequently Asked Questions About Radiator Coolant Leak Repair
How do I know if my coolant leak is from the radiator or another component?
Check the color, location, and pattern of the leak. Coolant dripping from the front of the engine bay near the radiator grille usually points to the radiator itself. Drips near hose connections suggest a hose problem, while moisture behind the pulley indicates a water pump issue. A sweet smell inside the cabin with damp floor mats signals a heater core leak.
Can I keep driving with a small coolant leak?
A small leak lets you drive short distances to reach a repair shop, but monitor the temperature gauge closely. Top off the reservoir before each trip and avoid highway driving or heavy loads that generate more heat. Continuing to drive with an active leak risks overheating and catastrophic engine damage.
How much does a radiator coolant leak repair cost?
Costs vary widely depending on the source. Hose replacement runs $5 to $15 in parts. Radiator replacement costs $150 to $400 for the part alone, or $300 to $900 professionally. Major repairs like head gasket replacement can exceed $2,500, while engine block damage often surpasses $3,000.
Is radiator stop-leak safe to use?
Stop-leak products are safe for minor leaks in otherwise healthy cooling systems. Avoid them if you have a large crack, mixed coolant types, or a vehicle due for a flush. The chemicals can clog heater cores and narrow passages if misused, so always treat stop-leak as a temporary measure.
How often should I replace my coolant?
Most manufacturers recommend replacing coolant every 2 to 5 years or at specific mileage intervals. Check your owner’s manual for the exact schedule. Regular replacement prevents corrosion and keeps the additives effective at protecting metal surfaces.
What is the difference between green and orange coolant?
Green coolant uses traditional ethylene glycol with inorganic additives. Orange or pink coolant uses organic acid technology (OAT) and lasts longer between changes. Mixing the two types causes chemical reactions that reduce protection and can form gel inside the system, so always stick with the type your vehicle requires.
Key Takeaways for Completing a Radiator Coolant Leak Repair
A successful radiator coolant leak repair starts with accurate diagnosis. Identifying the exact source saves you from replacing parts that were never the problem. Temporary fixes like stop-leak additives buy you time, but permanent repairs such as hose or radiator replacement deliver lasting results. Above all, use the correct 50/50 coolant mix with distilled water, follow a regular maintenance schedule, and never ignore early warning signs like rising temperatures or frequent top-offs.
Your next step is simple: grab a flashlight, locate the leak using the inspection zones outlined above, and decide whether a temporary sealant or a full component replacement fits your situation. Addressing the problem now protects your engine and keeps your car running strong for many more miles.