
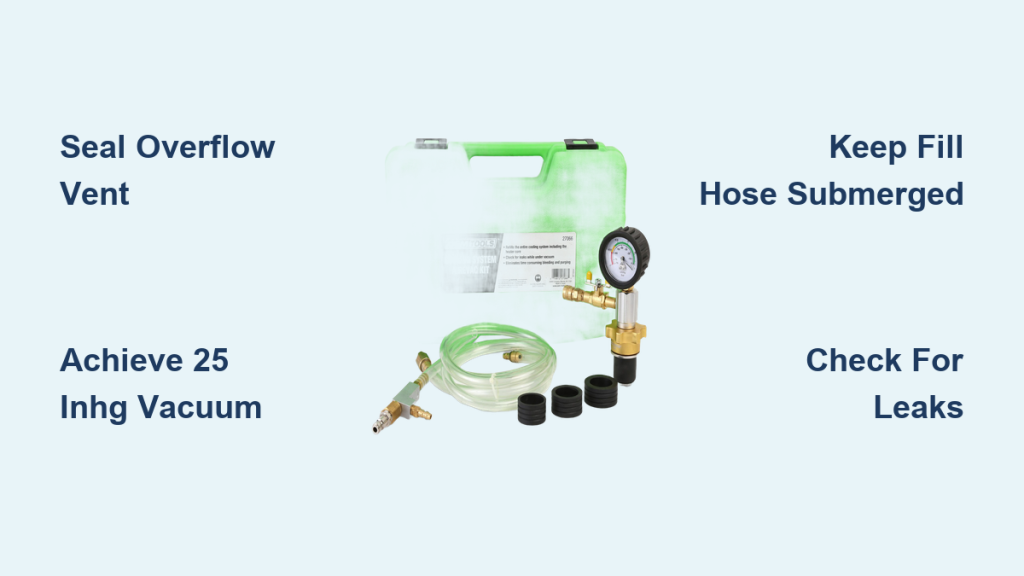
You’ve just replaced your thermostat, water pump, or radiator. Now comes the critical step most DIYers overlook: properly filling the cooling system without trapping air. Skip this, and you’re looking at overheating, gurgling heater cores, and potential engine damage from vapor lock. A coolant vacuum bleeder eliminates the guesswork by pulling coolant into the system under negative pressure, ensuring a complete, bubble-free fill every time.
In this guide, you’ll learn exactly how to use a coolant vacuum bleeder from start to finish. We’ll cover safety preparation, step-by-step procedures, troubleshooting tips, and pro techniques to get it right the first time.
Prepare Your Vehicle Safely for Vacuum Bleeding
Before connecting any tools, safety must come first. A hot or pressurized cooling system can cause serious burns.
Confirm Engine Is Cold and Depressurized
Wait until the engine has fully cooled before starting any work. Never attempt to open the cooling system when it’s hot.
To remove the reservoir cap safely, cover it with a wet rag and turn slowly to release any residual pressure. If the system was recently drained, verify that the radiator drain plug is closed and all hoses are reconnected securely.
Drain and Flush the System If Needed
Drain old coolant completely using the radiator or engine block drain plug. Flush the system with distilled water if the old coolant appears contaminated or discolored. Refill your coolant container with fresh 50/50 pre-mixed coolant that’s compatible with your vehicle, such as OAT, HOAT, or G12 formulations.
Keep the coolant jug slightly elevated during filling to improve flow and reduce air intake.
Assemble Your Coolant Vacuum Bleeder Kit

Most vacuum coolant refill tools operate similarly regardless of brand. Understanding the components ensures smooth operation.
Identify Key Components
Your kit should include a vacuum refill tool with gauge that reads in inches Hg or cm Hg, adapters for sealing the coolant reservoir neck, a T-valve manifold with vacuum and fill ports, a vacuum hose connected to compressed air, a fill hose that draws coolant from the container, and a compressed air source delivering 80 to 120 psi shop air.
Some kits use a venturi system where compressed air creates the vacuum without requiring a pump.
Choose the Right Adapter
Match the adapter size to your reservoir neck. Ensure it seals the fill hole and blocks the overflow vent, especially on vehicles like the VW Jetta ALH. On some models, you must tighten the adapter an extra 1.5 turns with channel locks to fully seal the internal vent.
A poor seal means no vacuum. If hoses don’t collapse inward, check the adapter fit and vent blockage.
Create Vacuum in the Cooling System
Now you’re ready to evacuate air from the system. This step removes vapor and verifies system integrity.
Seal the Coolant Reservoir
Remove the reservoir cap and install the correct vacuum adapter tightly. For systems with an internal overflow tube, ensure the adapter occludes the vent path or use a termination hose.
Apply Vacuum Correctly
Connect the T-valve to the adapter and attach the vacuum hose to the air supply. Close the fill valve, then open the vacuum valve. Turn on compressed air and watch the gauge climb.
Aim for 25 inches Hg or negative 50 to 70 cm Hg. The hoses will collapse inward, which is normal. Wait 10 to 15 seconds for mechanical stabilization before proceeding.
Hose deformation may cause a temporary pressure rise. Let it stabilize before leak testing.
Test for Leaks Before Adding Coolant
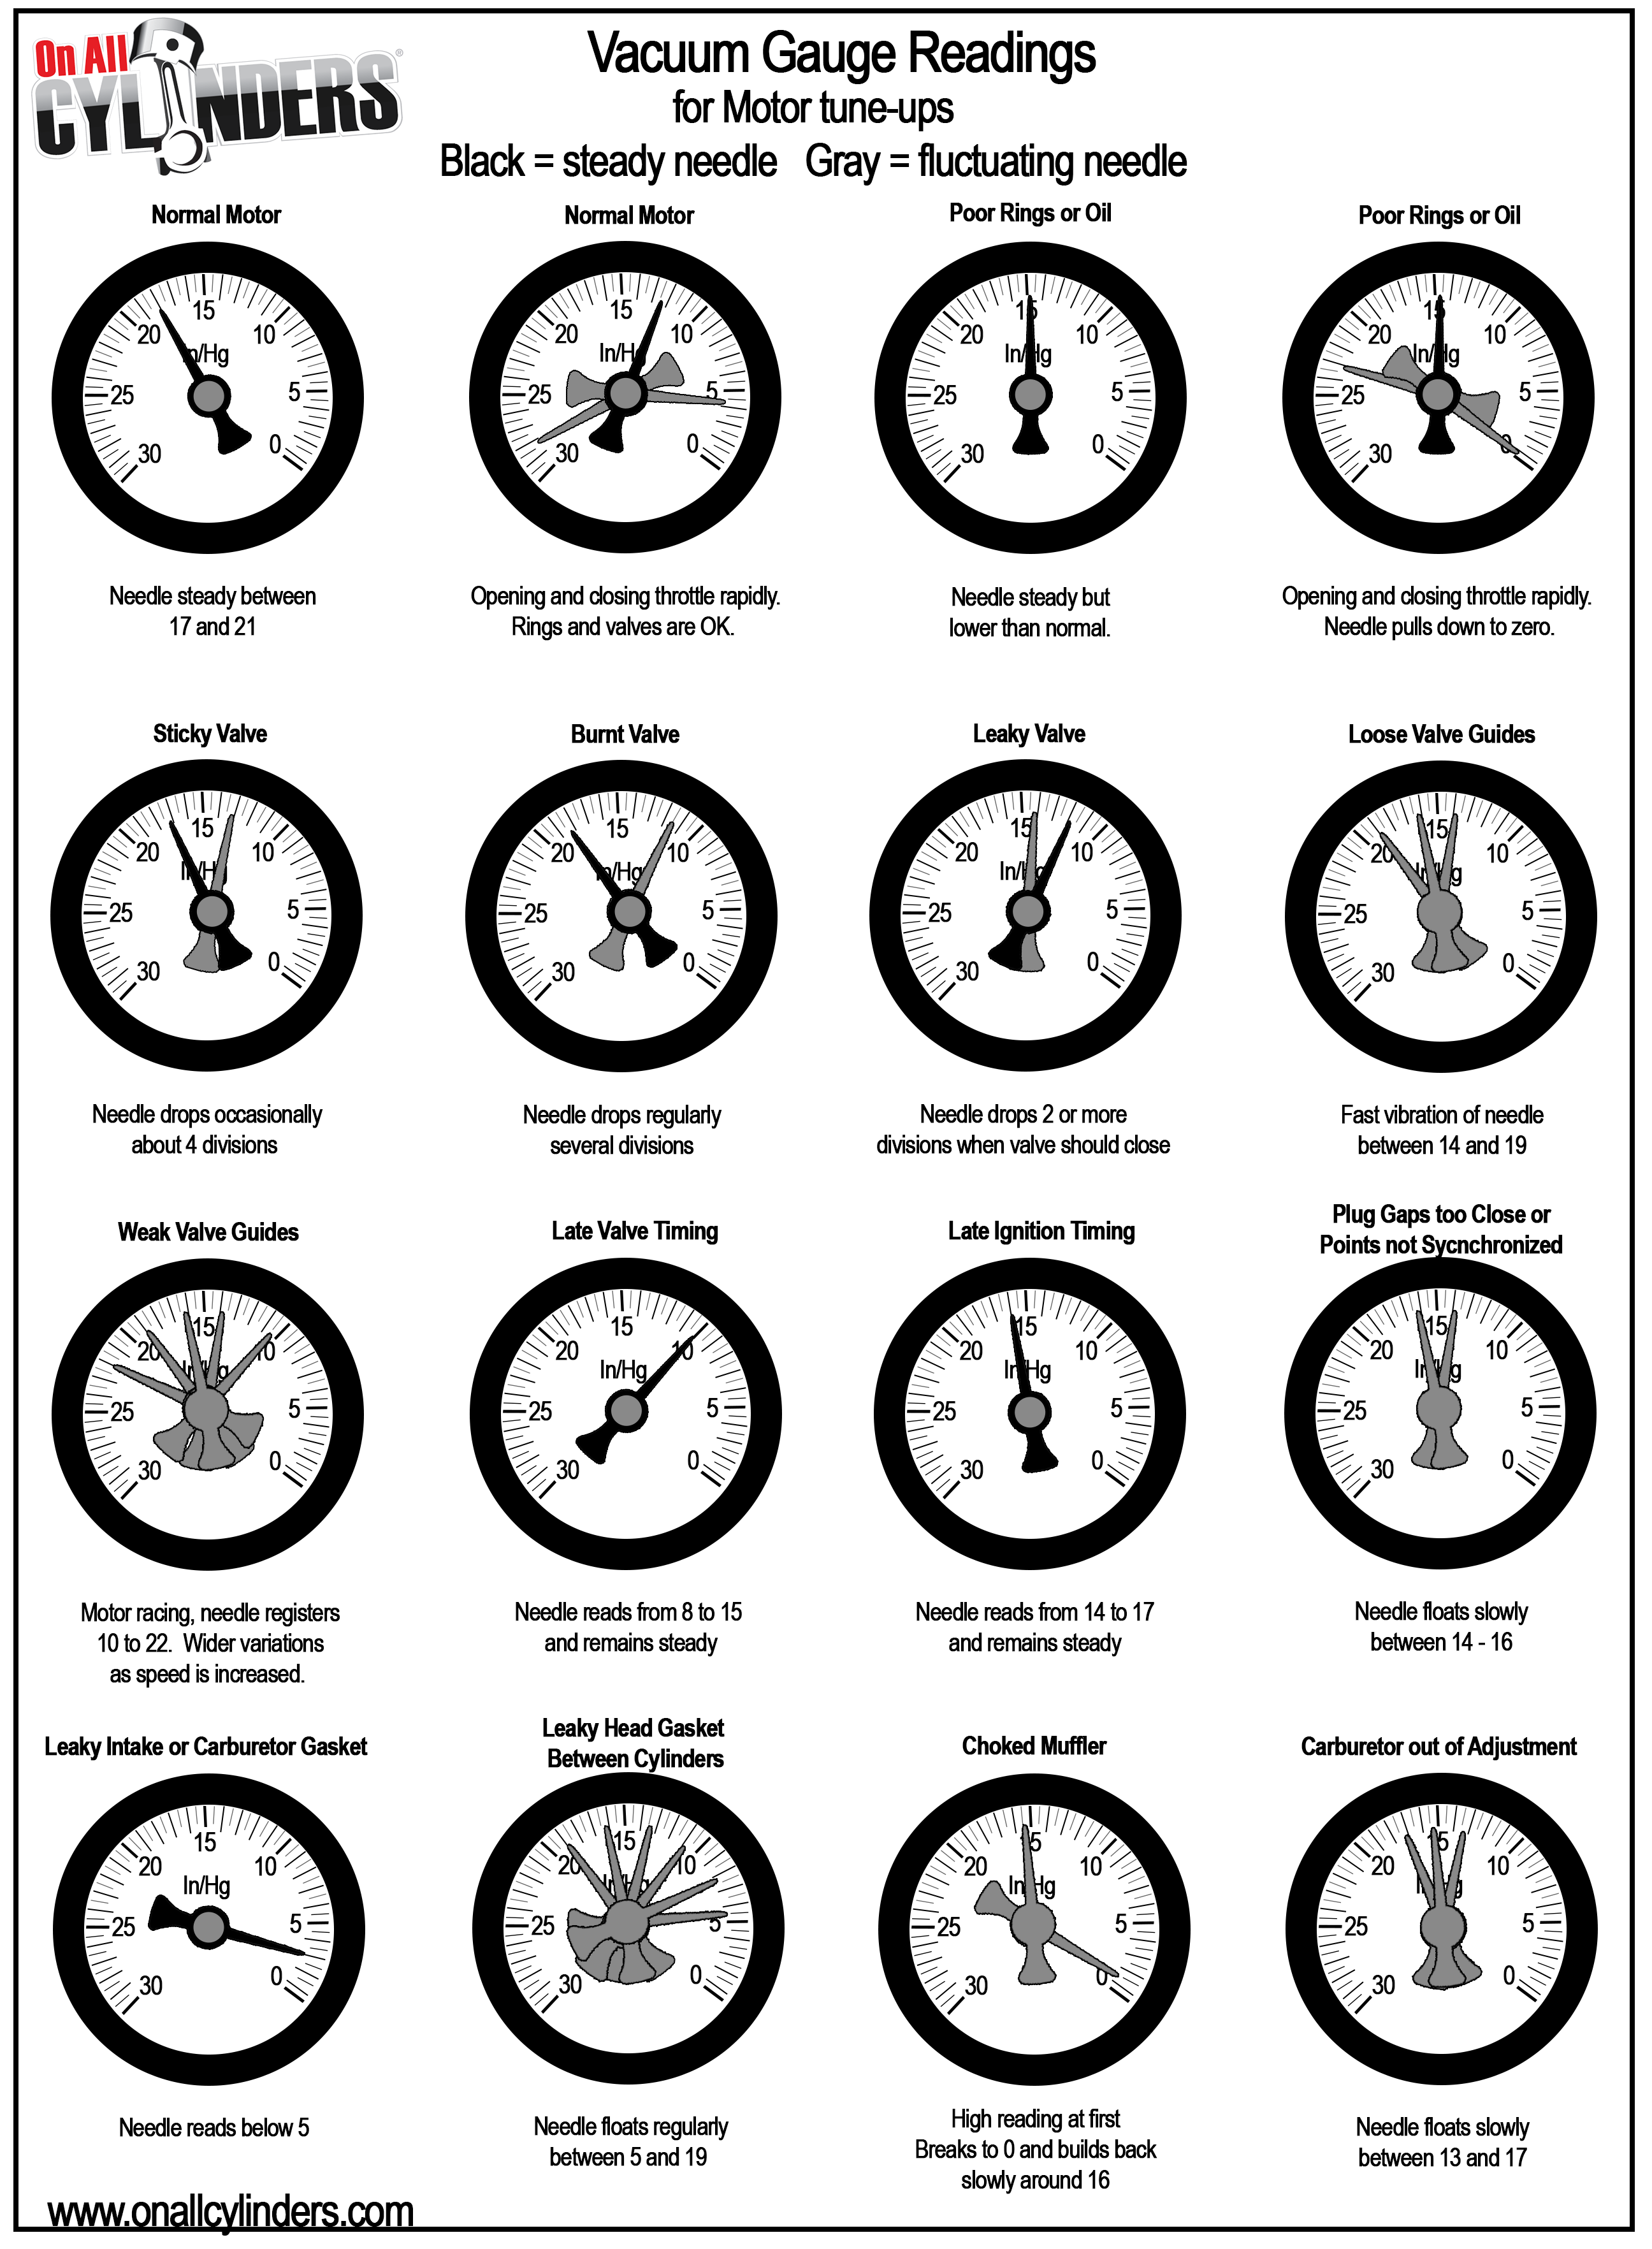
This step catches issues before you introduce expensive coolant to the system.
Hold the Vacuum
Close the vacuum valve and disconnect the air supply. Monitor the gauge for 1 to 2 minutes. A steady reading indicates no leaks, while a gradual climb signals air ingress.
Find and Fix Leaks
Inspect all clamps, hoses, the radiator, water pump, and adapter seal. If a leak is suspected, pressurize with water first rather than coolant to avoid waste. Re-seal or repair the issue, then reapply vacuum.
A stable vacuum confirms both a leak-free system and complete air evacuation, which is ideal before filling.
Draw Coolant Into the System
With the system under vacuum, it’s time to refill with coolant.
Connect the Fill Hose
Disconnect the vacuum hose and attach the fill hose to the T-valve inlet. Submerge the other end deep in the coolant container.
Keep the hose tip below the coolant surface at all times to prevent air from being drawn into the system.
Open the Fill Valve
Slowly open the fill valve. Atmospheric pressure pushes coolant into the evacuated system. Flow starts fast, then slows as the system fills.
Listen for continuous flow. Gurgling sounds indicate air entry into the system. If the jug runs low, close the valve before repositioning the hose to avoid introducing air.
Some vehicles draw an extra gallon of fluid, which proves how much air was trapped in the system.
Finalize the Fill and Release Vacuum
Once the system is full, transition to closure properly.
Know When to Stop Filling
Fill until the hoses feel firm with no soft spots, coolant flow stops naturally, and the vacuum gauge reads zero on some models.
Close and Disconnect
Close the fill valve before removing hoses. Lift the tool slightly to let residual coolant drain back into the reservoir. Remove the adapter from the reservoir carefully.
Adjust Coolant Level and Reassemble
Vacuum can pull in too much coolant, so fine-tuning is essential.
Remove Excess Coolant
The reservoir may be overfilled due to vacuum collapse. Use a baster or turkey baster to extract coolant down to the MAX line.
Restore Safety Features
Reinstall the reservoir cap securely. Remove any temporary plugs or hoses from overflow tubes. Ensure the pressure-relief valve is unobstructed.
Never drive with the pressure-relief path blocked, as this risks over-pressurization and radiator failure.
Verify System Performance
The job isn’t done until you confirm everything works correctly.
Start the Engine
Run the engine to normal operating temperature. Monitor the temperature gauge, which should rise steadily without spiking. Listen for gurgling, which indicates trapped air in the heater core or high points.
Check for Leaks
Inspect all connections, hoses, and repair sites. Look under the vehicle for drips after a few minutes of running.
Let the System Settle Overnight
Air can resettle after the initial fill, so final topping off is often needed.
Cool and Recheck
Turn off the engine and let it cool completely, preferably overnight. With the cap off, check the level in the morning. Top off to the MAX line if low. Reinstall the cap and road test.
Alternatively, run the engine at fast idle with the cap off on vehicles like the ALH TDI. Add coolant as the level drops, then cool, top off, and cap.
Troubleshoot Common Issues
Even professionals encounter problems. Here’s how to fix them fast.
Can’t Achieve Vacuum
The overflow vent isn’t sealed, which is common on VW vehicles. Use the proper adapter, tighten fully, and block the vent with a hose.
Vacuum Drops Over Time
There’s a leak in the hose, clamp, or adapter. Inspect all joints and test with water under pressure.
Coolant Won’t Flow
The fill hose isn’t submerged, the valve is closed, or there’s an air leak. Re-submerge the hose, open the valve, and recheck the seal.
Hoses Stay Soft
The fill is incomplete or air is trapped. Reapply vacuum and refill. Check for high-point pockets.
Gurgling After Startup
Air remains in the heater core or thermostat housing. Run the engine with the cap off and allow the thermostat to cycle.
I couldn’t get vacuum, and it turned out the adapter wasn’t screwed down far enough to block the overflow. After tightening with channel locks, it sealed perfectly.
Follow Vehicle-Specific Tips
Not all cars are the same. Know your model’s quirks.
VW Jetta ALH Engine
The reservoir has a plastic overflow tube at the 10 to 11 o’clock position. Standard adapters may not seal it. Use an adapter that seals the fill hole rather than just the threads, or tighten further to compress and block the vent.
Some model years use soft hoses instead of molded tubes. Inspect carefully before proceeding.
General Guidelines
This method works best on vehicles with expansion tanks. Older models with radiator caps may need direct radiator attachment. Always consult the OEM service manual, as some require vacuum fill by specification.
Measure Success with Key Metrics
Use these benchmarks to confirm a proper job.
| Parameter | Target Value |
|---|---|
| Vacuum Level | 25 inHg or negative 50 to 70 cm Hg |
| Fill Time | 2 to 5 minutes |
| Leak Test Duration | Hold vacuum for 1 to 2 minutes |
| Final Coolant Level | At MAX line when cold |
A vacuum of 25 inches Hg can lift coolant over 28 feet, which is more than enough to fill any car.
Maintain Tools and Protect Your System
Long-term success depends on proper care and follow-through.
Clean and Store Equipment
Rinse hoses and adapters after each use. Check O-rings for cracks or wear. Store in a dry case to prevent contamination.
Extend Cooling System Life
Vacuum filling reduces corrosion from less oxygen in the coolant, eliminates hot spots from no air pockets, and prevents water pump cavitation. This results in longer coolant life and better engine protection.
Warranty and Compliance
Using OEM-recommended methods supports warranty claims. Document your vacuum fill procedures to show due diligence. Always follow manufacturer service specs, as they override general advice.
Frequently Asked Questions About Coolant Vacuum Bleeding
What is a coolant vacuum bleeder and why should I use one?
A coolant vacuum bleeder is a tool that creates negative pressure in the cooling system to draw coolant in without introducing air. It eliminates air pockets that cause overheating, gurgling noises, and heater core failures. It’s the most effective method for achieving a complete, bubble-free fill.
How long does the vacuum bleeding process take?
The entire process typically takes 15 to 30 minutes, including setup, vacuum creation, leak testing, and filling. Actual fill time ranges from 2 to 5 minutes depending on system volume.
Can I use a vacuum bleeder on any vehicle?
This method works on most modern vehicles with accessible coolant reservoirs or expansion tanks. Older vehicles with radiator caps may require direct radiator attachment. Always check your vehicle’s service manual for specific requirements.
What happens if I can’t achieve vacuum?
The most common cause is an unsealed overflow vent, particularly on vehicles like VW Jettas. Ensure you’re using the correct adapter, tighten it fully with channel locks, and block any overflow tubes with a termination hose.
Do I need to burp the engine after vacuum filling?
Most vehicles don’t require additional burping after a proper vacuum fill. However, if you hear gurgling after startup, run the engine with the cap off and let the thermostat cycle to release any remaining air.
Key Takeaways for Using a Coolant Vacuum Bleeder
A coolant vacuum bleeder is an investment that pays off immediately through faster fills, fewer comebacks, and total confidence in your cooling system. The process involves achieving 25 inches Hg of vacuum, holding it to test for leaks, then drawing coolant in while keeping the fill hose submerged. Always use the correct adapter for your vehicle and block any overflow vents to ensure a proper seal. After filling, allow the system to settle overnight and top off to the MAX line before driving. Following these steps ensures your engine stays protected, cool, and running efficiently with no guesswork, no gurgling, and no overheating.



