
A constantly running toilet often points to a cracked or misaligned overflow tube inside your tank. This common issue wastes gallons of water daily and drives up your utility bill until you fix it. Replacing the component is a straightforward DIY project that restores proper function without calling a plumber.
This guide explains exactly how to replace overflow tube in toilet tank systems using basic tools and a standard repair kit. You will learn to drain the tank safely, remove the old flush valve assembly, and install a new tube with the correct height settings. Follow these steps to stop the running water and prevent future leaks in under an hour.
Shut Off Water Supply and Drain the Tank Completely
:max_bytes(150000):strip_icc()/the-parts-of-a-toilet-4145300-V5-491e55af08a9455fac49e313c03d100a.jpg)
You must stop all water flow before removing any parts to avoid flooding your bathroom floor. Locate the shutoff valve on the wall behind the toilet base and turn the knob clockwise until it stops completely.
Flush Toilet to Empty Most Water
Press the flush handle to drain the majority of the water from the tank into the bowl. Watch the tank closely to ensure no new water enters during this process. If the tank begins to refill, the shutoff valve is not tight enough and needs another turn.
Remove Remaining Water with Sponge
Soak up any leftover water at the bottom of the tank using a large sponge. Squeeze the absorbed water into the toilet bowl or a nearby bucket until the tank interior is dry. A completely dry tank prevents messy spills when you detach the unit from the base.
Disconnect Supply Line and Internal Components
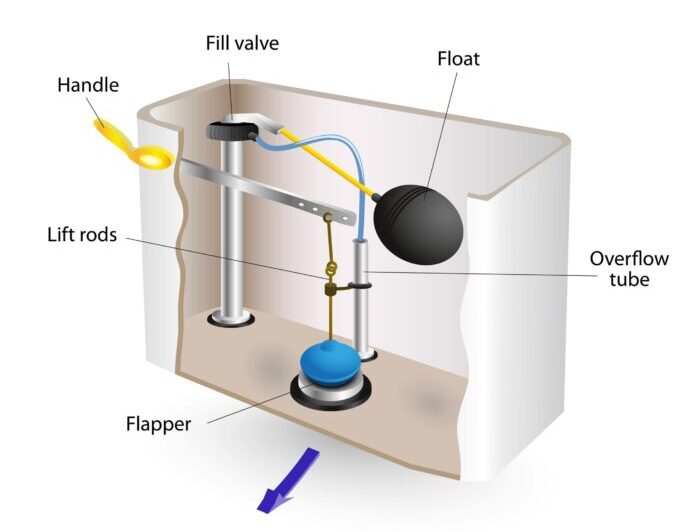
Removing the external connections allows you to lift the tank off the bowl safely. Work carefully under the tank to avoid damaging the porcelain or stripping plastic nuts.
Remove Water Supply Coupling Nut
Place a small bucket or towel beneath the fill valve to catch residual drips. Use an adjustable wrench or wide-mouth pliers to loosen the coupling nut connecting the supply line to the fill valve inlet. Pull the supply line away gently once the nut is free.
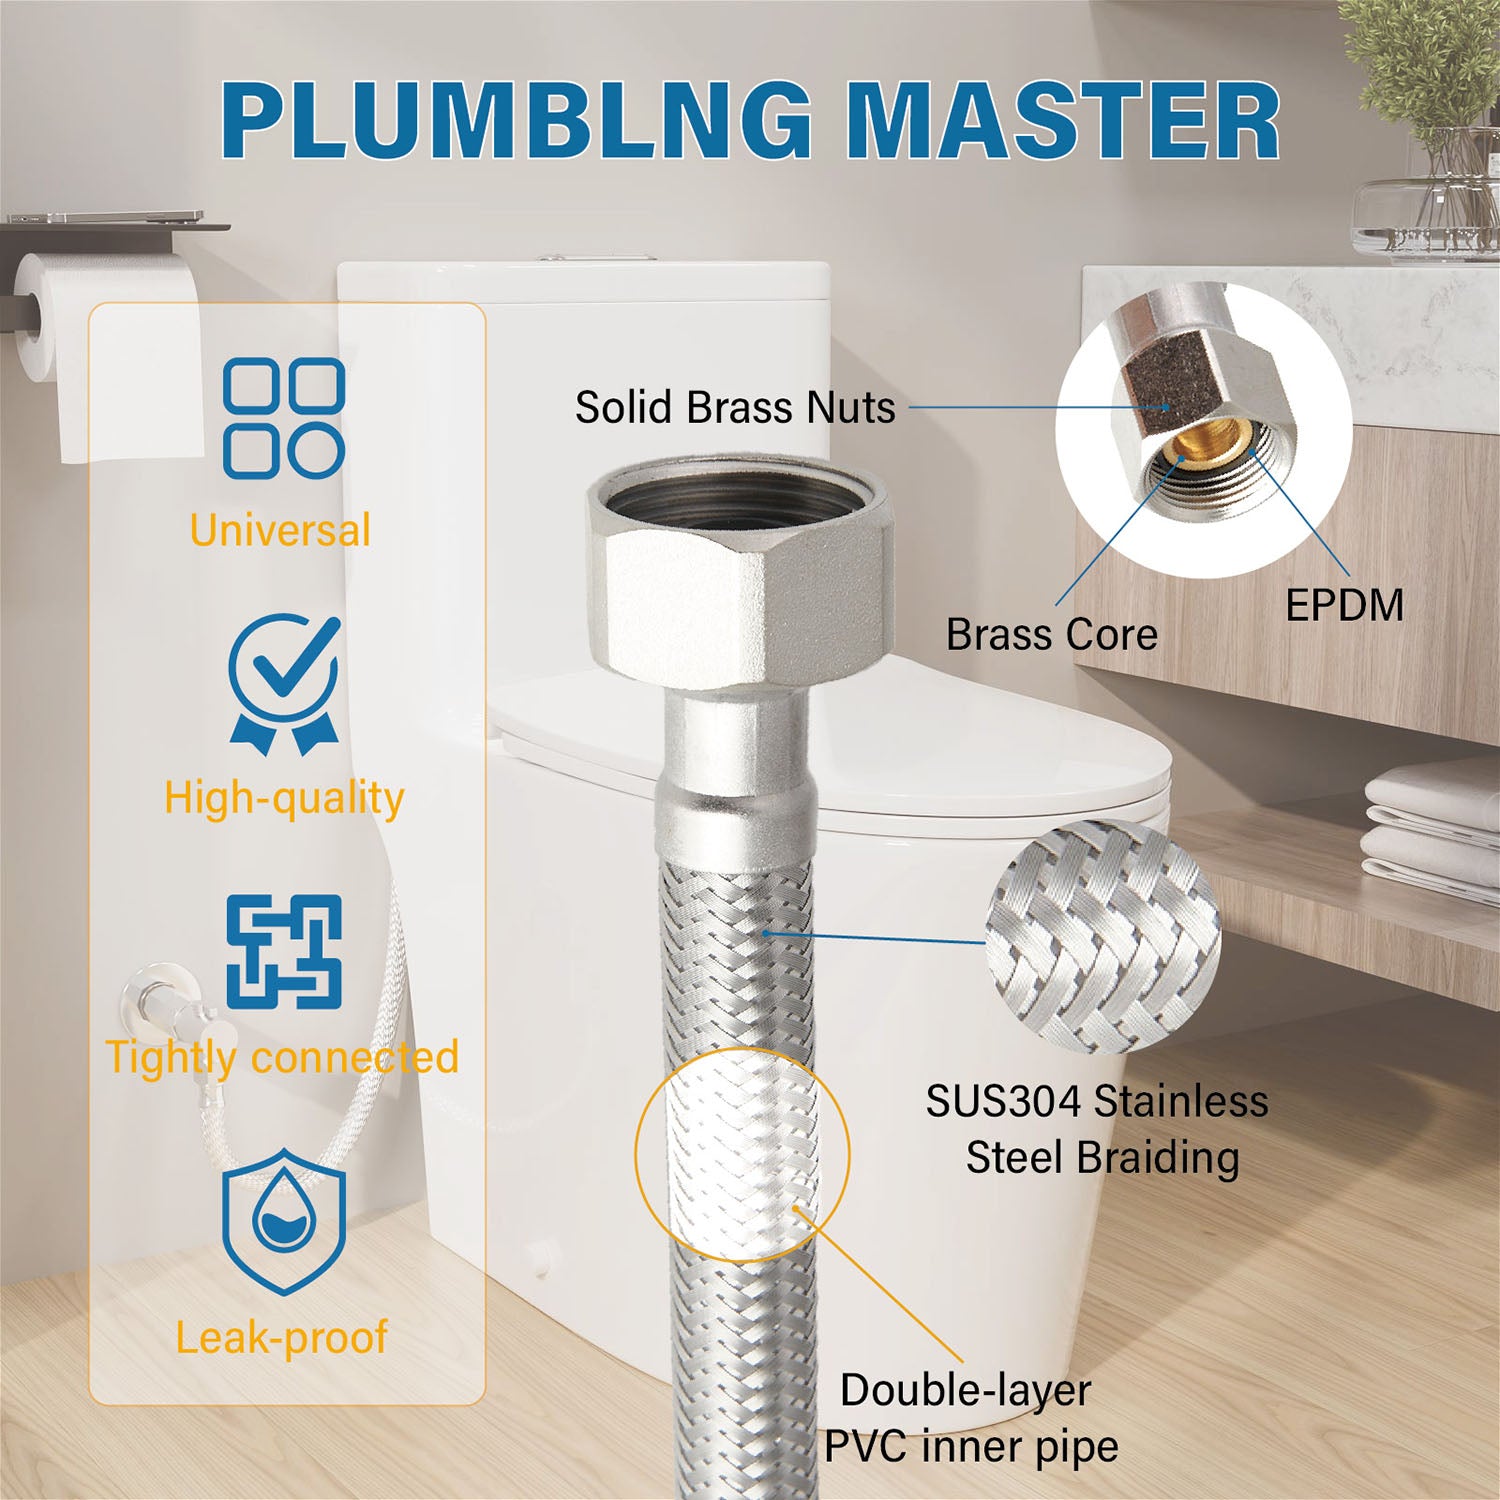
Pro Tip: If your current supply line is rubber or plastic, replace it with a braided stainless steel hose. These are far less likely to burst and cause major water damage.
Detach Refill Hose and Flapper Chain
Reach inside the tank to find the small refill hose clipped to the top of the overflow tube. Slide the anchor clip up and off to disconnect the hose. Unhook the metal chain connecting the flapper to the flush lever rod.
Loosen Tank Mounting Bolts
Identify the two bolts securing the tank to the bowl on either side of the flush valve. Use a flathead screwdriver to hold the bolt head steady while turning the wing nut underneath with pliers. Remove both nuts and their associated washers completely.
Lift Tank and Remove Old Flush Valve Assembly
The tank is heavy and fragile, so use caution when separating it from the bowl. You may need a helper to lift it safely without dropping it.
Carefully Lift Tank Off Bowl
Grasp the tank firmly on both sides and lift straight up to clear the mounting bolts. Rest the tank upside down on a towel-covered surface like the closed toilet lid. This position gives you clear access to the large nut holding the overflow tube.
Remove Center Gasket and Mounting Bolts
Peel away the large rubber gasket surrounding the center hole on the tank underside. Wear gloves if the rubber feels brittle or leaves black residue on your skin. Remove the old mounting bolts from their holes and clean away any mineral deposits.
Unscrew Large Plastic Hex Nut
Locate the large plastic hex nut securing the flush valve assembly to the tank bottom. Use wide-mouth pliers to loosen and remove this nut completely. Pull the entire flush valve assembly, including the old overflow tube and flapper, out through the top of the tank.
Install New Overflow Tube and Adjust Height
Proper height adjustment is critical for the new overflow tube to function correctly. Cutting it too high or too low affects how your toilet refills and stops running.
Insert New Flush Valve Assembly
Slide the new overflow tube and flapper assembly into the center hole from the top of the tank. Tilt the tank slightly if needed to ensure the base sits perfectly flat against the tank floor.
Mark and Cut Tube to Correct Height
Align the top of the new overflow tube with the water level line marked on your new fill valve. Use a marker to draw a cutting line on the tube exactly one inch below this water level mark. Cut the tube at this line with a hacksaw and sand any rough edges smooth.
Secure Valve with New Hex Nut
Thread the new plastic hex nut onto the valve stem from underneath the tank. Hand-tighten the nut first, then use pliers to turn it just another half-turn. Do not overtighten this nut, as excessive force can crack the porcelain tank instantly.
Reattach Tank and Reconnect All Parts
Reassembling the toilet requires balance and patience to ensure a watertight seal. Check your work at each step to prevent leaks later.
Insert New Mounting Bolts with Washers
Push two new bolts through the side holes from the top of the tank. Ensure a rubber washer sits just below each bolt head inside the tank. Slide metal washers and wing nuts onto the bolts from underneath.
Lower Tank and Align with Bowl
Carefully lower the tank back onto the toilet base, guiding the bolts through the mounting holes. Press down gently to compress the new center gasket without shifting the alignment.
Level Tank and Tighten Evenly
Place a small level on top of the tank to check its position. Tighten the wing nuts underneath alternately, giving each a little turn at a time. Stop tightening as soon as the tank feels snug and level to avoid cracking the porcelain.
Test Flush and Check for Leaks
:max_bytes(150000):strip_icc()/adjusting-a-toilet-flapper-ball-flush-valve-1824908-hero-ab724b89b3b74f99a5c6eb3140397e19.jpg)
The final step involves restoring water flow and verifying that your repair was successful. Watch closely for any signs of dripping or improper flushing.
Reconnect Chain and Refill Tube
Hook the flapper chain back onto the flush lever rod with slight slack. Ensure the chain is not so tight that it prevents the flapper from sealing or so loose that it gets caught under the flapper. Clip the refill hose anchor back onto the top of the overflow tube.
Reattach Supply Line and Restore Water
Connect the water supply line to the fill valve inlet and tighten the coupling nut securely. Slowly open the shutoff valve to let water fill the tank. Watch the connections for any immediate dripping.
Verify Proper Flush and Seal
Flush the toilet to confirm the flapper lifts fully and drops back into place smoothly. Listen for running water after the tank refills. If the water stops running and no leaks appear, your repair to replace overflow tube in toilet tank is complete.
Prevent Future Toilet Tank Issues
Regular maintenance extends the life of your toilet parts and prevents unexpected failures. Simple habits can save you from repeating this repair soon.
Upgrade to Braided Supply Lines
Replace old rubber or plastic hoses with braided stainless steel lines to reduce burst risks. This upgrade protects your home from potential flooding caused by failing supply lines.
Clean Tank Interior Periodically
Scrub the inside of your tank with vinegar every few months to remove lime and sediment buildup. Avoid harsh bleach cleaners that degrade rubber flappers and gaskets over time.
Inspect Components Every Six Months
Check your tank semi-annually for cracks, mineral deposits, or worn flappers. Early detection of these issues prevents water waste and costly emergency repairs.
Frequently Asked Questions About Replacing Overflow Tubes
How do I know if my overflow tube is broken?
Look for continuous running water in the bowl or a tank that never seems to stop filling. Visible cracks in the tube or a flapper that won’t seal properly also indicate a broken component.
Can I replace just the overflow tube without the flapper?
Most modern kits sell the overflow tube and flapper as a single flush valve assembly. It is best to replace both parts together to ensure a proper seal and matching wear levels.
What happens if I cut the overflow tube too short?
If the tube is too short, water will overflow into the bowl before the tank reaches the correct level. This causes the toilet to run constantly as the fill valve tries to maintain a water level it cannot reach.
Do I need special tools to replace the overflow tube?
You primarily need an adjustable wrench or wide-mouth pliers and a flathead screwdriver. A hacksaw is required to cut the new tube to the correct height for your specific tank.
Why is my toilet still running after replacing the tube?
Check that the flapper chain has the right amount of slack and is not caught under the flapper. Ensure the flapper sits evenly on the valve seat and that the refill tube is directed into the overflow tube.
Key Takeaways for Replacing Your Toilet Overflow Tube
Fixing a running toilet by learning how to replace overflow tube in toilet tank systems saves money and conserves water. Remember to cut the new tube one inch below the fill line and avoid overtightening nuts to prevent cracking the porcelain. With a dry tank, careful alignment, and a quick leak test, your toilet will flush efficiently again.



