
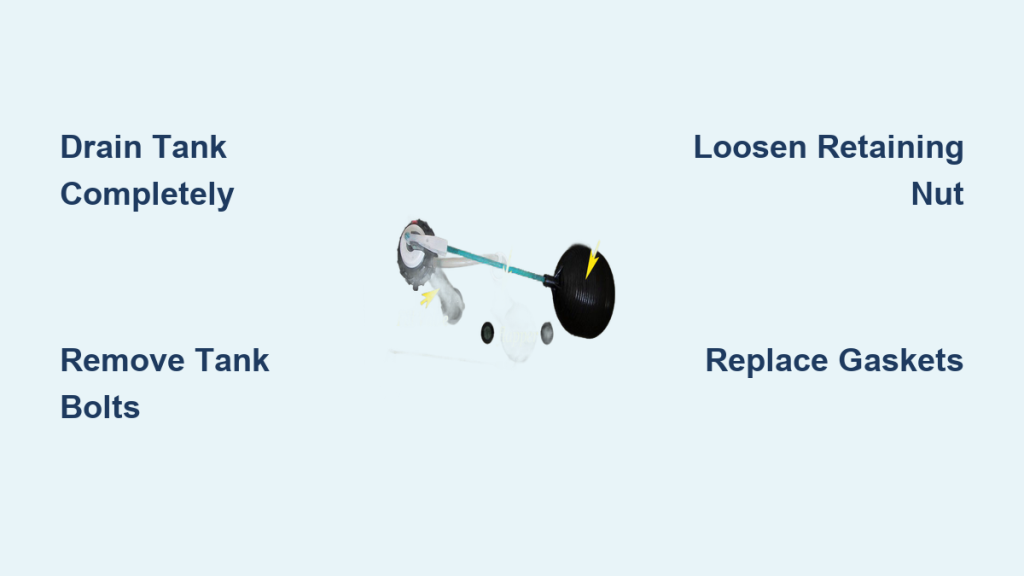
A constantly running toilet often points to a cracked or misaligned overflow tube inside your tank. This vertical pipe prevents flooding by directing excess water into the bowl, but damage can lead to wasted water and higher bills. Learning how to remove overflow tube from toilet tank components safely is the first step toward fixing this common household issue.
This guide walks you through draining the tank, detaching the unit, and replacing the faulty tube without professional help. You will discover the specific tools needed, how to handle stuck nuts, and the critical steps to prevent porcelain cracks during reassembly.
Shut Off Water and Drain the Tank Completely
:max_bytes(150000):strip_icc()/the-parts-of-a-toilet-4145300-V5-491e55af08a9455fac49e313c03d100a.jpg)
Isolating the water supply and removing all liquid from the tank is the mandatory first step before any disassembly. Skipping this preparation leads to messy spills and potential water damage to your bathroom floor.
Close the Supply Valve and Flush
Turn the shut-off valve located behind the toilet clockwise until it stops completely. Flush the toilet once to drain the majority of the water from the tank. Hold the handle down to ensure maximum drainage before proceeding.
Soak Up Residual Water
Use a large sponge or several rags to absorb the remaining water at the bottom of the tank. Even a small amount of liquid can spill when you tilt or lift the heavy porcelain tank.
Secure the Tank Lid
Lift the porcelain lid carefully and place it on a padded, flat surface where it cannot roll or break. Clear the area around the toilet to create ample workspace for your tools and parts.
Detach the Toilet Tank from the Bowl
Accessing the base of the overflow tube requires removing the entire tank from the bowl. This provides the necessary visibility and room to work underneath the unit safely.
Disconnect Supply Line and Chain
Place a small bucket under the fill valve to catch drips. Use an adjustable wrench to disconnect the water supply line from the bottom of the tank. Unhook the flapper chain from the flush lever inside the tank to free internal components.
Loosen the Tank Bolts
Locate the two bolts securing the tank base to the bowl. Insert a flathead screwdriver into the bolt head slot inside the tank to keep it from spinning. Use a 7/16-inch wrench underneath to loosen and remove the nuts holding the tank in place.
Lift the Porcelain Tank
Grasp the tank firmly on both sides and lift it straight up off the bowl. Porcelain is heavy and fragile, so ask for help or rest the tank on a towel-covered surface if needed. Remove the old rubber spud washer from the tank base or bowl rim immediately.
Loosen the Overflow Tube Retaining Nut
With the tank inverted on a stable surface, you can now access the large nut securing the overflow tube to the tank floor.
Identify the Nut Material
Examine the base of the overflow tube to determine if it has a plastic hex nut or an older brass nut. Modern units typically use large plastic nuts, while vintage models may feature metal fittings that require different handling.
Apply the Correct Wrench Tool
Use channel locks, a plumber’s wrench, or adjustable hex pliers to grip the wide nut securely. Turn the tool counter-clockwise with steady pressure to loosen the fitting without damaging the surrounding porcelain.
Cut Stubborn Nuts Safely
If a plastic nut refuses to turn, use a hacksaw to cut a vertical slit through one side of the fitting. Pry the cut sections apart with a flathead screwdriver to release the tube. Saw off seized brass nuts flush with the tank base if necessary.
Extract the Damaged Overflow Tube
Once the securing nut is removed, the old tube can be pulled free from the top of the tank interior.
Pull Tube Through Tank Floor
Reach inside the tank and grasp the overflow tube near the top. Pull the tube straight down through the hole in the tank bottom, wiggling gently if mineral deposits have formed around the seal.
Check for Integrated Flapper Ears
Inspect the tube for attached flapper “ears,” common in 1970s Gerber toilets. If the flapper is integrated into the tube assembly, you must replace the entire flush valve unit rather than just the tube.
Clean the Valve Opening
Scrub the hole in the tank bottom with a sponge or brush to remove old sealant and grime. A clean surface ensures the new gasket seals properly and prevents future leaks around the base.
Install and Secure the New Overflow Tube

Replacing the component involves selecting the right part, trimming it to height, and securing it without cracking the tank.
Select the Correct Replacement Kit
Choose a standard flush valve kit for modern round tubes or a universal conversion kit for older rectangular designs. Ensure the new kit matches your tank hole size and flush mechanism type for proper compatibility.
Trim Tube to Proper Height
Hold the new tube next to the fill valve and mark it one inch below the water line indicator. Cut the top of the tube with a saw and sand the edges smooth to ensure correct water level management.
Insert Tube and Tighten Nut
Feed the new tube through the tank bottom from the inside. Slide the new rubber spud washer over the base and thread on the large plastic hex nut. Hand-tighten the nut, then use pliers for only a half-turn more to secure it.
Avoid Cracking the Porcelain
Stop tightening as soon as the nut feels snug to prevent stress fractures in the tank. Over-torquing is the most common cause of tank failure during this repair, so exercise extreme caution.
Reassemble Tank and Reconnect Components
Reinstalling the tank requires careful alignment and even tightening to ensure a watertight seal between the tank and bowl.
Position Tank and New Gasket
Place a new tank-to-bowl gasket over the flush valve opening on the bowl. Lower the tank straight down, aligning the bolt holes precisely to avoid shifting the gasket out of place.
Tighten Bolts Alternately
Thread the nuts onto the tank bolts underneath the bowl. Tighten them gradually in an alternating pattern, checking with a level to ensure the tank sits evenly. Stop when the tank feels stable and snug.
Reattach Supply Line and Chain
Connect the water supply line to the fill valve, preferably using a durable braided metal line. Reconnect the flapper chain to the lever, ensuring there is slight slack for proper sealing and lifting action.
Connect the Refill Tube
Clip the small refill hose onto the top of the new overflow tube. Verify that the tube directs water into the overflow pipe during the refill cycle rather than spraying into the tank.
Test for Leaks and Proper Function
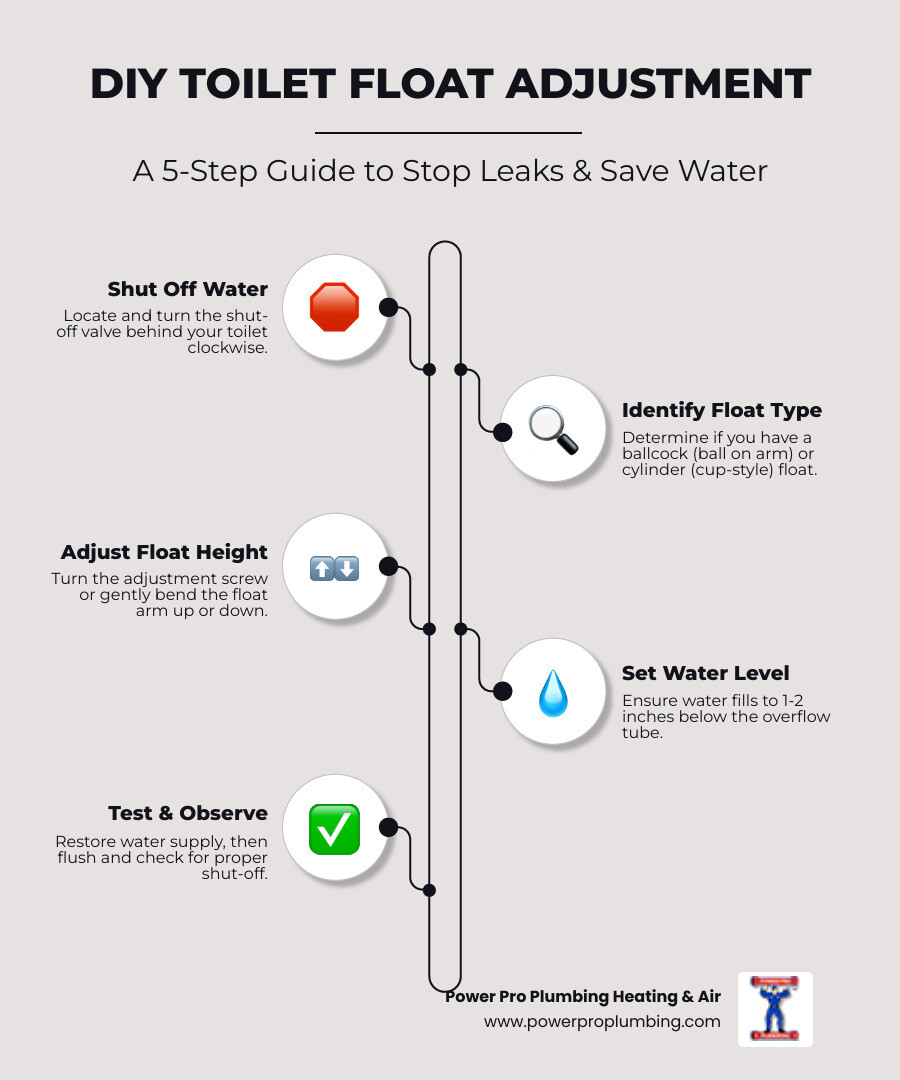
Final testing confirms that your repair was successful and that the toilet operates efficiently without wasting water.
Turn Water On Slowly
Open the shut-off valve gradually to allow the tank to fill completely. Watch the base of the overflow tube and tank bolts closely for any signs of dripping or seepage.
Verify Water Level Settings
Ensure the water stops filling approximately one inch below the top of the overflow tube. Adjust the fill valve float downward if the water level is too high or if water continues to run into the tube.
Perform Multiple Flush Tests
Flush the toilet three to four times to confirm proper operation. Check that the flapper lifts fully, reseats cleanly, and that the tank refills to the correct level without noise or leaks.
Troubleshoot Common Post-Repair Issues
Even careful repairs can encounter minor hiccups that require quick adjustments to resolve.
Address Continuous Running Water
If the toilet keeps running, lower the float on the fill valve to reduce the water level. Check the flapper alignment and chain tension, as excessive tightness can prevent the flapper from sealing completely.
Fix Leaks at the Tank Base
Water leaking at the base usually indicates uneven bolt tightening or a faulty gasket. Turn off the water, drain the tank, and reseat the tank with a new spud washer, tightening bolts evenly in a crisscross pattern.
Correct Weak Flush Performance
A weak flush often results from a chain that is too loose or a misplaced refill tube. Adjust the chain length so the flapper lifts fully and ensure the refill tube is not kinked or submerged.
Prevent Future Toilet Tank Problems
Proactive maintenance and smart upgrades can extend the life of your repair and prevent future failures.
Replace All Old Gaskets
Never reuse the tank-to-bowl gasket or bolt washers during reassembly. Old rubber hardens over time and fails to seal, so installing fresh gaskets costs very little and prevents major leaks.
Upgrade to Braided Supply Lines
Replace old rubber or plastic supply hoses with braided stainless steel lines. These upgraded lines resist bursting and provide superior protection against catastrophic bathroom flooding.
Clean Mineral Buildup Regularly
Use the empty tank opportunity to scrub away mineral deposits with vinegar or cleaner. Buildup can interfere with flapper seals and valve performance, leading to premature wear.
Verify Part Compatibility for Vintage Units
Confirm that replacement parts fit older toilets like Kohler or Gerber before installation. Universal kits are often designed to replace obsolete designs and improve overall reliability.
Frequently Asked Questions About Removing Overflow Tubes
Do I need to remove the entire tank to change the overflow tube?
Yes, you must remove the tank to access the large retaining nut underneath the overflow tube. This provides the necessary clearance to loosen the fitting and extract the old tube safely.
What tools are required to remove a stuck plastic overflow nut?
You need channel locks, a plumber’s wrench, or adjustable hex pliers to grip the nut. If the plastic nut is seized, a hacksaw is required to cut a slit through the fitting for removal.
How do I determine the correct height for the new overflow tube?
Mark the new tube one inch below the water line indicator on the fill valve. Cutting it to this height ensures water stops filling before reaching the overflow rim, preventing constant running.
Can I reuse the old tank-to-bowl gasket during reassembly?
No, you should always replace the tank-to-bowl gasket and bolt washers. Old rubber hardens and loses its sealing ability, which frequently leads to leaks after reassembly.
Why does my toilet keep running after replacing the overflow tube?
Continuous running usually means the water level is too high or the flapper is not sealing. Adjust the fill valve float downward and check the chain slack to ensure proper flapper closure.
Key Takeaways for Fixing Your Toilet Overflow Tube
Successfully learning how to remove overflow tube from toilet tank components saves you money and stops water waste. Remember to drain the tank completely, use the correct wrench to avoid cracking the porcelain, and always replace old gaskets during reassembly.
Take your time when tightening nuts and bolts, as porcelain is brittle and prone to stress fractures. With the right tools and careful attention to water levels, you can restore your toilet to full efficiency today.



