
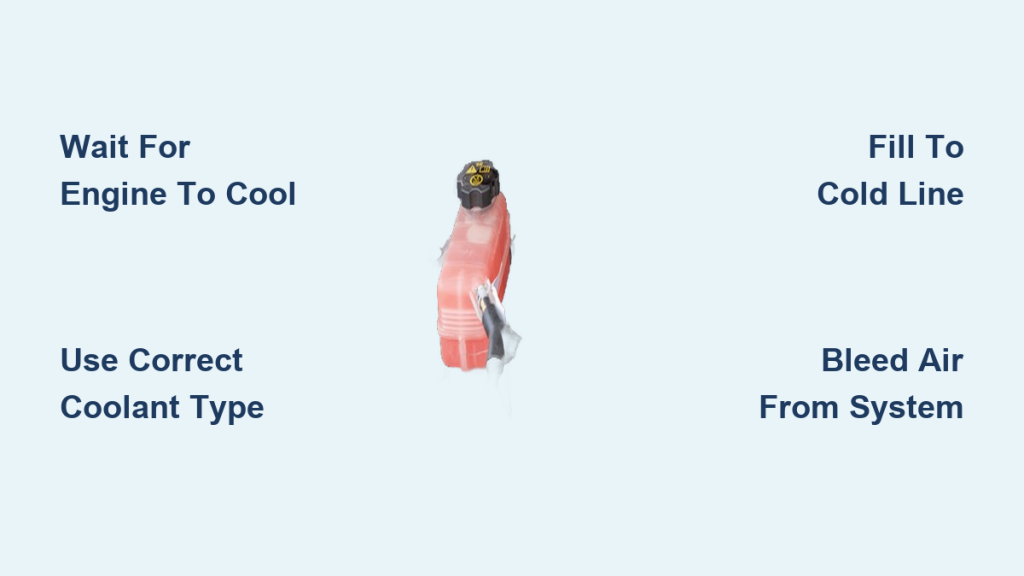
Running your car with low coolant is like walking through the desert without water. It might work for a while, but eventually, everything breaks down. Knowing how to add coolant to radiator is a simple yet critical skill every driver should master. Coolant, also called antifreeze, keeps your engine from overheating in summer and freezing in winter. When levels drop, your engine risks catastrophic damage, including warped heads, blown gaskets, and total failure. The fix usually takes just a few dollars and about 10 minutes of your time.
This guide walks you through each step of safely refilling your coolant, avoiding common mistakes, and keeping your engine running cool. You will learn how to identify the right coolant, wait for the engine to cool, locate the correct fill point, mix fluids properly, and bleed air from the system. We will also cover how to spot leaks, test coolant strength, and follow a maintenance schedule that prevents problems before they start.
Locate the Correct Coolant Fill Point

Before adding any fluid, you must find where to pour it. Modern vehicles have two possible fill locations, and using the wrong one can lead to overfilling or airlocks.
Identify the Reservoir vs Radiator Cap
Most cars built after the 1990s use a coolant reservoir, also called an overflow tank. This translucent plastic container sits near the radiator and displays “FULL” and “LOW” markings. Always add coolant here during routine top-offs when the engine is cold.
The radiator cap, located directly on top of the radiator, is only used when the system is completely drained, the vehicle has no reservoir, or you are following a specific bleeding procedure. Never remove the radiator cap while the engine is hot. Pressurized coolant can erupt at over 200°F and cause serious burns.
Check Fluid Level Without Opening
Thanks to the reservoir’s clear design, you can inspect coolant levels without removing anything. Look for the “COLD” and “HOT” lines on the side. If the engine is cold, fluid should be at or above the “COLD” mark. If the engine is warm, the level can rise near the “HOT” line.
If the level falls below “LOW,” it is time to refill. A consistently dropping level signals a leak that needs immediate investigation.
Wait for the Engine to Cool Completely
Temperature matters more than urgency when handling coolant. Opening the system too soon is the leading cause of DIY coolant injuries.
Never Open a Hot Cooling System
The cooling system operates under pressure, much like a pressure cooker. When hot, coolant can reach 250°F and remain liquid due to internal pressure. If you release that pressure suddenly by removing the cap, the fluid can flash into scalding steam and spray out violently.
Always wait 30 to 60 minutes after turning off the engine before attempting any work.
Use a Rag for Safe Pressure Release
Even when cool, residual pressure may remain inside the system. To release it safely:
- Place a thick rag over the cap.
- Turn the cap counterclockwise slowly.
- Stop if you hear a hissing sound and wait for it to stop.
- Only remove the cap fully once all pressure is gone.
This simple step prevents surprise sprays and protects your hands and face.
Choose the Correct Coolant Type
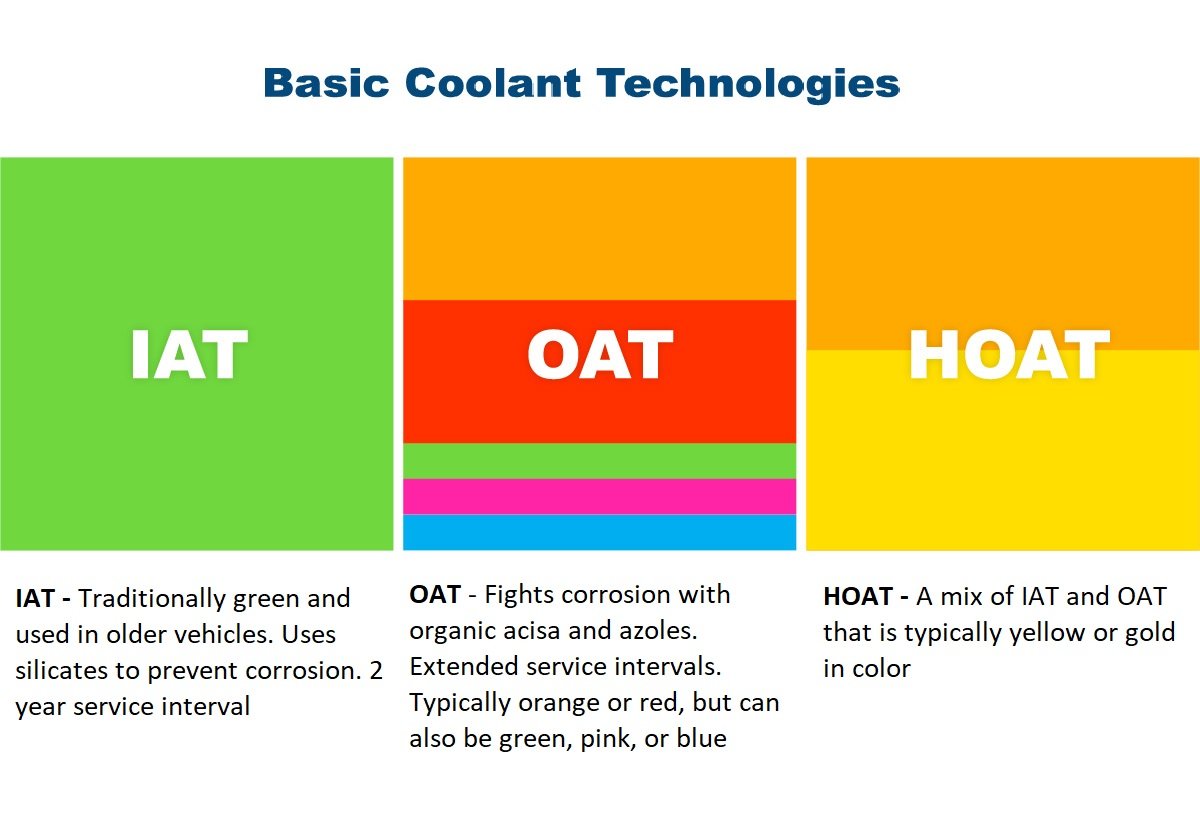
Not all coolants are interchangeable. Using the wrong kind can trigger sludge buildup, corrosion, or gasket failure.
Match Manufacturer Specifications
Check your owner’s manual for the exact coolant type required for your vehicle. Common types include:
- IAT (Inorganic Additive Technology): Green, used in older vehicles.
- OAT (Organic Acid Technology): Orange or red, used in GM vehicles like Dex-Cool.
- HOAT (Hybrid OAT): Yellow, blue, or turquoise, common in Fords and Chryslers.
Never mix different types unless the product label explicitly states compatibility. Mixing incompatible coolants can form a gel that clogs the radiator and heater core.
Use Pre-Mixed or Mix Properly
Coolant comes in two forms:
- Pre-mixed (50/50): Ready to pour, ideal for quick top-offs.
- Concentrate: Must be diluted with distilled water at a 50:50 ratio.
Tap water is not acceptable. Its minerals cause scale and corrosion inside the engine and radiator, reducing cooling efficiency and shortening component life.
Add Coolant to the Reservoir
For routine maintenance, the reservoir is the correct and safest fill point.
Fill to the Cold Line Only
With the engine cold and the cap removed:
- Insert a clean funnel into the reservoir opening.
- Pour coolant slowly until it reaches the “FULL” or “COLD” line.
- Do not fill to the “HOT” line when cold, since fluid expands when heated and could overflow.
Avoid overfilling. Excess coolant will be expelled through the overflow hose when the engine warms up, creating a mess and a potential fire hazard if it contacts hot exhaust parts.
Replace the Cap Securely
After filling, clean the neck and sealing surface with a rag. Then twist the cap clockwise until it clicks or seats firmly. A loose cap will not maintain system pressure, lowering the boiling point and risking overheating.
Fill the Radiator Directly If Needed

Some situations require filling the radiator itself, especially after a flush or if no reservoir exists.
Pour Into the Radiator Neck
Only proceed if the engine is completely cold, the vehicle lacks a reservoir, or you are following a system bleed procedure. Remove the radiator cap and pour coolant directly into the neck until the level is just below the filler neck rim.
Burp Air From the System
Trapped air creates hot spots and false temperature readings. To remove it:
- Squeeze the upper radiator hose several times while filling.
- This forces air bubbles out and ensures proper circulation.
- Keep adding coolant as the level drops during burping.
Air pockets are a common cause of overheating after coolant service,



