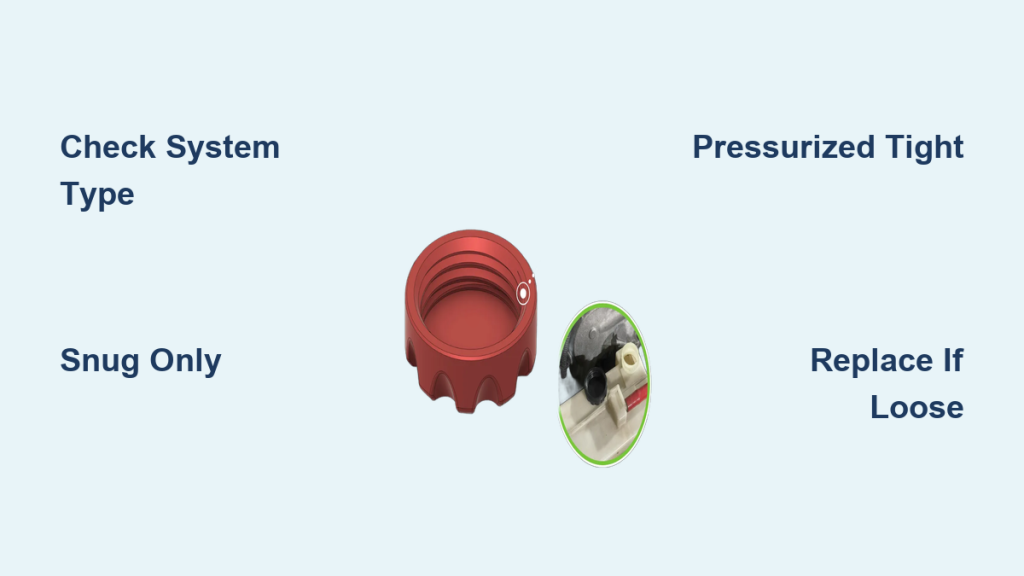
A coolant reservoir cap not tight can lead to serious cooling system problems if your vehicle relies on it to maintain pressure. However, not every coolant reservoir cap needs to be tight. In fact, on many vehicles, a snug fit is all that’s required. Over-tightening can crack the plastic tank or damage the seal, causing more harm than good.
You might have noticed coolant loss without overheating, a cap that spins freely, or dirt buildup around the neck. These are red flags telling you something is wrong. The key is knowing whether your vehicle uses a pressurized or non-pressurized reservoir system. Get it wrong, and you risk engine damage, leaks, or false assumptions about cooling health.
Know Your Coolant Reservoir Cap Type
Pressurized vs Non-Pressurized Systems
The first step is understanding your vehicle’s design. This determines how tight the coolant reservoir cap should be.
Pressurized reservoir caps act like radiator caps. They hold system pressure, usually 15 to 18 psi, because there is no separate radiator cap. These are found on full-size trucks like the GMC Sierra and Chevrolet Avalanche. Non-pressurized caps only keep out debris and reduce evaporation. They are common on SUVs like the Trailblazer and most passenger cars.
According to expert contributor Mooseman, on full-size trucks, the tank caps are pressurized just like radiator caps since those vehicles do not have a separate radiator cap. If your vehicle lacks a radiator cap under the hood, the reservoir cap must be tight because it is critical for pressure control.
How to Identify Your System

Ask these questions to determine your system type.
Does your vehicle have a radiator cap under the hood? If yes, the reservoir cap is likely non-pressurized. If no, the reservoir cap is pressurized and must seal tightly.
Does the owner’s manual mention a reservoir cap pressure rating? If yes, it is a pressurized system.
Does coolant spray out when opening the reservoir when hot? If yes, the system is pressurized and the cap must seal.
Use this reference guide for common vehicle types.
| Vehicle Type | Cap Type | Tighten Fully? |
|---|---|---|
| GMT360 SUVs (Trailblazer, Envoy) | Non-pressurized | No, snug only |
| GM Full-Size Trucks (Sierra, Avalanche) | Pressurized | Yes, secure fit |
| Most Sedans and CUVs | Non-pressurized | Snug, not torqued |
| Some Motorcycles | Varies | Check manual |
Why a Loose Coolant Reservoir Cap Causes Problems

Coolant Loss and Evaporation
A loose cap, especially on a pressurized system, lets coolant escape during thermal expansion. One user lost half the coolant level over weeks with no overheating, simply due to a poorly sealed cap. Even non-pressurized systems lose fluid over time if the cap does not block airflow. Hot coolant vapor escapes, condenses, and does not return fully to the system.
Contamination and Dirt Buildup
Dirt around the cap threads is a sign of long-term looseness. When debris enters the system, it leads to sludge formation, clogged coolant passages, and water pump seal wear. As user Elizabetty observed, a new cap fits much tighter and keeps contamination out more effectively than a dirty, loose-fitting cap.
Air in the Cooling System
A loose or venting cap can allow air intake during engine cooldown. Air pockets reduce heat transfer, cause inaccurate temperature readings, and may trigger localized overheating even without warning lights activating. This air ingress can create hot spots that damage engine components over time.
Diagnose a Loose Coolant Reservoir Cap
Check for Proper Seating
Follow these steps to check proper seating.
Remove the cap and inspect threads on both the cap and tank neck. Look for alignment marks like arrows or tabs. Reinstall slowly, and the cap should thread smoothly and stop naturally. If it spins past alignment or offers no resistance, something is wrong with the seating.
Test for Pressure Holding
For pressurized systems, use this testing method recommended by Working2party. Cool the engine completely, then remove the cap and insert a pressure tester via the overflow hose. Pressurize to approximately 20 psi and watch for the pressure to drop to 15 psi, then stabilize. Spray soapy water on the cap seal. No bubbles means the seal is good. If pressure drops fast or bubbles form, the cap or seal is faulty and needs replacement.
Visual Inspection Tips
Look for these signs of damage.
Cracks in the cap housing indicate structural failure. A warped sealing surface prevents proper closure. A swollen or cracked gasket allows leaks. Coolant stains on the cap or neck suggest past leakage. Any of these conditions mean you should replace the cap.
Coolant Reservoir Cap Spins Freely: What Is Wrong
Stripped Threads or Cracked Housing
If the cap screws down but spins with no tension, the cap threads may be stripped internally. The plastic housing could be cracked, letting inner components slip. The reservoir neck threads might be damaged, though this is less common.
According to deansbimmer, if the cap keeps spinning with no tension, the threads are likely stripped or the housing is cracked. Try a new OEM-spec cap first because reservoir tanks are rarely the issue.
The Real Seal Is Inside the Cap
Many caps have a floating O-ringed center plug that seals against the tank neck. The outer cap just holds it in place. As long as the plug seals, slight rotational play is normal, especially in non-pressurized systems.
As inTgr8r explains, the cap does not seal. It is the plug inside that does the sealing work. If the system is not leaking, rotational tightness is not critical.
When and How Tight Should You Tighten the Cap
Hand-Tight Rule for Non-Pressurized Systems
For non-pressurized systems, tighten only until snug. Turn until resistance increases slightly, align the marks like arrow to arrow, then stop. Do not use tools or force the cap.
Over-tightening risks cracking the reservoir neck due to plastic fatigue, deforming the gasket, and creating a stuck cap that will not come off later. As Axe217 advises, it should be hand tight.
Pressurized Caps Need Firm Seating
For pressurized systems, ensure full engagement. Screw on firmly by hand and apply moderate pressure until snug and aligned. It should not vibrate loose during operation.
Working2party notes that realistically, the cap should be tight so it does not vibrate off. No torque spec is given, so err on the side of firm hand tight, like closing a mayo jar.
Aftermarket Coolant Reservoir Cap Risks
Wrong Venting Design
A user replaced a 2002 Trailblazer cap with a non-vented Dorman 82594 cap. The problem was that the OEM cap is vented. A non-vented cap traps air, disrupts coolant return, and may cause overheating. Always verify whether the cap is vented and matches the OEM pressure rating if your system is pressurized.
Stick to Trusted Brands
Use OEM parts from ACDelco, GM, Toyota, or reputable aftermarket brands like Stant, Gates, and Standard Motor Products. Avoid no-name brands even if packaged as exact fit. Cross-reference part numbers online. Do not trust packaging alone.
Vehicle-Specific Fixes for Coolant Reservoir Cap Issues

GMT360 SUVs (Trailblazer, Envoy)
These vehicles use non-pressurized caps that should be snug only. Dirt buildup is a common issue. Fix this by cleaning the neck and cap threads and replacing the cap if the gasket is cracked. These caps fit loosely by design, so a tighter new cap may feel wrong but actually provides better sealing.
Full-Size GM Trucks (Sierra, Silverado, Avalanche)
These vehicles use pressurized caps that must be fully seated and firm. Losing pressure means risking overheating. Replace every five years or if the seal shows wear. Treat these caps like radiator caps because they serve the same critical function.
Motorcycles
Some motorcycles like the KOVE MOTO or GPX Rally 450 have caps that fall off due to poor retention or vibration. Check for a rubber O-ring and consider a locking cap or silicone sealant on threads for extreme cases.
Expert Opinions: To Tighten or Not
It Does Not Need to Be Tight
Supporters like Mooseman and Reprise argue that non-pressurized caps are like windshield washer fluid caps. They only need to keep dirt out. The cap does not hold pressure, so tightness is unnecessary unless the cap is broken.
It Needs to Be Tight
Supporters like snowwy and movietvet argue that vibration can loosen the cap and coolant can splash out. That thing needs to be tight, otherwise it will vibrate loose. This is especially true for pressurized systems and rough driving conditions.
Seal Matters More Than Tightness
Supporters like inTgr8r and deansbimmer argue that the internal O-ringed plug seals, not the cap’s rotational tightness. As long as the plug is intact and not leaking, the exact tightness level is not critical.
Final Verdict
It depends entirely on your vehicle. Pressurized system? Tighten fully. Non-pressurized? Snug is enough. Leaking or dirty? Replace or clean the cap.
Fix a Loose Coolant Reservoir Cap
Step-by-Step Repair Guide
Identify your system first. Check for a radiator cap and consult your manual or repair database.
Remove and inspect the cap. Cool the engine completely, then unscrew the cap slowly. Examine the threads, gasket, and internal plug for damage.
Clean sealing surfaces. Wipe the reservoir neck with a clean rag. Clean cap threads and the O-ring groove. Remove dirt, old coolant, or corrosion that could prevent a proper seal.
Test fit the cap. Reinstall by hand. It should thread smoothly and stop at a natural point. Align the marks.
Replace if necessary. If the cap spins freely, leaks, or shows damage, replace it with an OEM or high-quality aftermarket part.
Recheck after driving. Run the engine to operating temperature, let it cool down, then reinspect the cap for leaks or looseness.
Prevent Future Coolant Reservoir Cap Issues
Monthly Inspection Routine
Open the hood and check the coolant level. Inspect the cap for cracks or misalignment. Wipe it clean if dirty. Ensure it is properly seated. Do this before long trips or in extreme weather conditions.
Replace Proactively
Change the cap if it is more than five years old, you are replacing the reservoir, you have had coolant contamination, or the vehicle is high mileage. It is cheap insurance against cooling system failure.
Pair with Coolant Service
When flushing coolant, inspect the cap, clean the reservoir, and replace the cap if questionable. Fresh coolant plus a good cap equals reliable cooling system performance.
Key Takeaways for Fixing Your Coolant Reservoir Cap
A coolant reservoir cap not tight is not always a crisis, but it is never something to ignore. The fix depends entirely on your vehicle’s design. Most cars use non-pressurized caps that should be snug, not tight. But full-size trucks and some performance vehicles rely on pressurized reservoirs that must seal firmly.
Key takeaways to remember are knowing your system: pressurized or non-pressurized. Hand-tight is the standard, no wrenches required. The inner plug seals, not the cap’s rotational tightness. Dirt around the cap means it is not sealing properly. Always replace with the correct OEM-spec part for your vehicle.
Fix it right, and you will avoid coolant loss, contamination, and potential overheating without over-tightening and breaking something expensive.
Frequently Asked Questions About Coolant Reservoir Cap Issues
How do I know if my coolant reservoir cap is supposed to be tight?
Check whether your vehicle has a radiator cap under the hood. If it does not, your reservoir cap is pressurized and must be tight. If there is a separate radiator cap, your reservoir cap is likely non-pressurized and only needs to be snug.
Can a loose coolant reservoir cap cause overheating?
In a non-pressurized system, a loose cap typically causes coolant loss and contamination rather than direct overheating. However, in a pressurized system like full-size GM trucks, a loose cap can cause pressure loss that leads to overheating.
What happens if I over-tighten the coolant reservoir cap?
Over-tightening can crack the plastic reservoir neck, deform the gasket, or create a cap that will not come off later. For non-pressurized systems, hand-tight until snug is sufficient.
Why does my coolant reservoir cap spin freely?
If the cap spins freely with no tension, the threads may be stripped internally or the cap housing may be cracked. Try replacing the cap first, as reservoir tanks are rarely the problem.
Should I use an aftermarket coolant reservoir cap?
Use OEM or high-quality aftermarket caps from trusted brands like Stant, Gates, or ACDelco. Verify that the replacement matches your vehicle’s venting requirements and pressure rating. Avoid cheap no-name brands.