Draining coolant from your motorcycle is a vital maintenance task that keeps your engine running at the right temperature and prevents costly damage. Over time, coolant breaks down even when it looks clean, losing its protective additives and accumulating contaminants. Most manufacturers recommend replacing coolant every 24 months or 24,000 miles, regardless of appearance. Skipping this service can lead to radiator clogs, internal corrosion, or complete engine failure.
This guide walks you through every step of the coolant drain process, from preparation to final refill. You’ll learn where to find drain points on your specific motorcycle, which tools you need, and how to avoid common mistakes that leave air pockets trapped in the system.
Prepare the Motorcycle for Coolant Drain
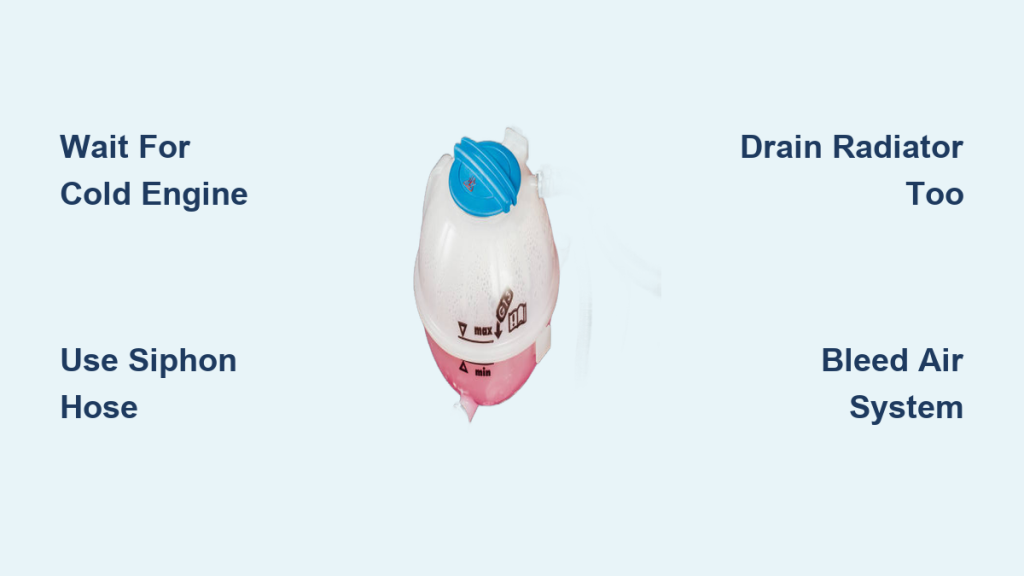
Before touching any cooling system components, you must ensure the engine is completely cold. Never attempt to open the radiator cap or drain the system on a warm engine. The cooling system remains pressurized when hot, and releasing pressure can shoot boiling coolant onto your skin, causing severe burns.
Let the motorcycle sit for at least 2 to 4 hours after riding, or overnight if you’ve been on a long trip. Position your bike on a level surface using the center stand if available, or a secure side stand. This ensures you can drain all the fluid completely and refill accurately without tilting the bike.
On many models, especially sport bikes and older standards like the Honda CX500, you’ll need to remove bodywork, fairings, or even the fuel tank to access the radiator cap and upper hoses. Consult your service manual to identify what needs removal on your specific motorcycle.
Gather Essential Tools and Supplies
Having everything ready before you start prevents delays and minimizes coolant spills. You’ll need fresh coolant that matches your bike’s specifications, checked in the owner’s manual. Use distilled water only when mixing concentrate, as tap water contains minerals that cause scaling and corrosion.
Essential items include a drain pan with at least 2.5-liter capacity, a wrench or socket set typically sized 8mm to 12mm for drain bolts, a narrow-necked funnel for precise pouring, and copper crush washers for each drain bolt. Clean rags are essential for spill control and component inspection.
Optional but helpful supplies include a bottle brush or small marbles for cleaning cloudy reservoir tanks, isopropyl alcohol mixed with salt for disinfecting slimy overflow bottles, white vinegar for a safe mineral deposit flush, and a garden hose for pressurized water flushing.
Release System Pressure Safely
Even on a fully cold engine, residual pressure may remain in the cooling system. Cover the radiator cap with a thick rag, then turn it slowly counter-clockwise just enough to release pressure. Do not remove the cap completely yet.
Once you hear a hiss and the pressure releases, you can fully remove the cap and set it aside. This step is crucial for preventing a vacuum lock that slows drainage and ensures all old coolant exits the system properly.
Locate All Drain Points on Your Motorcycle

To fully drain the system, you must open every possible exit point. Relying only on the radiator drain bolt leaves up to 30 percent of old coolant trapped inside the engine and heater passages.
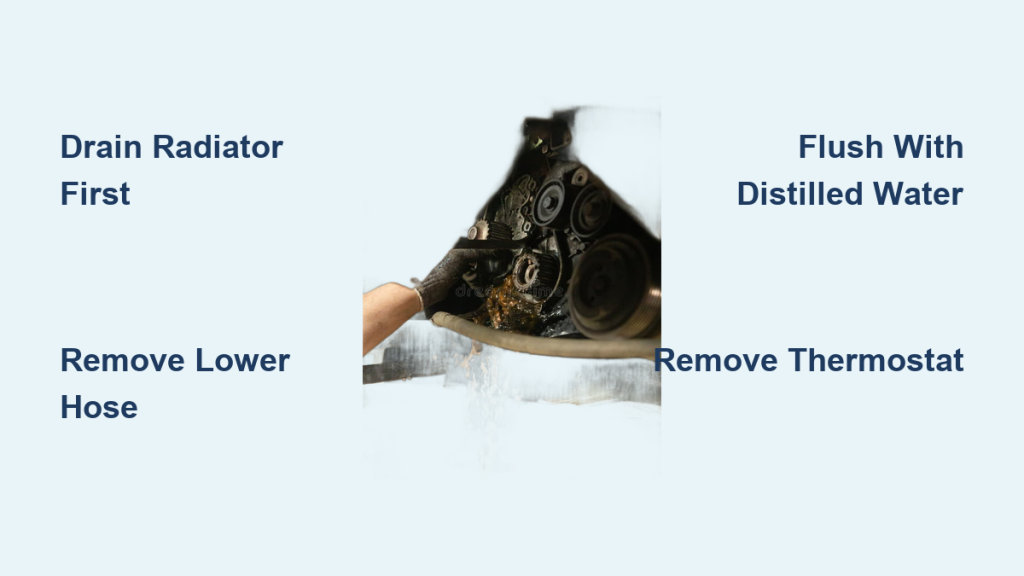
Primary drain locations include the radiator drain bolt at the bottom of the lower radiator tank, the water pump drain plug on the side or base of the pump housing, the cylinder water jacket plug on the engine near the cylinder base, and the lowest rubber hose in the system. On the Honda CX500, disconnecting the rubber coolant line from the metal pipe at the engine base is essential for complete drainage. The Yamaha R3 holds only about 1.2 liters total, so thorough draining and bleeding are critical to avoid air pockets.
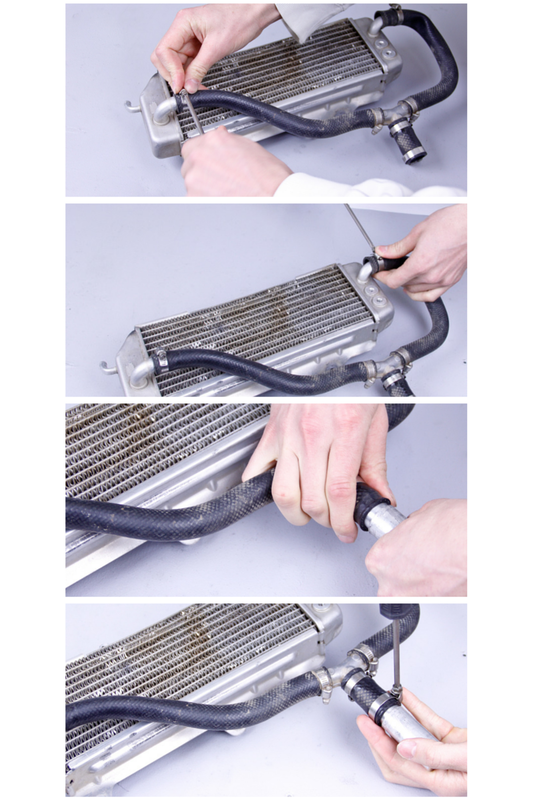
Open All Drains and Disconnect Hoses
Place your drain pan directly underneath each drain point before removing anything. Use the correct size wrench or socket to remove the radiator drain bolt, water pump plug, and cylinder jacket plug in sequence.
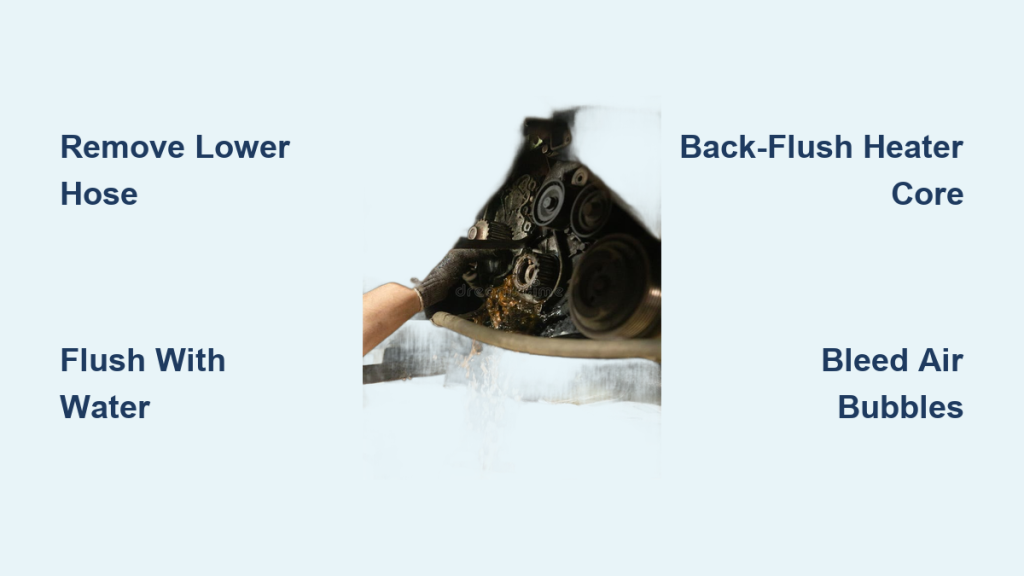
Next, disconnect the lowest rubber coolant hose in the system. Clamp off or pinch upper hoses first to minimize spillage, then unclamp and disconnect the lowest hose. Let all fluid drain into the pan. If coolant flows slowly, loosen the radiator cap further or remove it completely to break any vacuum that might be slowing the flow.
Allow Complete Drainage
Patience ensures every drop is removed from the system. Let gravity do the work for 15 to 30 minutes after opening all drain points. Some coolant remains trapped in the cylinder head and engine block, requiring this waiting period.
Gently tilt the motorcycle side to side to dislodge fluid from hoses and low spots within the engine. This helps empty complex coolant passages that might otherwise retain old fluid. For stubborn debris, some riders insert a cut piece of half-inch plastic hose into the cylinder water jacket drain and apply water pressure to force out remaining contaminants.
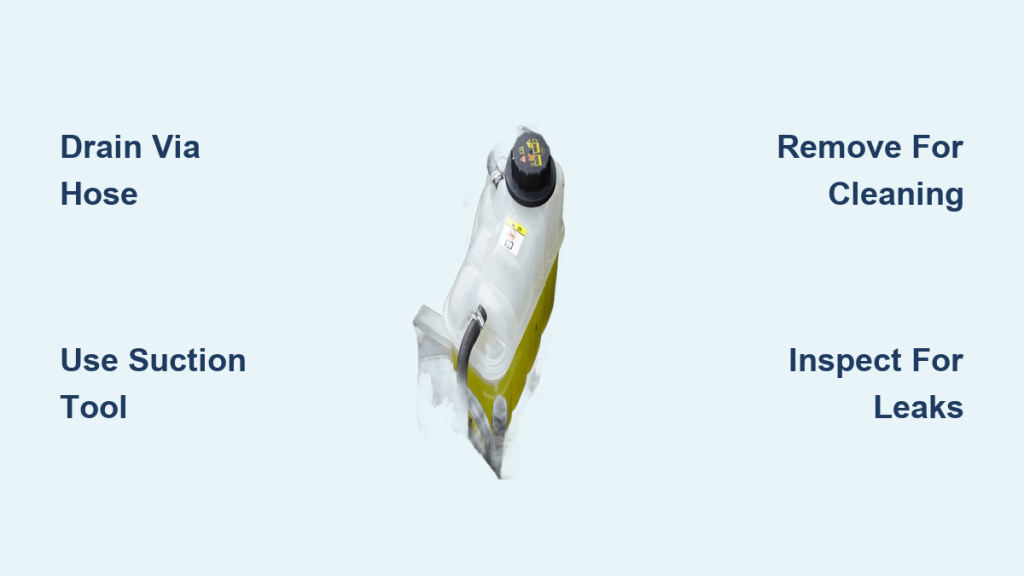
Drain and Clean the Overflow Reservoir
The overflow tank often holds contaminated fluid that gets ignored during the main drain process. Disconnect the overflow hose or remove the tank entirely to access the old coolant inside.
Rinse the reservoir thoroughly with distilled water. For cloudy or slimy tanks, fill with a mixture of isopropyl alcohol and table salt, add marbles or small balls, and shake vigorously to scrub the interior. Alternatively, use a bottle brush with mild soap. Never reuse a cracked or brittle reservoir, as leaks will quickly develop.
Inspect Cooling System Components
With the system open, take time to inspect all components for wear. Examine hoses for cracks, bulges, softness, or brittleness by squeezing them. They should feel firm but flexible, not spongy or hard.
Check all clamps for tightness and corrosion, replacing any that are rusty or stripped. Inspect the radiator for bent fins, which you can straighten with a fin-combing tool or small screwdriver, and look for leaks or corrosion on the tanks.
Review the drained coolant itself for warning signs. Bright green, blue, or red indicates normal condition. Brown or milky coolant suggests a possible head gasket leak with oil contamination. Sludge or particles indicate internal corrosion requiring a thorough flush.
Flush the Cooling System When Necessary
Flushing is recommended every two to three coolant changes or whenever the drained fluid appears dirty. The safest method is a water-only flush. Reinstall all drain plugs, fill partially with tap water, insert a garden hose into the radiator neck, and apply full water pressure briefly to dislodge debris.
Open the drains and repeat until the water runs clear. Perform a final rinse with distilled water to prevent mineral deposits.
For heavy buildup, use a chemical flush like Prestone Super Flush, which is aluminum-safe. Mix with distilled water per the product instructions, reinstall the tank, run the engine to operating temperature until the fans cycle on, idle for 10 to 15 minutes, then shut off and cool completely before draining.
A vinegar flush works well for dissolving mineral scale. Mix 50/50 white vinegar and distilled water, run the engine until fans activate, drain, and rinse thoroughly with distilled water. Never use harsh acids or oven cleaners, as they damage aluminum components.
Reinstall Drain Plugs with New Washers
Sealing properly prevents leaks that could leave you stranded. Most drain bolts use soft copper washers that compress to create a watertight seal. Replace these washers if they are flattened, cracked, or hardened.
If you must reuse old washers, anneal them by heating with a torch until cherry red, then quenching in water to restore softness. Tighten all drain bolts to the manufacturer’s torque specification, typically 8 to 12 Nm. Overtightening can strip threads or crack the housing.
Refill with Fresh Coolant
Proper filling prevents airlocks that cause overheating. Use 50/50 pre-mixed coolant if available. If using concentrate, mix exactly 50 percent distilled water with 50 percent antifreeze. Never use tap water, as minerals cause scaling and corrosion.
Insert a funnel into the radiator filler neck and pour slowly, pausing when gurgling sounds stop to allow air to escape. Squeeze the upper and lower radiator hoses repeatedly to help release trapped air from the system.
Bleed Air from the System
Air pockets are the number one cause of post-refill overheating. Rock the motorcycle gently side to side to move air bubbles upward toward the filler neck. If your bike has a bleed bolt at the highest point, open it until pure coolant drips out, then close it securely.
The thermal cycling method provides the most thorough bleeding. Fill the radiator and reservoir, start the engine, and let it warm up gradually. Watch the temperature gauge. One hose hot and one cool indicates the thermostat is closed. When both hoses become hot, the thermostat has opened and circulation is active.
Let the engine run until the cooling fans cycle on, then shut off and let it cool completely, which takes at least two hours. Recheck coolant levels and top off as needed, since air pockets often resolve and draw fluid down after cycling.
Final Fill and Post-Service Checks
When the engine is cold, fill the radiator to the bottom of the filler neck and install the radiator cap securely. Fill the overflow reservoir to the full line or the level specified in your manual.
After the first ride and again after 100 miles, recheck coolant levels. Air pockets resolve over time, often requiring top-offs. Inspect all drain points, hoses, clamps, water pump, and thermostat housing for leaks while the engine runs.
Dispose of old coolant properly. Ethylene glycol is toxic to humans and animals, and pouring it down drains or onto soil is illegal. Store used coolant in a sealed, labeled container and take it to an auto parts store, recycling center, or hazardous waste facility.
Record the service date, mileage, coolant type, and quantity used in your maintenance log. This information helps with future maintenance planning and enhances your motorcycle’s resale value.
Choose the Right Coolant for Your Motorcycle
Using the wrong coolant type can damage your engine. Check your owner’s manual for OEM specifications like Honda HATC, Kawasaki KOC, or Yamaha YBF. Coolant types are not interchangeable by color alone, as modern formulations vary significantly.
IAT coolants, typically green, suit older bikes and contain silicates requiring changes every two years. OAT coolants, often orange or red, work well in modern Japanese motorcycles and last three to five years. HOAT coolants, usually yellow or gold, suit European models with balanced formulas. Propylene glycol options like Engine Ice offer pet-safe alternatives with lower toxicity.
Avoid standard green car coolant unless confirmed compatible, as some formulations contain silicates that damage motorcycle water pump seals.
Key Takeaways for Draining Motorcycle Coolant

Draining and replacing coolant is a straightforward DIY task that protects your engine from overheating and internal corrosion. Always work on a cold engine, open every drain point including the lowest hose, and use fresh coolant mixed 50/50 with distilled water.
Take time to bleed air thoroughly through thermal cycling, then check levels when cold after your first ride. Inspect all hoses and clamps while the system is open, and dispose of old coolant responsibly at authorized facilities.
Regular coolant service every two years or 24,000 miles keeps your motorcycle running cool, efficient, and reliable for thousands of miles of enjoyable riding.
Frequently Asked Questions About Draining Motorcycle Coolant
How often should I drain and replace motorcycle coolant?
Most manufacturers recommend replacing coolant every 24 months or 24,000 miles, regardless of how clean it appears. The protective additives degrade over time, even when the fluid looks fine.
Can I use car coolant in my motorcycle?
Only use car coolant if it meets your motorcycle manufacturer’s specifications. Some automotive coolants contain silicates that damage water pump seals in motorcycles. Check your owner’s manual for approved types.
Why does my motorcycle overheat after changing coolant?
Air pockets trapped in the system cause overheating. Bleed the system thoroughly by rocking the bike, squeezing hoses, and performing a thermal cycle. Run the engine until the thermostat opens, then let it cool completely before checking levels.
What happens if I don’t drain the old coolant?
Neglected coolant breaks down and becomes acidic, causing internal corrosion in the radiator and engine. Sludge can clog narrow passages, leading to overheating and potentially catastrophic engine damage.
Do I need to flush the cooling system every time?
Flush the system every two to three changes or whenever the drained coolant appears dirty, brown, or contains sludge. A flush removes accumulated debris and restores proper heat transfer efficiency.