Draining antifreeze coolant is a critical maintenance task that keeps your engine running cool and prevents corrosion, overheating, and costly damage. Whether you’re doing a simple drain-and-refill or a full system flush, knowing how to drain antifreeze coolant properly ensures safety, efficiency, and long-term engine health. Over time, coolant breaks down, accumulates sludge, and loses its protective properties, so regular replacement every 2 to 5 years is essential depending on the type you use.
If your coolant looks rusty, smells odd, or your heater is not blowing hot air, it is likely time for a change. This guide walks you through the complete process from preparation and drainage to flushing, refilling, and air bleeding. You will learn the right tools, safety precautions, and pro tips to do the job safely and effectively at home.
Critical Safety Steps Before Draining Coolant
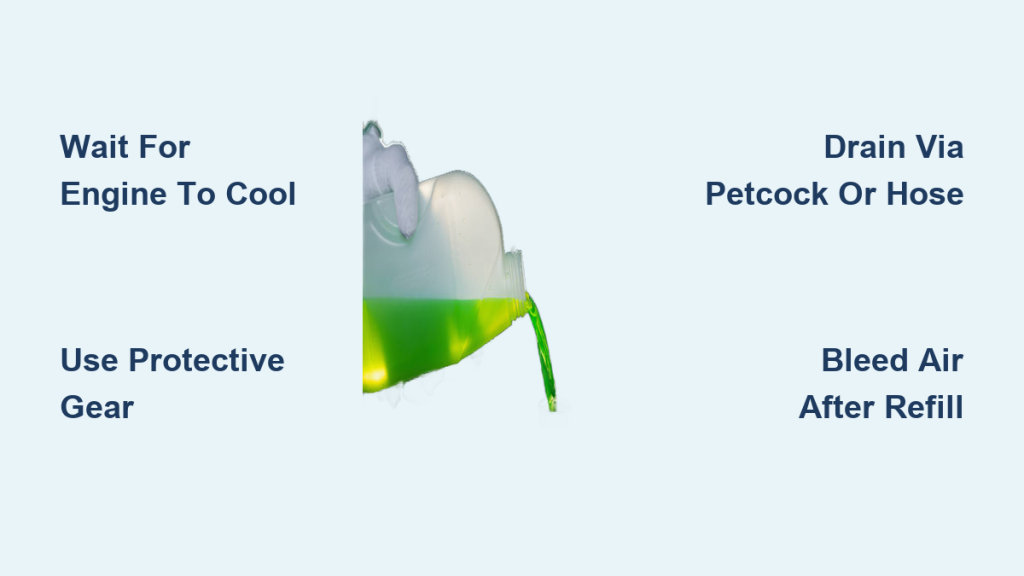
Never Work on a Hot Engine
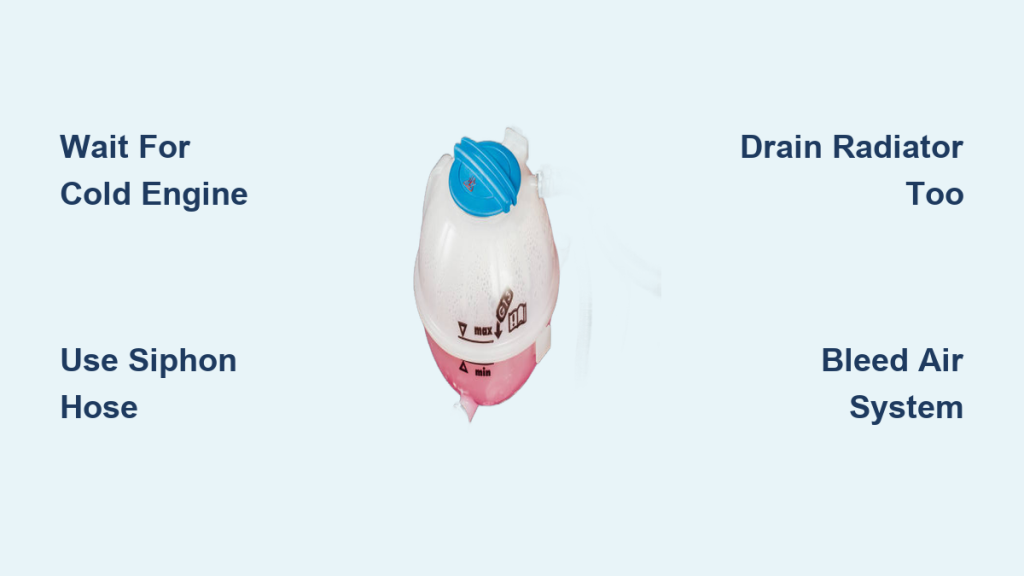
Draining antifreeze coolant from a hot engine can cause severe burns. The cooling system is pressurized when warm, and removing the radiator cap or opening a drain plug can release scalding steam or boiling fluid. Always wait until the engine has cooled completely, ideally several hours after shutdown or first thing in the morning. Confirm the engine is cold by checking the temperature gauge or touching the hood and radiator.
Wear Protective Gear and Handle Coolant Safely
Coolant and flush chemicals can irritate skin and eyes. Always wear chemical-resistant gloves, safety goggles, long sleeves, and closed-toe shoes. Keep rags, paper towels, or kitty litter nearby to clean spills immediately, especially if you have pets or children. Ethylene glycol, the main component in most antifreeze, is sweet-tasting and highly toxic. Ingestion of even small amounts can be fatal.
Park on a Level Surface
Park your vehicle on flat ground to ensure even drainage. If needed, position the car so the radiator drain plug is at the lowest point. Avoid working in rain or extreme cold, which can create slip hazards or affect fluid flow.
Tools and Supplies Needed for Coolant Drain
Essential Equipment
You do not need specialty tools for most coolant drains, but having the right gear makes the job faster and safer. Gather a wrench or socket set for removing drain plugs, a jack and jack stands or ramps for under-vehicle access, hose clamp pliers for disconnecting the lower radiator hose, and a radiator-filling funnel to help with air bleeding during refill.
Fluid Collection Materials
You will need a drain pan or aluminum baking tray to catch the old coolant. A low-profile pan fits better in tight spaces under the radiator. Also have a sealable plastic container with at least 10-liter capacity for storing used coolant before recycling, a funnel with a spout to direct flow and prevent spills, and absorbent materials like rags or kitty litter for spill cleanup.
Coolant and Flush Fluids
Use distilled or demineralized water for any flushing. Never use tap water because minerals cause scaling. For dirty systems, you may need a chemical flush agent. For new antifreeze, choose a product that matches your vehicle specifications. Pre-mixed 50/50 coolant eliminates mixing errors and is recommended for most DIYers.
Step-by-Step: Draining Old Coolant From Your Vehicle
Prepare the Vehicle
Park on a level surface and let the engine cool completely. Open the hood to help it cool faster. If the drain plug is hard to reach, safely raise the vehicle using ramps or a jack with jack stands. Never crawl under a car supported only by a jack. Ensure the system is depressurized before opening any caps or plugs.
Remove the Radiator Cap
After confirming the engine is cold, slowly twist off the radiator cap. This breaks the vacuum seal and allows coolant to drain freely. Leaving the cap on can cause vacuum lock, slowing or stopping flow entirely.
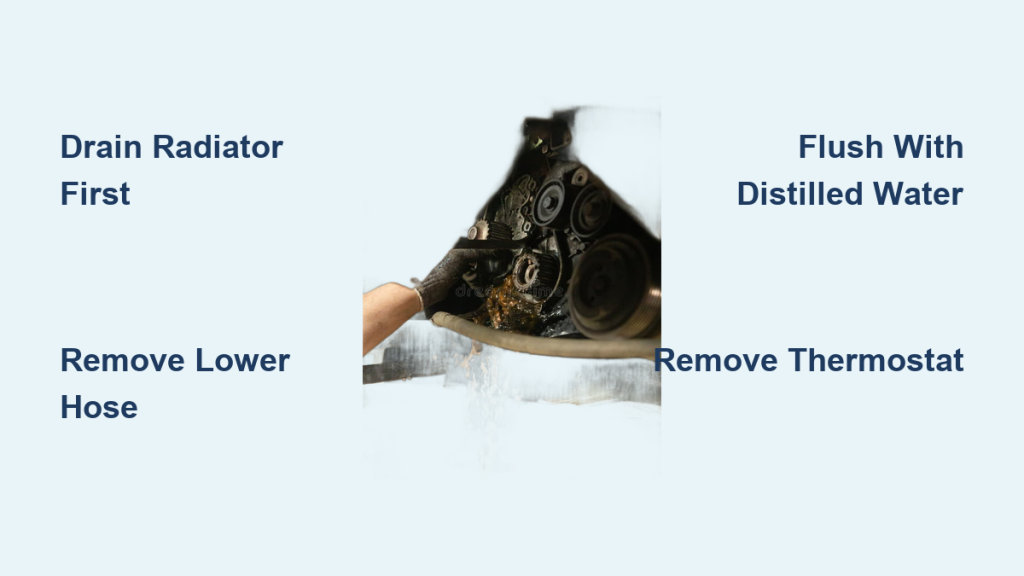
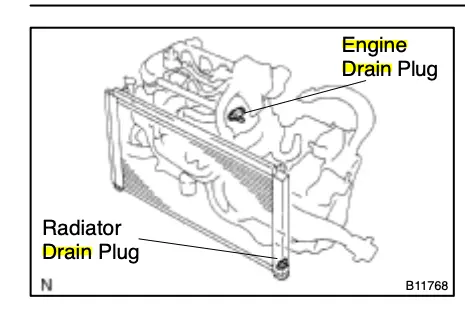
Open the Radiator Drain Plug
Most radiators have a petcock or drain plug at the bottom corner, often on the driver side. It may be plastic or metal and require a wrench to turn. Place a drain pan beneath the petcock, then slowly open the valve and let coolant flow out. Typical system capacity is 5 to 10 liters, but only 4 to 6 quarts may drain from the radiator alone because residual fluid stays in the engine block and heater core. Close the petcock once flow stops.
Drain the Engine Block If Equipped
Most modern vehicles do not have engine block drain plugs. Older models may have one or two plugs on the side of the block. If present, open all block plugs and allow 10 to 20 minutes for full drainage. Tighten securely after draining to prevent leaks.
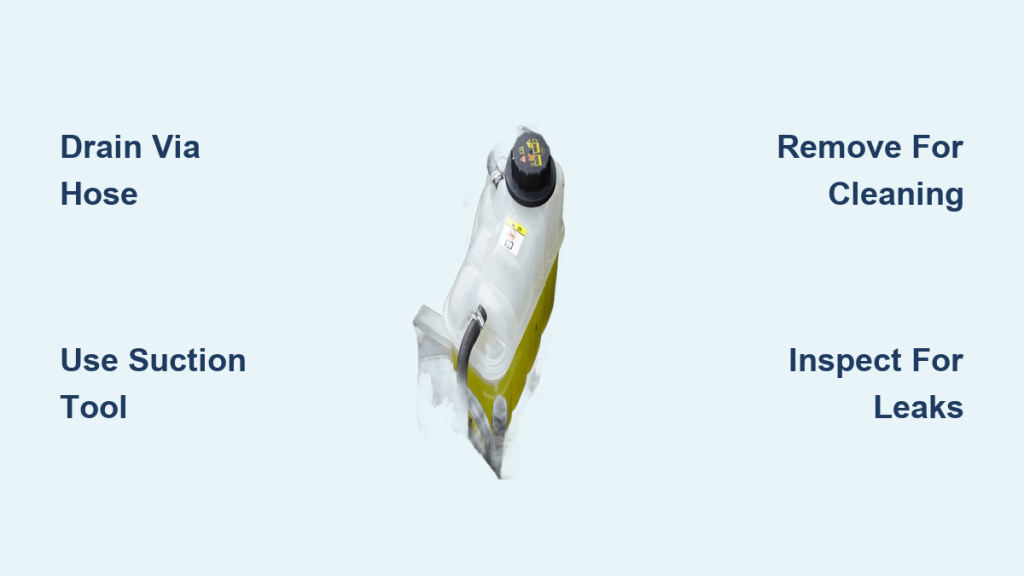
Alternative: Drain Via Lower Radiator Hose
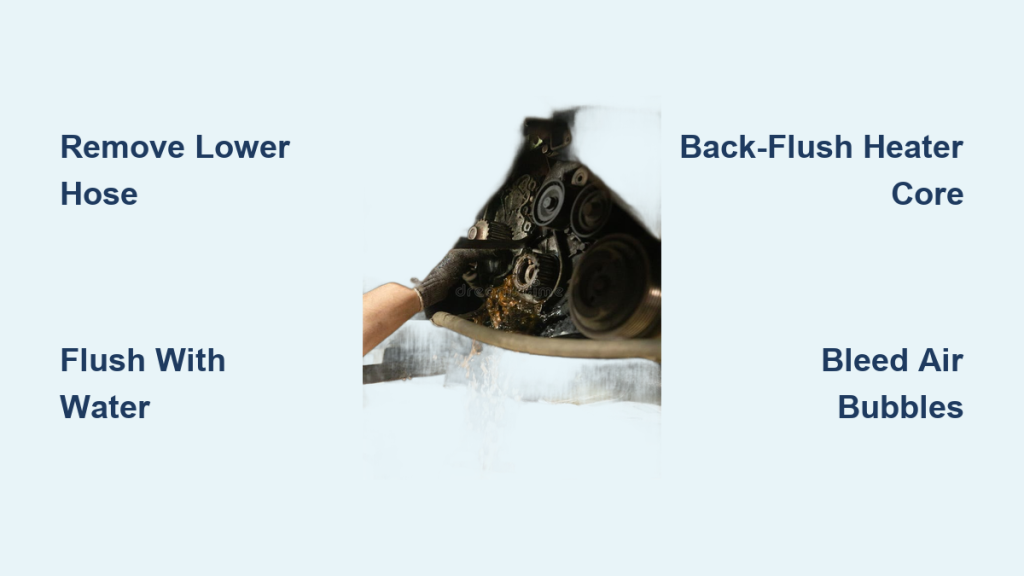
If the petcock is seized, broken, or inaccessible, disconnect the lower radiator hose instead. Clamp or plug the hose to control flow, position a large pan under the radiator outlet, loosen the hose clamp, and pull the hose free. Coolant will pour out quickly. Reconnect and tighten the hose when done. This method often drains more fluid than the petcock alone.
Flushing the Cooling System
When to Flush vs. Simple Drain
Flush the system if coolant is brown, sludgy, or oily, if you are switching coolant types, or if you have had a head gasket failure. A simple drain and refill is enough if coolant is clean and you are on schedule.
Water-Only Flush for Standard Cleaning
Best for routine maintenance with clean systems. Refill the radiator with distilled water, replace the cap, start the engine, and set the heater to maximum heat to open the heater core valve. Idle for 10 to 15 minutes or take a short drive. Let the engine cool slightly, then drain the water. Repeat 3 to 4 times until drained water runs clear.
Chemical Flush for Dirty Systems
For sludge, rust, or oil contamination, drain the old coolant first. Refill with distilled water and add a chemical flush agent. Run the engine for 20 to 45 minutes for standard flush or 45 to 90 minutes for extreme flush. Keep the engine at normal temperature without overheating. Drain completely and repeat with clean water until outflow is clear.
Refilling With New Coolant

Know Your System Capacity
Check your owner manual for exact capacity. A 10-liter system needs 5 liters of 50/50 coolant mix, or 5 liters concentrated coolant plus 5 liters distilled water. Pre-mixed 50/50 coolant eliminates mixing errors.
Mix Coolant Correctly
Use distilled or demineralized water only. Tap water causes scaling and corrosion. Mix in a clean container and stir thoroughly. Never use softened or filtered water. Only distilled water ensures proper heat transfer and prevents mineral buildup.
Filling Procedure
Install a radiator-filling funnel at the radiator neck, which is the highest point. Remove the radiator cap and begin filling slowly. Turn the heater to full blast to open the heater core and help purge air. Add the 50/50 coolant mixture gradually. Start the engine and let it warm to operating temperature. Watch for bubbles in the funnel, which means air is escaping. As the thermostat opens, coolant level drops, so top up immediately. When bubbles stop and the level stabilizes, replace the cap. Do not forget to drain and refill the coolant reservoir with fresh 50/50 mix.
Bleeding Air From the System
Passive Air Bleeding
Air pockets cause overheating and heater issues. Start the engine with the radiator cap off and heater on high. Let it idle 10 to 15 minutes. Watch the coolant level drop as air escapes. Top off as needed. Once stable and bubble-free, reinstall the cap securely.
Active Air Bleeding for Modern Vehicles
Some models require an OBD2 scan tool to activate electronic thermostats or fans during bleeding. Follow manufacturer-specific procedures. An air bubble near the thermostat can prevent it from opening, leading to rapid overheating.
Choosing the Right Coolant for Your Vehicle
Using the wrong coolant can cause corrosion, seal damage, and system failure. For modern engines with aluminum components, use American Vehicle XERX or OEM-specific OAT formulas. For older engines with iron blocks and brass radiators, Valvoline XERX G05 provides better protection. European vehicles like BMW and Mercedes require OEM-specific coolants. Asian vehicles need phosphated OAT, silicate-free formulas.
| Vehicle Type | Recommended Coolant | Notes |
|---|---|---|
| Modern engines | American Vehicle XERX | For aluminum heads, plastic tanks |
| Older iron blocks | Valvoline XERX G05 | Protects brass joints |
| European models | OEM-specific | BMW LL-04, Mercedes 325.0 |
| Asian vehicles | Phosphated OAT | Toyota Super Long Life, Zerex Asian |
Maintenance Frequency for Coolant Changes
Follow these intervals unless your owner manual specifies otherwise. Green IAT coolant needs changing every 2 years or 24,000 miles. Orange OAT lasts 5 years or 50,000 to 100,000 miles. Yellow HOAT requires 3 to 5 years or 36,000 to 100,000 miles. Phosphated OAT for Asian vehicles needs 3 to 5 years. OEM coolants may last 100,000 to 150,000 miles depending on the manufacturer.
Proper Disposal of Used Coolant
Never Pour Coolant Down Drains
Used antifreeze is toxic and environmentally hazardous. Never dump it on the ground, in storm sewers, or down household drains. Clean spills immediately with rags or kitty litter because sweet-tasting coolant kills pets.
Safe Disposal Steps
Store used coolant in a sealed, labeled plastic container. Take it to auto parts stores, service centers, or municipal hazardous waste facilities. Many locations offer free recycling.
Final Thoughts on Draining Antifreeze Coolant
Draining and replacing antifreeze coolant is a straightforward but vital task that protects your engine from overheating, corrosion, and failure. By following these steps, cooling the engine completely, draining through the petcock or lower hose, flushing only when needed, refilling with the correct coolant type, and bleeding all trapped air, you ensure peak performance and longevity. Always use distilled water, match the right coolant to your vehicle, and dispose of old fluid responsibly. With the right tools and care, you can complete this job at home in under two hours and save over $100 compared to a shop service.
Frequently Asked Questions About Draining Antifreeze Coolant
How often should I drain and replace antifreeze coolant?
Most manufacturers recommend changing coolant every 24,000 to 36,000 miles or every 2 to 5 years depending on the coolant type. Green IAT coolant needs changing every 2 years, while long-life OAT coolants can last up to 5 years or 100,000 miles.
Can I use tap water instead of distilled water when flushing?
No, never use tap water. Tap water contains minerals that cause scaling and corrosion inside the cooling system. Always use distilled or demineralized water for flushing and mixing with concentrated coolant.
How do I know if my cooling system needs flushing?
Flush the system if coolant appears brown, black, or oily, if you smell a strange odor, or if you have recently had a head gasket failure. Clean coolant that is on schedule can be drained and refilled without flushing.
What happens if I do not bleed air from the system after refilling?
Air pockets in the cooling system cause localized overheating even if the temperature gauge reads normal. An air bubble near the thermostat can prevent it from opening, leading to rapid engine overheating and potential damage.
Is it safe to change coolant myself at home?
Yes, with proper safety precautions, changing coolant is a safe DIY task. Always let the engine cool completely, wear protective gloves and goggles, and work on a level surface. The job takes 1 to 2 hours and costs only $10 to $20 for materials.
How do I dispose of old antifreeze coolant?
Never pour used coolant down drains or on the ground. Store it in a sealed container and take it to an auto parts store, service center, or municipal hazardous waste facility. Many locations offer free recycling.