

If your Honda Civic is overheating, blowing cold air from the vents, or showing erratic temperature readings after a coolant flush or radiator work, air trapped in the cooling system is likely the culprit. Properly bleeding the coolant system on a Honda Civic is essential to restore full engine cooling efficiency and cabin heat. This guide delivers a step-by-step method to eliminate air pockets that can mimic serious mechanical failures.
Whether you are replacing a thermostat, fixing a leak, or flushing old coolant, skipping the bleed process risks engine damage and poor performance. You will learn the best tools, proven techniques, and model-specific tips so your Civic runs cool and heats the cabin reliably.
Elevate the Front of Your Honda Civic
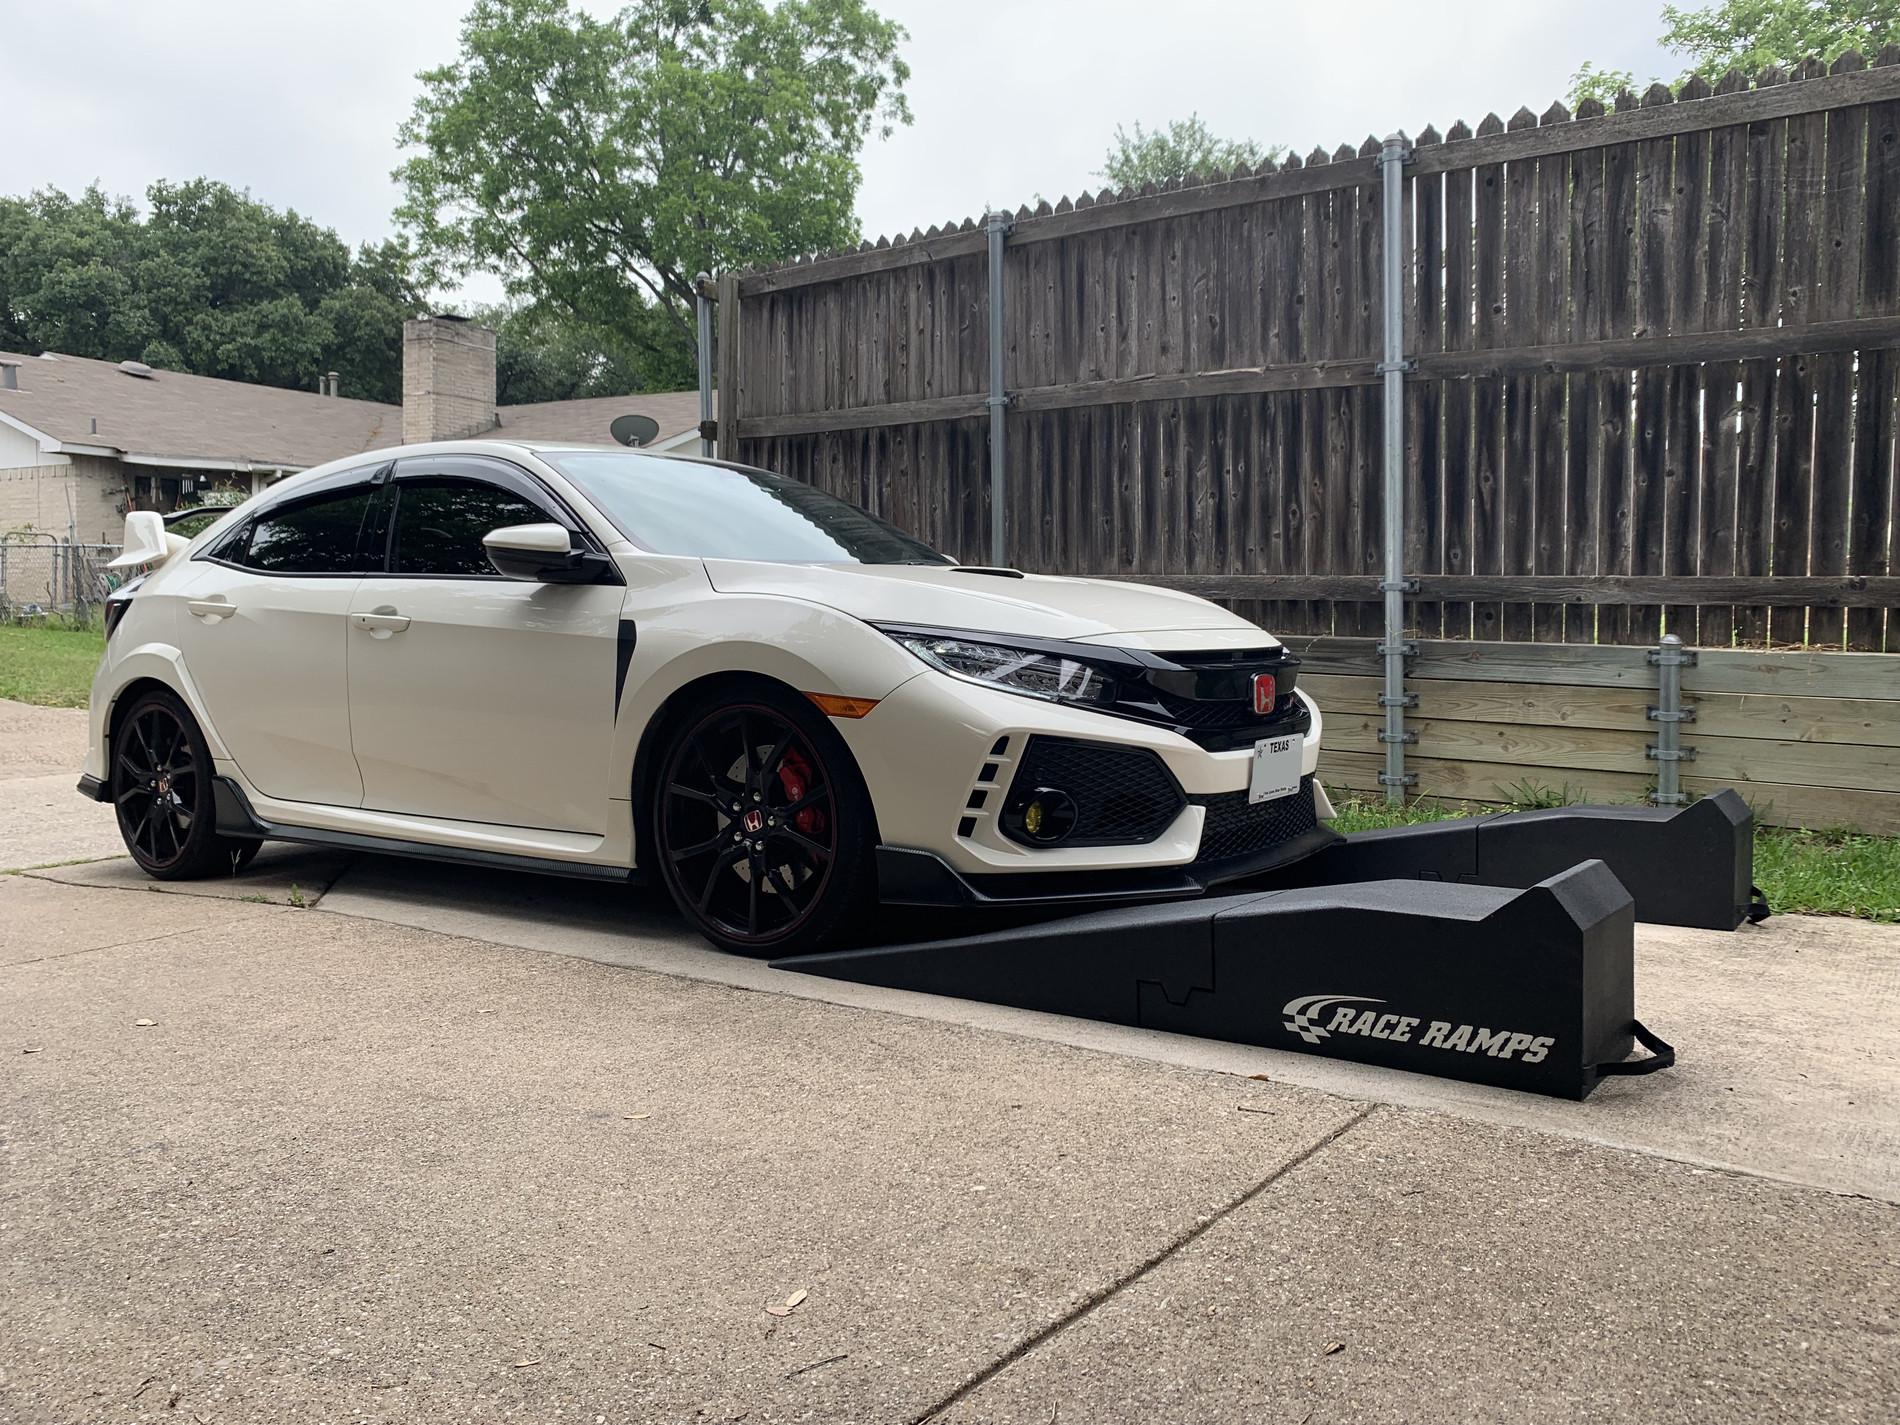
Lifting the front end is critical for effective bleeding, especially on 2001-2005 models where the heater core is the highest point in the cooling system. Without elevation, air gets trapped and blocks circulation.
Drive onto Ramps or Use Jack Stands
Drive the front wheels onto ramps or lift the vehicle with a floor jack and jack stands. Even a small incline like 2×6 boards under the front tires helps tilt the engine so air naturally rises toward the radiator neck. This simple step drastically improves air evacuation.
Why Elevation Matters for D-Series Engines
On D-series engines like the 1.7L, coolant flows upward through the heater core. Raising the front ensures the heater core is lower than the radiator neck, allowing air to escape during warm-up. This step is often skipped but it is one of the most effective ways to prevent recurring no-heat issues.
Use a Spill-Free Filling Funnel

A proper filling funnel prevents air re-entry and makes bubble monitoring easy during the entire bleed process.
Install Funnel with Honda Adapter
Remove the radiator cap and attach a spill-free cooling system funnel with Adapter C, designed for Honda radiator necks. These funnels are available at OReilly Auto Parts and AutoZone. Secure it tightly to avoid leaks during warm-up.
Fill to Proper Level
Pour Honda Type 2 coolant or equivalent 50/50 premix into the funnel until it is 2 inches above the radiator opening. This height allows clear visibility of air bubbles escaping during the warm-up cycle. Never use tap water. Always use distilled water if mixing concentrate.
Set Heater to Maximum Heat
Activating the heater opens the blend door and heater control valve, allowing coolant to flow through the heater core during bleeding.
Turn Temperature to Red, Fan Off
Set the HVAC dial to maximum heat but leave the blower fan off. This keeps the valve open without forcing air through the core, which could pull air back into the system. Running the fan while bleeding can cool the core too quickly, slowing air release.
Why the Heater Setting Matters
If the heater valve stays closed, air remains trapped in the system. This step is non-negotiable for successful bleeding. Keeping the fan off maintains thermal stability and encourages full circulation through all cooling passages.
Start Engine and Warm to Operating Temperature
Begin circulation while monitoring for air escape and fan activation to ensure proper bleeding.
Idle Engine and Squeeze Upper Radiator Hose
Start the engine and let it idle. Squeeze the upper radiator hose repeatedly to dislodge air pockets from the system. Continue topping off the funnel as coolant expands and bubbles rise toward the opening.
Wait for Cooling Fans to Activate
Let the engine run until the cooling fans engage automatically. This confirms the thermostat has opened and full circulation is achieved. On cold days, this may take 15-30 minutes. Bubbling will slow and eventually stop when most air is gone.
Rev Engine to 2,500 RPM
Simulating driving conditions helps purge stubborn air from hoses and the heater core that simple idling cannot release.
Pulse Throttle While in Park
With the engine fully warmed, briefly rev to 2,500-3,000 RPM several times. This increases coolant flow velocity, pushing trapped air toward the funnel where it can escape. Do not rev a cold engine. Wait until fans have cycled at least once before increasing RPM.
Repeat Squeeze-and-Top Cycle
After revving, continue squeezing hoses and refilling the funnel. Air may reappear. This is normal. Repeat the cycle until no more bubbles emerge and coolant level stabilizes in the funnel.
Check for Hot Cabin Heat
Verify success by testing heater output at idle to confirm all air has been removed from the system.
Confirm Consistent Heat from Vents
Turn the blower fan on high. You should feel hot air immediately, even when idling. If heat is weak or only comes when revving, residual air remains trapped in the system. Hot air at idle equals a successful bleed. Cold air means trapped air.
Troubleshoot No Heat Issues
If still no heat after bleeding, recheck heater setting. Make sure it is on red with fan off during bleed. Repeat the bleed process using the ECT sensor method. Inspect for kinked heater hoses or a faulty heater control valve.
Use ECT Sensor to Bleed Stubborn Air
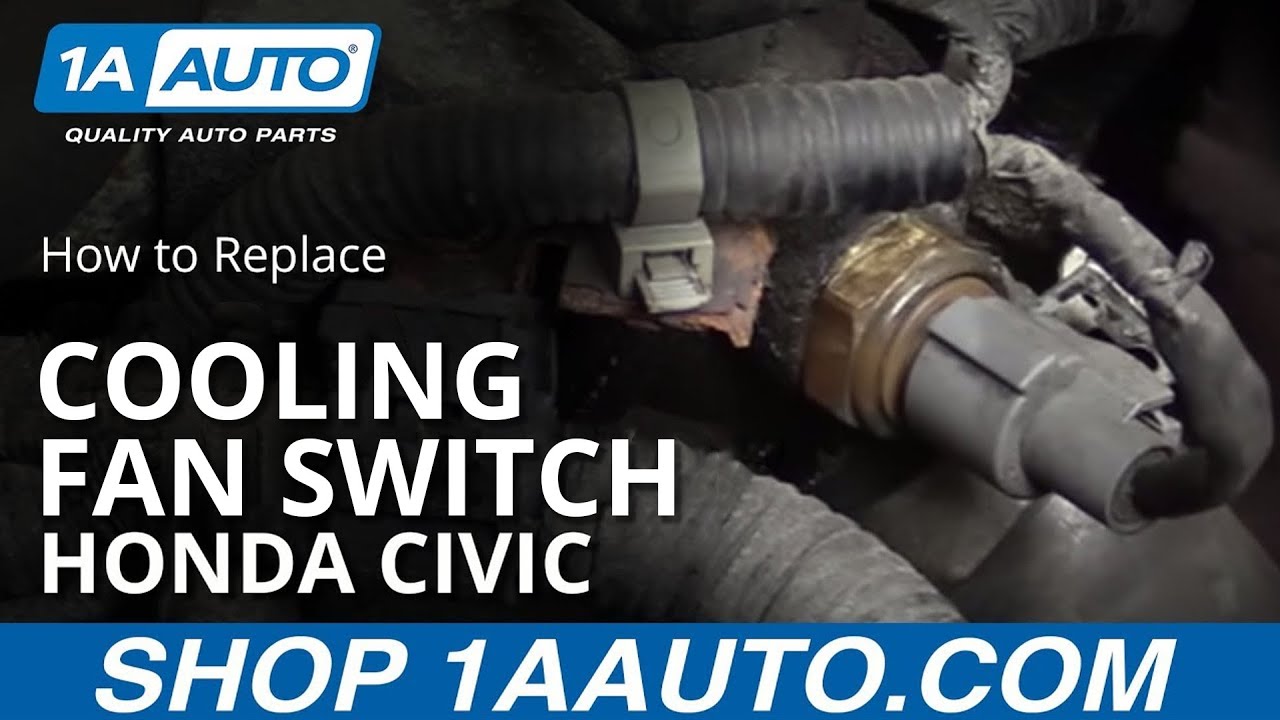
When standard methods fail to produce heat, the Engine Coolant Temperature sensor method targets air trapped near the thermostat housing.
Remove ECT Sensor When Cold
Locate the ECT sensor near the thermostat housing. With the engine completely cool, remove it using a socket or wrench. Have a rag ready for minor coolant spill. This method works best on 2001-2005 Civic models with 1.7L D17 engines.
Fill Through Sensor Port
Pour coolant directly into the threaded hole. Continue until coolant flows steadily with no bubbles. This forces air out from the thermostat area, a common trap zone that standard bleeding cannot reach.
Reinstall and Restart Engine
Reinstall the ECT sensor and torque to 10-15 lb-ft. Start the engine and repeat the warm-up and revving steps. Fill until coolant comes out with no bubbles. It is the fastest way to clear a stubborn pocket.
Verify Both Radiator Hoses Are Hot
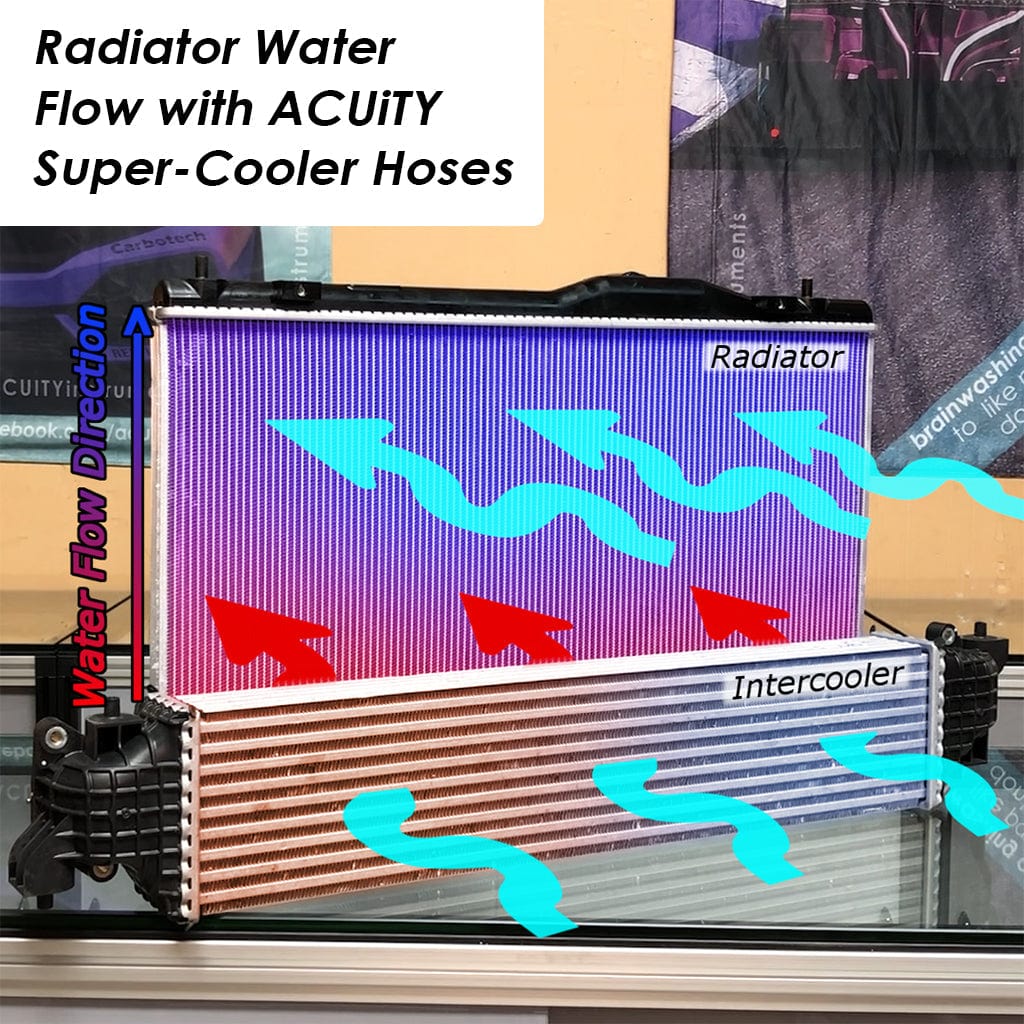
Final confirmation that circulation is complete and the system is properly bled.
Touch Upper and Lower Hoses
At operating temperature, both upper and lower radiator hoses should be too hot to hold. A cold lower hose indicates poor flow, likely due to trapped air or a stuck thermostat. One hot and one cold suggests a problem.
Use Infrared Thermometer for Accuracy
For precision diagnosis, point an IR gun at both hoses. Temperature difference should be no more than 5-10 degrees Fahrenheit. Larger gaps suggest incomplete bleed or a blocked thermostat that needs replacement.
Replace Radiator Cap and Recheck Coolant Levels
Finalize the process with proper closure and post-cooling checks to ensure long-term reliability.
Install New Radiator Cap
Always replace the cap after bleeding. Old or cracked seals fail to pressurize the system at the standard 15 psi, leading to boiling and air ingestion. Use a Honda OEM or high-quality aftermarket cap for proper sealing.
Cool Down and Top Off Reservoir
Let the engine cool completely. Recheck the radiator and overflow reservoir. The level may drop slightly as final air escapes. Top off to the FULL cold mark. Recheck coolant level after 24 hours or the first long drive.
Troubleshoot Persistent Bubbling or Overheating
Address signs of deeper issues after bleeding if symptoms continue.
Test for Head Gasket Failure
If bubbles persist in the reservoir while the engine runs, especially with an exhaust-like odor, suspect a blown head gasket. Combustion gases entering the coolant cause pressure spikes and overheating. This requires immediate attention.
Perform Combustion Leak Test
Use a block tester chemical test or take the vehicle to a shop for pressure analysis. Milky oil on the dipstick or white exhaust smoke confirms internal failure. Persistent bubbles can indicate head gasket issues.
Avoid Common Bleeding Mistakes
Prevent failures by steering clear of frequent errors that compromise cooling system performance.
Do Not Skip Front End Elevation
Failing to raise the front traps air in the heater core, especially on 2001-2005 Civics. Always tilt the engine so the heater core is lower than the radiator neck for air to escape properly.
Do Not Let Coolant Run Low
Allowing the funnel or radiator to drop below full reintroduces air into the system. Top off continuously throughout the entire bleeding process to maintain positive pressure.
Do Not Use Wrong Coolant Type
Mixing incompatible types like OAT and HOAT can form gel or corrode aluminum components. Use Honda Type 2 or approved equivalent only. Never mix different coolant formulations.
Do Not Rev a Cold Engine
Cold revving stresses engine components and can cause damage. Wait until fans have cycled at least once before increasing RPM above idle.
Model-Specific Bleeding Tips
Adjust your technique based on your Civic year and engine type for best results.
1996-2000 Honda Civic with D-Series
Air collects in the heater core. There is no bleed screw on these models. Rely on the funnel method or open-cap method. Elevate the front and use the funnel with heat on maximum.
2001-2005 Honda Civic with 1.7L D17
These models are most prone to no heat at idle. The heater core is the high point, making elevation critical. The ECT sensor bleed method is highly effective for stubborn cases that do not respond to standard bleeding.
2006+ Honda Civic with K-Series
Some models have a bleed screw on the thermostat housing. Fill via the degas bottle instead of the radiator neck. Loosen the bleed screw during warm-up until coolant flows steadily. Verify by engine code K20 or K24 for specific procedures.
Perform Post-Bleed Maintenance
Ensure long-term reliability with follow-up checks after completing the bleeding process.
Inspect for Leaks
Check all hose connections, clamps, and the water pump weep hole. Place cardboard under the engine overnight to catch any seepage that may not be immediately visible.
Pressure Test the System
Use a 15 psi tester to verify seal integrity. Hold pressure for 10-15 minutes. No drop means the cooling system seals are good and no leaks are present.
Replace Faulty Clamps
Swap corroded jubilee clips for stainless steel worm-drive or constant-tension clamps. Loose clamps suck in air and cause coolant loss over time. Replace clamps during any coolant service for best results.
Key Takeaways for Bleeding Your Honda Civic
Bleeding the coolant system on a Honda Civic is not optional. It is essential for restoring proper engine cooling and cabin heat after any service that opens the cooling circuit. Air pockets cause overheating, poor heat delivery, and trigger false diagnostic readings.
The spill-free funnel method combined with front-end elevation, heater on maximum, and engine revving delivers the best results for most situations. For stubborn cases that do not respond to standard bleeding, the ECT sensor bleed technique is a game-changer that targets air trapped near the thermostat housing.
Always verify success by checking for hot cabin air at idle, equal temperature in both radiator hoses, stable temperature gauge readings, and consistent coolant levels. Follow this guide, avoid common mistakes, and your Honda Civic will maintain optimal cooling performance for years to come.
Frequently Asked Questions About Bleeding Honda Civic Coolant System
How long does it take to bleed a Honda Civic cooling system?
The complete bleeding process takes 30-45 minutes from start to finish. This includes 15-30 minutes for the engine to reach operating temperature and fans to activate, plus additional time for revving and verifying success.
Why does my Honda Civic have no heat after bleeding?
No heat after bleeding usually means air is still trapped in the heater core. Repeat the process with the front elevated higher. Use the ECT sensor bleed method for stubborn cases. Check that the heater control valve is functioning properly.
Can I bleed the coolant system without a funnel?
Yes. Use the open-radiator cap method. Fill the radiator to the brim, start the engine with cap removed, set heater to max heat, and squeeze hoses repeatedly while adding coolant as needed. This method takes longer and requires more attention.
What happens if you do not bleed the cooling system?
Trapped air prevents proper coolant circulation. This causes overheating, inaccurate temperature readings, poor cabin heat, and can lead to engine damage. Air pockets also cause the thermostat to open late or not at all.
How do I know if my head gasket is blown after bleeding?
Persistent bubbles in the reservoir while the engine runs, especially with an exhaust smell, indicates a blown head gasket. White smoke from the exhaust or milky oil on the dipstick confirms this serious problem that requires immediate repair.



