
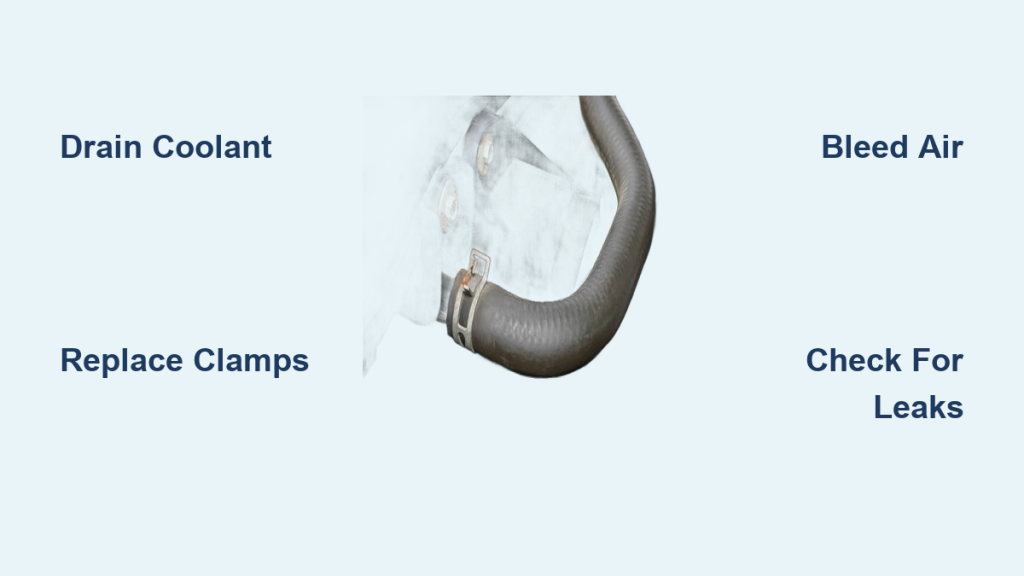
A failing coolant hose can lead to engine overheating, blown head gaskets, or even complete engine failure. Knowing how to change a coolant hose properly is essential for maintaining your vehicle’s cooling system and preventing costly repairs. Whether you’re replacing a leaking upper radiator hose or upgrading to silicone hoses for better durability, this guide walks you through every step. You’ll learn how to safely drain coolant, remove old hoses, install new ones correctly, and bleed air from the system to avoid common mistakes.
Identify Failing Coolant Hoses Before Replacement
Check for Visual and Physical Damage
Inspect all coolant hoses every 6 months or at each oil change. Look for these warning signs:
• Bulges, cracks, or soft spots when squeezing the hose
• Hard, brittle texture indicating age-related degradation
• Green, orange, or pink coolant stains near connections
• Collapsed lower hose under vacuum conditions
• Crusty deposits or wetness around clamps
Replace any hose showing these signs, even if only one end appears damaged.
Confirm Coolant Leak Sources
Use a flashlight to inspect behind and beneath hoses. Wipe connections clean, run the engine briefly, then recheck for seepage. Puddles under the front of the car often point to radiator hose failure. Steam from under the hood signals a pressurized leak. Shut off the engine immediately if you see steam.
Follow Age and Mileage Replacement Guidelines
Even without visible damage, replace coolant hoses every 8 to 10 years or 150,000 miles. Rubber degrades over time due to heat cycles and chemical exposure. Proactive replacement prevents roadside breakdowns and expensive engine repairs.
Gather Tools and Parts for Coolant Hose Replacement
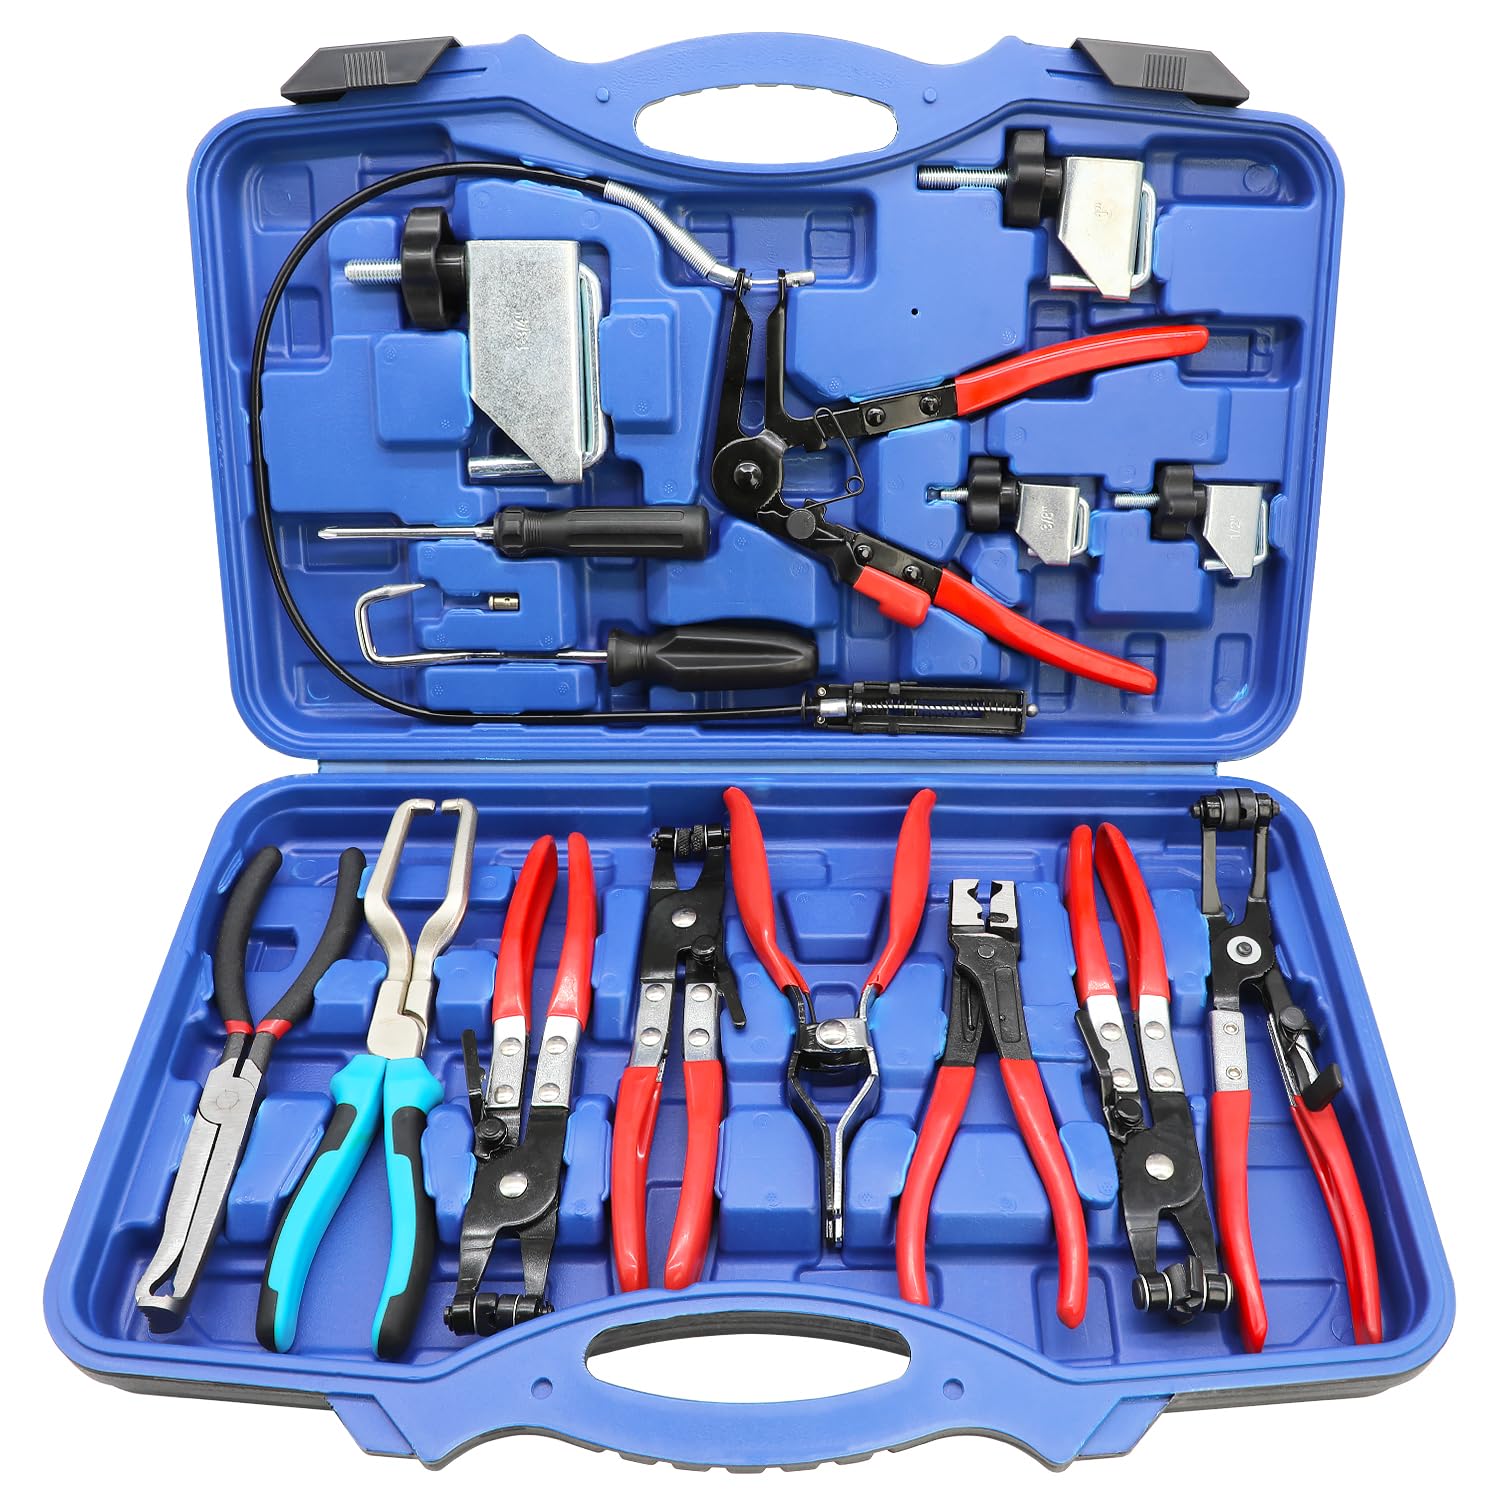
Essential Tools List
You will need these tools to complete the job safely:
• Screwdriver or socket set to loosen worm-gear clamps
• Hose clamp pliers or angled pliers for tight spaces
• Wrenches for drain plugs or sensor removal
• Drain pan with 2+ gallon capacity to catch old coolant
• Funnel with filter to prevent debris during refill
• Safety gloves and goggles to protect against hot coolant
Required Replacement Parts
Gather these components before starting:
• New upper and lower radiator hoses (OEM-spec or pre-formed)
• New hose clamps (do not reuse old ones)
• Correct coolant type (IAT, OAT, HOAT, or Si-OAT per owner manual)
• Distilled water for 50/50 mix unless using pre-mixed coolant
Recommended Add-Ons
These items make installation easier:
• Silicone lubricant or coolant to ease installation
• Warm water soak or heat gun to soften stiff new hoses
• Bleeder key for vehicles with air bleed valves
• Coolant tester to verify freeze protection level
Drain the Cooling System Safely
Wait for Engine to Cool Completely
Never open the radiator cap on a hot engine. Wait 2 to 3 hours after shutdown or until the upper hose feels cool to touch. Pressure can exceed 15 psi, and hot coolant causes severe burns.
Locate and Open the Drain Point
Place a drain pan under the radiator drain plug or engine block drain plug if equipped. Remove the radiator cap to break vacuum and allow smooth flow. Open the drain valve and let all coolant empty. Reinstall the plug tightly once done.
Some vehicles lack a drain plug. In that case, disconnect the lower radiator hose over the pan, but only when the engine is fully cooled.
Remove the Upper Radiator Hose
Loosen Both Clamps
Use a screwdriver or pliers to loosen the radiator-end clamp and the engine-end clamp attached to the thermostat housing. Work carefully to avoid damaging aluminum fittings.
Break the Seal and Pull the Hose Off
Gently twist and wiggle the hose to break the seal. If stuck, use a flathead screwdriver to pry between hose and fitting. Insert only far enough to lift the edge. Do not gouge the metal. Catch residual coolant with a small pan.
Clean Connection Points
Wipe both the radiator neck and thermostat housing outlet with a clean rag. Remove old sealant, corrosion, or debris using emery cloth if needed.
Inspect the thermostat housing gasket during this process. Replace it now if cracked or leaking to prevent future issues.
Remove the Lower Radiator Hose

Position Catch Pan Underneath
The lower hose connects the radiator to the water pump. Expect some spillage, so position the pan accordingly.
Loosen Engine and Radiator Clamps
Use angled pliers to access the water pump-side clamp, then the radiator-side clamp. These clamps are often in awkward positions.
Disconnect and Remove the Hose
Twist and pull the hose free. Avoid excessive force, because damaged water pump inlets are expensive to repair.
Inspect the Water Pump Weep Hole
Look for dried coolant streaks or dampness below the pulley. This indicates water pump seal failure. Consider replacement before reassembly if you see this sign.
Install New Upper Radiator Hose
Verify Fit Before Installation
Compare the new hose to the old one. Check the length, bend radius, diameter, and orientation. Ensure it matches exactly, especially on V6 and V8 engines with complex routing.
Lubricate and Seat Hose Ends
Apply coolant or silicone spray to the inside of the hose ends or metal fittings. Start by pushing the engine end fully onto the thermostat housing. Then attach the radiator end, aligning the curve with factory routing.
Secure with New Clamps
Slide new clamps into place. Position them within 1/8 inch (3 mm) of the bead seat on each fitting. Tighten evenly. Do not overtighten worm-drive clamps, because this crushes the hose and distorts the clamp, leading to leaks.
Install New Lower Radiator Hose
Soften Hose for Easier Fit
Soak the new lower hose in warm (not boiling) water for 5 to 10 minutes. Alternatively, use a heat gun briefly to increase flexibility. This makes installation much easier.
Lubricate and Connect Both Ends
Start with the water pump (engine) side, pushing until fully seated. Then connect the radiator end, ensuring no kinks or twists in the hose.
Position and Tighten Clamps
Use new clamps at both ends. Tighten gradually and evenly. Spring clamps should snap securely. Worm-drive clamps require firm but careful tightening.
On front-wheel drive vehicles, access may be limited. Consider removing splash shields for better reach.
Refill and Bleed the Cooling System
Mix Coolant Properly
Use 50% antifreeze and 50% distilled water unless specified otherwise. Never use tap water, because minerals cause scaling and corrosion.
Fill Radiator and Overflow Reservoir
Insert a funnel into the radiator neck. Slowly pour coolant until full. Fill the overflow tank to the cold line.
Bleed Air Through Bleeder Screws
This method applies to BMW, Mercedes, Audi, and some other vehicles. Open the bleed valve while filling. Let air escape until a steady stream of coolant flows. Close the valve and remove the funnel.
Bleed Air Without Bleeder Valve
With the radiator cap off, start the engine and let it idle. Squeeze the upper and lower hoses repeatedly to dislodge air pockets. Run until the thermostat opens (upper hose gets hot). Turn the heater to max heat and fan speed to purge the heater core. Once bubbles stop, shut off the engine and top off radiator and reservoir.
Replace the radiator cap by pushing down and turning until it clicks.
Test for Leaks and Performance
Reinstall Removed Components
Replace any heat shields, splash guards, or air ducts removed during access. Missing heat shields cause premature hose failure from exhaust contact.
Run Engine to Operating Temperature
Let the engine warm up fully, about 15 minutes at idle. Monitor the temperature gauge for normal rise with no spikes or fluctuations.
Inspect All Connections
Look closely at both ends of upper and lower hoses. Check for drips or seepage, bulging under pressure, and hissing sounds indicating small leaks.
Recheck Coolant Level After Cool-Down
Once the engine cools, verify the reservoir is at the cold mark. Top off if necessary.
Take a Test Drive
Drive 10 to 15 minutes under normal conditions. Stop and recheck for leaks, temperature stability, and heater performance.
If overheating persists, re-bleed the system. Trapped air is the most common post-replacement issue.
Prevent Future Coolant Hose Failures
Use OEM-Spec or Molded Hoses
Pre-formed hoses match factory contours perfectly, reducing stress and kinking. Brands like Gates, Continental, and Mahle offer superior electrochemical degradation (ECD) resistance.
Replace Coolant on Schedule
Follow manufacturer intervals for your coolant type. IAT (green) needs replacement every 30,000 miles. OAT (orange/Dex-Cool) lasts 50,000 to 100,000 miles. HOAT (yellow/blue) requires 30,000 to 60,000 mile changes. Si-OAT (red/pink) can last up to 150,000 miles.
Old or mixed coolant accelerates internal hose breakdown.
Avoid Petroleum Fluid Contact
Oil, transmission fluid, or power steering leaks destroy rubber hoses. Clean spills immediately and repair leaks promptly.
Install Clamps Correctly
Always position clamps within 1/8 inch of the bead seat. Misplaced clamps cause leaks and hose slippage.
Upgrade to Silicone Hoses (Optional)
Benefits of Silicone Hoses
Silicone hoses withstand temperatures up to 350°F and last 10 or more years. They resist ECD and swelling from oil exposure. They are available in colors for custom looks.
Best Use Cases
Silicone hoses work ideal for performance or modified engines, high-heat environments, and vehicles with frequent towing.
Ensure proper fit, because some aftermarket silicone hoses do not match OEM routing exactly.
When to Call a Professional
DIY replacement works for most standard vehicles, but seek professional help if your car has a modular coolant manifold (common on BMW and Audi). You should also call a pro if there are integrated sensors or quick-connects you cannot handle. Seek help if you cannot eliminate airlocks after multiple bleed attempts. Call a professional if the thermostat or water pump also needs replacement. Get expert assistance if you are unsure about coolant compatibility or bleeding procedure.
Many shops offer cooling system pressure tests and vacuum fill services to ensure complete air removal.
Key Takeaways for Changing Coolant Hoses
Regular inspection and timely replacement of coolant hoses protect your engine from catastrophic overheating. By following this guide, you have learned how to identify failing hoses, gather the right tools, drain the system safely, and install new hoses with proper clamping techniques. The most critical steps are bleeding air thoroughly after replacement and testing for leaks before driving.
Remember to replace both upper and lower hoses together when either shows wear. Use OEM-spec hoses and new clamps positioned within 1/8 inch of the bead seat. Always use the correct coolant type and maintain your cooling system on schedule. Keep an eye on coolant levels and condition, and consider flushing the system every 50,000 miles to prevent internal corrosion and hose degradation.
Frequently Asked Questions About Changing Coolant Hoses
How long does it take to change a coolant hose?
Most DIYers can complete upper and lower radiator hose replacement in 1 to 2 hours. Time varies based on vehicle accessibility and experience level.
Can I replace just one coolant hose?
You can replace a single hose, but best practice is to replace both upper and lower radiator hoses simultaneously. Both experience similar age, heat exposure, and pressure cycles.
What happens if you don’t bleed air from the cooling system?
Trapped air causes overheating, temperature fluctuations, and poor heater performance. Air pockets prevent proper coolant circulation and can damage the engine.
How often should coolant hoses be replaced?
Replace coolant hoses every 8 to 10 years or 150,000 miles, whichever comes first. Inspect them every 6 months for damage.
Can I use any coolant type for my vehicle?
No. Always use the coolant type specified in your owner’s manual (IAT, OAT, HOAT, or Si-OAT). Using the wrong type causes corrosion and accelerates hose degradation.
Why do coolant hoses fail suddenly?
Sudden failures often result from electrochemical degradation (ECD), which causes internal deterioration not visible externally. Regular coolant flushing and timely replacement prevent sudden breaks.



