

A failing coolant reservoir can lead to overheating, coolant loss, and serious engine damage. If you’re seeing puddles under your car, a cracked tank, or a persistent low-coolant warning, it’s time to replace it. The good news is that replacing a coolant reservoir is a beginner-friendly DIY job that typically takes under an hour and saves you $100 or more in labor. This guide walks you through every step from draining old coolant to refilling and bleeding the system.
You’ll learn exactly how to remove stubborn hoses, avoid air pockets, and choose the right coolant for your vehicle. We cover the tools you need, safety precautions, and model-specific tips for common vehicles like Chevrolet Silverado and Volvo S40.
Identify When Your Coolant Reservoir Needs Replacement
Check for Visible Cracks and Coolant Leaks
Inspect the coolant reservoir, which is usually a translucent plastic tank on the passenger side near the fender. Look for visible cracks, warping, or milky residue. Even hairline fractures will expand under heat and pressure, causing coolant to escape. Check for puddles under the front of your vehicle, especially after parking. Coolant is commonly green, orange, pink, or blue, making it easy to spot. If you’re constantly topping off coolant but can’t find a leak elsewhere, the reservoir is likely the culprit.
Monitor Dashboard Warning Lights
A glowing coolant level indicator doesn’t always mean low fluid. It could signal a faulty sensor or cracked tank. If the light stays on after refilling, disconnect the electrical connector and inspect for corrosion. Some models like the Volvo S40 or Chevrolet Silverado use a sensor on the tank’s base. If the reservoir is damaged, replacing the entire unit often fixes both the leak and the warning.
Listen for Unusual Noises
When the engine is hot, a failing reservoir may hiss or bubble near the cap or hose connections. This indicates pressure loss or coolant boiling due to air intrusion. Never open the cap when hot. Wait until the engine is completely cool. If the system cannot maintain pressure, it increases the risk of overheating, especially in traffic.
Gather Tools and Replacement Parts

Essential Tools for Reservoir Replacement
You will need several tools to complete this job efficiently. A socket wrench set with 8mm, 10mm, and 11mm sockets is essential for mounting fasteners. Hose clamp pliers or standard pliers help remove spring and screw clamps. A flathead screwdriver loosens clamps and pries hoses. A work light illuminates the engine bay. Have a drain pan or Solo cups ready to catch coolant. Keep shop rags and gloves nearby for spills. Wear safety glasses because coolant can irritate skin and eyes.
Choose the Right Replacement Reservoir
Buy a reservoir that matches your vehicle’s make, model, engine, and year. Aftermarket brands like URO, Beck/Arnley, or 1A Auto offer reliable options at lower prices than OEM. For example, Volvo S40 and V50 models from 2004 to 2007 use part number 30776151, available for around $37 on RockAuto. Chevrolet Silverado 1500 models from 1999 to 2006 require 10mm fasteners and sensor compatibility. Always verify whether the new tank includes a cap. If not, reuse your old cap if the seal is intact.
Select Compatible Coolant
Never mix coolant types. Use the manufacturer-recommended formula. GM vehicles use Dex-Cool, which is orange and OAT-based. Volvo, BMW, and Audi vehicles typically use blue G48 or Zerex G05, also OAT-based. Universal green coolant is IAT-based and should only be used if specified by your manufacturer. Mix concentrate with distilled water at a 50:50 ratio. Pre-mixed coolant is more convenient but costs more.
Prepare Your Vehicle Safely
Wait for a Cold Engine
Never work on a hot cooling system. Wait at least 2 hours after shutdown, or overnight, to let pressure and temperature drop. Opening the reservoir cap while hot can release scalding steam and coolant, causing serious burns.
Park on Level Ground
Ensure the vehicle is on a flat surface with the parking brake engaged. This allows accurate coolant level checks during refill and prevents fluid from pooling unevenly.
Relieve System Pressure Safely
Even when cool, the system may retain pressure. Slowly twist the reservoir cap counterclockwise to release any remaining pressure before removing it completely. If you hear a hiss, stop and wait longer.
Drain or Extract Old Coolant
Use Gravity to Pour Out Fluid
Remove the reservoir cap and place a drain pan or 2-liter bottle beneath the tank. Loosen the clamps on the upper and lower hoses and tilt the reservoir to pour coolant into a container. Some DIYers tape off the front of the tank and tilt it backward to minimize spills.
Extract Coolant with a Vacuum Tool
For a cleaner method, use a Mighty Vac, turkey baster, or hand pump. Insert the tube into the reservoir and pump until empty. Store fluid in a sealed container only if clean and uncontaminated.
Warning: If coolant is milky or oily, it may indicate head gasket failure. Do not reuse it. Dispose of it properly and use fresh coolant.
Disconnect Hoses and Electrical Connections
Unplug the Coolant Level Sensor
Many reservoirs have a sensor on the bottom that triggers the dashboard warning light. Press the locking tab and disconnect the electrical connector. Inspect for moisture or corrosion. Clean with electrical contact spray if needed, or replace if damaged.
Remove Upper and Lower Hoses
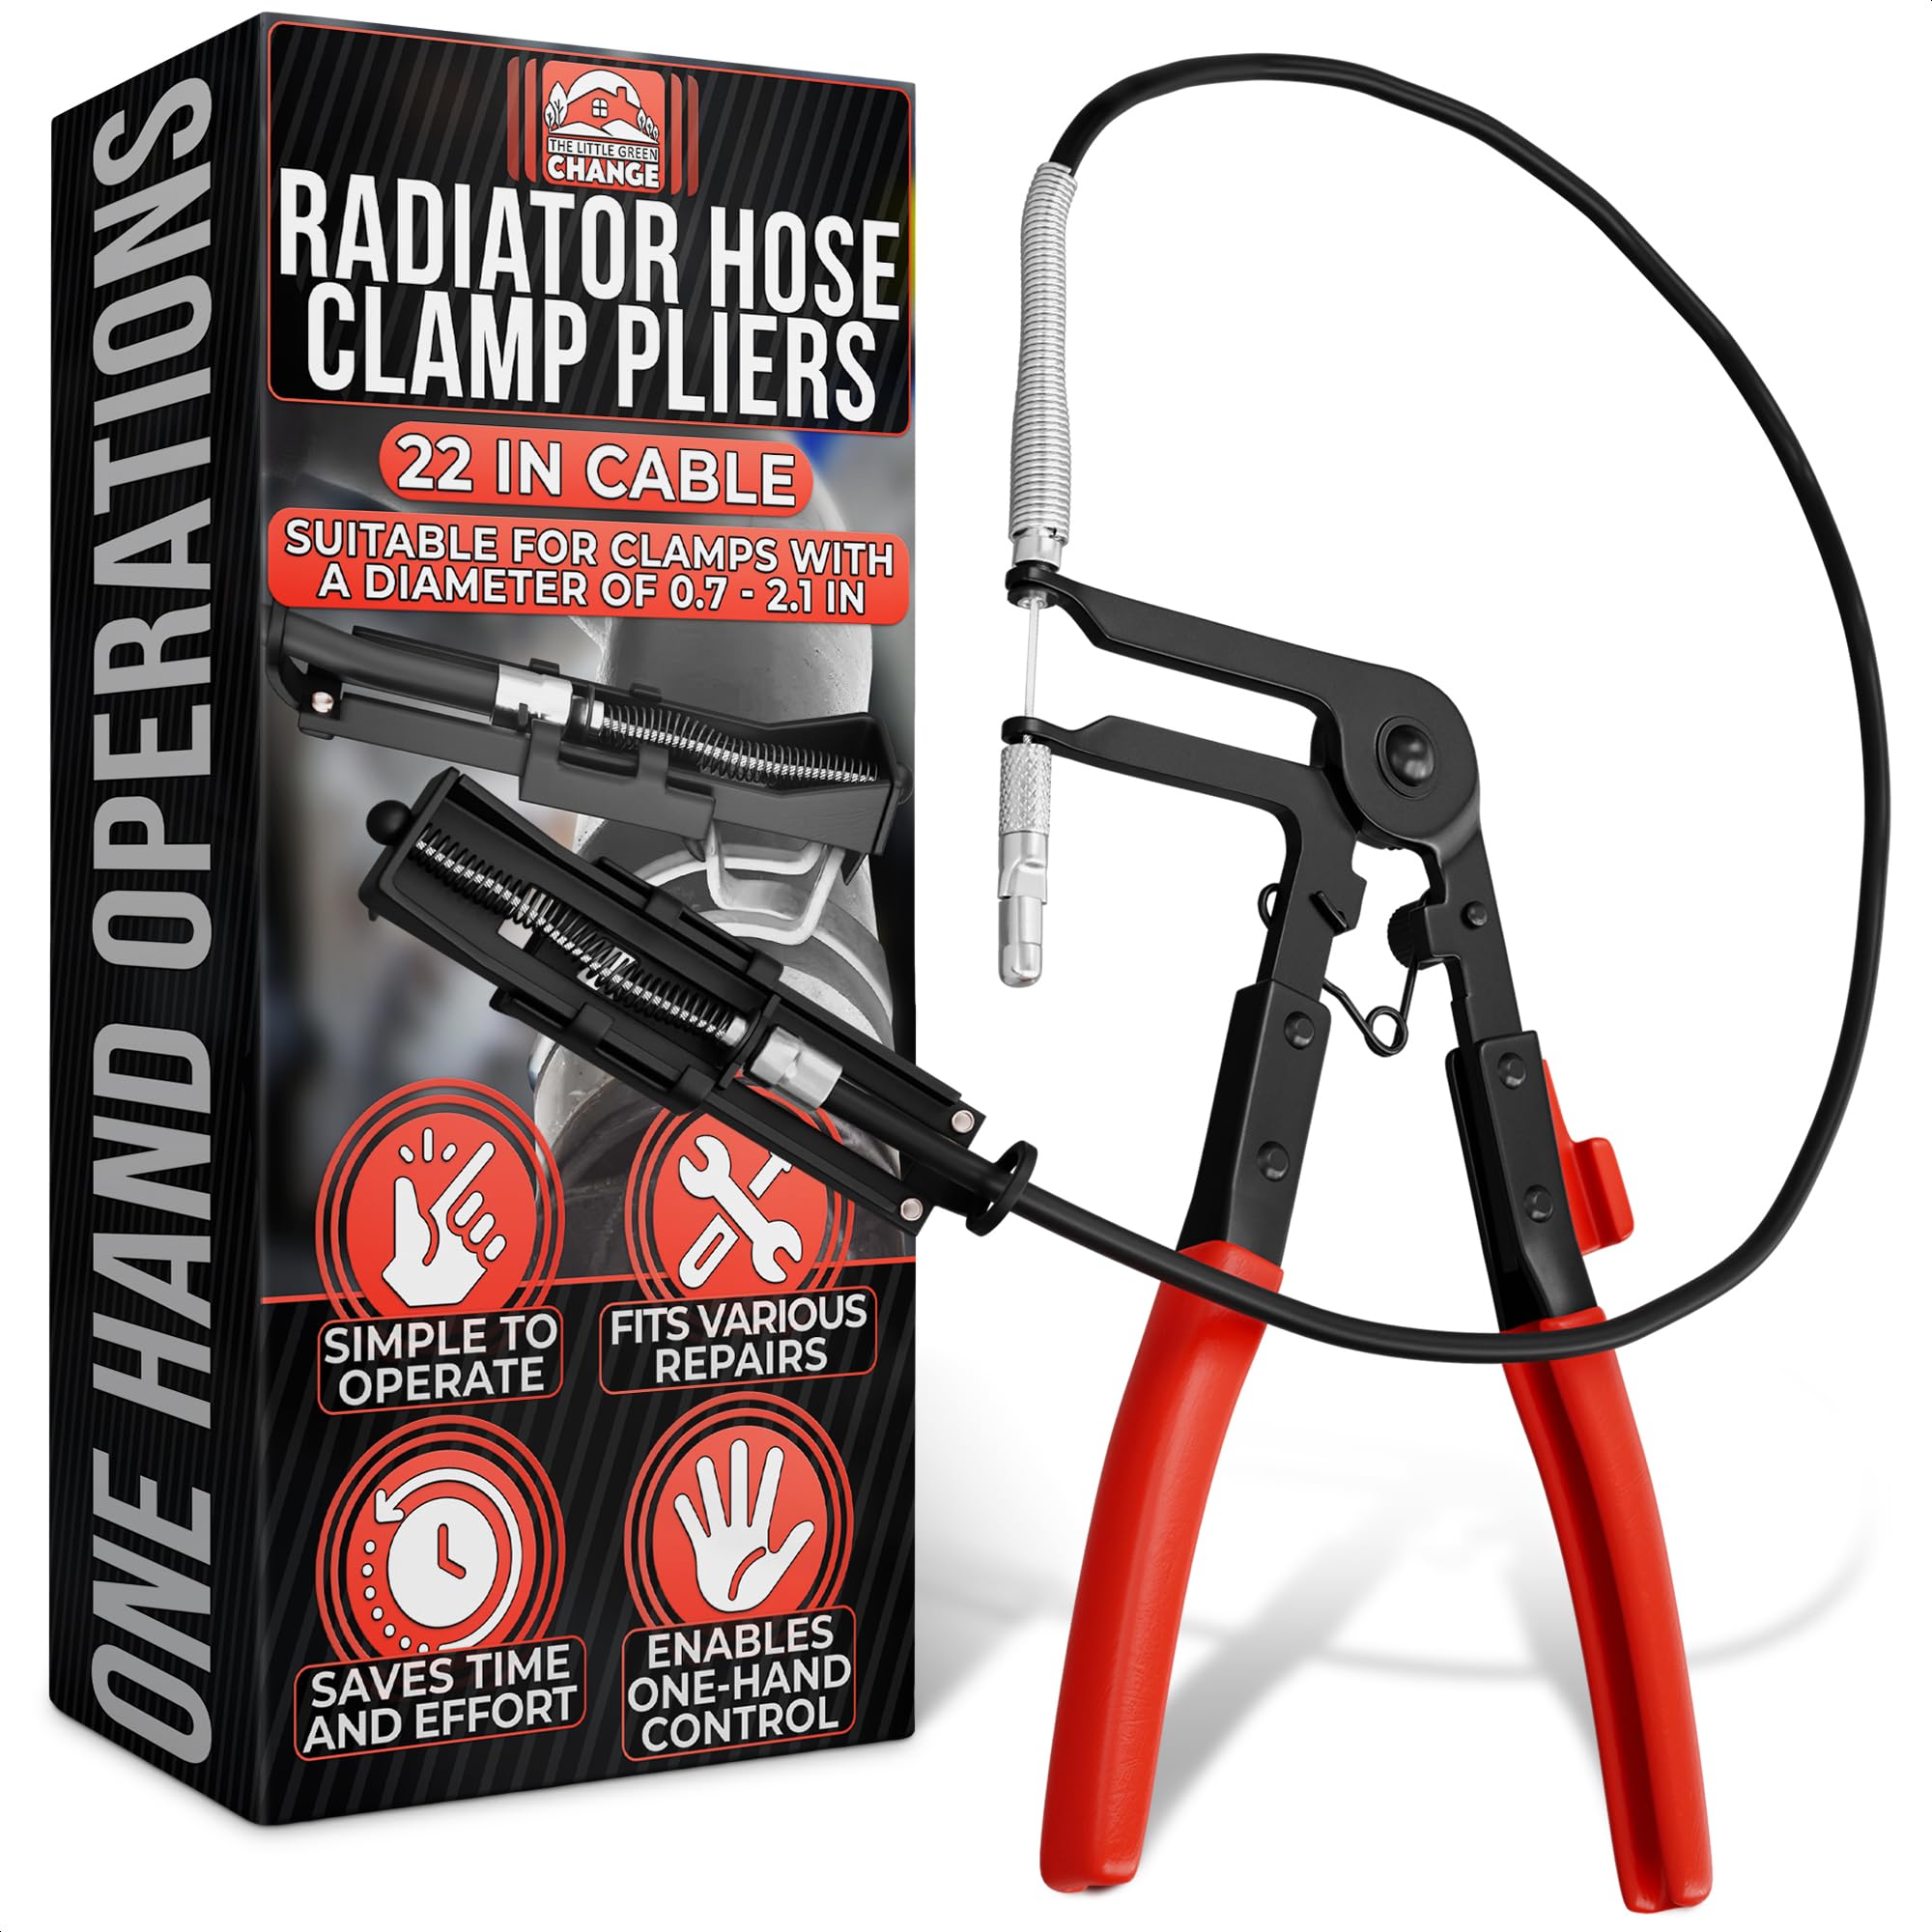
For the upper hose, use hose clamp pliers to compress the spring clamp or loosen a screw clamp. Slide the clamp down the hose and gently twist and pull the hose straight off the nipple. Avoid prying with metal tools. Use a plastic hose pick if stuck.
For the lower hose, place a rag or your hand over the open end before disconnecting because this hose often holds more fluid. Follow the same clamp and removal process. Lubricate the hose interior with fresh coolant when reinstalling. This eases reconnection and improves sealing.
Remove the Old Coolant Reservoir
Loosen Mounting Fasteners
Fastener type and location vary by model. Chevrolet Silverado 1500 models from 1999 to 2006 have one 10mm bolt under the air filter and one 10mm nut at the rear. Chevrolet Tahoe models from 2000 to 2006 have two 10mm bolts. Volvo S40 models from 2004 to 2007 have two 10mm nuts on the bracket. Spray penetrating oil like WD-40 on rusted bolts and wait 5 to 10 minutes before loosening.
Remove Airbox if Needed
On Silverado 2500 HD models from 2007 to 2014 and similar models, the air intake box blocks access. Unplug the MAF sensor. Loosen the 8mm clamp on the intake duct. Lift the snorkel and airbox straight up. Set aside safely and reinstall after reservoir replacement.
Extract the Old Tank
Once all hoses, electrical connections, and fasteners are disconnected, gently wiggle and lift the reservoir straight up from the fender well or bracket. Take the opportunity to clean the mounting area of coolant residue, dirt, and debris.
Install the New Coolant Reservoir
Transfer Parts and Align the New Tank
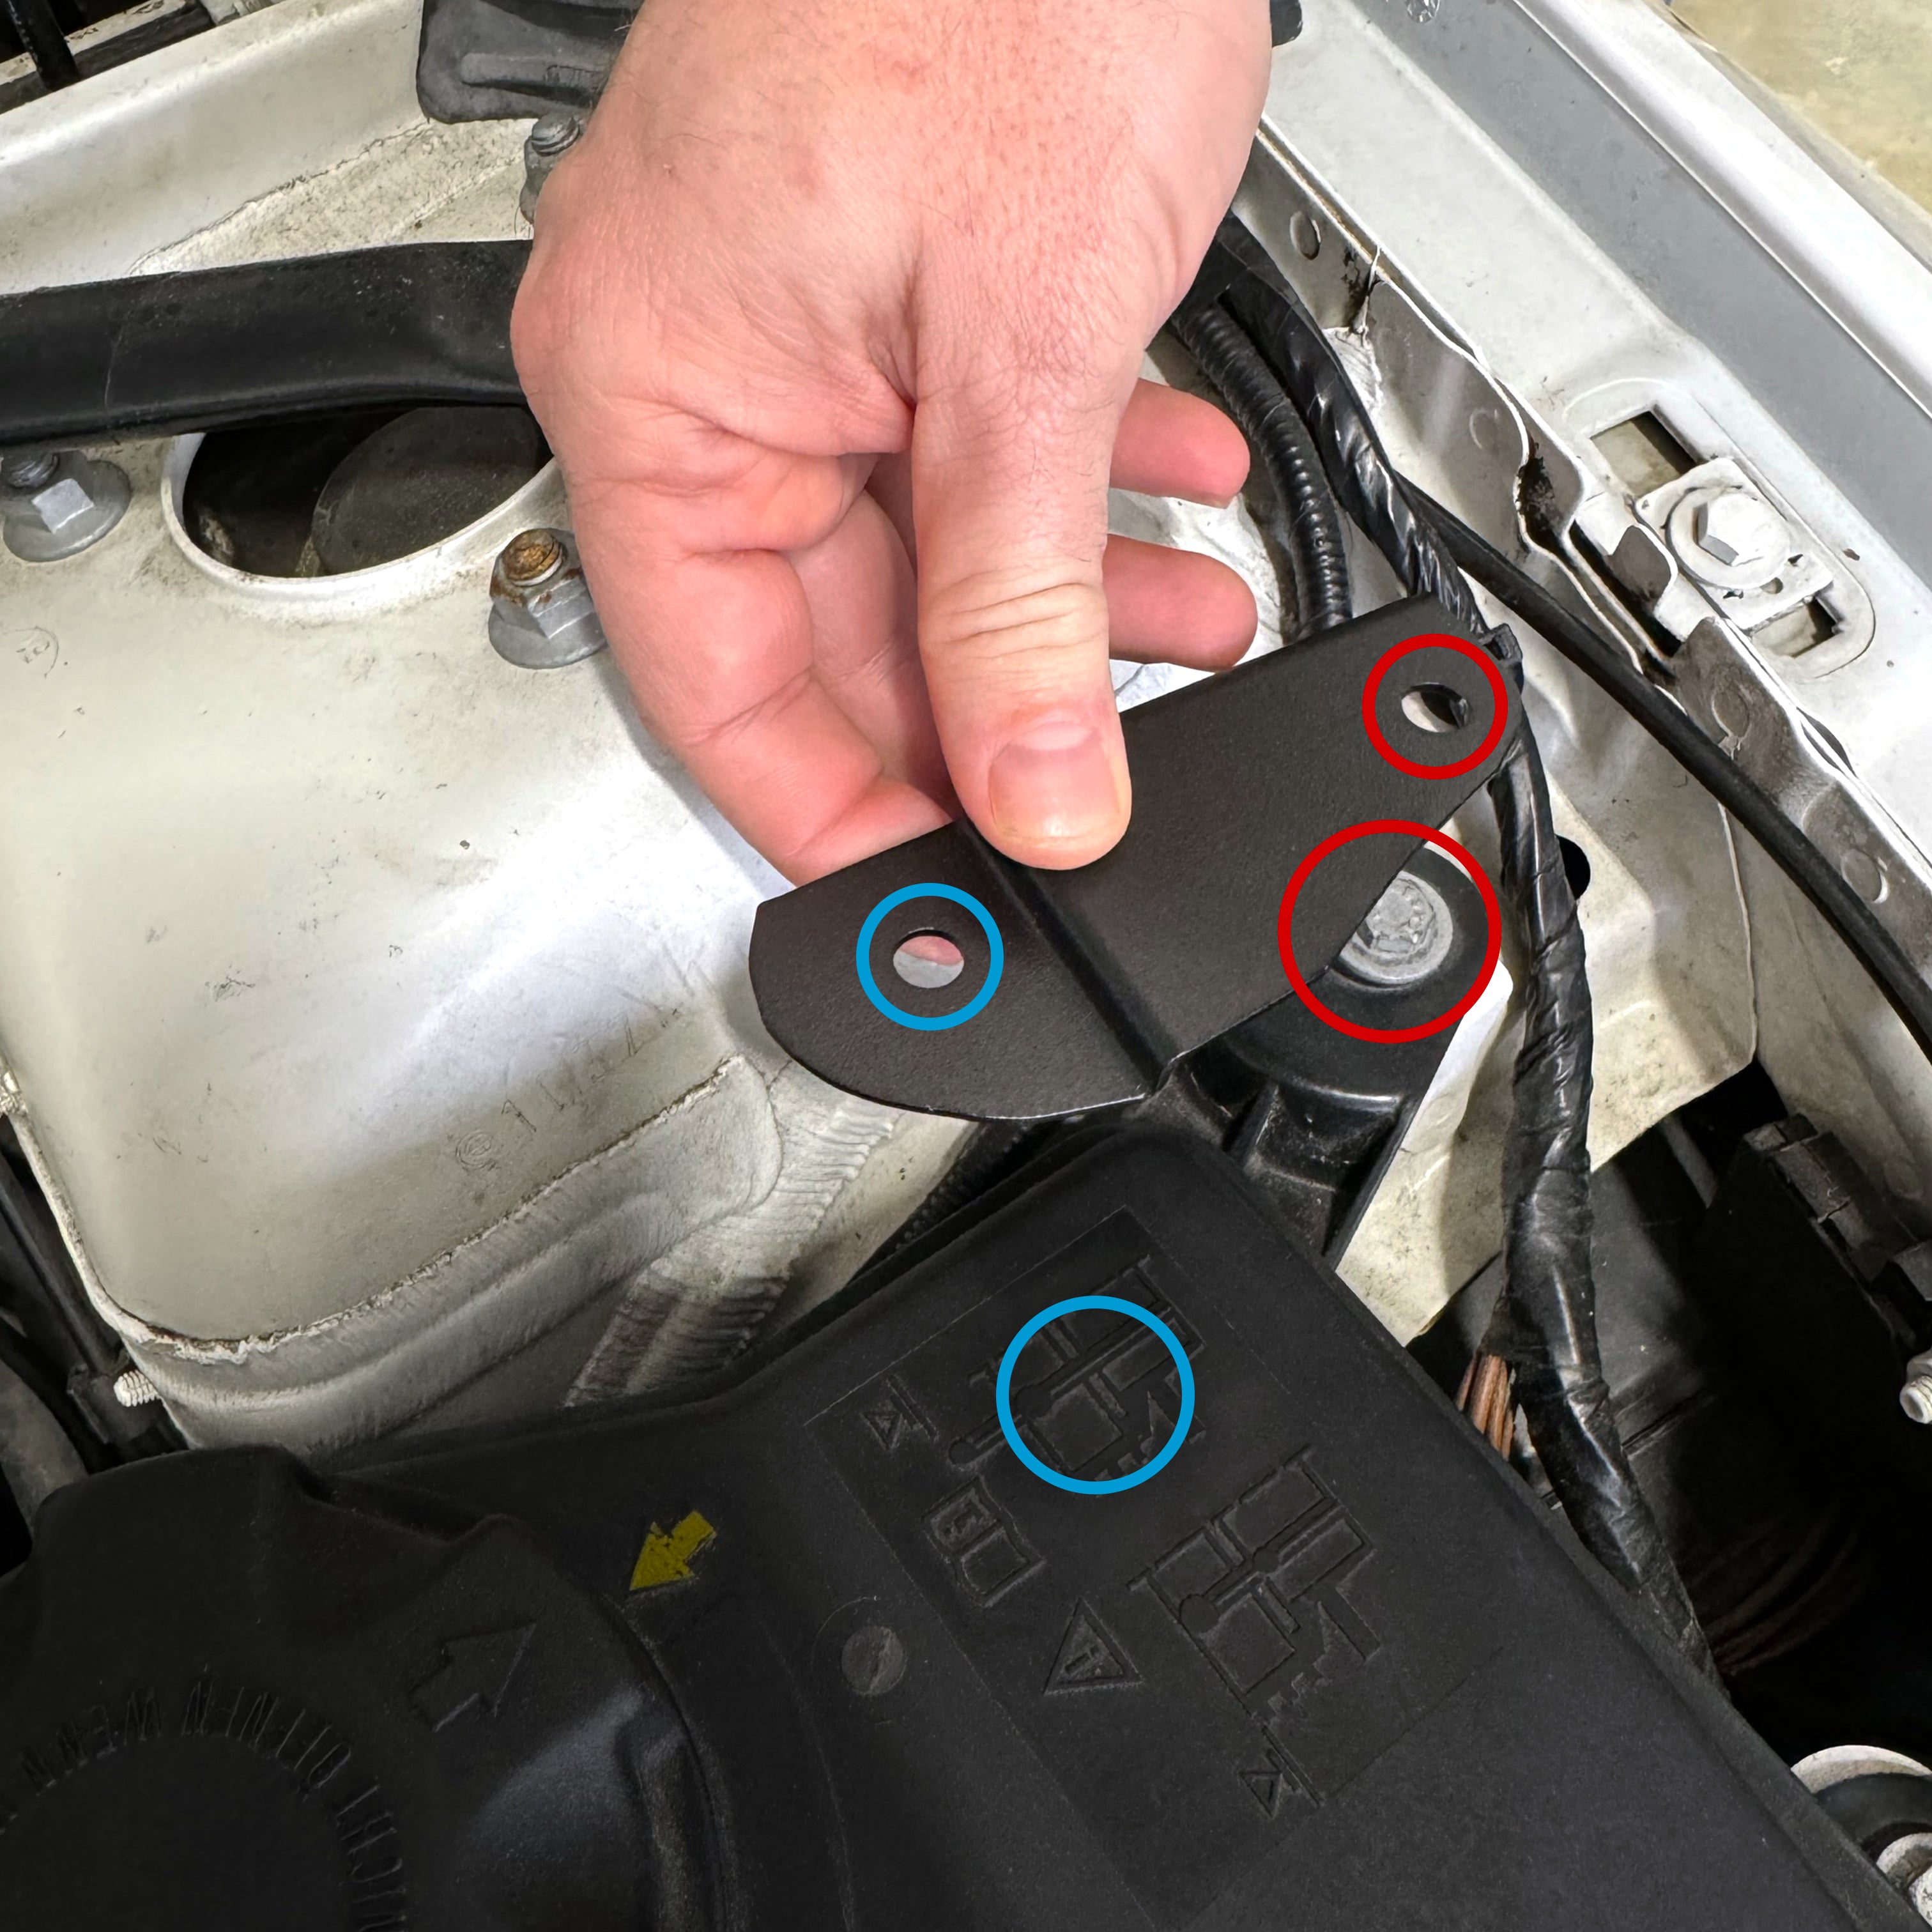
Check that the new reservoir matches the old one in shape, hose fittings, and sensor location. Some models require transferring the overflow tube or mounting bracket. Align the new tank with the fender well or plastic hooks.
Secure Mounting Fasteners
Insert the front bolt and hand-tighten. Thread the rear nut and snug, but do not fully tighten yet. Once both are in place, fully tighten the front, then the rear. Avoid overtightening because plastic threads crack easily.
Note: Some models use a metal strap or rear clip. Use a flathead to snap the tank into place or reattach the clip securely.
Reconnect Hoses and Sensor
Reattach Lower and Upper Hoses
Start with the lower hose because it is harder to reach once the tank is mounted. Push the hose fully onto the nipple until it seats. Slide the clamp back into position, visible on both sides of the hose. Reuse clamps only if undamaged. Otherwise, install worm-drive screw clamps for better durability and easier future removal.
Plug in the Coolant Level Sensor
Reconnect the electrical connector to the sensor. Press until you hear a click, then tug gently to confirm it is locked. A loose connection can trigger false warning lights.
Refill and Bleed the Cooling System
Add Correct Coolant to the MAX Line
Use the manufacturer-specified coolant. Pour slowly to the MAX or FULL COLD line. Never overfill. As the engine heats and cools, excess will expand into the reservoir. Use a small-funnel adapter to prevent spills.
Warning: Mixing incompatible coolants like green IAT with orange OAT can form gel-like sludge that clogs passages. If mixed, schedule a full flush.
Start Engine and Purge Air
Replace the reservoir cap and tighten until it bottoms out. Start the engine and let it run to normal operating temperature. Set the heater to max heat and high fan speed. This helps push air out of the heater core. Monitor the reservoir level because it will drop as air escapes.
Top Off After Cooling
After the engine cools, wait at least one hour and recheck the level. Top off to the MAX line. Repeat this process for 2 to 3 heat and cool cycles until the level stabilizes.
Pro Tip: Some vehicles like GM and Volvo models benefit from vacuum bleeding using a coolant filling tool. This actively removes air and prevents overheating.
Final Checks and Road Test
Inspect for Leaks
With the engine running, visually inspect all hose connections, clamps, and the base of the reservoir. Look for drips or seepage. A small amount of initial weeping may stop as hoses seal, but persistent leaks mean re-tightening or replacing clamps.
Confirm Warning Light Is Off
Check the dashboard. The coolant level light should turn off once the system is full and the sensor detects adequate fluid. If it stays on, recheck connections or test the sensor.
Perform a Short Road Test
Drive for 10 to 15 minutes to bring the engine to full temperature. Monitor the temperature gauge. It should stay in the normal range. After cooling, recheck the coolant level one final time.
Prevent Future Reservoir Issues
Check the Reservoir Every 6 Months
Inspect for cracks, cloudiness, or brittleness. Plastic degrades over time, especially in extreme heat. Replace the reservoir before it fails. It is cheaper than engine repairs.
Replace Coolant on Schedule
Follow the manufacturer’s interval, typically every 30,000 miles or 5 years. Old coolant loses corrosion inhibitors and becomes acidic, damaging the entire cooling system.
Upgrade to Worm-Drive Clamps
Replace OEM spring clamps with screw-type worm-drive clamps. They are easier to remove and provide a more consistent seal, reducing future leaks.
Record Coolant Type and Date
Write down the coolant type and replacement date on a sticker under the hood or in your maintenance log. This prevents mix-ups during future top-offs.
Frequently Asked Questions About Changing Coolant Reservoirs
How long does it take to replace a coolant reservoir?
The job takes 15 to 60 minutes depending on vehicle access and experience. Simple models like the Volvo S40 or Ford Escape can take under 30 minutes.
Can I drive with a cracked coolant reservoir?
No. Even small cracks will worsen and cause coolant loss, risking overheating and engine damage. Replace it immediately.
Can I reuse the old cap?
Yes, if undamaged. OEM caps often last the life of the vehicle. Check that the seal is intact before reusing.
Do I need to bleed the cooling system?
No, not for reservoir replacement alone on most vehicles. Air is purged during normal warm-up cycles. Some GM and modern European vehicles benefit from vacuum bleeding.
What coolant should I use?
Follow manufacturer specifications. Volvo vehicles use G48 or Zerex G05. GM vehicles use Dex-Cool. If green coolant was used originally, continue with green but follow its change interval.
Can I replace the coolant reservoir myself?
Yes. It is considered a beginner-friendly DIY job with minimal tools and low risk.
Key Takeaways for Changing Your Coolant Reservoir
Replacing a coolant reservoir is one of the most cost-effective DIY repairs you can make. With the right tools and precautions, you will restore your cooling system’s integrity in under an hour. Whether you drive a Chevrolet Silverado, Volvo S40, or another common model, the core steps remain the same. Drain the old coolant, disconnect hoses and sensor, remove the old tank, install the new reservoir, refill with the correct coolant, and verify no leaks.
Always work on a cold engine, use the manufacturer-recommended coolant type, and monitor for leaks after installation. Check the coolant level after 2 to 3 driving cycles to ensure it stabilizes. Record the coolant type and replacement date for future reference. Your engine will thank you with years of reliable performance.



