If your car’s air conditioning blows warm air or only cools weakly, an AC coolant leak is likely the culprit. Unlike household systems, automotive A/C units are sealed systems, meaning refrigerant should not deplete under normal operation. When cooling performance drops, it means refrigerant has escaped due to a leak, and left unaddressed, this can cause compressor damage and costly repairs. This guide walks you through identifying leak symptoms, locating common failure points, using proven detection methods, and performing repairs safely.
Identify AC Leak Symptoms Early
Catching a refrigerant leak early prevents further damage and keeps repair costs down. Watch for these warning signs before your A/C quits completely.
Reduced or Intermittent Cooling
Vents blow warm or mildly cool air, especially in hot weather. The system may work briefly after a recharge but loses cooling within days. This indicates a persistent leak rather than simply low charge.
Fast Cycling Compressor
The AC compressor turns on and off rapidly, every few seconds. This happens when the low-pressure switch cuts power when refrigerant drops below safe levels, a clear sign of insufficient refrigerant volume.
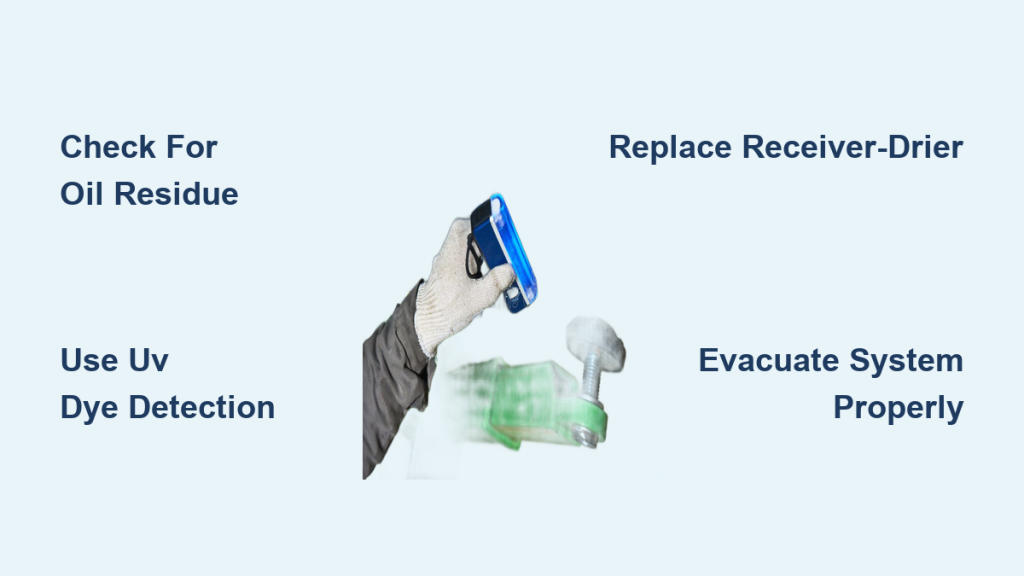
Visible Oil Residue on Components
Refrigerant carries PAG oil through the system, and leaks leave behind a greasy, oily film around hoses, fittings, or the compressor. Wipe the area clean and recheck for new oil buildup confirming active leakage.
Hissing Sounds or Frost Formation
A hissing noise from the engine bay suggests a large, pressurized leak. Frost or ice on the suction line points to severe undercharge, caused by moisture freezing from low-pressure evaporation.
Wet Carpet or Musty Odor
A musty smell or damp floor mats may indicate an evaporator core leak. Refrigerant and oil seep into the cabin via the HVAC drain, often confirmed with UV dye inside the passenger compartment.
Locate Common Leak Sources
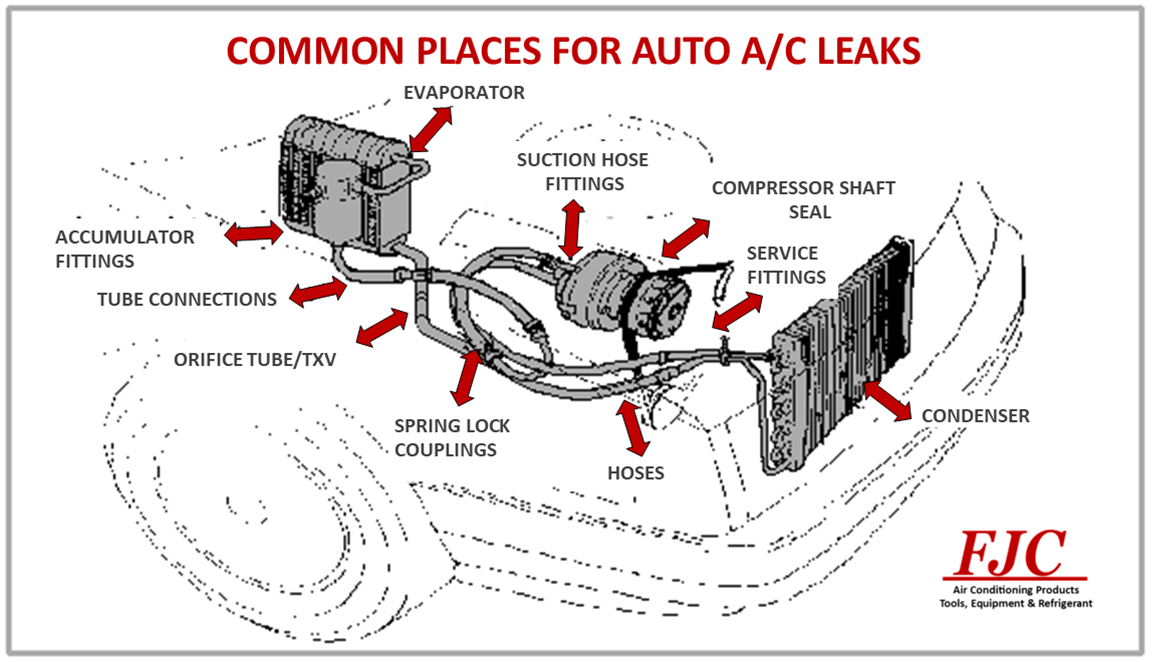
Not all leaks appear at accessible fittings. Some hide deep in the dash, and knowing where leaks typically occur helps prioritize inspection.
Condenser: Front-Line Damage Zone
Located in front of the radiator, the condenser is exposed to road debris, rocks, and corrosion. It is prone to pinhole leaks, cracked headers, or corroded fins, especially in Toyota models. Inspect visually for bent fins, oily residue, or UV dye fluorescence under black light. Patching is not reliable, so replace the condenser if damaged.
Evaporator Core: Hidden but Critical
The evaporator core mounts inside the HVAC box behind the dashboard. High R-134a pressure can accelerate corrosion in older systems like Jeep Grand Cherokee. Look for wet carpet, musty cabin smell, or UV dye visible near the AC drain tube. Diagnosis often requires repeated refrigerant loss after recharge.
Compressor Shaft Seal Leaks
The compressor rotating shaft uses a seal to contain refrigerant. Over time, seals dry out or wear, causing leaks around the clutch and pulley. Look for oil pooling on or under the compressor or a blue burnt appearance on the clutch face. While shaft seals can be replaced, full compressor replacement is often more cost-effective.
Hoses and Fittings: Aging Weak Points
Rubber hoses degrade from heat, ozone, and vibration. The low-pressure hose swells and cracks first. Metal flare fittings and Schrader valves at service ports are common leak sites caused by O-ring deterioration, loose fittings, or missing valve caps.
Receiver-Drier or Accumulator Failure
These components filter moisture and debris from refrigerant. The receiver-drier works with expansion valves, while the accumulator works with orifice tubes. Once exposed to air, the internal desiccant becomes saturated and ineffective. Always replace after system exposure or compressor failure.
O-Rings: Small Parts, Big Impact
O-rings are found at every connection, including hoses, compressor, condenser, and service ports. They degrade with age, moisture, or improper lubrication. Never reuse old O-rings. Replace all during system service and lubricate with PAG oil before installation to prevent extrusion.
Detect Leaks with Proven Methods
Guessing where a leak is wastes time and money. Use these accurate detection techniques instead.
Visual Inspection: First Step
Look for oily residue on hoses, fittings, and components. Use a flashlight and mirror to inspect tight spaces. Check Schrader valves and replace valve cores if loose or leaking. Confirm all service port caps are tight, as missing caps invite moisture.
UV Dye: Best for Small, Slow Leaks
UV dye is the most effective method for finding elusive leaks. Inject UV-sensitive dye into the low-pressure side using a dedicated dye injector or a refrigerant can with dye. Run the engine with AC on vent mode for 10 minutes, then shut off and inspect all components under UV black light. Wear UV-safe goggles and look for bright green or fluorescent spots marking the leak.
⚠️ Note: If the system is empty, dye may have already leaked out. Recharge first, then add dye.
Electronic Sniffer: Precision Vapor Detection
A handheld refrigerant leak detector senses R-134a vapor and can detect leaks as small as 0.1 oz per year. Hold the probe near fittings, compressor shaft, condenser, and cabin vents. Move slowly since R-134a is heavier than air and pools at low points. This method works best for confirming evaporator leaks via interior vents.
Vacuum and Pressure Testing
Connect a manifold gauge set with the blue hose to the low side, red hose to the high side, and center hose to a vacuum pump. Evacuate to 25 to 29 inHg and hold for 30 to 60 minutes. A stable vacuum indicates no major leaks, while rising pressure indicates a leak or moisture ingress. Alternatively, pressurize with dry nitrogen up to 300 psi and use soap bubbles or an electronic sniffer to locate leaks.
Repair Common Leak Points
Once you have found the leak, it is time to fix it. Follow these best practices for reliable repairs.
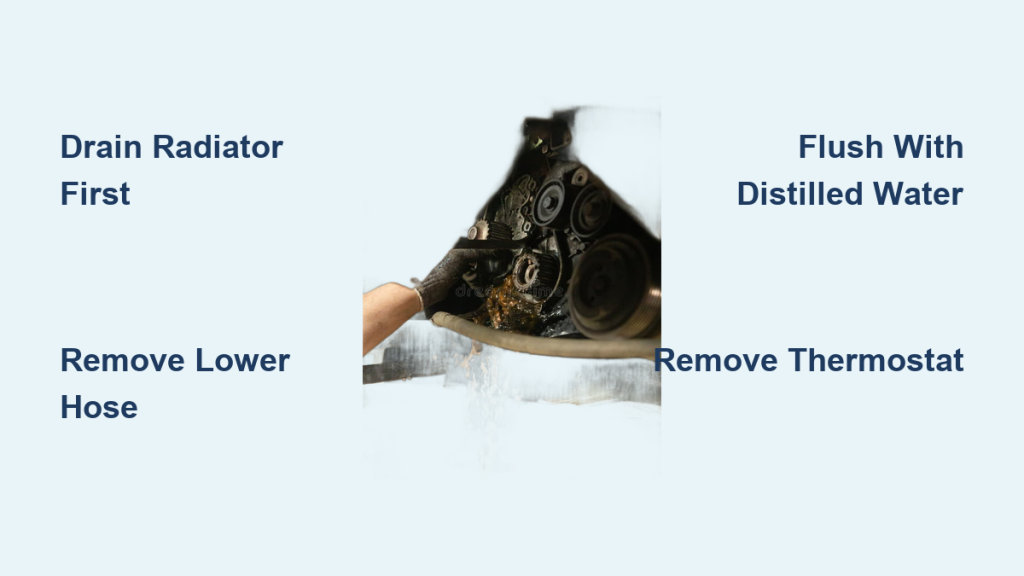
Replace a Leaky Condenser
Remove the front grille, which often snaps off with clips. Unscrew mounting bolts and disconnect refrigerant lines, immediately plugging open lines to prevent contamination. Lubricate all O-rings and fittings with PAG oil, connect the upper line first, then lower. Torque fittings to spec, typically 14 to 22 ft-lbs, and never overtighten.
Fix Evaporator Core Leak
This is one of the most labor-intensive repairs. Recover refrigerant, then remove dashboard components including the glove box, knee bolster, and HVAC controls. Disconnect electrical connectors and HVAC ducts, then unbolt the HVAC housing and extract from the firewall. Disassemble the housing to access the evaporator, replace the core, clean the housing, and reassemble. Expect 6 to 10 hours of labor.
Replace a Faulty Compressor
Remove the drive belt and mounting bolts after recovering refrigerant and disconnecting electrical connectors and refrigerant lines. Extract the old compressor and install the replacement. Always replace the receiver-drier or accumulator, flush system lines if metal debris is suspected, and add the correct PAG oil as specified by the manufacturer.
Rebuild and Recharge the System
After repair, proper reassembly and charging are critical for performance and longevity.
Evacuate the System Thoroughly
Connect a vacuum pump to both sides via manifold gauges and evacuate for at least 30 minutes, with 60 minutes being ideal. This removes air and moisture that cause ice formation and acid buildup. Monitor the gauge, and a stable vacuum confirms system integrity.
⚠️ Never skip evacuation because moisture leads to long-term failure.
Recharge with Correct Refrigerant
Find the refrigerant capacity on the underhood label. Start the engine and set AC to max cooling, recirculation mode, and high fan speed. Open the low-side valve and attach the refrigerant can upright for vapor charge. Monitor low-side pressure, targeting 25 to 40 psi at 80°F ambient temperature, with high side at 200 to 250 psi. Stop when pressure stabilizes and vents blow cold.
❌ Avoid overcharging because it causes high pressure, poor cooling, and compressor slugging.
Prevent Future Leaks and Failures
A successful repair lasts longer with proper maintenance and smart habits.
Replace Receiver-Drier After Opening
Always install a new receiver-drier or accumulator if the system was open for more than 10 minutes. Desiccant loses effectiveness when exposed to air, so store new units sealed until installation.
Use Correct Lubricants and Torque
Only use PAG oil, never engine oil or grease. Lubricate all O-rings and seals before assembly. Hand-tight plus a quarter to a half turn is usually enough, as overtightening damages aluminum fittings.
Perform Post-Repair Leak Check
Run the system for 10 to 15 minutes and do a second UV inspection. Use a refrigerant sniffer to confirm no leaks, then monitor cooling performance over 3 to 5 days.
Evaluate Repair vs. Replace
Sometimes the cost of repair outweighs the benefit, especially on older vehicles.
Repair Cost Benchmarks
O-ring or hose replacement costs $80 to $200. Condenser replacement runs $500 to $1,000. Evaporator replacement costs $800 to $2,500. Compressor replacement runs $800 to $1,500. Full system repair exceeds $2,000.
When to Consider Sealant Temporarily
Sealant-enhanced refrigerant can temporarily stop minor O-ring seepage. Never use it on large leaks because it risks clogging orifice tubes or the compressor. Avoid repeated use because it leads to contamination and failure.
🛑 Rule: If repair exceeds 30 to 50 percent of vehicle value, consider sealant as a stopgap or live without AC.
Follow Safety and Legal Rules
Automotive refrigerant handling comes with legal and safety responsibilities.
Never Vent Refrigerant
Venting refrigerant is illegal under U.S. EPA Section 608. R-134a is a potent greenhouse gas. Always use recovery equipment and never release it into the air.
Personal Safety Precautions
Wear safety glasses and gloves. Avoid skin contact with refrigerant because it causes frostbite. Work in well-ventilated areas and use UV goggles when inspecting with black light.
EPA Certification for Professionals
Technicians must be EPA Section 609 certified to handle refrigerant commercially. DIYers are not required to certify but should follow best practices.
Key Takeaways for Fixing Your Car AC Coolant Leak
- Diagnose symptoms first: Warm air, fast cycling, oil residue, hissing, or musty odors indicate a leak.
- Use UV dye for detection: It is the most reliable method for finding small, slow leaks in condensers, evaporators, and hoses.
- Repair or replace the source: Condenser, evaporator, compressor, or hose replacement depending on damage location.
- Always replace the receiver-drier: This is mandatory after any system exposure to prevent moisture damage.
- Evacuate for 30 to 60 minutes: Never skip this step because moisture causes long-term failure.
- Recharge correctly: Use the specified amount of R-134a and monitor pressures to avoid overcharging.
- Verify and monitor: Perform post-repair leak checks and watch cooling performance over several days.
- Know when to walk away: If repair costs exceed half your vehicle value, consider temporary sealant or going without AC.
By following this guide, you can restore your car AC to full cooling power, avoid compressor damage, and keep your repairs lasting for years. Whether you DIY or work with a shop, knowing the process ensures you get it right and stay cool on the road.
Frequently Asked Questions About AC Coolant Leaks in Cars
How do I know if my car has an AC coolant leak?
Look for warm air from vents, rapid compressor cycling, oily residue on components, hissing sounds, frost formation, or a musty cabin smell. If the AC blows warm only after working fine, a leak is likely.
Can I drive my car with an AC coolant leak?
You can drive, but the AC will not work, and continuing to run the compressor with low refrigerant risks permanent damage. Address leaks promptly to avoid costly repairs.
How much does it cost to fix an AC coolant leak in a car?
O-ring or hose replacement costs $80 to $200. Condenser replacement runs $500 to $1,000. Evaporator replacement costs $800 to $2,500. Compressor replacement runs $800 to $1,500.
Can I use UV dye to find an AC leak myself?
Yes, UV dye is DIY-friendly. Inject it into the low-pressure side, run the AC for 10 minutes, and inspect under a UV black light. Wear protective goggles and look for bright green fluorescent spots.
Is it illegal to vent AC refrigerant?
Yes, venting refrigerant into the atmosphere is illegal under U.S. EPA Section 608. Always use certified recovery equipment or have a professional handle refrigerant.
Should I use sealant to fix an AC leak?
Only as a temporary last resort for minor O-ring seepage. Sealant can clog the system if used repeatedly or on large leaks. It is not a reliable permanent fix.