Brown sludge accumulating in your coolant reservoir signals trouble brewing under the hood. That thick, tar-like buildup isn’t just an eyesore. It can clog your radiator, damage your water pump, destroy heater performance, and leave you stranded with an overheating engine. The good news? Most cases of brown sludge respond well to thorough cleaning and proper maintenance, especially when caught early.
This guide walks you through identifying the root cause of the sludge, performing a complete system flush, replacing worn components, and selecting the right coolant to keep your cooling system running clean. You’ll learn which DIY methods actually work, when professional help is necessary, and how to prevent this problem from recurring.
Identify the Cause of Brown Sludge in Your Coolant Reservoir
Before grabbing tools, you need to understand what’s creating that brown gunk. Jumping straight to cleaning without diagnosing the cause means the sludge will just come back.
Check for Coolant Degradation
Over time, all coolants break down, but extended-life antifreezes like Dex-Cool are notorious for forming sludge even without any contamination. If your vehicle has over 85,000 miles and the original coolant has never been changed, degradation is the most likely culprit.
Watch for these indicators. Coolant that has transitioned from orange to muddy brown or black points to degradation. Thick, sticky residue coating the interior of the reservoir is another red flag. If the oil cap and dipstick look clean with no milky residue, the problem is likely just aged coolant rather than an internal engine leak.
Test for Coolant Mixing Issues
Mixing incompatible coolants triggers a chemical reaction that produces gel-like brown sludge. This commonly happens when someone tops off with a different color antifreeze without flushing the system first. Even products marketed as universal don’t always play well together.
Recent coolant top-offs with a different color suggest mixing is the issue. The sludge from mixing tends to have a slimy, almost gelatinous texture rather than a gritty one. If your system was never properly flushed before refilling with a new coolant type, this is likely what you’re dealing with.
Diagnose Oil Contamination
Brown sludge with an oily sheen often means engine oil is leaking into your cooling system. This is a serious problem that requires engine repairs before any cleaning will help.
Look for milky residue under the oil cap or on the dipstick. Bubbling in the coolant reservoir when the engine runs is another warning sign. Sweet-smelling white exhaust smoke points toward coolant entering the combustion chamber. Common causes include a blown head gasket, cracked or warped intake manifold, or failed lower intake manifold gaskets. If you notice these symptoms, stop driving and address the internal leak first.
Inspect for Rust and Additive Buildup
Cast iron engine blocks can shed rust particles when coolant inhibitors fail. Using plain water or low-quality coolant in the past accelerates this process.
Gritty sediment rather than greasy sludge indicates rust or mineral buildup. Frequent low coolant episodes allowing air into the system also contribute to oxidation. Additionally, some stop-leak products break down over time and form deposits that resemble brown sludge.
Perform Visual and Diagnostic Tests
Examine Coolant and Oil
Open your coolant reservoir and oil cap simultaneously. Sludge with visible oil droplets points to an internal engine leak. Muddy sludge without any oil suggests simple coolant breakdown or mixing problems. Milky oil on the dipstick means coolant has entered the oil pan, which indicates a severe head gasket issue requiring immediate attention.
Run the Bubbling Test
With a completely cool engine, remove the radiator cap and watch the coolant level in the neck. Start the engine and observe carefully. Continuous bubbles or a gurgling sound indicates combustion gases entering the cooling system through a failed head gasket. Do not rev the engine during this test. If bubbles appear, shut the engine off immediately and investigate further.
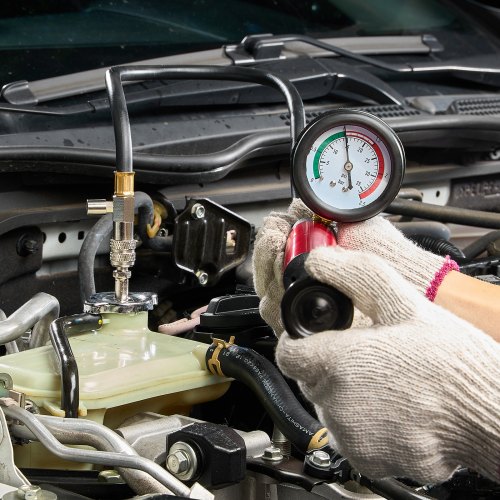
Use a Block Tester
A combustion gas test kit from your local auto parts store detects hydrocarbons in your coolant. A positive result confirms exhaust gases are entering the cooling system, which means head gasket failure is likely. This simple test takes minutes and gives you a clear answer about whether internal engine repairs are needed.
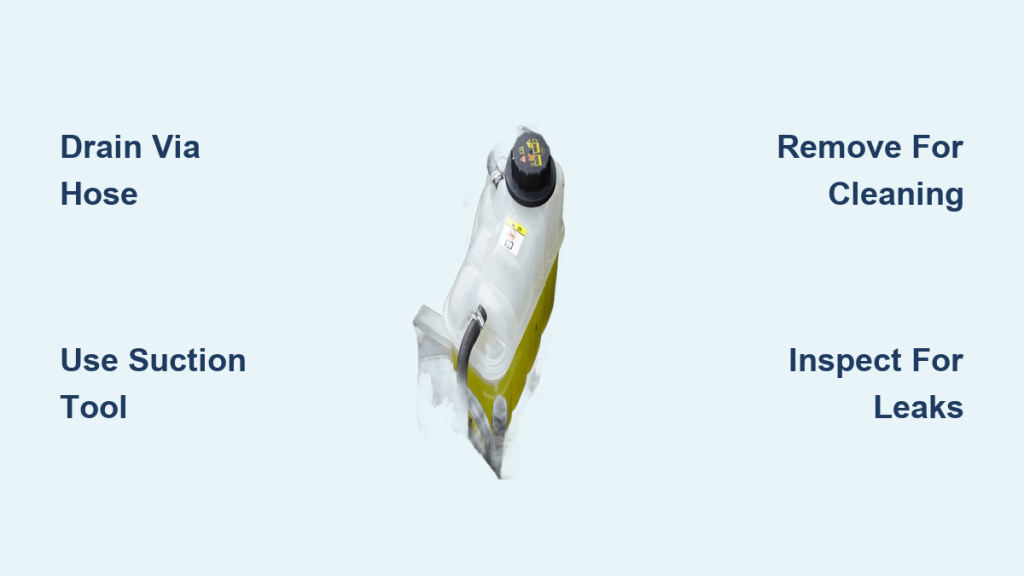
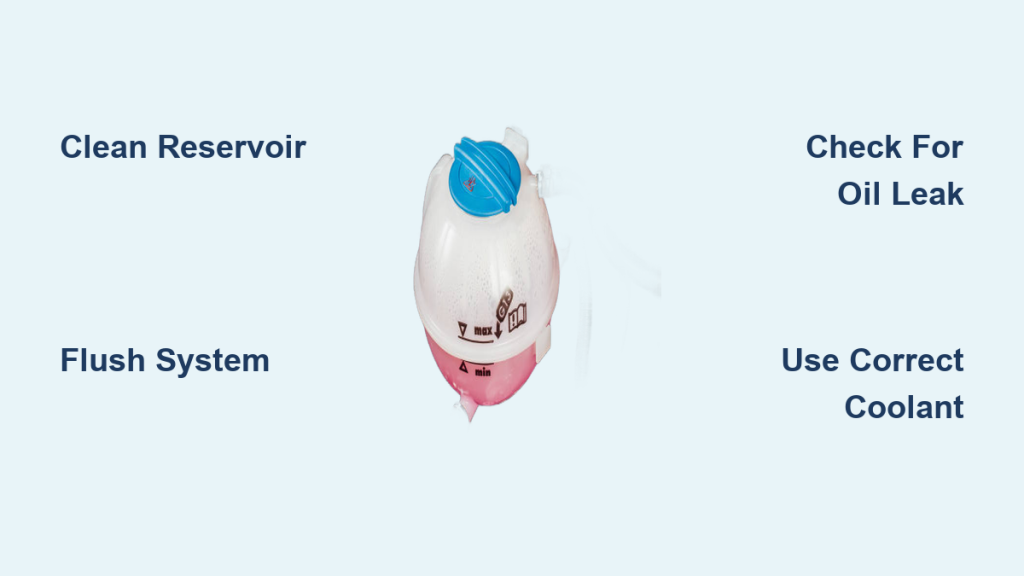
Clean the Coolant Reservoir Tank
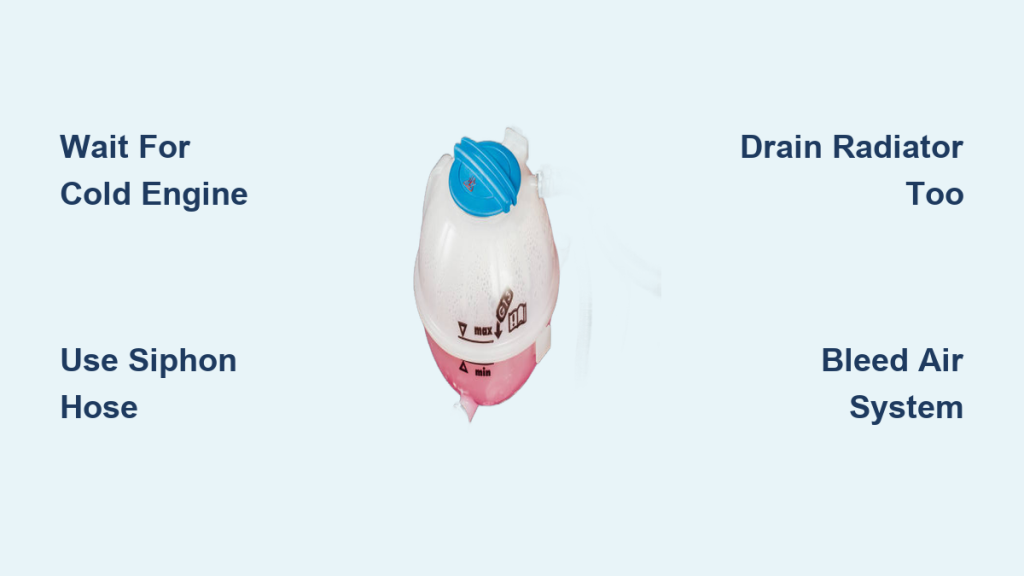
Remove and Drain the Reservoir
Let the engine cool completely before starting. Disconnect the overflow hose from the reservoir. Unbolt the reservoir from its mount and carefully remove it. Drain all fluid into a proper container for safe disposal. Never pour coolant on the ground or into storm drains.
Choose the Right Cleaning Method
Different cleaning methods produce dramatically different results depending on the type of sludge you’re dealing with.
For light to moderate sludge, fill the tank with engine degreaser or dish soap. Use a bottle brush or toothbrush to scrub the interior thoroughly. Rinse completely with water and repeat until the walls are clear enough to see the coolant level markings.
For thick, tar-like deposits from degraded Dex-Cool, pour enough acetone into the reservoir to cover the sludge. Add small nuts, bolts, or ball bearings to act as agitating objects. Shake vigorously for one to two minutes. Drain and rinse thoroughly with water. This method has been verified by multiple users as highly effective for stubborn deposits.
Avoid vinegar, baking soda, or drain cleaners. These work on mineral scale but do little for oil-based or chemical sludge.
Flush the Entire Cooling System
Cleaning the reservoir alone won’t solve the problem. Sludge hides in your radiator, heater core, and engine block.
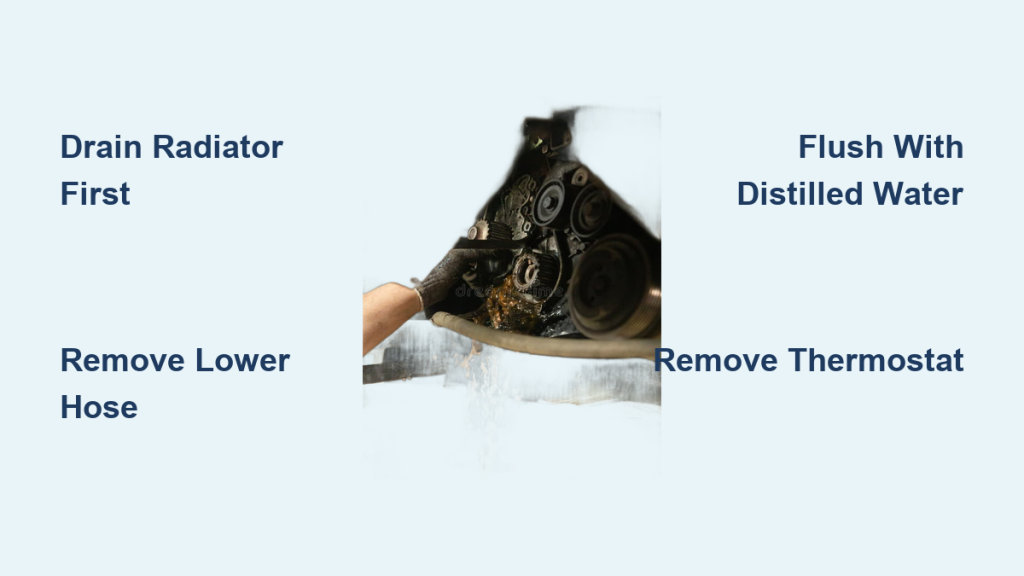
Drain Coolant from All Points
Position a large drain pan beneath your vehicle. Open the radiator drain plug to empty the radiator. Remove engine block drain plugs, typically located on the sides of the block. Drain completely. Run the engine for two to three minutes after draining to circulate remaining fluid out of the system.
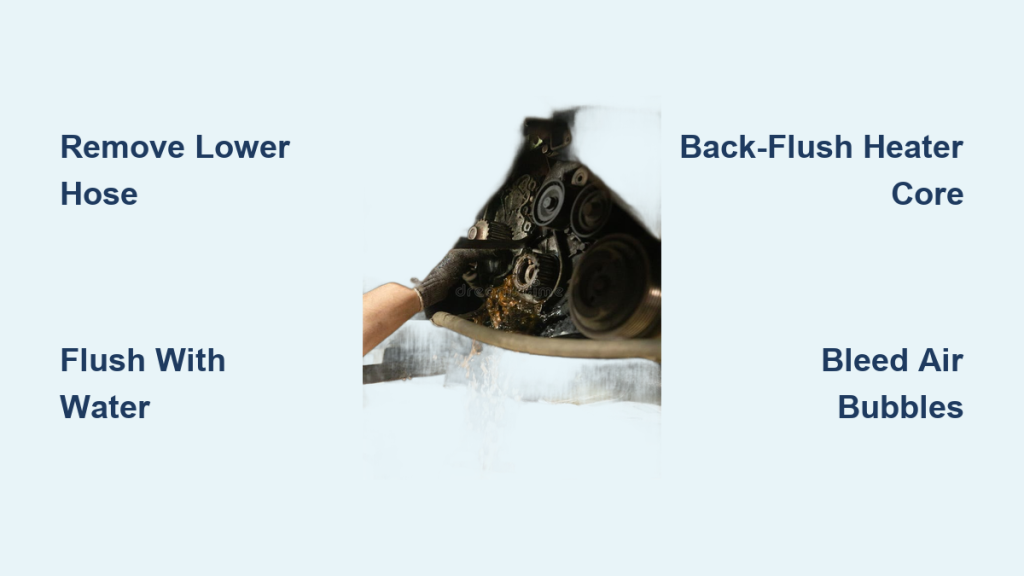
Remove and Flush Hoses
Disconnect the upper and lower radiator hoses. Disconnect the heater inlet and outlet hoses at the firewall. Backflush the radiator by running a garden hose from the outlet side (bottom) until the water runs clear. Flush the heater core in both directions using water, then use compressed air to blow out any remaining blockages.
Flush the Engine Block
Reconnect the upper radiator hose to a water source. Disconnect the lower radiator hose to allow water to flow through the engine. Run water through until it runs clear from the lower hose. This process can take ten to twenty minutes depending on how much sludge is present.
Use a Chemical Flush Agent
Add a cooling system cleaner like Gunk Radiator Flush, Bar’s Leaks Cooling System Cleaner, or Royal Purple Radiator Flush. Follow the bottle directions, which typically involve adding the product, running the engine for ten to twenty minutes with the radiator cap off, turning off the engine, allowing it to cool, and draining. Repeat the water flush until the water runs completely clear.
Replace Critical Components

Sludge damages system parts. Replace these components during reassembly to ensure reliable operation.
Install a New Thermostat
Old thermostats frequently stick closed or fail to open properly due to debris accumulation. Replace with an OEM or quality aftermarket thermostat. Install with the bleed hole facing upward to release trapped air pockets.
Fit a Fresh Radiator Cap
An old radiator cap may not hold proper system pressure, leading to overheating. Replace with an OEM-spec cap that matches your system’s requirements, typically fifteen to eighteen psi.
Check and Replace the Water Pump
If coolant leaked from the pump weep hole, the impeller appears eroded, or the bearings sound noisy, replace the water pump. Use a Fel-Pro gasket for a reliable seal during installation.
Address Heater Core Issues
If the heater still blows cold after a thorough flush, the heater core may be blocked. Re-flush the core with high-pressure water. Try blowing compressed air through from both directions. If flow cannot be restored, either replace the heater core or bypass it entirely by connecting the two heater hoses directly. Bypassing loses cabin heat but improves overall cooling system function.
Refill with Correct Coolant
Choose the Right Coolant Type
Green IAT coolant offers the lowest sludge risk and can be used in most vehicles. It lasts three to five years with regular changes. Orange Dex-Cool and other extended-life coolants carry high sludge risk after five years, even when marketed as lasting longer. Universal HOAT coolants work in most modern vehicles but check your owner’s manual for compatibility.
Never mix coolant types. Even partial mixing from incomplete flushing can trigger sludge formation.
Follow Proper Refill Procedure
Reconnect all hoses and components. Fill the radiator with a fifty-fifty premix of coolant and distilled water. Open any bleed screws located on the thermostat housing or coolant lines. Run the engine with the heater set to high until coolant flows steadily from the bleed point. Close the bleed screw and top off the radiator. Fill the reservoir to the cold line. Let the engine cool, then recheck and top off levels as needed.
Air pockets cause overheating, so bleeding is critical. Run through this fill-and-bleed cycle multiple times until no more air bubbles appear.
Prevent Future Sludge Buildup
Stick to Service Intervals
Replace green coolant every three to five years or sixty thousand miles. Replace Dex-Cool every five years regardless of mileage, even if the bottle claims one hundred thousand mile protection. Follow manufacturer specifications for universal HOAT coolants.
Avoid Coolant Mixing
Never top off with a different coolant color without performing a full flush first. Use only distilled water when mixing coolant concentrate. Tap water contains minerals that contribute to deposits.
Inspect Regularly
Check coolant color and level every six months. Look for oil sheen or cloudiness that might indicate developing problems. Replace the reservoir cap every three to five years to maintain proper pressure.
Act Fast on Overheating
Address low coolant levels and overheating immediately. Both conditions introduce air into the system and accelerate oxidation, leading to future sludge formation.
When to Seek Professional Help
Call a professional if bubbles persist after a proper flush, which indicates head gasket failure. Seek expert help if oil and coolant are mixing, as this requires internal engine repairs. Get professional assistance if overheating continues after completing all cleaning and replacement steps. Specialized equipment like coolant exchange machines may be necessary for severe cases. Intake manifold gasket or head gasket replacement should be handled by an experienced mechanic.
Final Takeaways on Fixing Brown Sludge
Brown sludge in your coolant reservoir is fixable in most cases, but ignoring it leads to expensive repairs down the road. Start by diagnosing the root cause before cleaning. Oil contamination requires engine repairs first. Flush the entire system including the heater core and engine block, not just the reservoir. Replace the thermostat, cap, and any damaged hoses during reassembly. Use green IAT coolant and avoid extended-life Dex-Cool to prevent recurrence. Bleed air properly after refilling to prevent overheating.
A thorough flush and correct coolant selection should resolve your problem unless an internal engine leak exists. Address sludge now, and your engine will stay cool for years to come.
Frequently Asked Questions About Brown Sludge in Coolant Reservoir
What causes brown sludge in a coolant reservoir?
Brown sludge typically comes from three sources. Coolant degradation over time breaks down into thick deposits, especially with extended-life coolants past their service life. Mixing incompatible coolants triggers a chemical reaction forming gel-like sludge. Oil contamination from a blown head gasket or failed intake manifold gaskets creates brown, oily sludge that requires engine repairs.
Can I just flush the coolant without cleaning the reservoir?
No. The reservoir must be removed and cleaned separately. Sludge coats the interior walls and blocks your ability to read coolant levels accurately. A flush alone won’t remove deposits stuck to the reservoir interior.
Will cleaning the reservoir fix overheating?
Not necessarily. If the sludge has migrated to the radiator, heater core, or engine block, those restrictions can still cause overheating. A complete system flush is necessary alongside reservoir cleaning.
How often should I replace coolant to prevent sludge?
Replace green coolant every three to five years or sixty thousand miles. Replace Dex-Cool and extended-life coolants every five years maximum, regardless of what the marketing claims.
Is brown sludge dangerous to drive with?
It depends on the cause. Degraded coolant reduces cooling efficiency and can lead to overheating. Oil contamination indicates serious internal engine damage that worsens with continued driving. If you suspect head gasket failure, do not drive far or for long.