
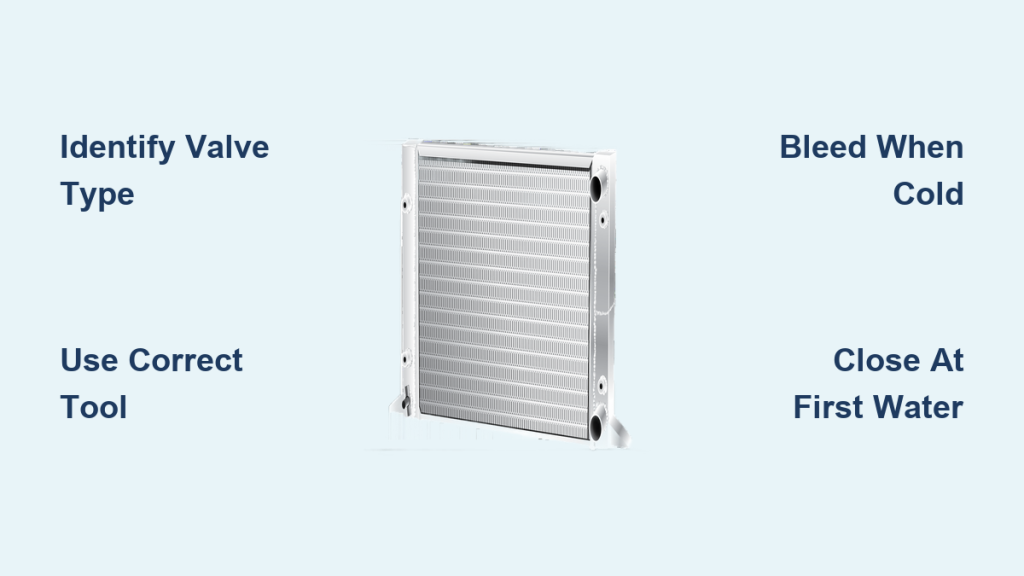
Your radiator feels warm at the bottom but icy at the top, and no amount of fiddling with the thermostat helps. The culprit is almost always trapped air, and releasing it requires bleeding the radiator. Most modern valves accept a universal square key, but older homes often feature non-standard designs that leave homeowners searching for alternative solutions. Learning how to bleed radiator without key is straightforward once you know which substitute tool matches your specific valve type.
This guide covers everything you need to identify unusual bleed valves, select the correct alternative tool, and complete the job safely. You’ll also learn how to avoid common mistakes that strip valves, cause leaks, or leave you calling a plumber for an expensive fix.
Identify Your Radiator Valve Type
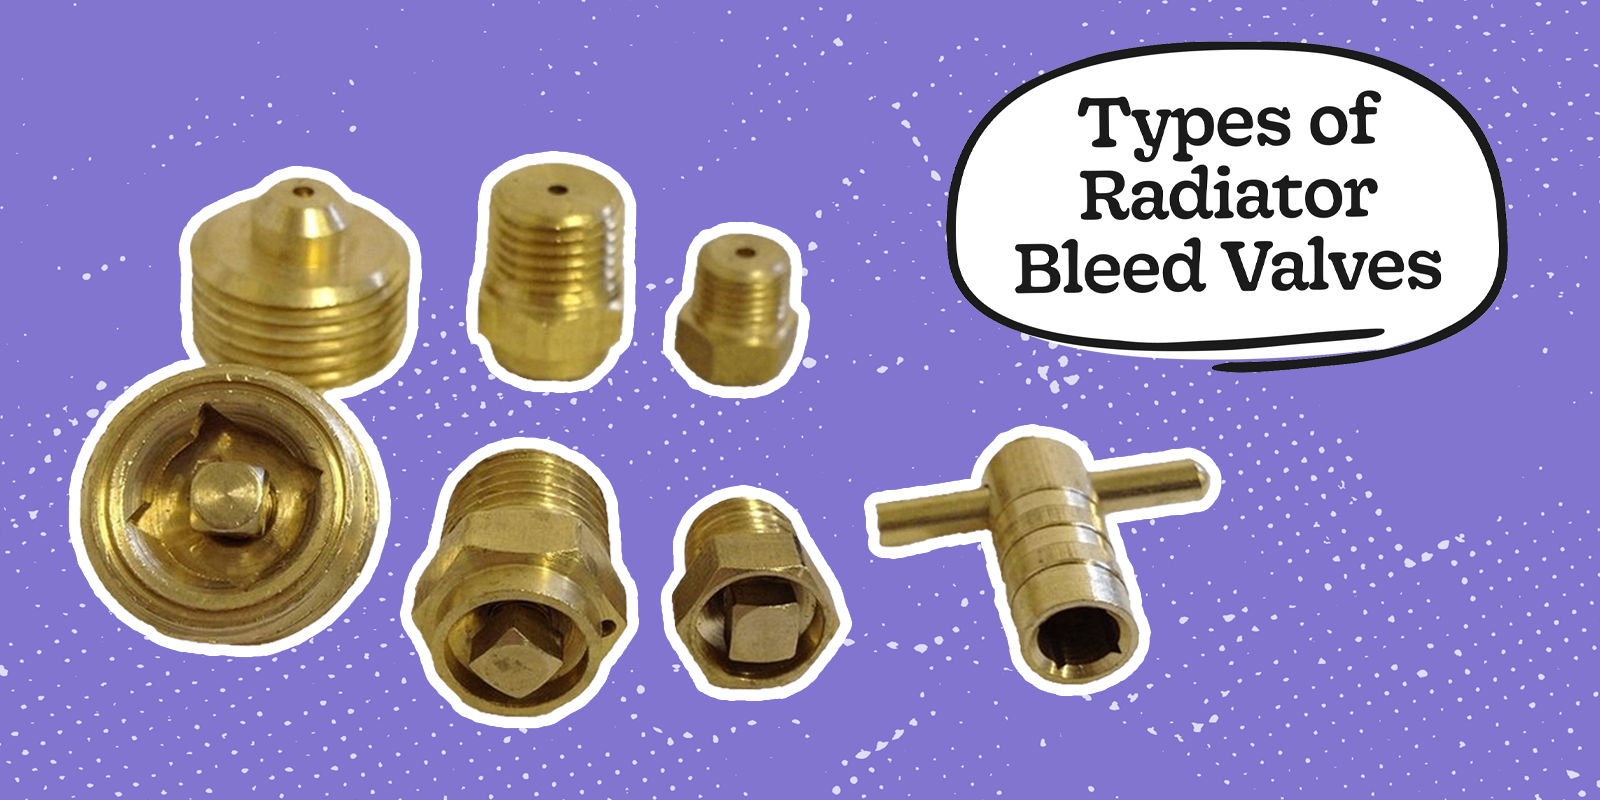
Before touching any tool, confirm what kind of bleed valve sits on your radiator. Using the wrong method can permanently damage the valve and create costly leaks. Most bleed points are located on the top corner of the radiator, often on the right side, though older installations may hide them under paint or place them on the rear face.
Check for Hex Bleed Valves
Many radiators in homes over 30 years old use miniature hex bleed valves. These appear as small round knobs with a tiny hexagonal recess in the center. They require a precise Allen key, typically 1.5mm, 2mm, or 2.5mm, rather than a flathead screwdriver or standard radiator key. Forcing a flathead into a hex valve will strip the recess and ruin the valve. A snug fit matters; any wobbling means the key is the wrong size.
Look for Slotted Screw Valves
Some older radiators feature slotted bleed valves that resemble a small flathead screw. A straight groove runs across the center, and a small flathead screwdriver is the correct tool. Make sure the screwdriver fits tightly to avoid scratching or stripping the slot. A worn tip increases the risk of slipping and damaging the valve face.
Find Hidden or Paint-Sealed Valves
Over decades, bleed valves can become painted over and nearly invisible. Run your finger along the top edges of the radiator to feel for a small raised bump or disc. Gently scrape away the paint with a utility knife or fine sandpaper to expose the slot or recess underneath. Never drill into a painted valve or force it open, as this risks puncturing the radiator body.
Avoid Mistaking Other Valves
Don’t confuse the bleed valve with unrelated plumbing components. A gate valve in your airing cupboard controls water flow and system balancing, not air release. Turning it can disrupt heating performance across the system. The bleed valve always sits directly on the radiator itself. If you cannot locate one, inspect both top corners and the back edge before assuming your system lacks valves entirely.
Choose the Right Tool Substitute

Selecting the correct substitute tool is essential. The wrong choice can strip the valve and make future maintenance impossible without a full replacement.
Use Allen Keys for Hex Valves
For hex bleed valves, Allen keys are the only safe option. The most common sizes include:
– 1.5mm for very small valves
– 2mm for most standard applications
– 2.5mm for slightly larger variants
A mini bleed key set or precision hex key set costs a few pounds and prevents valve damage. Never grip a larger key with pliers to force it; this will crush the valve head.
Try a Flathead Screwdriver for Slotted Valves
If your valve has a straight slot, use a small flathead screwdriver that fits snugly. Turn it counterclockwise to open. A loose fit will chew up the metal and create leaks. Test the fit before applying any pressure, and stop if the tool wobbles in the slot.
Test Clock Keys for Imperial Radiators
Radiators older than 30 years may use imperial-scale bleed valves that don’t accept metric tools. A clock key, the kind used to wind antique clocks, often works. Clock keys range from size 000 to 16, and sizes 8 to 12 typically fit imperial radiator valves. Multi-size clock key sets are inexpensive and useful for older properties. Insert the key and turn gently to check for a secure grip.
Never Use Pliers or Phillips Screwdrivers
Avoid these tools entirely:
– Pliers can crush or twist the valve head, making it impossible to close
– Phillips screwdrivers won’t fit slotted valves and will damage the opening
– Improvised tools like knives or wrenches risk permanent damage and leaks
If your tool doesn’t fit smoothly, stop immediately. Forcing it leads to expensive repairs.
Prepare Before Bleeding
Careful preparation prevents mess, injury, and system damage during the bleeding process.
Turn Off Heating and Let Radiators Cool
Never bleed a hot radiator. Turn off the central heating and wait for the radiators to cool completely. Hot water under pressure can cause serious scalds if released suddenly. This step is non-negotiable for safety.
Gather Supplies
Have these ready before starting:
– The correct tool for your valve type
– A towel or cloth
– A small bowl or cup to catch water
– Protective gloves (optional)
Place the towel directly under the valve to absorb drips. Hold the container close to the outlet to catch escaping air and water.
Check Boiler Pressure
If you have a sealed system, note the boiler pressure gauge reading before bleeding. Releasing air and water lowers system pressure, and you may need to re-pressurize to 1 to 1.5 bar afterward. Check your boiler manual for the correct pressure range.
Bleed the Radiator Step by Step
Once prepared, follow these steps to release trapped air safely and restore even heating.
Open the Valve Gently
Insert your tool into the bleed valve and turn it counterclockwise. Apply light pressure and do not force it. Open the valve only a quarter turn or less. You should hear a hissing sound, which indicates air escaping. If nothing happens, the valve may be clogged or the tool may not fit correctly.
Listen and Watch for Water
Keep the tool in place while the hissing continues. As air escapes, water will begin to appear at the outlet. As soon as you see steady dripping or bubbling water, stop turning. This signals that all air has been expelled and water is now escaping.
Close the Valve Immediately
Turn the tool clockwise to close the valve. Tighten it gently without over-tightening. Excessive force can crack the valve or damage the thread, leading to persistent leaks. A light snug is sufficient to create a proper seal.
Repeat for Other Radiators
Work from the radiator farthest from the boiler to the closest. Bleed one at a time, especially in larger systems, to maintain pressure balance. Cold spots in multiple radiators often mean several need attention.
Handle Common Problems

Even with the right tool, issues can arise during the process. Here’s how to respond effectively.
Valve Won’t Open
If the valve is stuck, do not force it. Corrosion or mineral buildup may be holding it in place. Apply a few drops of penetrating oil and wait 10 minutes before trying again. If it still won’t budge, call a plumber. Forcing a corroded valve can snap the stem.
Valve Leaks After Closing
A small drip after bleeding is normal as residual air escapes from water. But if the valve keeps leaking, it may be damaged or not fully closed. Try tightening it slightly by hand. If it still leaks, the internal washer may be worn and require professional replacement.
No Bleed Valve Found
If you cannot find a bleed valve on any radiator, your system may not have them. Some older systems rely on automatic air vents or system-wide purging. Do not drill into the radiator or loosen any joints, as this can cause major leaks. Contact a heating engineer to assess and install proper valves.
Radiator Still Cold at Top
If the top remains cold after bleeding, trapped air may be stubborn or deeper in the system. Try increasing pump speed temporarily to push water through. If that fails, the system may have a blockage that requires professional flushing.
Know When to Call a Professional
Some situations require expert help rather than DIY attempts.
Uncertain Valve Type
If you’re unsure what kind of valve you have, take a clear photo and visit a plumbing supply store. Staff can identify it and sell you the correct tool. Guessing risks permanent valve damage.
Frequent Bleeding Needed
If you have to bleed radiators every few weeks, air is entering the system, likely through a leak. A plumber can pressure-test the system and locate the source.
Installed Upside Down
In rare cases, radiators are mounted upside down, placing the bleed valve at the bottom where it cannot release air. A heating engineer must reinstall the radiator correctly.
Winter Heating Emergency
If it’s cold and you’re unsure about the process, don’t risk it. A failed bleed attempt can leave you without heat. Call a qualified plumber to avoid discomfort and water damage.
Maintain Efficiency Long Term
Bleeding isn’t a one-time fix. Regular maintenance keeps your system running efficiently year after year.
Buy the Right Tool Set
For homes with older radiators, invest in:
– A mini bleed key set with 1.5mm, 2mm, and 2.5mm keys
– A multi-size clock key covering sizes 8 to 12
– A small flathead screwdriver set
These tools cost under £10 and prevent future stress. Store them with your boiler manual for easy access.
Upgrade Old Radiators
Radiators requiring clock keys or hex tools are often over 30 years old and less efficient. Replacing them with modern units offers better heat output, lower energy bills, and standardized bleed valves. Modern radiators pay for themselves through efficiency gains over time.
Bleed Annually
Bleed all radiators once a year, ideally before winter. This prevents air buildup, ensures even heating, and reduces strain on your boiler. The process takes 10 to 15 minutes per radiator and significantly improves system performance.
Frequently Asked Questions About Bleeding Radiators Without a Key
Can I use a flathead screwdriver on any radiator bleed valve?
No. Flathead screwdrivers only work on slotted valves. Using one on a hex valve will strip the recess and make future bleeding impossible. Always match the tool to the valve type.
What size Allen key do I need for an old radiator bleed valve?
The most common sizes are 1.5mm, 2mm, and 2.5mm. A 2mm key fits most hex valves, but buying a mini set ensures you have the right size for any variation.
Is it safe to bleed a radiator while the heating is on?
No. Never bleed a hot radiator. The escaping water can cause severe scalds. Always turn off the heating and wait for the system to cool completely before bleeding.
Why does my radiator need bleeding so often?
Frequent bleeding indicates air is entering the system, usually through a leak. A plumber can pressure-test the system to locate and repair the source of the air ingress.
What happens if I over-tighten the bleed valve?
Over-tightening can crack the valve body or damage the threads, leading to persistent leaks. Tighten only until snug, and stop as soon as the valve seals.
Can I bleed a radiator if I cannot find the valve?
If no valve is visible after thorough inspection, your system may lack bleed valves. Do not drill or modify the radiator. Contact a heating engineer to assess your system and install proper valves if needed.
Key Takeaways for Bleeding a Radiator Without a Key

Bleeding a radiator without a traditional key is entirely possible when you match the right tool to your specific valve type. A 2mm Allen key works for most hex valves, a flathead screwdriver handles slotted designs, and a clock key fits imperial-era radiators. Always work on a cold system, catch escaping water with a towel and container, and close the valve the moment water appears.
Your next step is to inspect each radiator in your home, identify the valve type, and purchase the appropriate tool set before heating season begins. With the correct approach, you can restore full heat, improve efficiency, and avoid costly repairs, all without owning a standard radiator key.



