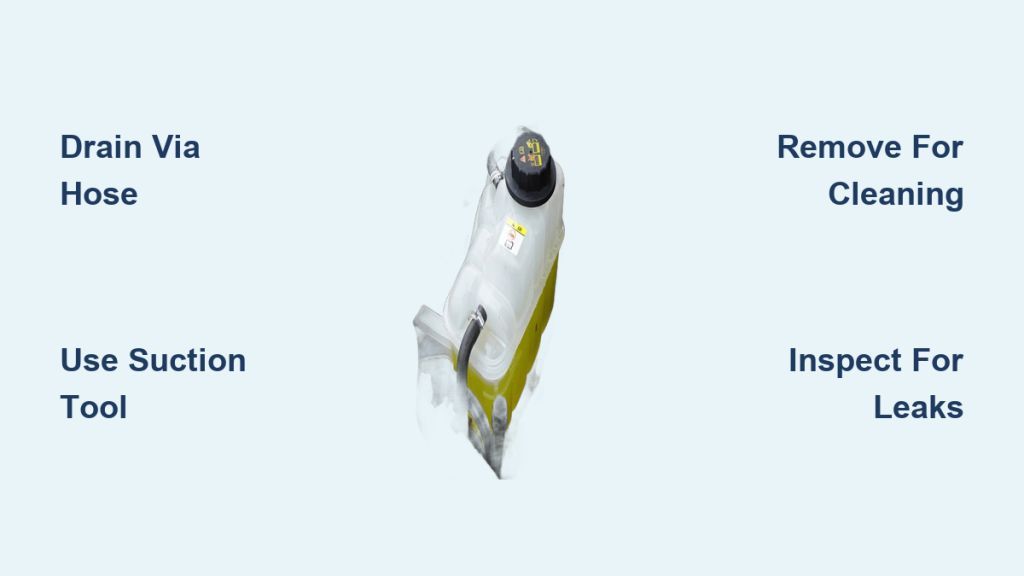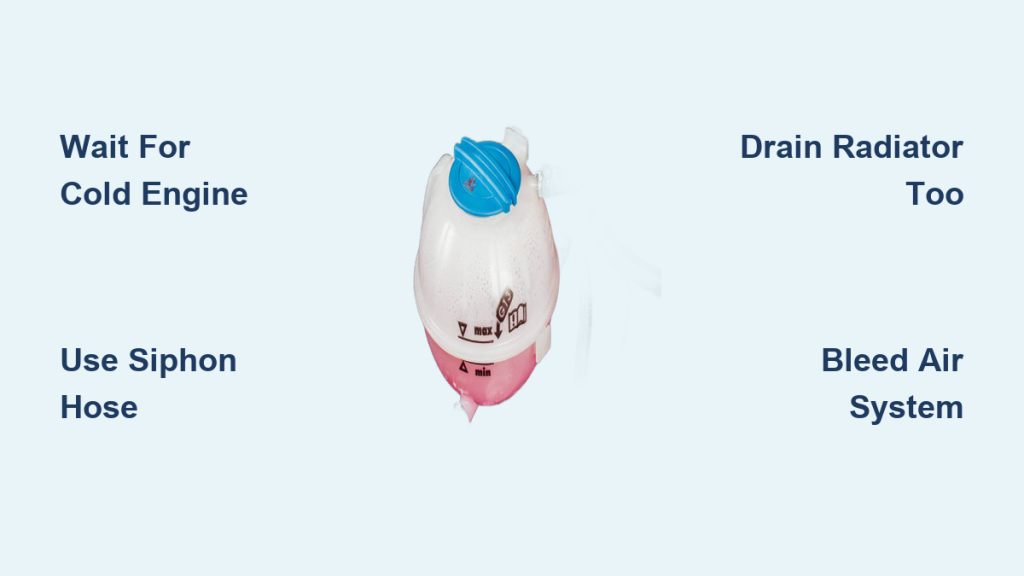
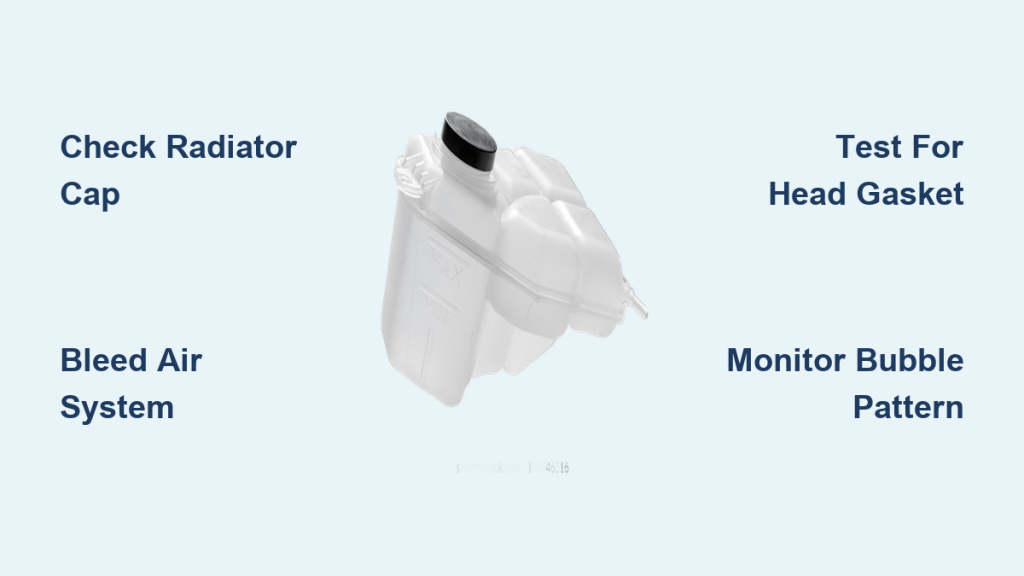
You glance under the hood and see antifreeze bubbling in the overflow tank, instantly sparking fear of a blown head gasket. While this symptom can signal serious engine trouble, it often stems from simpler issues like trapped air or a faulty radiator cap.
The overflow tank reflects internal cooling system status, where bubbles indicate gas or vapor disrupting normal flow. This guide helps you distinguish between harmless air purging and dangerous combustion leaks while providing clear steps to diagnose and fix the problem.
Identify the Bubble Pattern to Find the Root Cause

Not all bubbling indicates the same problem. The timing and behavior of the bubbles reveal whether you face a minor air pocket or a major mechanical failure. Observing when the bubbles appear helps you narrow down the possibilities quickly.
Bubbles Only After Engine Warm-Up
If bubbles appear minutes after starting and increase with engine speed, trapped air is the likely culprit. Air pockets often remain after coolant changes or minor leaks and expand as the engine heats up. This type of bubbling is usually harmless and resolves within a few driving cycles.
What to look for:
* Gurgling noises from the dashboard or firewall area
* Fluctuating temperature gauge readings
* Intermittent heater performance that shifts from hot to cold
Pro Tip: Run the engine with the radiator cap off if your manufacturer allows it to help purge air. Keep the coolant topped off and drive for 50 to 75 miles to let the system stabilize.
Continuous Bubbling at Idle
Steady rhythmic bubbles even when the engine is idling point to combustion gases entering the cooling system. This is a classic sign of a blown head gasket or cracked cylinder head rather than simple air pockets. Unlike air locks, these bubbles do not go away after the engine warms up.
Red flags include:
* White sweet-smelling exhaust smoke that lingers in the air
* Recurring coolant loss with no visible external leaks
* Rising engine temperature during normal driving conditions
Do not confuse this with condensation which produces brief thin white vapor on cold mornings. Combustion-related smoke is thick has a syrupy odor and persists long after startup.
Check the Radiator Cap for Pressure Failures

A faulty radiator cap is one of the most common and cheapest causes of bubbling in the overflow tank. The cap maintains system pressure to raise the coolant boiling point and prevent vaporization. If it fails to seal or hold pressure, coolant boils prematurely creating vapor bubbles.
Test the Cap Pressure Rating
Every cooling system has a specific pressure requirement such as 13 psi or 16 psi. Using the wrong cap or one with a worn seal disrupts this balance and lowers the boiling point.
Steps to verify:
1. Remove the cap only when the engine is completely cool.
2. Inspect the rubber seal for cracks swelling or debris accumulation.
3. Compare the cap psi rating to your vehicle specification found on the radiator neck.
4. Use a hand-held pressure tester to confirm it holds the rated pressure.
If the cap fails:
* Replace it with an OEM-spec unit immediately.
* Refill the system and monitor for changes in bubble activity.
Warning: Never remove the cap on a hot engine. Wait until it is completely cooled to avoid severe scalding from escaping steam.
Diagnose Overheating and Flow Restrictions
Bubbling caused by overheating or restricted flow stems from localized boiling in hot spots. When coolant cannot circulate properly areas near the engine block exceed safe temperatures and turn liquid into vapor.
Common Causes of Poor Circulation
| Issue | How It Triggers Bubbling |
|---|---|
| Low coolant level | Reduces heat transfer and allows vapor pockets to form |
| Stuck thermostat | Blocks flow until it opens or prevents it entirely |
| Clogged radiator | Prevents heat dissipation causing coolant to boil |
| Failed water pump | Stops circulation leading to stagnant overheating |
| Inoperative cooling fan | Allows heat to build at idle or low speeds |
Symptoms to watch for:
* Temperature gauge climbing into the red zone
* Steam emitting from under the hood
* Sweet coolant smell without visible leaks
* Bubbling that intensifies under load or in traffic
Immediate action: Shut down the engine if overheating occurs. Let it cool completely before inspecting. Flush the system and replace the thermostat or water pump if needed.
Rule Out a Blown Head Gasket
When bubbling persists and other causes are ruled out you must suspect combustion gas intrusion. A failed head gasket allows high-pressure exhaust gases to enter cooling passages and pressurize the system.
Perform a Block Test
The most reliable way to confirm this is a chemical block test also known as a coolant sniffer.
What you will need:
* Block tester kit available at auto parts stores
* Fresh indicator fluid usually blue in color
Testing steps:
1. Let the engine reach normal operating temperature.
2. Remove the radiator cap only when cool or use the overflow tank if designed for testing.
3. Assemble the block tester with the fluid in the chamber.
4. Draw air from the coolant surface through the fluid using the hand pump.
5. Observe color change where blue to green or yellow means positive for exhaust gases.
Important notes:
* Some small leaks only occur under boost in turbo engines or high load.
* False positives are rare but possible while false negatives can happen if the leak is intermittent.
Follow Up with a Compression Test
If the block test is positive perform a cylinder compression test to assess engine health. Low or uneven compression across cylinders confirms internal damage. This may require head resurfacing gasket replacement or major engine work.
Bleed Air from the Cooling System
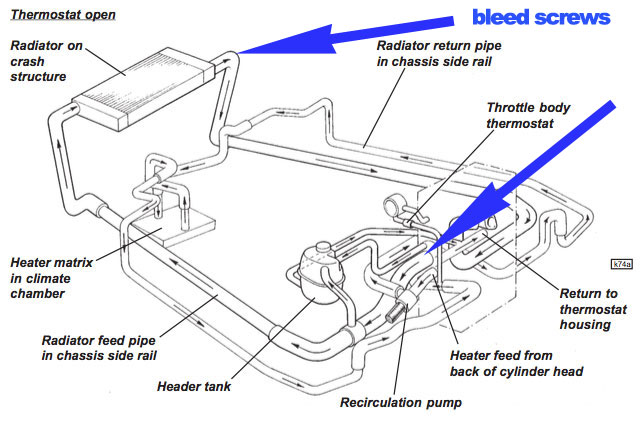
After repairs or coolant replacement burping the system removes trapped air that causes gurgling and bubbling. Air rises to the highest point in the system and must be purged manually.
Locate the Highest Bleed Point
Air rises to the highest point in the system which varies by vehicle model. On many vehicles this is the thermostat housing bleed screw or a bleeder valve on the heater hose.
Burping procedure:
1. Park on a slight incline with the front higher than the rear.
2. Remove the radiator cap or open the bleed screw.
3. Fill the coolant reservoir to the cold mark.
4. Start the engine and let it idle with the heater on max.
5. Squeeze upper radiator hoses to help move air pockets.
6. Add coolant as needed until flow is steady and bubble-free.
7. Reinstall the cap and test drive the vehicle.
Time required: 15 to 30 minutes of idling plus a 70 plus mile drive cycle for full stabilization.
Prevent Recurring Bubbling Issues
Once the issue is fixed prevent recurrence with smart maintenance and driving habits. Proper fluid care ensures long-term engine health and prevents future antifreeze bubbling in the overflow tank.
Use the Right Coolant Mix
Stick to a 50/50 ratio of antifreeze and distilled water for optimal performance. This provides optimal heat transfer freeze protection and corrosion inhibition. Avoid tap water since it contains minerals that promote scaling and reduce efficiency.
Add Heat Transfer Enhancers
Products like Napacool or Water Wetter improve thermal conductivity and raise the effective boiling point. They will not fix mechanical issues but they help marginally stressed systems run cooler.
Best use cases:
* High-mileage engines showing signs of wear
* Vehicles used for towing heavy loads
* Operation in hot climate zones
Maintain Proper Fuel Octane
Using lower-octane fuel than recommended causes engine knock which spikes combustion temperatures. This extra heat stresses the cooling system and can lead to head gasket failure over time. Check your manual and use the required fuel grade to prevent detonation.
When to Seek Professional Help
Some issues demand expert tools and experience beyond basic home diagnostics. Do not hesitate to visit a mechanic if you observe persistent problems after basic repairs.
Persistent Bubbling After Basic Repairs
If you have replaced the cap bled the system and flushed the coolant but bubbles remain it is time for advanced diagnostics. A shop can perform a pressure test on the entire system and run a digital combustion gas analyzer.
Signs of Internal Engine Damage
Look for milky oil indicating coolant mixing with oil or low compression in multiple cylinders. Cylinder misfires on cold start also indicate serious internal failure requiring disassembly.
Turbocharged or Performance Engines
In boosted applications head gasket leaks may only appear under pressure. A mechanic can simulate boost conditions to confirm intermittent failures that standard tests might miss.
Frequently Asked Questions About Antifreeze Bubbling
Is antifreeze bubbling in overflow tank always a blown head gasket?
No it is not always a blown head gasket. Common causes include trapped air pockets after maintenance or a faulty radiator cap that fails to hold pressure.
How do I tell if bubbles are from air or combustion?
Air bubbles usually appear after warm-up and stop after driving cycles while combustion bubbles persist at idle and come with white sweet-smelling exhaust smoke.
Can a bad radiator cap cause bubbling?
Yes a bad cap fails to maintain system pressure which lowers the coolant boiling point and causes premature vaporization and bubbling.
How long does it take for air pockets to clear?
Air pockets typically resolve after a few driving cycles or about 70 miles of driving after properly burping the cooling system.
What does a positive block test look like?
A positive block test shows the indicator fluid changing from blue to green or yellow when exposed to combustion gases in the coolant.
Key Takeaways for Fixing Antifreeze Bubbling in Overflow Tank
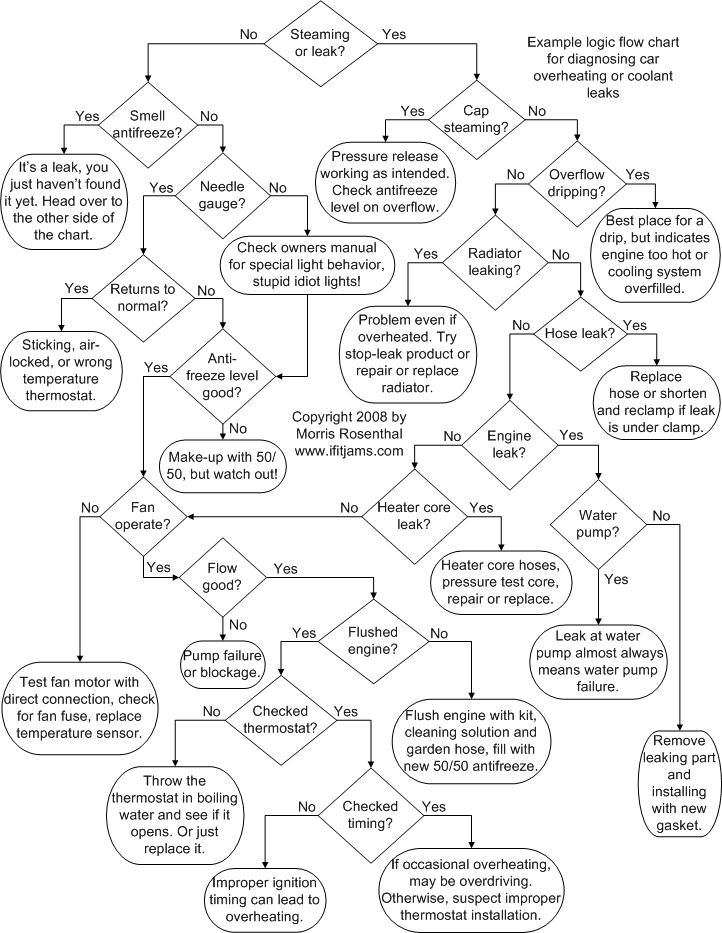
Antifreeze bubbling in the overflow tank requires immediate attention but does not always mean engine failure. Start by checking the radiator cap and bleeding air from the system before assuming the worst. Use a block test to confirm combustion leaks if simple fixes do not resolve the issue.
Address the problem quickly to prevent overheating and potential engine damage. Follow proper maintenance schedules and use the correct coolant mix to ensure your cooling system operates efficiently for years to come.