Draining coolant is essential engine maintenance that prevents overheating, corrosion, and costly repairs to your vehicle’s cooling system. Over time, coolant breaks down and accumulates contaminants like rust and sludge, reducing its effectiveness at protecting your engine. This guide walks you through exactly how to drain coolant safely and completely, including flushing, refilling, air bleeding, and responsible disposal. Whether you drive a sedan, SUV, or truck, following these steps ensures your engine stays protected year-round.
Prepare Your Vehicle for Coolant Drainage
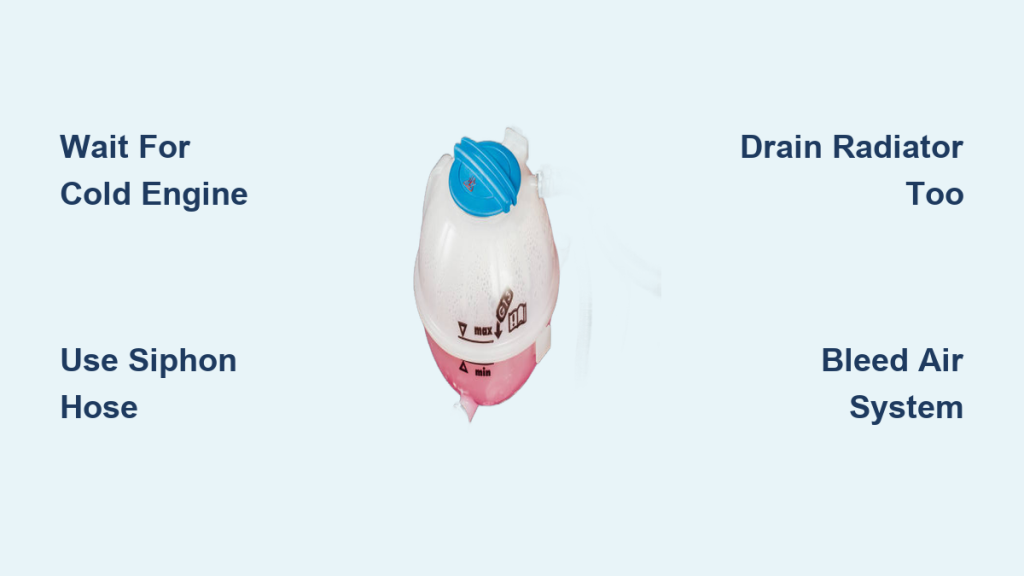
Before touching any cooling system component, you must ensure the engine is completely cold. A hot cooling system is pressurized, and opening it risks severe burns from steam or scalding fluid.
Confirm the Engine Is Cold
• Wait at least 3 to 4 hours after driving, or overnight for best results
• Check the temperature gauge. The needle must be in the blue (cold) zone
• Never remove the radiator cap if the engine feels warm to the touch
Set Up Your Workspace Safely
• Park on a level surface to allow full drainage
• Engage the parking brake and turn off the ignition
• Use jack stands or ramps only if undercarriage access is required
• Open the hood and locate the radiator cap and expansion tank
Pro Tip: Place a rag over the radiator cap when removing it. Even on a cold engine, residual pressure can release coolant.
Gather Required Tools and Supplies
Having the right tools ensures a clean, efficient job and reduces the risk of leaks or contamination.
Essential Tools and Materials
• Wrench or socket set for drain plug or hose clamps
• Funnel to prevent spills during refill
• Fluid catch pan (10 liters or more) to collect old coolant safely
• Gloves and safety glasses to protect against toxic ethylene glycol
• Distilled water to avoid mineral deposits in the system
• 50/50 pre-mixed coolant or concentrate plus water
• Chemical radiator flush (optional but recommended for dirty systems)
Warning: Antifreeze tastes sweet but is highly toxic to pets and humans. Store it in sealed containers and clean spills immediately.
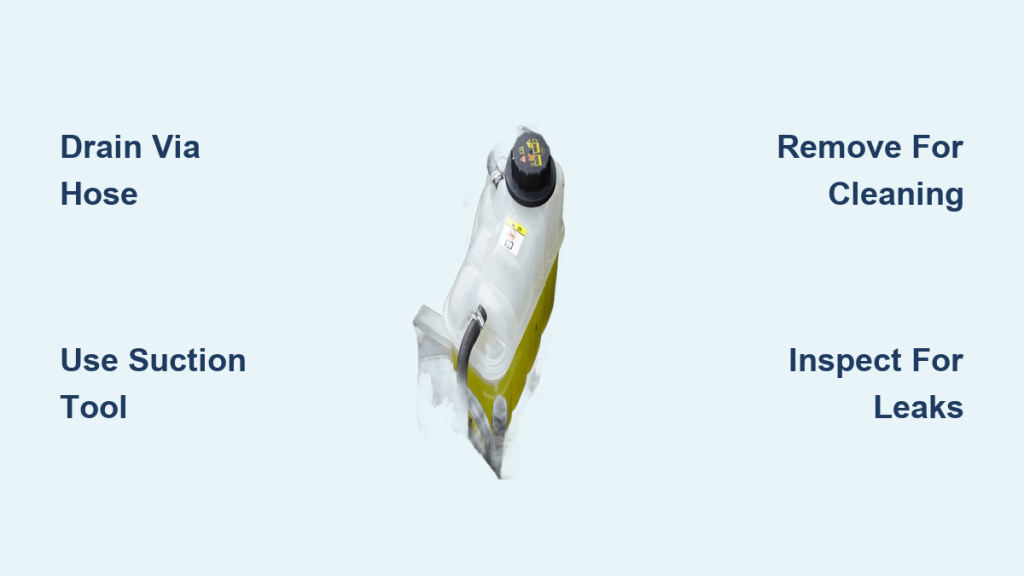
Locate the Coolant Drain Point

Most vehicles have one or more ways to drain coolant. Knowing where to drain ensures maximum fluid removal.
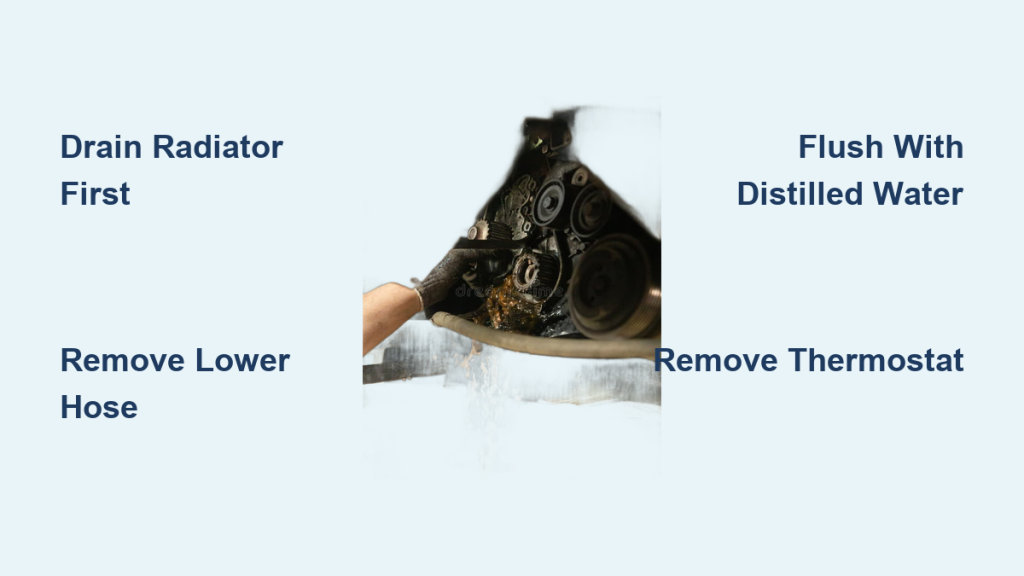
Find the Radiator Petcock
• The radiator drain valve (petcock) is typically located at the bottom corner of the radiator, often on the driver’s side
• Turn the petcock counterclockwise or pull it open, depending on design
• If missing or stuck, remove the lower radiator hose instead
Visual Cue: Look for a small plastic or metal valve with a lever or knob. Some models (like BMW) use a blue-capped petcock.
Check for Engine Block Drain Plugs
• Older engines may have freeze plugs (core plugs) on the side of the engine block
• Removing one allows coolant trapped in the block to drain
• Not all modern vehicles have accessible block drains. Consult your manual
Reality Check: Draining only the radiator removes about 60 to 70 percent of total coolant. The rest stays in the engine and heater core, which is why flushing is essential for full renewal.
Drain the Old Coolant Completely
This step removes degraded fluid and prepares the system for flushing.
Position the Catch Pan
• Slide the fluid pan under the petcock or lower hose outlet
• Ensure it can hold at least 6 to 8 quarts (5.7 to 7.5 liters) to avoid overflow
Start the Drain Process
- Remove the radiator or expansion tank cap to break vacuum
- Open the petcock slowly or disconnect the lower hose if no valve exists
- Allow coolant to flow freely. This may take 10 to 20 minutes
- Once dripping stops, close the petcock or reattach the hose securely
Pro Tip: Record how much fluid drained. This helps estimate system capacity and mixing ratios later.
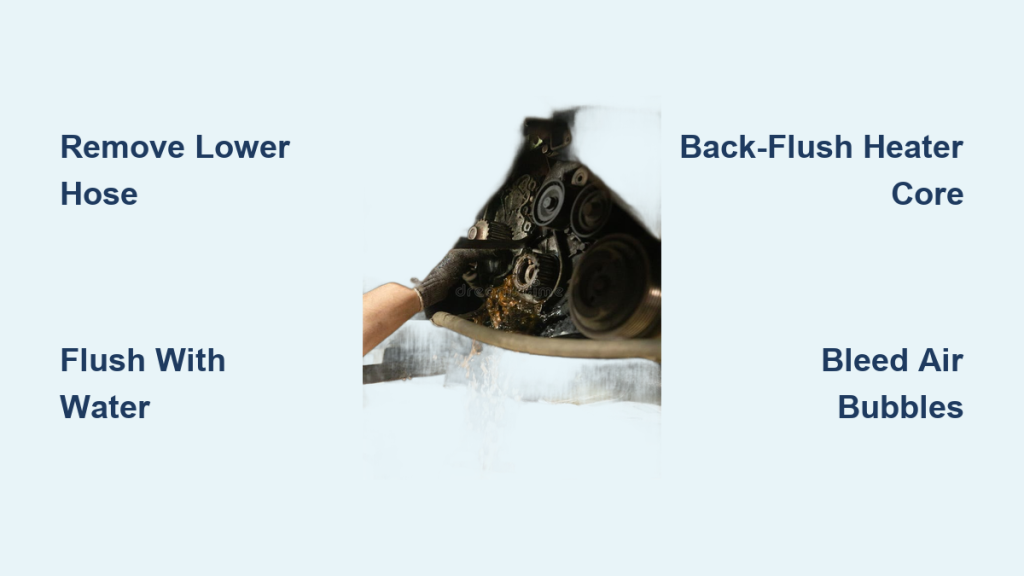
Flush the Cooling System
Flushing removes sludge, rust, and old additive residue that simple draining cannot reach.
Option 1: Simple Water Flush
Use this method for routine service when coolant looks clean.
- Fill radiator with distilled water
- Replace cap and start engine
- Set heater to max heat to open heater core circuit
- Run engine until it reaches normal operating temperature (about 106°C or 223°F)
- Idle for 10 to 15 minutes, then shut off and cool
- Drain water and repeat until discharge runs clear
Expert Note: Tap water can leave mineral scale. Always use distilled or demineralised water.
Option 2: Chemical Flush for Dirty Systems
Recommended if coolant is brown, sludgy, or overdue for change.
- After draining, add radiator flush additive per product instructions
- Top up with water and run engine with heater on high. Standard flush takes 20 to 45 minutes. Heavy-duty formula takes 45 to 90 minutes
- Let engine cool, then drain solution completely
- Rinse with distilled water until runoff is clear
Caution: Do not drive during flush cycles. Air bubbles may trap near the thermostat and cause overheating.
Refill with Fresh Coolant
Using the correct type and mix ratio ensures freeze protection, boil-over resistance, and corrosion control.
Choose the Right Coolant

Refer to your owner’s manual to identify the correct type. Never mix coolant types.
| Coolant Type | Color | Best For | Lifespan |
|---|---|---|---|
| IAT (Inorganic Additive Technology) | Green | Pre-1998 vehicles | 2 years |
| OAT (Organic Acid Technology) | Orange/Red | GM, VW, modern cars | 5 years |
| HOAT (Hybrid OAT) | Yellow | Ford, Chrysler, European | 5 years |
| Phosphated OAT | Blue | Honda, Hyundai, Toyota | 5 years |
Warning: Mixing incompatible coolants can form gel-like sludge that clogs passages and destroys water pumps.
Mix and Pour Coolant Correctly
• Ideal blend is 50 percent antifreeze to 50 percent distilled water
• This protects down to -34°C (-30°F) and up to 129°C (265°F)
• For concentrated coolant, mix equal parts with distilled water in a clean container
• Use pre-mixed 50/50 coolant to avoid measurement errors
Refill Steps
- Reinstall and tighten the drain plug or lower hose
- Insert a funnel into the radiator or expansion tank
- Pour coolant slowly to prevent air traps
- Tilt the bottle sideways to reduce splashing
- Fill to the “Full” or “Hot” line. Level will drop as air escapes
Optional: Add anti-rust sealer after flushing older engines to protect internal surfaces.
Bleed Air from the System
Air pockets cause overheating, poor heater output, and false temperature readings. Proper bleeding is non-negotiable.
Standard Air Bleeding Process
- Leave the radiator or expansion tank cap off
- Start the engine and set heater to max heat and fan speed
- Let engine warm up to operating temperature
- Watch for bubbling in the coolant reservoir. This means air is escaping
- As level drops, top up gradually with fresh coolant
- Once flow stabilizes and no bubbles remain, install the cap securely
Handle Stubborn Air Locks
• Run the vehicle idle for 10 to 15 minutes with cap off
• Gently squeeze upper radiator hoses to help dislodge trapped air
• Some models (like BMW and Subaru) require a scan tool to activate electric fans or open thermostats programmatically
Warning: Driving with air in the system can lead to overheating. Only test drive after stable temperature and full bleed.
Final Checks and Test Drive
Verify your work before hitting the road.
Monitor Temperature and Heater
• Take a 15 to 20 minute test drive
• Watch the temperature gauge. It should stay centered
• Confirm strong hot air from the vents, indicating no air in the heater core
Recheck Coolant Level
• After returning, let the engine cool completely
• Open the expansion tank and top off to the “Cold” mark if needed
• Inspect for leaks around the drain plug, hoses, and radiator
Pro Tip: Mark the date of service in your maintenance log. Coolant should be replaced every 2 years or 36,000 miles, even if it looks clean.
Dispose of Used Coolant Responsibly
Coolant is hazardous waste. Never pour it down drains or onto the ground.
Recycle Safely
• Store used fluid in a sealed plastic container labeled “Used Antifreeze”
• Take it to an auto parts store (like AutoZone or O’Reilly), municipal hazardous waste facility, or certified repair shop
Legal Note: Improper disposal violates environmental regulations in most regions.
Troubleshoot Common Post-Flush Issues
Even with care, problems can arise after refilling.
Overheating After Refill
• Cause: Air bubble near thermostat
• Fix: Re-bleed system with engine running and cap off
Weak Heater Output
• Cause: Air trapped in heater core
• Fix: Run engine with heater on high. Squeeze heater hoses to release air
Coolant Level Drops Over Time
• Cause: Incomplete fill or hidden leak
• Fix: Recheck after full cool-down. Inspect hoses, water pump, and radiator
Milky or Gel-Like Coolant
• Milky: Oil contamination, indicating possible head gasket failure
• Gel: Mixed incompatible coolants. Flush immediately
Urgent Action: Milky coolant requires professional diagnosis. Continued driving risks engine destruction.
Coolant Capacity by Vehicle Type
System size varies. Always confirm with your manual or manufacturer data.
| Vehicle | Approximate Capacity |
|---|---|
| 2000 BMW 540i | 11.4 L (3 gallons) |
| Hyundai Elantra | 5.7 L (6 quarts) |
| General Truck | 7.6 L (2 gallons) |
| Average Car | 5 to 12 L |
User Insight: One Elantra owner drained only 4 quarts via radiator. The remaining 2 quarts were flushed out over multiple cycles.
Recommended Maintenance Schedule
• Flush interval: Every 2 years or 24,000 to 36,000 miles
• Extended-life coolants (OAT/HOAT): Up to 5 years or 150,000 miles, but environmental stress shortens life
• Immediate flush is needed if:
– Coolant is brown or sludgy
– Rust particles are visible
– Overheating occurs
– Sweet smell in cabin (heater core leak)
Expert Advice: Even if coolant looks clean, additives degrade over time. Do not skip scheduled flushes.
Frequently Asked Questions About How to Drain Coolant
How long should I wait before draining coolant?
Wait at least 3 to 4 hours after driving to let the engine cool completely. Ideally, do this overnight. Never attempt to drain coolant when the engine is warm or running.
Can I just drain coolant without flushing?
Draining only the radiator removes about 60 to 70 percent of total coolant. The rest remains in the engine block and heater core. Flushing is necessary to remove this残留 coolant and contaminants.
What happens if I mix different coolant types?
Mixing incompatible coolants can create gel-like sludge that clogs radiator passages and destroys the water pump. Always use the same type and color as specified in your owner’s manual.
How often should I flush my cooling system?
Flush the system every 2 years or 24,000 to 36,000 miles, whichever comes first. Extended-life coolants may last up to 5 years, but driving conditions and climate can shorten this interval.
Is it necessary to use distilled water when mixing coolant?
Yes. Distilled water prevents mineral deposits and scale buildup in the cooling system. Tap water contains minerals that can cause corrosion and reduce coolant effectiveness.
Can I test drive immediately after refilling coolant?
Do not test drive until you have bled all air from the system and verified stable temperature. Driving with air pockets can cause overheating. Take a short 15 to 20 minute drive while monitoring the temperature gauge.
Key Takeaways for Draining Coolant Successfully
Draining coolant is more than just opening a plug. It is a complete system refresh that protects your engine from overheating and corrosion. Skipping the flush leaves old contaminants behind, undermining your effort. Always use distilled water, the correct coolant type for your vehicle, and 50/50 mixing ratio for optimal protection. Remember to bleed air thoroughly after refilling and monitor temperature during your test drive. Finally, dispose of used coolant responsibly at authorized recycling centers. Your car and the environment will thank you for following these proper procedures.