Engine overheating on the highway. Coolant that looks like muddy coffee. A heater blowing cold air on a freezing morning. These warning signs often trace back to one fixable issue: a contaminated cooling system. Learning how to flush a car radiator removes rust, sludge, and degraded fluid that block heat transfer and stress your engine. Left alone, these contaminants corrode the water pump, clog the heater core, and can lead to expensive damage like a blown head gasket.
This guide walks you through every stage of the process, from safety prep and draining old fluid to refilling, bleeding air, and verifying results. You will learn which coolant type your vehicle needs, why distilled water matters, how often to perform the service, and the mistakes that ruin DIY jobs. Whether you are a first-time DIYer or a seasoned car owner refreshing your skills, you will finish this article knowing exactly how to flush a car radiator safely, correctly, and without leaving air pockets behind.
Essential Safety Steps Before You Start
Cooling systems run under pressure and reach extreme temperatures. Opening a hot radiator releases scalding steam that causes instant burns. Always wait a minimum of one hour after shutting off the engine. Confirm coolness by hovering your hand near the radiator and cap; no heat should radiate from either.
Park on a flat, dry surface and place wheel chocks at the wheels to prevent rolling. Wear safety gloves, goggles, and protective clothing throughout the job. Coolant is highly toxic to pets and children, so wipe spills the moment they happen. Run the engine only outdoors or in a garage with the doors open and fans running. Exhaust fumes contain carbon monoxide, which is deadly in enclosed spaces.
Old coolant is classified as hazardous waste. Never pour it down a drain, onto the ground, or into household trash. Take it to a recycling center, auto parts store, or municipal hazardous waste facility that accepts automotive fluids.
Gather the Right Tools and Fluids

Choose the Correct Coolant Type
Your owner’s manual specifies the exact coolant your vehicle requires, whether that is G12, G13, OAT, or another formulation. Mixing incompatible types triggers chemical reactions that produce gel-like sludge inside the radiator and heater core. Always stick with manufacturer-approved fluid.
You can buy pre-mixed coolant or concentrate. If using concentrate, dilute it only with distilled water. Tap water contains calcium, magnesium, and chlorine that leave scale deposits and accelerate corrosion over time.
Assemble Your Toolkit
Before starting, gather:
– Drain pan sized for 6 to 18 quarts
– Funnel
– Garden hose with moderate pressure
– Wheel chocks
– Safety gloves and goggles
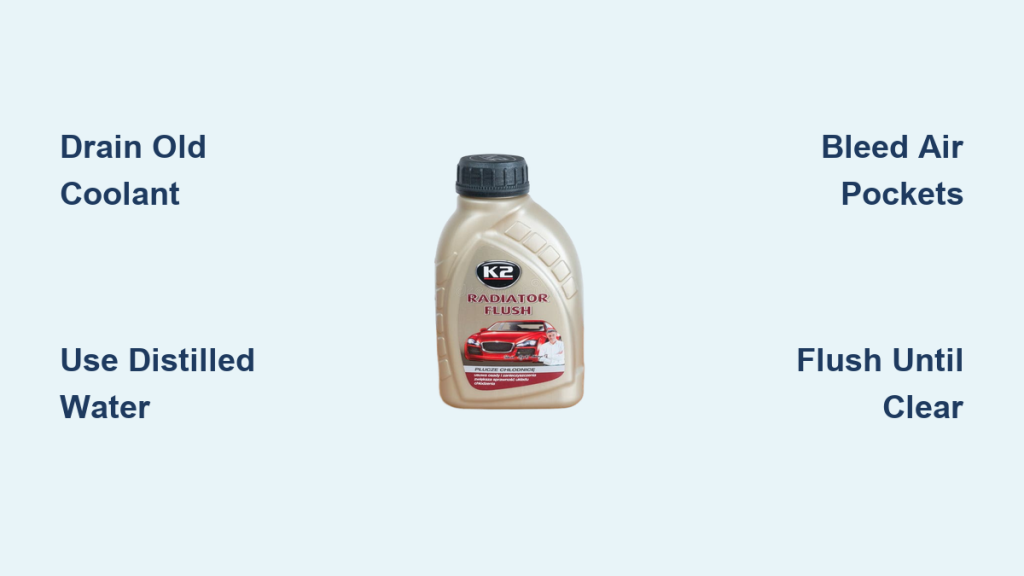
– Radiator flush solution compatible with your vehicle
– Distilled water
– Optional flush kit that connects to heater hoses
Prepare the Cooling System
Set the Heater to Maximum
Turn the cabin heater to its hottest setting before draining anything. This opens the valve to the heater core, allowing flush solution and fresh coolant to flow through the entire system. Skipping this step traps sediment inside the heater core and leaves your cabin heating weak.
Inspect for Visible Damage
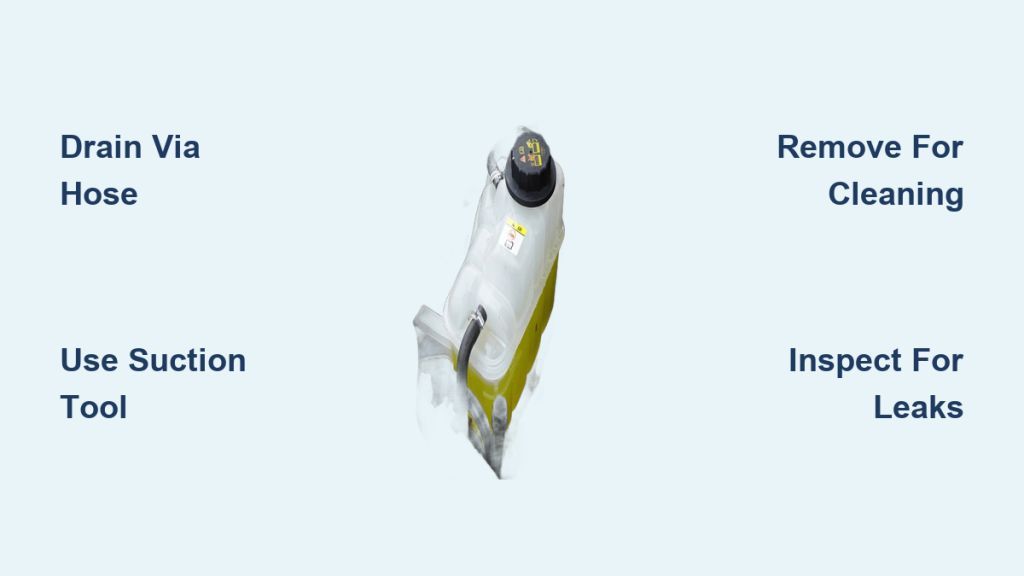
Open the hood and check the cooling system carefully. Look at radiator hoses for cracks, bulges, or soft spots. Examine clamps for looseness or rust. Inspect radiator fins for bending or blockage. Check the reservoir tank for cloudiness or oily residue.
If you find leaks, damaged hoses, or heavy corrosion, stop and address those issues first. Flushing a leaking system can worsen the problem or cause overheating mid-process.
Drain the Old Coolant Completely
Remove the Radiator Cap Safely
With the engine cold, press down on the pressure cap and twist it off slowly. Place the cap somewhere clean where it will not get lost or damaged. A faulty cap cannot hold proper system pressure, so replace it if the seal looks worn.
Open the Drain Valve
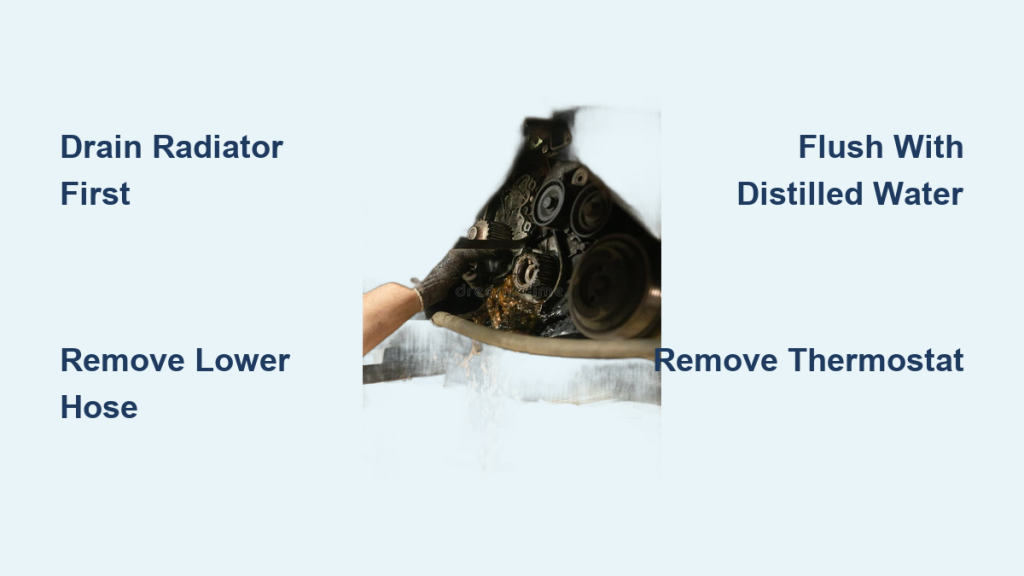
Slide the drain pan under the radiator petcock, usually located at the lower corner. Open the valve and let the old coolant flow out. If your vehicle has no petcock, loosen the lower radiator hose clamp and gently pull the hose free to drain.
Allow 10 to 15 minutes for full drainage. Once empty, close the petcock tightly or reattach the lower hose with a secure clamp.
Add Flush Solution and Circulate
Pour in the Radiator Cleaner
Using a funnel, add the recommended dose of radiator flush solution into the radiator opening. Top off with distilled water until the system is full. Avoid tap water at every stage.
Run the Engine for 10 to 15 Minutes
Fit the radiator cap loosely to allow air to escape, or install it as directed by the flush product. Start the engine and let it idle with the heater on maximum heat. Run it for 10 to 15 minutes so the cleaner circulates through the engine block, radiator, and heater core, dissolving rust, scale, and sludge along the way.
Do not drive the vehicle during this phase. Watch the temperature gauge closely. If it climbs abnormally, shut the engine off; this often signals a blockage that needs professional attention.
Drain the Flush Solution and Rinse
Remove Contaminated Fluid
Turn off the engine and let it cool completely. Reopen the drain valve and let the dirty flush water flow out. This fluid will look dark and carry visible debris.
Rinse Until the Water Runs Clear
Refill the radiator with clean distilled water. Run the engine for 5 to 10 minutes, then drain again. Repeat this cycle until the runoff comes out clear. For stubborn sediment:
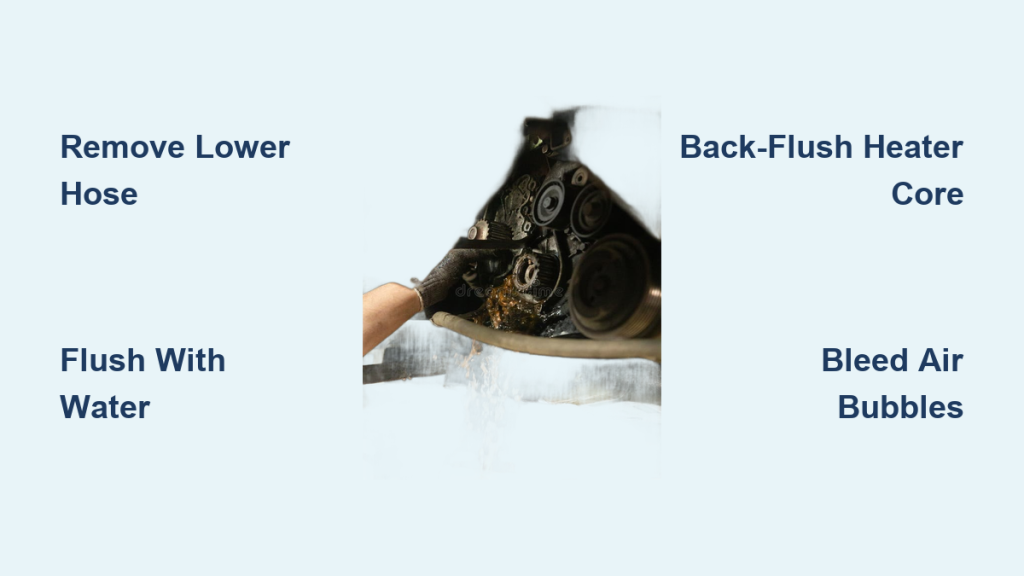
– Back-flush through the lower radiator hose with a garden hose
– Disconnect the heater hoses and flush them individually
Skipping this step leaves debris behind that contaminates the new coolant and shortens its service life.
Refill the System with Fresh Coolant
Mix Coolant Properly
If using concentrate, blend it with distilled water at the ratio listed on the label, usually 50/50. Pre-mixed coolant is ready to pour straight from the bottle. Never blend different coolant types in the same system.
Fill the Radiator and Reservoir
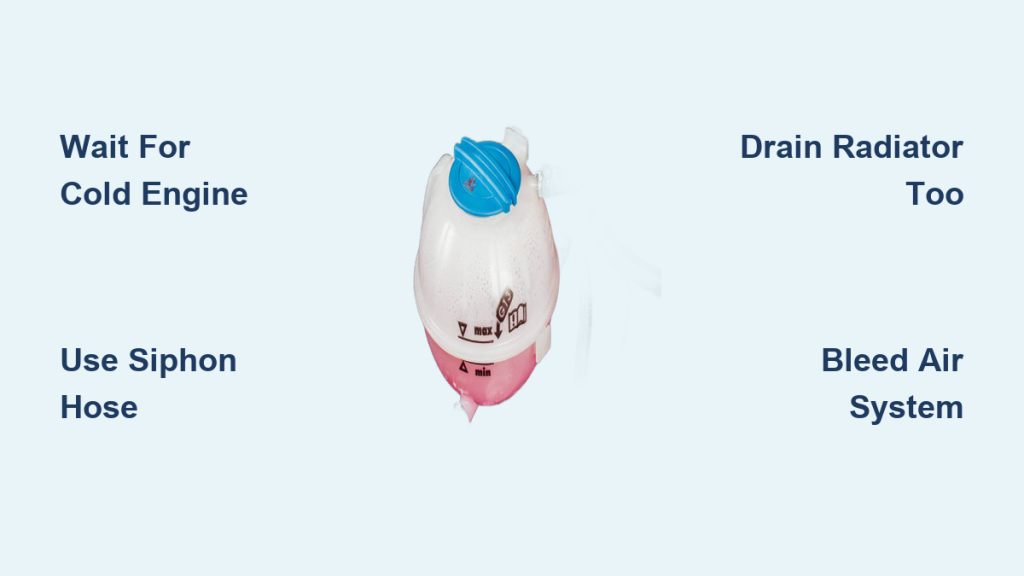
Confirm the drain valve is closed. Slowly pour fresh coolant into the radiator until full, then top off the expansion tank to the “cold” line. Pour slowly to avoid trapping air.
Bleed Air from the Cooling System

Prevent Air Locks
Trapped air pockets cause localized overheating and can warp engine components or damage the thermostat. To bleed the system:
– Start the engine with the radiator cap off or loosely fitted
– Let it idle until it reaches normal operating temperature
– Watch for bubbles rising to the surface
– Top up coolant continuously as the level drops
Some vehicles have bleeder screws near the thermostat housing or engine block. Open them briefly to release trapped air, then retighten. Once bubbles stop and the level stabilizes, secure the radiator cap fully.
Verify the System After Service
Test Drive and Recheck
Drive the vehicle for 5 to 10 miles under normal conditions. This confirms full circulation and lets any remaining air escape. After the engine cools completely, recheck coolant levels in both the radiator and reservoir. Top up if needed.
Inspect for Leaks
Look under the vehicle and around hoses, clamps, and the radiator for fresh drips. A small amount of seepage after reassembly may tighten up on its own, but persistent leaks require immediate repair.
Follow a Consistent Maintenance Schedule
When to Flush Your Radiator
Use these general guidelines:
– Every 30,000 miles or every 2 years, whichever comes first
– Vehicles older than 5 years benefit from more frequent flushing
– Flush immediately if coolant looks brown, milky, or sludgy
– Flush after any overheating incident or coolant contamination
Modern vehicles with long-life coolants can sometimes go up to 100,000 miles, but always defer to your owner’s manual for the correct interval.
Avoid These Common Flushing Mistakes

Never Mix Coolant Types
Blending incompatible coolants, such as OAT with IAT, causes chemical reactions that form gel or sludge. This blocks coolant flow and can destroy the water pump or heater core. Use only one type and verify your choice with the manual or a trusted mechanic.
Always Use Distilled Water
Tap water carries minerals that form scale inside the radiator and engine passages. This reduces cooling efficiency and promotes corrosion. Distilled water is purified and safe for the system.
Do Not Skip the Bleed Step
Failing to bleed air causes overheating even when the coolant level reads full. Air transfers heat poorly, so pockets near the thermostat or cylinder head create hot spots that warp metal parts.
Never Dump Coolant Down the Drain
Used coolant contains ethylene glycol, which is toxic to wildlife and humans. Improper disposal violates environmental laws in most regions. Recycle it at auto parts stores, local hazardous waste sites, or professional repair shops.
DIY Versus Professional Service
When to Do It Yourself
A DIY radiator flush works well if your vehicle shows no overheating issues, the coolant is only mildly discolored, and you have the right tools plus a disposal plan. It saves money, with typical DIY costs running $20 to $50 for fluids and flush solution.
When to Call a Mechanic
Choose professional service if the engine has recently overheated, the coolant is thick or gel-like, you suspect a leak, or your vehicle has a complex cooling system such as a turbocharged or hybrid drivetrain. Shops use high-pressure reverse-flush machines that clean deeper than gravity drains, and they pressure-test the system for hidden leaks. Professional costs typically range from $150 to $350 AUD depending on vehicle size and contamination level.
Extend the Life of Your Cooling System
Protect Against Rust and Corrosion
Fresh coolant contains anti-corrosion additives that wear out over time. Scheduled flushing restores this protection for the water pump, radiator, heater core, and engine passages. This prevents costly repairs like failed water pump bearings, clogged heater cores, blocked radiator tubes, and head gasket failures caused by chronic overheating.
Monitor Coolant Condition Monthly
Check the coolant level when the engine is cold. Inspect color and clarity through the reservoir. Bright green, orange, or red, depending on the type, signals healthy coolant. Brown, cloudy, or oily appearance means contamination, and you should flush immediately. Top up only with the same coolant type mixed with distilled water. Never rely on plain water as a long-term fix.
Frequently Asked Questions About Flushing a Car Radiator
How often should you flush a car radiator?
Most vehicles benefit from a flush every 30,000 miles or every 2 years. Older vehicles, heavy-duty use, and harsh climates may require more frequent service. Always check your owner’s manual for the manufacturer’s specific recommendation.
Can you flush a radiator without removing the thermostat?
Yes, but it is not ideal. The thermostat controls coolant flow and may stay closed during the flush, limiting how much debris gets removed. For a thorough clean, many mechanics recommend removing the thermostat temporarily or running the engine long enough for the thermostat to open fully.
Is it safe to use tap water in a radiator flush?
No. Tap water contains minerals and chlorine that leave scale deposits and cause corrosion inside the cooling system. Always use distilled water when mixing coolant or rinsing the system.
How long does it take to flush a car radiator?
A complete DIY flush typically takes 1 to 2 hours, including cool-down time, draining, circulating flush solution, rinsing, refilling, and bleeding air. The actual engine run time during circulation is only 10 to 15 minutes.
What happens if you do not bleed air after a radiator flush?
Trapped air pockets create hot spots in the engine because air does not transfer heat as effectively as liquid coolant. This can cause localized overheating, warped components, and recurring temperature gauge spikes even with a full coolant level.
Can a radiator flush fix an overheating engine?
Sometimes. If overheating is caused by sludge, rust, or degraded coolant, a flush can restore proper flow and cooling. However, if the issue stems from a failing water pump, stuck thermostat, blown head gasket, or blocked radiator, a flush alone will not solve the problem.
Key Takeaways for a Successful Radiator Flush

A proper radiator flush protects your engine from heat damage, restores cooling efficiency, and prevents costly breakdowns. Use only the coolant type specified in your owner’s manual, mix it with distilled water, and never skip the air-bleeding step. Inspect hoses and clamps before starting, dispose of old coolant responsibly, and follow a consistent maintenance schedule every 30,000 miles or 2 years.
Your next step is to gather your tools, confirm the correct coolant type for your vehicle, and set aside a weekend morning for the job. A clean cooling system keeps your engine running cool, your heater working in winter, and your car reliable for the long haul.