
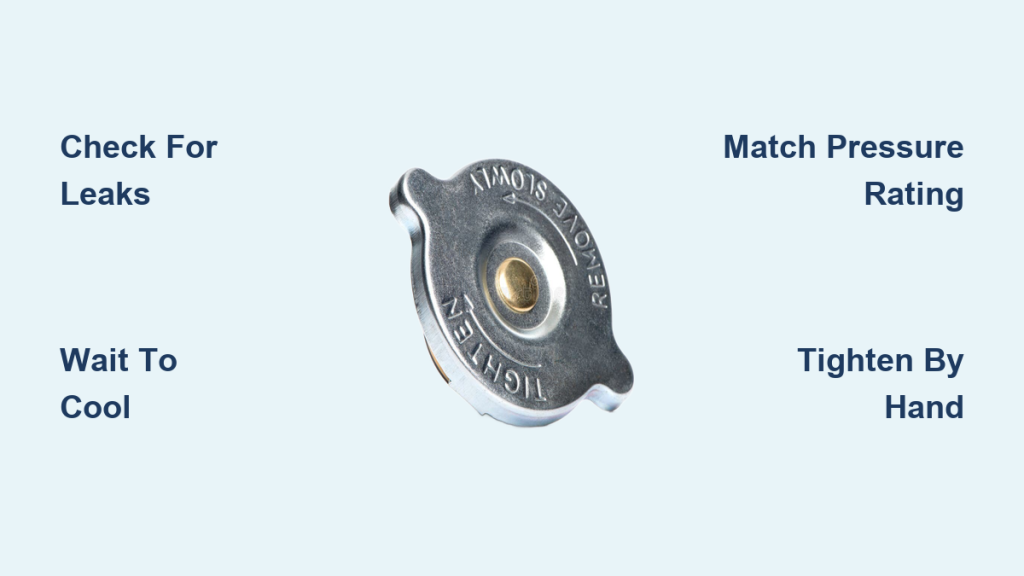
A failing radiator cap can quietly sabotage your engine long before you notice anything obvious. This small, low-cost part controls pressure inside your cooling system, raising the boiling point of coolant and protecting your engine from extreme heat. When the cap weakens, coolant boils off, leaks appear, and your temperature gauge climbs toward the danger zone. Most radiator cap problems take less than 30 minutes to diagnose and resolve with basic tools. This guide shows you exactly how to fix a radiator cap, remove a stuck one safely, choose the correct replacement, and avoid costly engine damage.
You’ll learn how to spot early warning signs, depressurize the system without burning yourself, clean the sealing surfaces, install a new cap the right way, and verify your repair with a quick test. Whether you’re a first-time DIYer or a seasoned home mechanic, these steps keep your cooling system reliable and your engine safe.
Recognize Radiator Cap Failure Signs Before Overheating Starts
.png)
Catching a bad radiator cap early saves you from expensive engine repairs. Unlike blown head gaskets or water pump failures, cap problems usually give off subtle clues before things go wrong.
Spot Coolant Leaks and Rising Engine Temperature
Puddles of green, orange, or pink fluid under your front bumper often point to a weak cap seal. You might also notice the temperature needle creeping toward the red zone during slow traffic or hot weather. A cap that can’t hold pressure lets coolant boil at a lower temperature, which reduces cooling efficiency. This creates a dangerous cycle: boiling coolant escapes, fluid levels drop, and overheating follows. Never ignore a single overheating episode, even if the gauge returns to normal.
Inspect the Cap for Visible Damage
Remove the cap only when the engine is completely cold. Look closely for these red flags:
- Cracked or warped plastic or metal housing
- Hardened, brittle, or swollen rubber gasket
- Rust or corrosion on the sealing surface and threads
- Bent metal components or a stuck pressure valve
Even minor gasket wear can break the entire seal. If the rubber feels stiff or shows splits, replacement is the safest move. Never reuse a questionable cap to save a few dollars.
Release System Pressure Safely Before Touching the Cap
Opening a hot radiator is one of the most dangerous DIY mistakes. High-pressure steam can cause severe burns in seconds. Always follow strict cooling and depressurization steps before any removal attempt.
Wait for the Engine to Cool Completely
After shutting off the engine, wait at least 1 to 2 hours before touching the radiator cap. Don’t rely on ambient temperature alone. Touch the radiator neck and coolant reservoir. If either feels warm, wait longer. Rushing this step risks burns and can damage the cooling system.
Use the Two-Stage Removal Method to Release Pressure
When the system is cool, follow these steps:
- Cover the cap with a thick towel and grip it firmly.
- Turn counterclockwise slowly until you hear a hiss or click.
- Stop immediately and wait about 5 minutes for full depressurization.
- Continue turning counterclockwise and remove the cap.
This pause prevents a sudden burst of steam. If hissing continues for more than a few seconds, walk away and return later. The system may still be too hot.
Remove a Stuck Radiator Cap Without Damaging the Neck
A seized cap resists normal hand force. Forcing it can strip the radiator neck and lead to expensive repairs. Use controlled techniques instead.
Apply Penetrating Oil to Loosen Corrosion
Spray a small amount of penetrating oil like WD-40 around the base where the cap meets the radiator neck. Keep oil out of the coolant system. Let it soak for 5 to 10 minutes to dissolve rust and corrosion in the threads.
Retry Removal With Steady Hand Pressure Only
After soaking, rewrap the cap in a towel and turn counterclockwise with firm, even pressure. Never use pliers or a wrench. Excessive torque can crack plastic necks or warp metal threads. If the cap still won’t move, repeat the oil application or seek professional help to prevent damage.
Clean the Cap and Radiator Neck for a Proper Seal
Debris and mineral deposits can prevent a tight seal, even with a brand-new cap. Cleaning ensures maximum contact and reliable pressure retention.
Wipe Buildup From the Radiator Opening
Use a clean rag dampened with mild detergent to clean the radiator neck. Remove rust flakes, hardened coolant residue, and any dirt. Avoid wire brushes or abrasive tools that scratch the sealing surface. A smooth, clean neck is essential for an airtight seal.
Test the Gasket for Flexibility and Damage
Pinch the rubber gasket between your fingers. If it cracks, feels brittle, or doesn’t spring back, it’s too degraded to seal properly. Replace the cap immediately. Also check that the gasket sits flat and isn’t twisted or misaligned inside the cap.
Choose the Correct Replacement Radiator Cap

Never assume a cap that fits physically is the right one. Using the wrong pressure rating can cause premature boiling or dangerous over-pressurization.
Match the Pressure Rating to Your Vehicle
Most vehicles require 16 psi or 18 psi caps, but ratings vary by make and model. Check these sources:
- Your owner’s manual
- The stamped rating on top of the old cap
- The radiator neck, which is sometimes labeled
A 13 psi cap on an 18 psi system makes coolant boil too soon. A higher-rated cap can prevent proper venting and damage hoses or the radiator tank.
Buy OEM or High-Quality Aftermarket Caps
Cheap universal caps often fail early or seal poorly. Instead, take the old cap to an auto parts store for exact matching. Call your dealership with your VIN for a factory-specified part. Trusted brands like Stant, Gates, and Mahle offer reliable performance. Precision matters because your engine depends on it.
Install the New Cap the Right Way
Correct installation prevents leaks and damage. Over-tightening causes just as many problems as under-tightening.
Align and Seat the Cap Before Turning
Place the new cap squarely on the radiator neck. Press down gently to ensure the gasket makes full contact. Then turn clockwise until snug.
Tighten by Hand Only, Never With Tools
Turn until you feel firm resistance. That’s all it takes. Do not use pliers or a wrench. Over-torquing can crack plastic necks, warp metal threads, and compress the gasket too much, leading to early failure. If the cap spins without locking, double-check alignment and threading.
Test for Leaks After Installation
A quick post-installation test confirms your repair worked and prevents roadside breakdowns.
Start the Engine and Watch the Cap Area
With the hood open, start the engine and let it reach operating temperature. Stand to the side, never directly in front of the radiator. Watch the cap area closely while the engine warms up.
Look for Bubbling, Steam, or Fluid Seepage
Any of these signs means the repair failed:
- Bubbles forming around the cap
- Steam escaping from the seam
- Drips or spray near the base
If you see leaks, shut off the engine and let it cool. Recheck cap alignment and pressure rating. A mismatched or defective cap must be replaced before driving.
Prevent Future Radiator Cap Problems
Regular maintenance keeps your cooling system reliable and extends engine life for years to come.
Replace the Cap Every 30,000 to 50,000 Miles
Even if the cap looks fine, replace it every 3 to 5 years or per your vehicle’s maintenance schedule. Rubber degrades over time from heat cycles and chemical exposure, even without visible damage.
Maintain Proper Coolant Levels and Type
Use only the coolant type specified in your owner’s manual, such as OAT, HOAT, or IAT. Mixing types can cause gelling or corrosion. Keep the reservoir between the min and max lines to support stable system pressure.
Never Open a Hot Radiator
Reinforce the habit: engine off, wait 2 hours, verify temperature by touch. This protects both you and the cap’s sealing integrity. Repeated hot openings degrade gaskets and increase the risk of failure.
Frequently Asked Questions About Fixing a Radiator Cap
Can I drive with a bad radiator cap?
Driving with a failing radiator cap risks overheating and engine damage. The cap cannot maintain proper pressure, which causes coolant to boil and escape. If you notice leaks or rising temperatures, stop driving and address the issue immediately. Towing is safer than continuing to drive with low coolant.
How do I know if my radiator cap is bad?
Common signs include coolant leaks near the cap, engine overheating, and visible damage like cracks or a hardened gasket. You may also notice steam escaping or a hissing sound from the radiator neck. A pressure test at an auto parts store can confirm if the cap holds its rated pressure.
How often should I replace my radiator cap?
Replace your radiator cap every 30,000 to 50,000 miles, or every 3 to 5 years. Heat cycles and chemical exposure degrade the rubber gasket over time, even without visible wear. Following your vehicle’s maintenance schedule ensures reliable cooling system performance.
What pressure rating do I need for my radiator cap?
Most vehicles use 16 psi or 18 psi caps, but the exact rating depends on your make and model. Check your owner’s manual, the stamped number on your old cap, or ask a dealership with your VIN. Using the wrong rating causes premature boiling or dangerous over-pressurization.
Can a radiator cap cause overheating?
Yes, a weak or damaged radiator cap is a common cause of overheating. When the cap cannot maintain proper pressure, coolant boils at a lower temperature and escapes the system. This reduces cooling efficiency and leads to engine temperature spikes, especially in hot weather or heavy traffic.
Is it safe to open a radiator cap when the engine is warm?
Never open a radiator cap when the engine is warm or hot. The cooling system operates under high pressure, and opening it prematurely releases scalding steam and coolant. Always wait at least 1 to 2 hours after shutdown and verify the radiator neck is cool to the touch before removing the cap.
Key Takeaways for Fixing Your Radiator Cap Safely

A faulty radiator cap is a silent threat, but it’s easy to fix with the right knowledge. Recognize early signs like coolant leaks and rising temperatures before major damage occurs. Always depressurize the system safely by waiting 1 to 2 hours and using the two-stage removal method. Match the replacement cap’s pressure rating to your vehicle’s specifications, and tighten by hand only to avoid cracking the neck.
Make radiator cap inspection part of your routine maintenance every 30,000 to 50,000 miles. Test every new installation by watching for bubbles or steam with the engine running. With these steps, you protect your engine from overheating, avoid costly repairs, and gain confidence every time you drive.



