You’ve decided it’s time for a complete coolant flush, maybe your engine’s running hotter than usual or you’ve hit 60,000 miles with no service. You drain the radiator, refill, and think you’re done. But did you know up to 30% of old coolant can remain trapped inside the engine block and heater core? That leftover sludge leads to corrosion, poor cooling, and potentially head gasket failure. Simply opening the radiator petcock isn’t enough. This guide covers proven methods so you can completely drain coolant from engine block and protect your engine for years to come.
Confirm Whether Your Engine Has a Block Drain Plug
Before starting, verify whether your engine has a dedicated block drain plug. Most modern engines don’t have one, so you’ll need alternative draining methods.
Check Common Plug Locations
If a block drain plug exists, it’s usually on the lower side of the engine block near the bellhousing or exhaust manifold. It’s threaded like a bolt, not a press-fit freeze plug. Inspect both driver and passenger sides. Some V8s have dual plugs, but compact 4-cylinder engines rarely do. If you can’t find one, don’t force it. Proceed with alternative draining methods instead.
Avoid Removing Freeze Plugs
Never mistake core plugs (freeze plugs) for drain points. These steel or brass discs are press-fit into the block to seal casting holes. Removing them causes leaks and often requires replacement. Stick to safe, designed access points like hoses or petcocks.
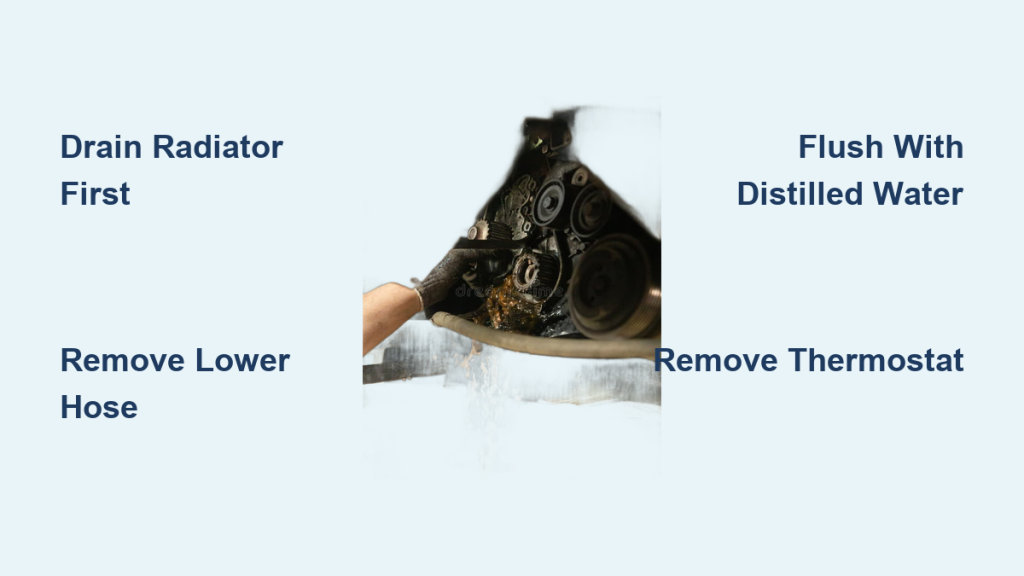
Remove Lower Radiator Hose for Complete Drainage
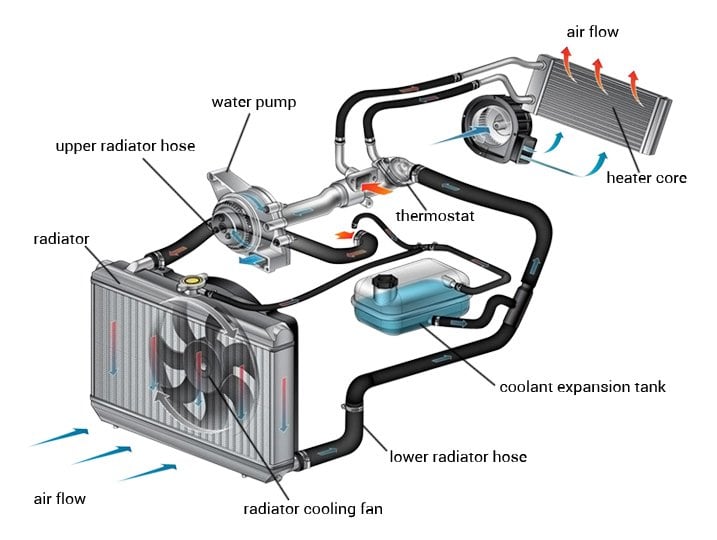
This is the most effective way to empty coolant from both the radiator and engine block. The lower radiator hose connects to the bottom of the radiator and draws fluid directly from the engine.
Drain from the Lowest Point
The lower radiator hose connects to the bottom of the radiator and draws coolant directly from the engine. Removing it allows gravity to pull fluid from the lowest point in the system, including trapped coolant in the block.
Steps:
1. Ensure engine is completely cool below 120°F.
2. Place a 5-gallon drain pan under the radiator.
3. Close the radiator petcock if open to prevent premature flow.
4. Use pliers or a screwdriver to loosen the hose clamp.
5. Gently twist and pull the hose off the radiator neck.
6. Let fluid drain fully, this may take 10 to 15 minutes.
7. Tap the hose lightly to dislodge air pockets and residual coolant.
This method drains up to 6 to 7 quarts total compared to only 4 to 5 when using the petcock alone.
Reconnect Securely After Draining
Once drained, inspect the hose for cracks or soft spots. Clean both the hose and radiator neck. Reattach the hose and tighten the clamp firmly before proceeding to flushing or refilling.
Flush System with Distilled Water
Draining isn’t enough. Residual coolant must be flushed out to prevent contamination from old glycol and deposits.
Run 3 to 4 Flush Cycles
Even after a full drain, old coolant clings to internal surfaces. Use distilled water to dilute and remove it.
Flush Procedure:
1. Close the system and refill with distilled water.
2. Replace the radiator cap.
3. Start the engine and run until thermostat opens, about 3 to 5 minutes.
4. Keep the heater on high to circulate water through the heater core.
5. Let engine cool slightly, then carefully remove the cap.
6. Drain completely using the lower hose method.
7. Repeat 3 to 4 times.
By the fourth cycle, drained fluid should be nearly clear. This dilution method costs about $10 in supplies versus $100 or more for a professional machine flush.
Monitor for Clean Drainage
Success signs include no green, orange, or pink tint in drain water, no oily film or sediment, and refractometer reading near 0% glycol. When the drained fluid runs clear, you’re ready for the final refill.
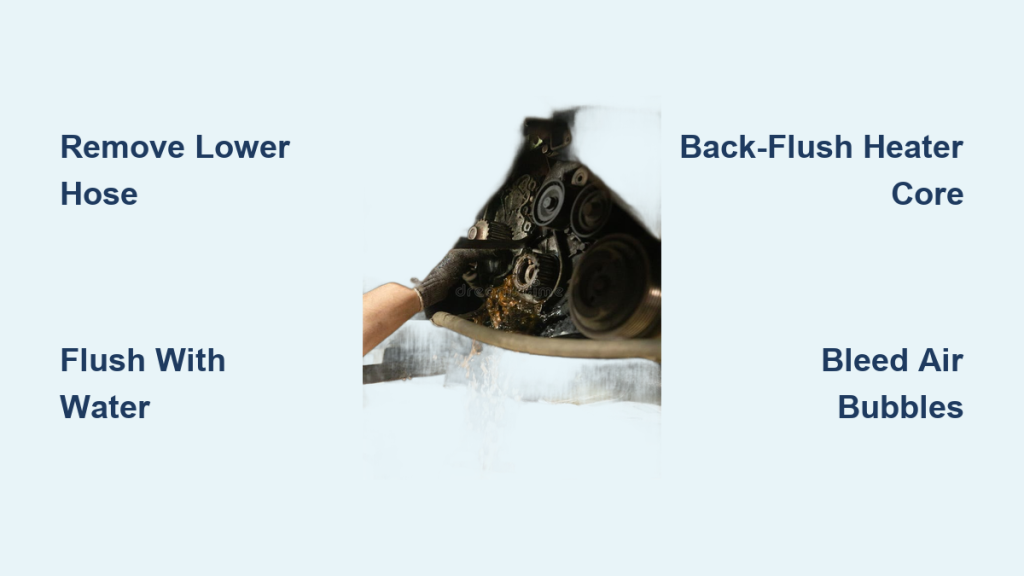
Back-Flush Heater Core if Needed
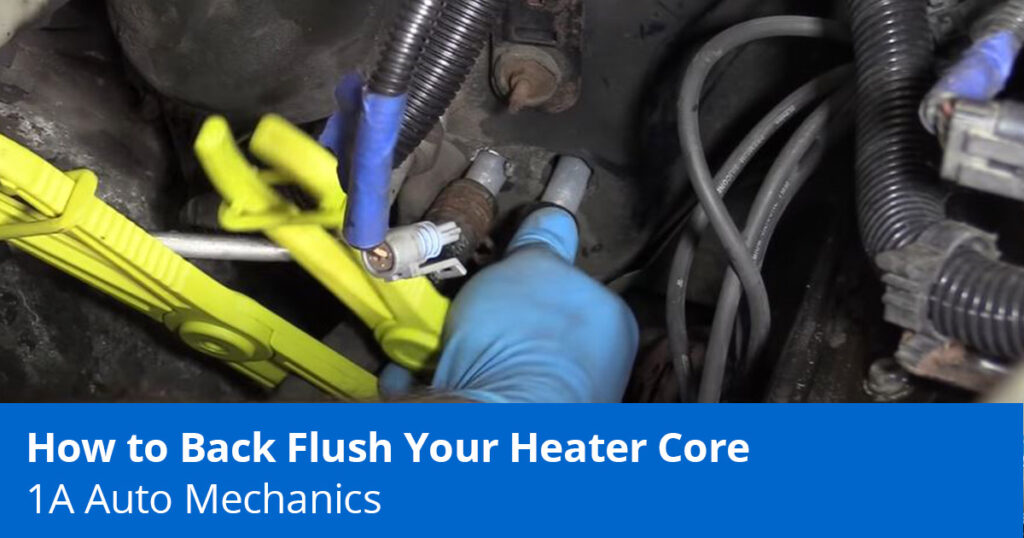
The heater core traps old coolant and sediment. Flush it in reverse for best results.
Install T-Fitting for Reverse Flow
A T-fitting lets you connect a garden hose to force water backward through the heater core.
Steps:
1. Locate heater hoses at the firewall.
2. Disconnect one end, firewall or engine side.
3. Insert a T-fitting into the hose.
4. Reconnect both ends.
5. Attach a garden hose to the T-port.
6. Turn on water briefly in short bursts.
7. Flush until water runs clear at the radiator or drain point.
This removes sludge and improves cabin heat performance.
Remove Thermostat for Better Flow
Taking out the thermostat eliminates flow restriction during flushing.
How to:
1. Drain system partially to avoid spillage.
2. Remove the thermostat housing, usually at the end of the upper hose.
3. Pull out the thermostat and inspect for damage.
4. Flush with engine running, water circulates freely.
5. Reinstall with a new gasket before final refill.
Don’t run the engine long without a thermostat. Some fan controls depend on its temperature sensor.
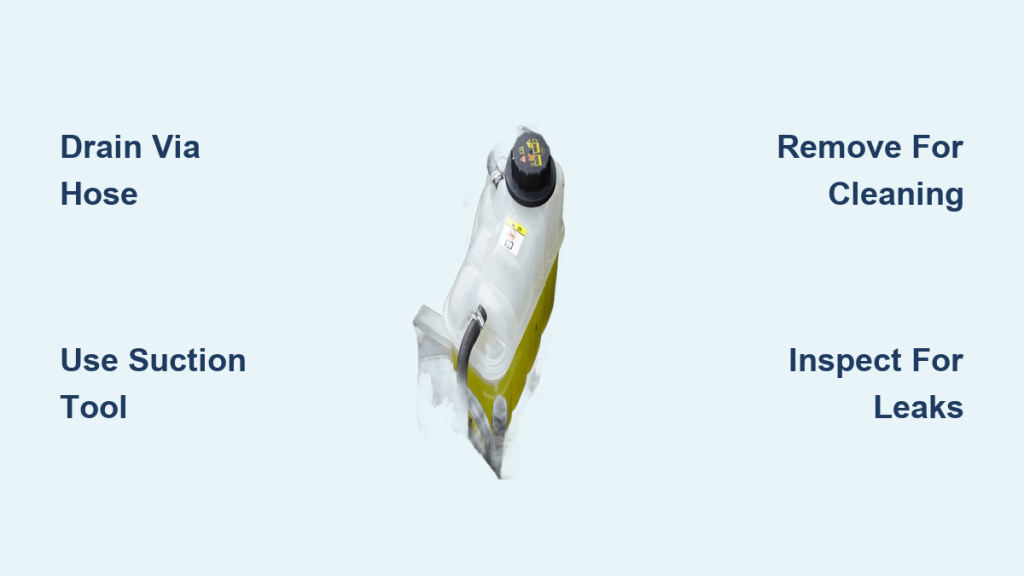
Drain and Clean Coolant Reservoir
The overflow tank holds coolant and must be emptied separately.
Empty and Rinse the Tank
- Disconnect the hose from the radiator neck or tank.
- Use a turkey baster or hand pump to extract fluid.
- Remove the tank if access is limited.
- Wash interior with warm water and mild soap.
- Rinse thoroughly and reinstall.
Refill the reservoir only after the main system is complete.
Refill with Correct Coolant Mix
Residual water means you must adjust your final mix to avoid dilution.
Use Concentrated Coolant After Flush
After the last flush, about 3 quarts of water remain in the block and heater core. To achieve a proper 50/50 ratio, add 3 to 4 quarts of concentrated coolant and top off with minimal or no additional water. This balances the mixture without guesswork.
Choose the Right Coolant Type
Use the correct coolant type for your vehicle to prevent corrosion and ensure longevity.
| Vehicle Type | Recommended Coolant | Key Features |
|---|---|---|
| Asian (Toyota, Hyundai) | Phosphated OAT, silicate-free | Prevents aluminum corrosion |
| General Use | IAT (green) | Change every 2 years |
| Extended Life | OAT (orange/red) or HOAT (blue) | Lasts up to 5 years |
| Ford Diesel | G05-compatible | Meets OEM specs |
Zerex G05 is a popular, affordable choice for many modern engines.
Bleed Air from Cooling System
Air pockets cause overheating and thermostat failure. Bleed carefully to prevent this.
Prevent Trapped Air Bubbles
An air lock near the thermostat can prevent it from opening, leading to sudden overheating.
Bleeding Steps:
1. Fill radiator with coolant mix.
2. Start engine with radiator cap loose.
3. Let it idle until upper hose gets hot, indicating thermostat open.
4. Squeeze hoses to help release air.
5. Cycle heater from cold to hot several times.
6. Elevate front of vehicle to help air rise.
7. Once stable, install cap and check level after cooldown.
Use a coolant bleeder funnel for best results. It maintains fluid level as air escapes.
Follow Safety and Disposal Rules
Coolant is toxic. Handle with care.
Never Open Hot Radiator
Pressurized coolant can spray at over 250°F, causing severe burns.
Safety checklist:
– Wait until engine is below 120°F.
– Wear gloves and safety glasses.
– Work in a well-ventilated area.
– Keep pets away. Ethylene glycol is deadly if ingested.
Dispose of Old Coolant Properly
Used coolant contains heavy metals and toxins.
Disposal options:
– Auto parts stores, many offer free recycling.
– Local hazardous waste facilities.
– Certified repair shops.
Never pour it down drains or onto the ground.
Compare DIY vs. Professional Flush
You have options. Choose based on time, tools, and budget.
| Method | Cost | Effectiveness | Best For |
|---|---|---|---|
| Lower Hose + Flush Cycles | $10-$20 | High | Most DIYers |
| Back-Flush with T-Fitting | $15-$30 | Very High | Advanced users |
| Professional Machine Flush | $80-$120 | Highest | Quick service, older engines |
| Radiator Petcock Only | $0 | Low | Incomplete, avoid as sole method |
While shop machines use reverse-pressure systems for near-total exchange, the DIY method with multiple flushes achieves excellent results at a fraction of the cost.
Key Takeaways for Draining Coolant from Engine Block
A complete coolant change isn’t just about draining the radiator. It’s about removing every trace of old fluid from the engine block, heater core, and hoses. By removing the lower radiator hose, flushing 3 to 4 times with distilled water, bleeding air properly, and using the right coolant mix, you’ll protect your engine from corrosion, overheating, and premature wear. Even without a block drain plug, you can achieve a full exchange with the right technique. Stick to the process, stay safe, and drive with confidence knowing your cooling system is clean and protected.
Frequently Asked Questions About Draining Coolant from Engine Block
Does every engine have a block drain plug?
No. Most modern engines don’t have dedicated block drain plugs. Only older vehicles and some V8 performance engines include them. Check your owner’s manual or inspect the block sides near the exhaust manifold.
How much coolant remains in the engine after draining the radiator?
Using only the radiator petcock leaves about 2 to 3 quarts trapped in the engine block and heater core. Removing the lower radiator hose recovers more, but complete removal requires multiple flush cycles.
Can I use tap water for flushing?
No. Tap water contains minerals that cause scaling and rust. Use only distilled or deionized water for flushing to prevent internal deposits.
How do I know when the flush is complete?
The drained water should be nearly clear with no color tint, oily film, or sediment. A refractometer reading near 0% glycol confirms successful removal.
Is it necessary to remove the thermostat for flushing?
It’s not required but highly recommended. Removing the thermostat allows unrestricted flow and more complete removal of old coolant from the engine block passages.
How often should I drain and flush my coolant system?
Follow your manufacturer’s interval, typically every 2 years for conventional coolant or up to 5 years for extended-life formulas. Flush sooner if switching coolant types or performing major engine work.